
Step-by-step growing, Page 6
- Growth phase
- Flowering and Harvest
- Processing and storage
- Hydroponic growing
- Seedlings and propagation
- Speciality Crops
- Outdoor Growing
- Seeds and Germination
List of articles
What stages does a plant go through, and what are their specific characteristics?
Once you have obtained the basic necessities, it will be necessary to wait for the right moment. Remember that the plant goes through different stages of development, and within each of these stages it has different requirements for care and nutrition.
- Germination stage: You sow the seeds and germinate them in germination boxes or mini greenhouses. This stage should take place in the period from the end of February to mid-May. After the plants have germinated, you move them into smaller pots. Germination can be skipped if you decide to establish the crop by planting germinated plants or cuttings.
- Growth stage: During this stage, the plant will gain most of the green above-ground mass that it will produce within its annual cycle. In outdoor conditions, the growth stage usually lasts longer. From the beginning of April, you can already move the plants outdoors, because the length of daylight is now sufficient for the plants and their development. At the beginning of April, there is still a constant risk that night temperatures will drop below freezing, which can pose a considerable problem for some plant species. This problem usually subsides in mid-April, when moving plants outdoors is safer. The time when it is appropriate to move plants outside is determined primarily by the flowering period of the cultivated species. Short-flowering plants may remain indoors a little longer, while plants with a longer flowering period should now be planted outdoors.
- Flowering stage: Depending on the plant species and the flowering period of the selected variety, your plant will begin to flower in July to August. During this stage, the plant forms flowers and subsequently also fruits, which you harvest from the end of August to the beginning of October - again depending on the flowering period of the cultivated plant and variety.
Tips for Growing with AutoPot Irrigation Systems
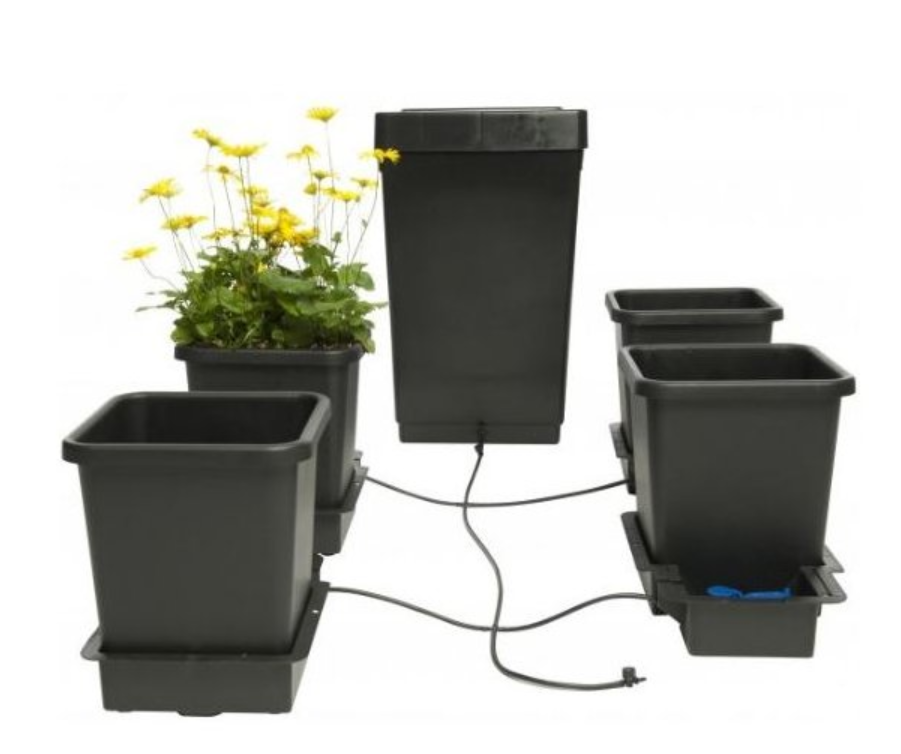
AutoPot hydroponic systems will win you over thanks to their ease of use and ongoing maintenance. Hydroponics, as a growing method, is associated with the prospect of a rich harvest. And to help your favourite AutoPot self-watering systems deliver the best possible results, we have prepared several practical tips and pieces of information for you in this article.
TIP No. 1
- All AutoPot watering systems and modules are supplied with root control.
- Depending on the specific system or module, root control may consist of a combination of PotSock (copper sleeve), Root Control Disc (RCD) and Marix Disc, which are used in the following configurations:
- 1Pot: Marix Disc in the pot, RCD in the reservoir (gold side up)
- easy2grow: Marix Disc in the pot, PotSock at the base of the pot (gold side up)
- XL: RCD in the gold version facing down
- XL FlexiPot: PotSock at the base of the pot (gold side up)
TIP No. 2
To ensure excellent results when growing, it is strongly recommended to place expanded clay, also known as hydroton (clay pebbles), with a stable pH value, or alternatively 1" (25 mm) Growstones or washed gravel, at the bottom of each pot. Then place the chosen substrate on top and water it.
TIP No. 3
If you use AirDome as a small and inexpensive accessory that can increase your yields by up to 130%, in combination with larger systems you should certainly consider using larger pumps, which will allow you to connect 16 mm tubing (standard hose). Mirror the water supply and reduce the tubing to 6 mm at each AirDome connection using AutoPot fittings. Never blow cold air into the root zone, only warm air.
TIP No. 4
When hydroponically cultivating more than six plants, consider using a larger reservoir and supply water through 16 mm tubing (standard hose), reducing the tubing to 9 mm at each AQUAvalve connection using AutoPot fittings. You can find fittings and other original AutoPot accessories HERE.
TIP No. 5
Before placing each pot into the tray, always clean the wall and bottom of the pot to remove any dirt and ensure that your hydroponic system stays clean. It is also important to keep your AQUAvalve clean.
TIP No. 6
AutoPot watering systems, equipped with AQUAvalve5 with 9 mm tubing and fittings, can be used to supply plants with mineral or organic fertilisers via a reservoir and piping. Organic fertilisers will require a water pump in the reservoir running for 15 minutes every 2 hours and cleaning of the reservoir, pump and filter each time the reservoir is emptied. Each time the reservoir is emptied, flush the piping with clean water.
TIP No. 7
Remember that before you switch on the AutoPot watering system, it is very important to first allow your plants to settle once you have watered them and placed them in the pots. The ideal settling time depends on many factors, including the species of the plant, its size, and the temperature and humidity, i.e. the microclimate in the growing environment. In general, we can define this period as 5-21 days depending on the size of the container, but if you are unsure, simply lift the growing container in your hands. If it is heavy, it still contains a lot of moisture. Otherwise, simply switch on the AutoPot hydroponic system.
TIP No. 8
Never place an air stone in the reservoir. This would probably increase the water pH. In this case, a small water pump will serve you better, although neither device is essential.
TIP No. 9
To keep your piping free of deposits, make sure you have a tap at its end, which should be opened regularly every few weeks and the water should be allowed to run into a prepared container for 30 seconds to 1 minute.
TIP No. 10
The reservoir should always be raised at least 150 mm above the floor and refilled once there is one third of the water left... Never let the reservoir run dry.
TIP No. 11
Always use a filter with each reservoir. Filters should be checked once a month and cleaned if necessary.
TIP No. 12
Always make sure that the AQUAvalve is secured to the base tray to prevent it from floating when the tray is flooded with water. If you are using trays designed for AutoPot, simply place the AQUAvalve crescent above the T connector and press down firmly. If you are using AQUAvalve in a garden tray, place the newly designed AQUAvalve MK2 cover over the AQUAvalve.
TIP No. 13
We do not recommend placing trays on cold concrete floors, as this causes unwanted cooling of the water from below, which subsequently affects the growth of your plants. Consider placing polystyrene, cardboard or a similar material with insulating properties under each tray to ensure that the water temperature is not affected in this way. If necessary, the trays can be raised above the floor.
TIP No. 14
Flushing is not necessary with AutoPot hydroponic systems. Simply refill the reservoir with clean water only. If necessary, adjust the pH and 7-14 days before harvest let your plants “drink” only water.
TIP No. 15
Placing small seedlings directly into pots is not recommended. Water only properly established plants.
TIP No. 16
When plants are small and exposed, consider placing a humidity dome/lid over each plant to retain moisture around the plant and speed up growth.
TIP No. 17
In extreme cases of over-fertilisation, pour several litres of pH-balanced water into the pot and let it drain away. Start applying fertiliser again at half nutrient strength for one week.
The tips above should make using AutoPot hydroponic systems in practice more convenient, so that you can use them as efficiently as possible. Whether you are only thinking about getting one of the modules, or you already have one at home, do not hesitate to ask us anything about using or choosing an AutoPot system at the well-known address info@higarden.eu.
We recommend these products:
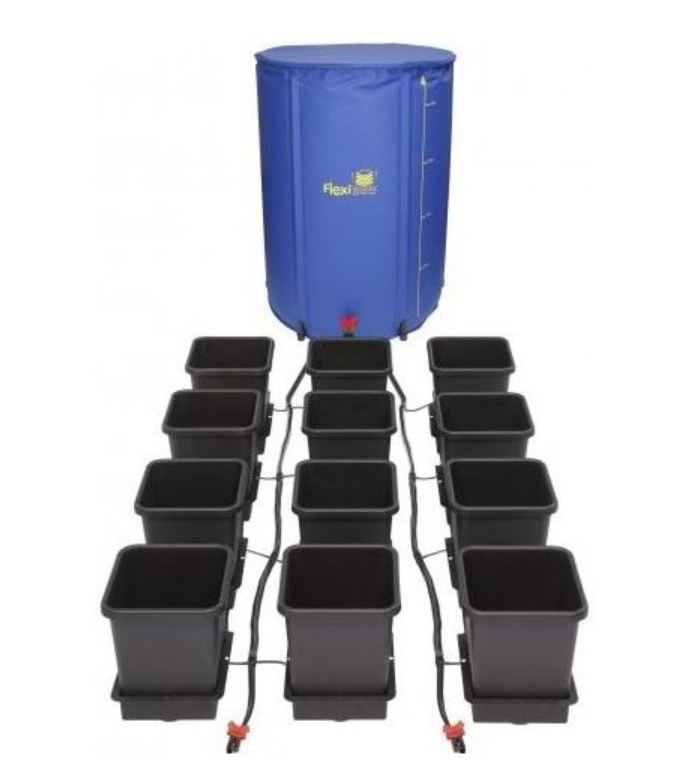
- AutoPot Easy2grow 20 pots incl. 225L Flexitank (10,390 Kč)
- AutoPot 1Pot system 12 pots incl. 225L Flexitank (10,890 Kč)
- AutoPot Easy2grow 6 pots incl. 47L plastic reservoir (2,890 Kč)
What to read next?
How to Grow Outdoors?
Today we have several practical tips for effective outdoor plant growing, that is, in the sun outdoors. After a long winter, the gardening season is in full swing, so it would be a shame not to give the plants in your beds much more this year than just what they absolutely need under the open sky. Even in outdoor conditions, it is possible to achieve fantastic yields!
Quality soil and rich soil life
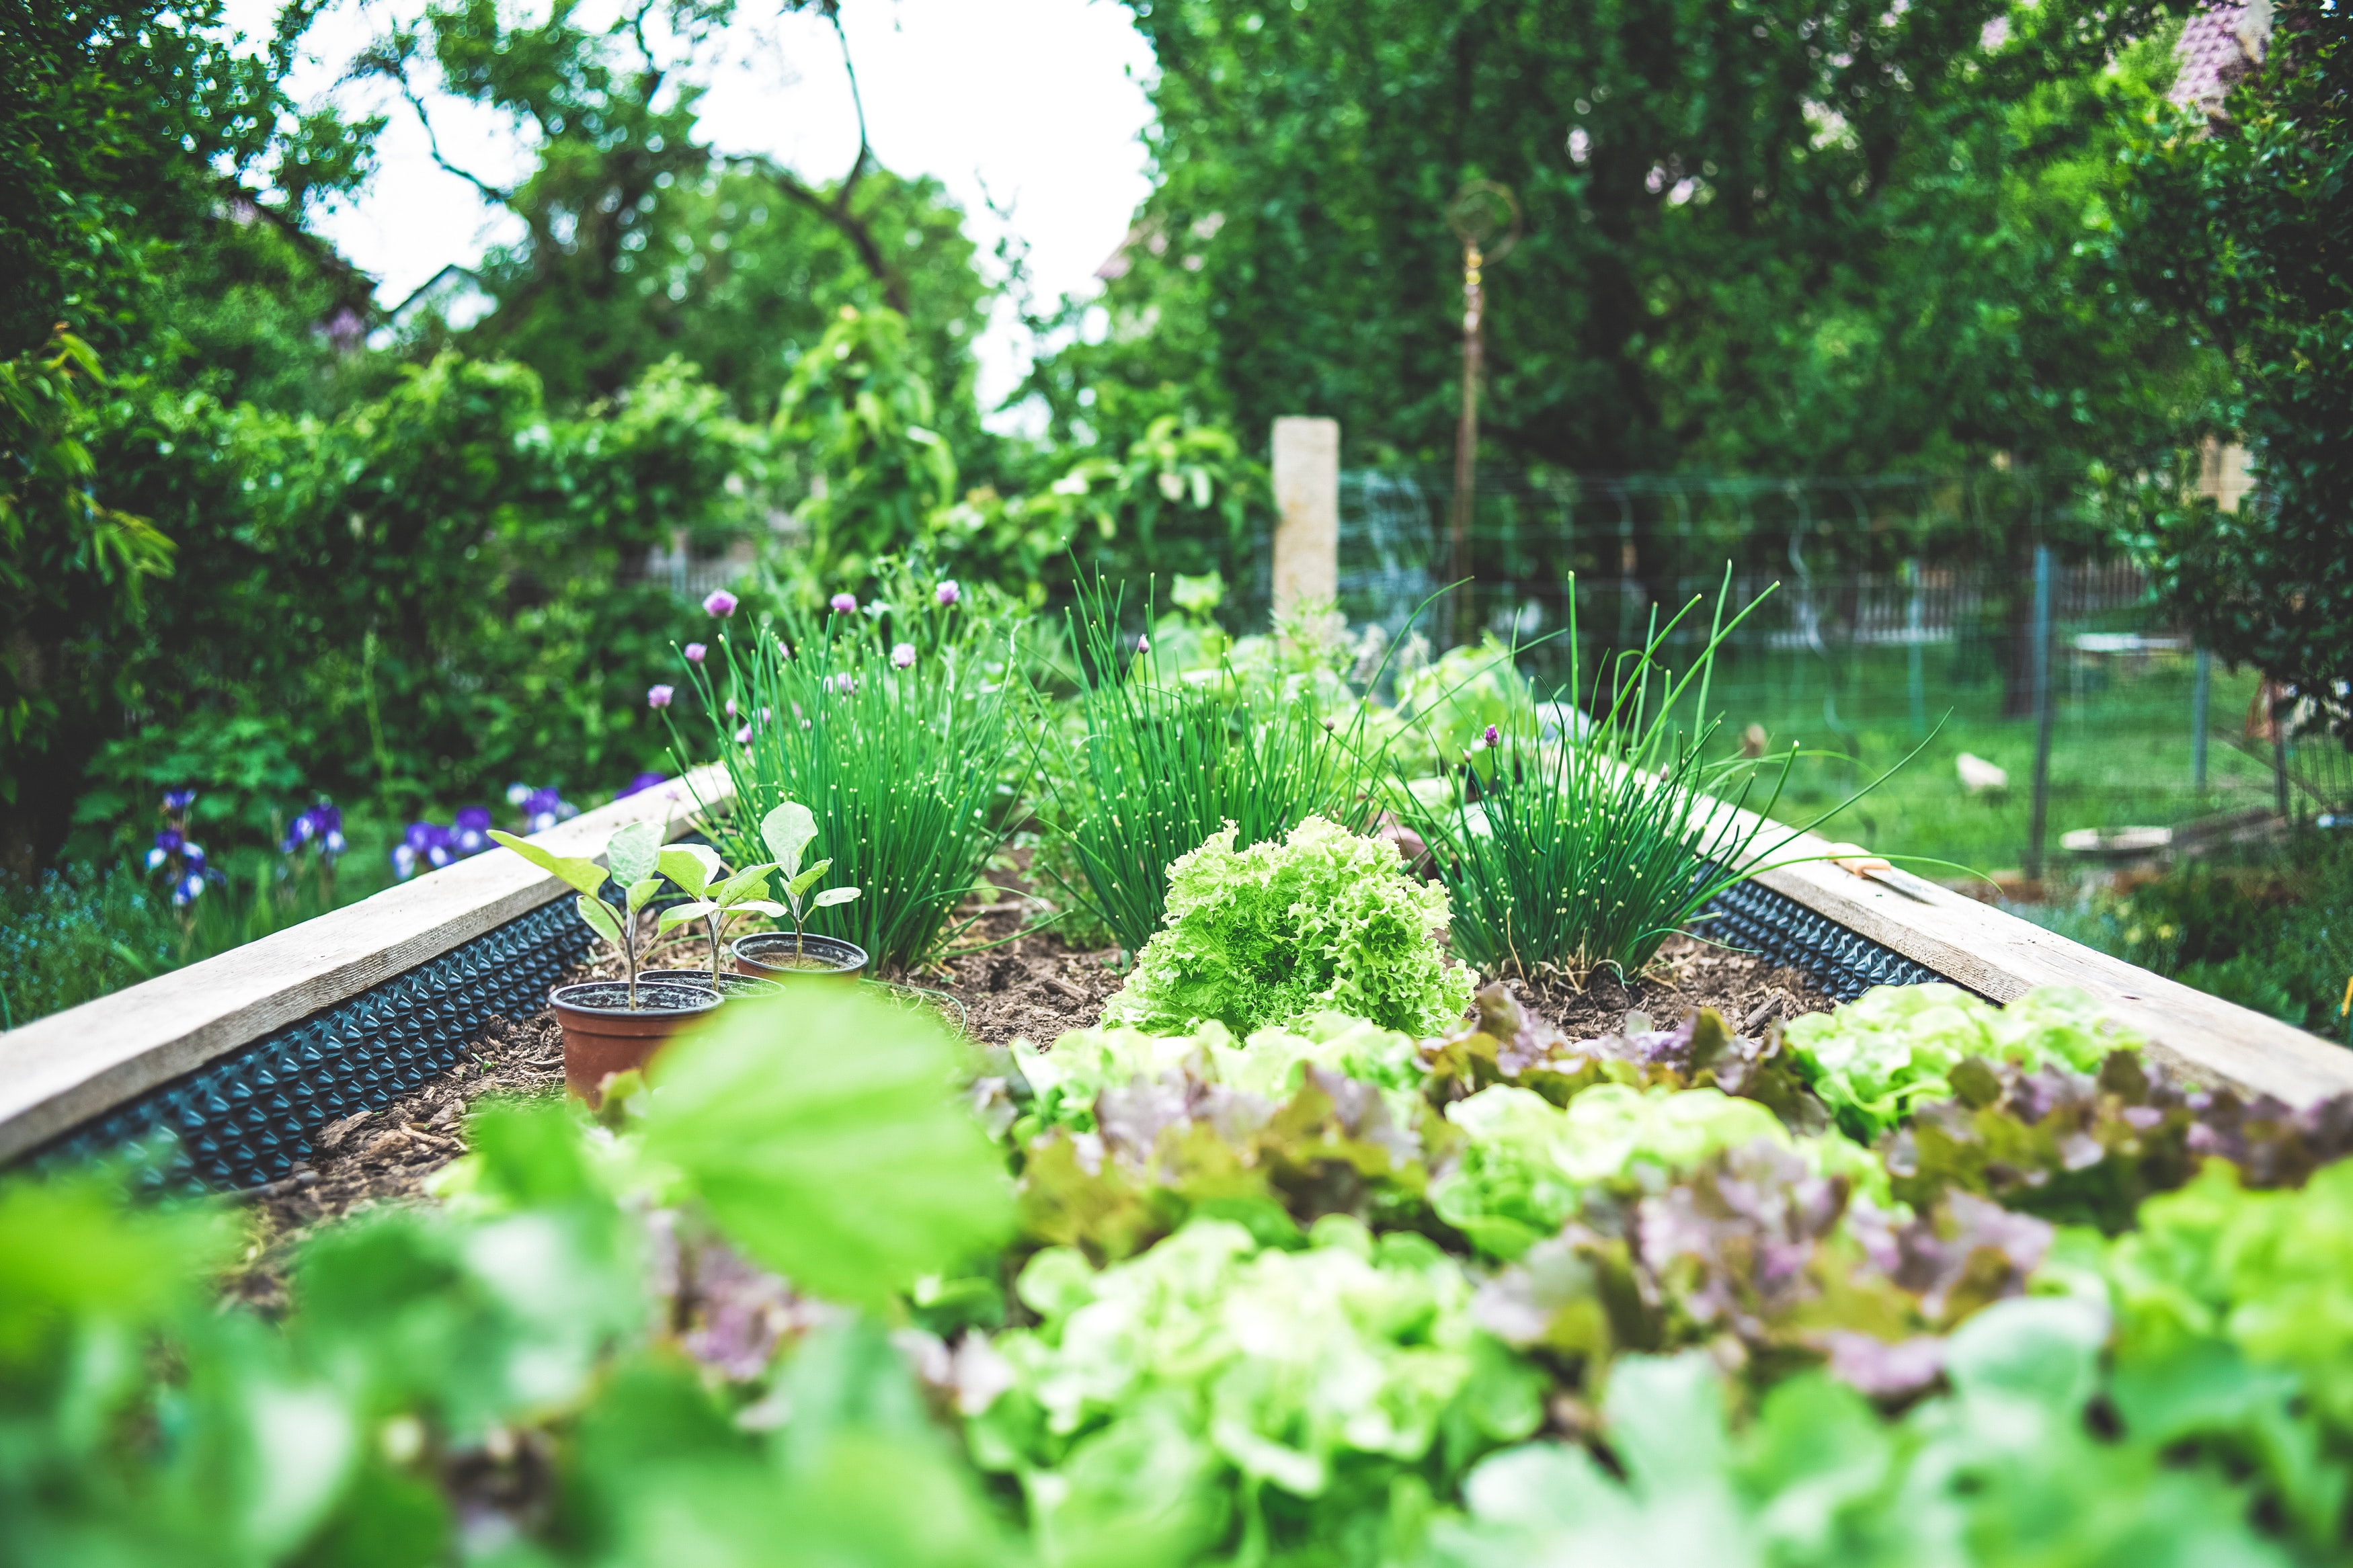
Pests, dangerous pathogens or heavy metals. All of these work against us and our plants when growing in open ground. It is therefore a good idea to get to know the soil you have available and work with it accordingly.
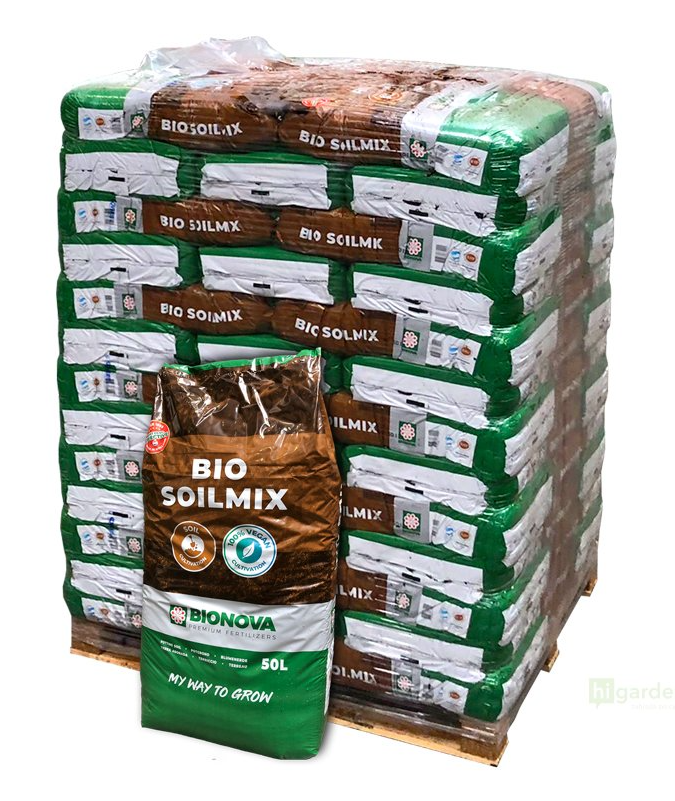
A high content or, conversely, a lack of specific nutrients contained in your soil can make it unsuitable for growing certain plant species. The same applies to the pH value, which you measure using a pH metre. Of course, a laboratory analysis is one option, but it is considerably easier to rely straight away on a proven soil substrate. Today, it is no longer a problem to obtain a large quantity of high-quality soil at a reasonable price. One example is BioNova Bio Soilmix, a first-class soil that is also 100% natural, making it suitable for organic outdoor plant growing.
When purchasing 55 pieces or more, delivery within the Czech Republic by pallet carrier is free.
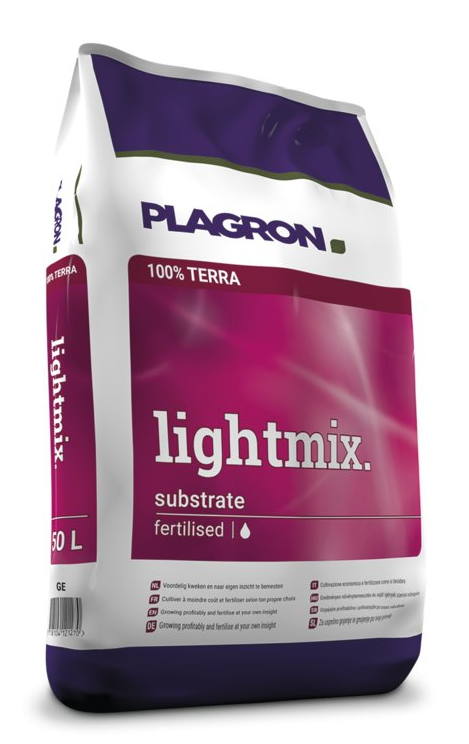
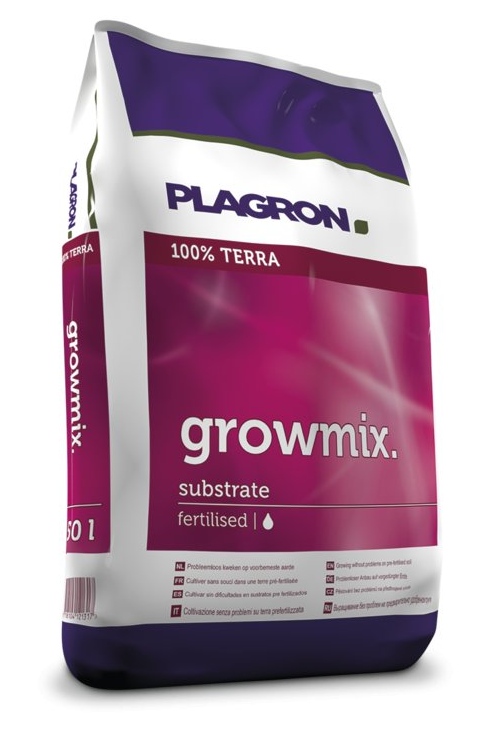
Our customers have long favoured, for example, the soil mixes from Plagron - Growmix and Lightmix. These provide an excellent foundation for fast and high yields in your garden! In addition to three types of high-quality peat (white, black and fibrous), they also contain a blend of biohumus, vermicompost or perlite. Biohumus and vermicompost support healthy “micro-life”, or beneficial microorganisms living in the soil, whose activity has a positive effect on the stable development of plants in soil, which are also more resistant to stress or any pest pressure that we simply have to expect when outdoor cultivating plants, so that we can enjoy a proper harvest. (This is also why some of our other tips for outdoor gardening will concern precisely the prevention and protection of plants against pests and diseases.) The perlite blend, in turn, ensures perfect aeration of these soil substrates, which significantly improves the effects of watering, as nutrients are absorbed better by the root system. Both of these pre-fertilised and aerated soil mixes contain mineral nutrients. So what is the difference between them? It is mainly about how long there is no need to use additional fertilisers. Lightmix contains all the nutrients plants need during the first week of the growing cycle. And the composition of Growmix is a proven source of health and strength for plants during the first three weeks of the growing cycle. Therefore, if you have less experience with outdoor growing so far, you can make use of it. By contrast, Lightmix is used more by experienced growers and gardeners who want to move on to applying selected fertilisers according to their own plans as early as possible from the start of the growing cycle.
As already mentioned, supporting the life of soil microorganisms is clearly worthwhile. And it is precisely for this purpose that so-called mycorrhizal fungi are used in cultivation, especially Trichoderma Harzianum. We devoted a separate article to this fungus and plant nutrition products that use its symbiotic relationship with the plant root system: Trichoderma, or the natural way to a rich and healthy harvest.
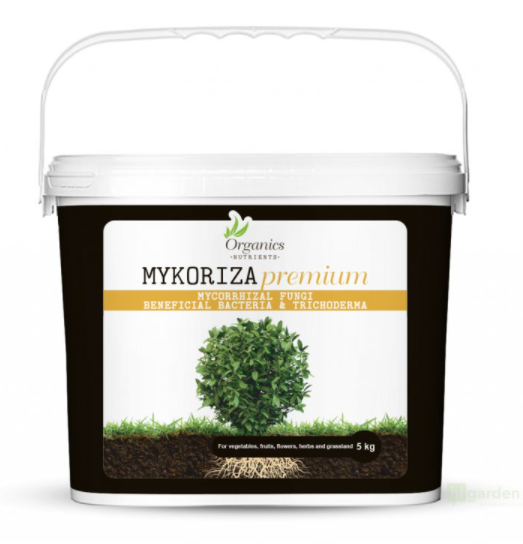
Our TIP: Organics Nutrients MYKORIZA premium contains a fully organic concentrated powder of Endo&Ecto mycorrhizal fungi, beneficial bacteria, microorganisms and Trichoderma. It increases root system growth by up to 400%, which allows your plants better nutrient supply and strengthens their immunity, as already mentioned. Plants will be more productive, healthier and the yield will be of better quality. We recommend it!
Nutrition for plants grown in soil
Deficit or excess nutrients in open ground are addressed by applying basic and supplementary fertilisers designed directly for use in soil or soil substrates. They therefore fully meet the needs of outdoor growers when cultivating all kinds of plants.
When growing outdoors, where purely natural conditions and influences prevail, there is an opportunity to grow fruit, vegetables or herbs in organic quality, that is, by 100% natural means. This is made possible by purely organic fertilisers. If the idea of organic growing appeals to you, be sure to read the article: BioNova Veganics – fertilisers not only for vegans.
Our TIP: Bat guano, worm castings or fish mix containing fish bone meal – all of these are other organic fertilisers commonly used when growing plants outdoors!
Plagron Alga fertilisers contain seaweed extract.
The problem with mineral fertilisers when growing in open ground lies in soil degradation. At the same time, there is no point in supporting soil life, because mineral-based fertilisers largely destroy beneficial microbial life, which in outdoor growing ultimately also results in a higher incidence of pests or plant diseases.
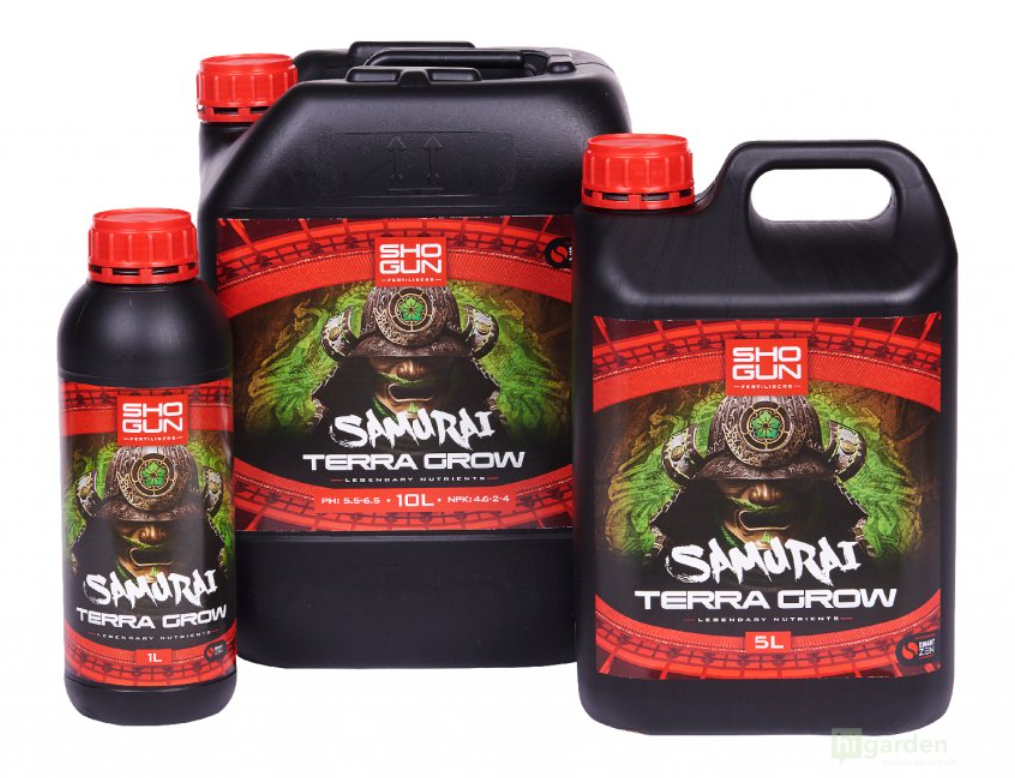
However, if you combine outdoor and irrigation systems, you will need mineral-based nutrition (see below). The Dutch brand BioNova also produces our best-selling single-component mineral fertiliser for soil, namely BioNova Soil Supermix. We will also be happy to advise you on the selection of other mineral fertilisers. You will often recognise them by the TERRA designation, for example Shogun Samurai Terra Grow as the best British fertilisers, combining a perfect balance of nutrients with an advanced understanding of the complex chemistry involved in nutrient availability in soil.
From the information above, it is clear that, just like the composition of the substrate, the composition of plant nutrition for plants grown in the sun is also important for healthy and rich microbial life. In addition to basic fertilisers, you can support the life of beneficial microorganisms in the soil with several products. The composition of these products is based on the effects that various organic substances have on plants:
- We discussed fulvic acids and humic acids, including tips on the best products, in detail in the article: Fulvic and humic acids: their importance and use in plant nutrition.
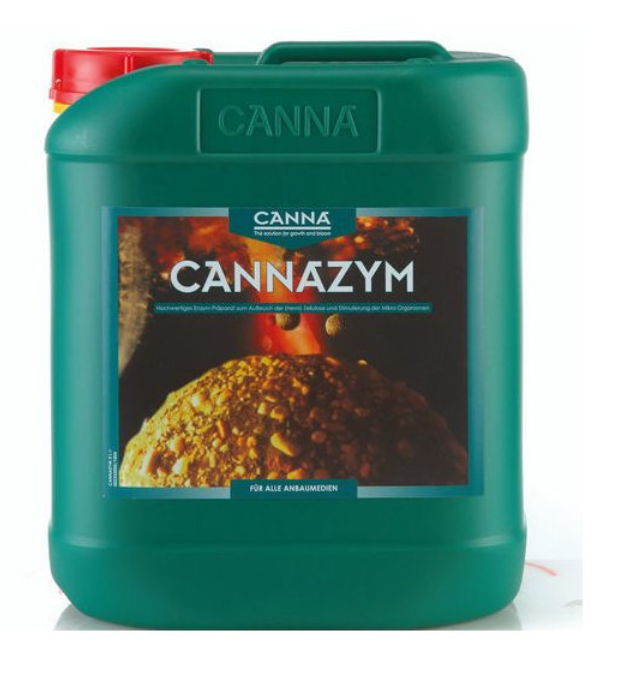
- The article Enzymes also deals with the composition of products based on complex sets of living microorganisms that can convert dead plant residues into valuable organic material and support plant development in many ways. For example, the unique enzyme preparation Cannazym, which many experienced and environmentally minded growers swear by, speeds up the breakdown of dead root material and activates beneficial microorganisms, while helping to maintain optimal aeration of the soil. As you may already know, excessive soil moisture and dead plant residues are often an invitation for mould spores. Cannazym therefore also serves as effective prevention against these problems.
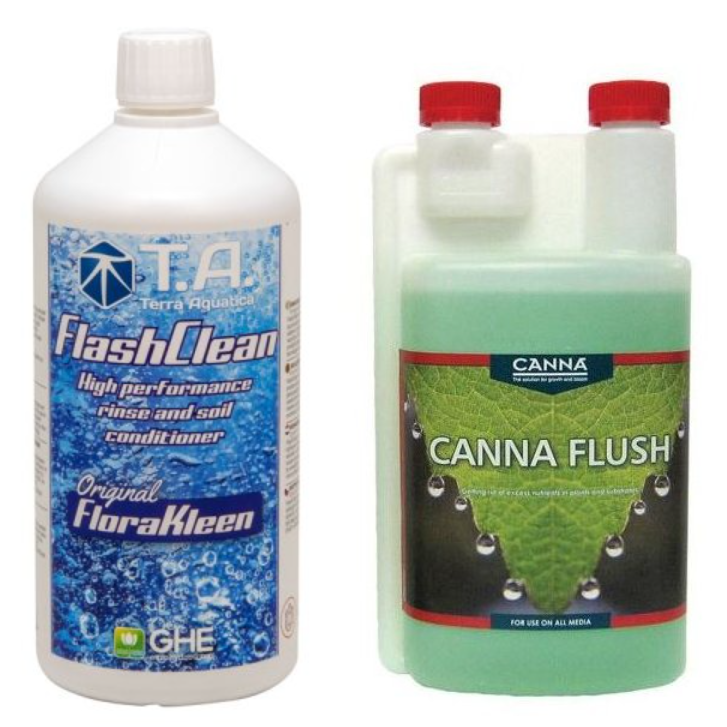
All of the products mentioned above share a common goal: optimal nutrient uptake and healthy plant development. At the end of the growing cycle, do not forget to flush the plants during the last week before harvest. Growers call this stage flushing, and it ensures that the harvested plants or their fruits are as clean as possible (without fertiliser residues) and taste as they should. Flushing products, such as Canna Flush, gently remove all excess salts from the plants so that they do not destroy beneficial fungi or bacteria, thereby guaranteeing excellent taste.
However, do not forget that water alone does not actually flush anything, because plants only begin to consume nutrients stored in the leaves on the tenth day of flushing. For this reason, it is important to use dedicated agents that speed up this process so that the desired and real flushing takes place immediately. In addition to Canna Flush, we also recommend, for example, T.A. Flashclean (G.H. FloraKleen).
Growing outdoors, managing water
Outdoor growers sometimes do not initially realise that hydroponic and aeroponic systems, which allow significantly more efficient management of water and fertilisers, can be used just as well for outdoor gardening as indoors. They are admittedly associated with a certain initial investment, but the benefits are worth it. Judge for yourself from the list:
- Higher yields and better-quality harvests
- A great deal of time saved and, in the long term, money saved on water and fertilisers
- A lifespan of several years
For outdoor gardening, you can also build your own DRIP irrigation system (drip irrigation) in any scale. On this topic, we recommend a detailed article entitled Hydroponics made easy: drip irrigation drip.
However, bear in mind that irrigation systems do not go together with organic fertilisers, because bio nutrient solution must usually be used within 24 hours! This means that watering solution prepared from purely natural plant nutrition would spoil in a hydroponic system and clog it.
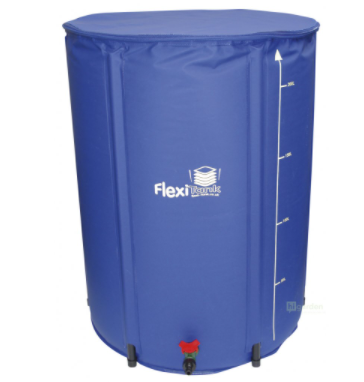
Do you have space in the garden and are you interested in growing tomatoes, peppers and similar plant species? Then you will also be interested in Autopot self-watering systems, which, compared with other hydroponic systems such as NFT or Aeroflo, allow much simpler and less time-consuming operation. Autopot is the perfect solution for all urban growers. In an urban environment, it is excellent for balconies, terraces, back gardens or greenhouses. If you have a sufficiently large space for “catching rainwater”, get a practical FlexiTank.
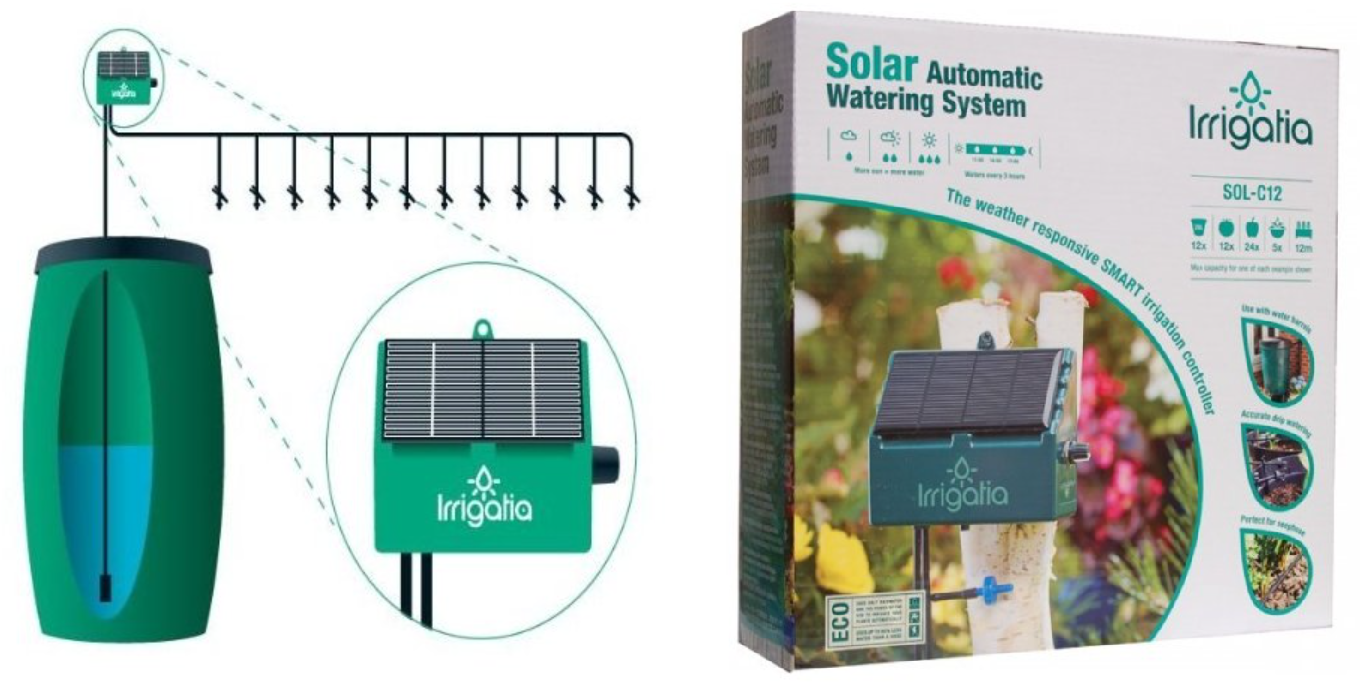
Growing various plant species outdoors in combination with an irrigation system can be so economical that you can manage entirely without a source of electrical energy. Do not believe it? Proof is provided by the automatic solar irrigation from the Irrigatia brand. You can also use it in gardens or plots where there is insufficient water pressure, or where there is no electricity connection. The rules are simple. The more the sun shines, the more IRRIGATIA waters! At night, the system switches off. Right now the sun is starting to shine outside and we have some six or seven relatively sunny months ahead of us, including the hot summer. So why not provide plants outdoors with automatic irrigation at minimal cost, even if you head somewhere by the sea for even stronger sunshine. From our point of view, Irrigatia is simply a very smart investment in spring and later at the turn of spring and summer for outdoor growing.
How can plants be protected in outdoor conditions?
Unlike the ideal microclimate inside a grow tent, natural conditions cannot be influenced. It is therefore important to start protecting plants already when choosing the place where they will grow. Of course, it should be sufficiently sunny, but at the same time it should not accumulate overly humid or hot air. It should also be protected in some way from strong wind. In the unequal battle with possible strong wind, especially for larger plant species and shrubs, bamboo canes and support nets can help you win, as they not only prevent stems from breaking, but also ensure straight plant growth. Continuous and rather gentle air movement is what plants will reward you for. With regard to the natural conditions when growing plants outdoors, which can often expose them to stress and thus negatively affect their development, we recommend a separate article: Stress also harms plants, or abiotic plant stress. Before we know it, the spring sun will be replaced by intense summer sun, which can be accompanied by heat and drought. These factors already represent considerable stress for plants. In addition to regular watering, it is therefore advisable to give plants products that can significantly revive and revitalise plants weakened by the effects of these abiotic stress factors. Among other things, they contain silicon, which helps plants with their overall revitalisation.
Our customers particularly praise the following products:
- BioNova Silution
- Shogun Silicon
- T.A. Silicate (G.H. Mineral Magic)
- Biotabs Silicium Flash
- Atami B’cuzz Silic Boost
- Grotek Pro-Silicate
- Mills Vitalise
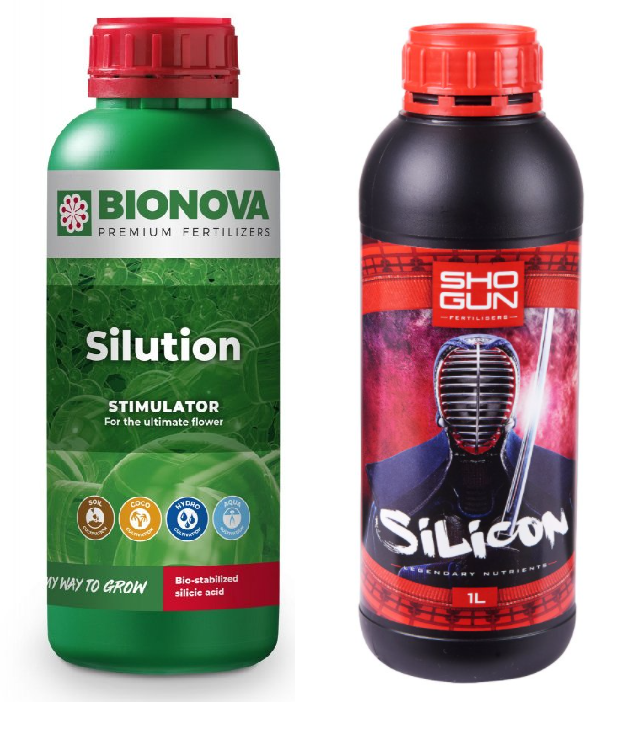
Effective prevention is also related to the protection of plants grown outdoors, and it can literally mean the difference between a successful and unsuccessful season. Therefore, never underestimate it when outdoor gardening. You need to start with the basics:
- clean substrate free of harmful germs
- healthy seedlings
- regular monitoring of the growing environment
You can monitor the presence of insects in the growing environment with sticky arrows.
Prevention and bio protection of plants is always much better than chemical solutions in the form of insecticides or fungicides. We therefore recommend to every outdoor grower Canna CURE pest spray. Excellent results in protecting against chewing insects and easy to use! In addition, it has no negative effect on harvest quality. The same can be said of other products on a purely natural basis, such as BioBizz LeafCoat, Terra Aquatica Protect, Atami B’cuzz Bio-Defence or the Czech product AGRO CS Rock Effect.

Do not hesitate to ask us anything you would like to know about outdoor plant cultivation. We will also be happy to advise you on the selection of specific products. We believe that after reading this article you have plenty of inspiration for outdoor gardening, not only for the coming season. We look forward to your questions at the well-known email address info@higarden.eu.
We also recommend these products:
- Garden tools and accessories
- Shogun fertilisers
- Vermiculite - substrate additive
What to read next:
- What is vermiculite and how to use it?
- SHOGUN: the best British fertilisers with an emphasis on research
- Indoor vs. Outdoor – is it better to garden at home or outdoors?
Sea of Green (SOG), or Sea of Green
Do you have only limited growing space available and want the largest possible harvest? It has been some time since Dutch growers came up with this simple, effective, and therefore now widely used growing technique, which makes indoor herb cultivation in a growbox easier and more efficient. Let us take a closer look!

What is the basic principle of the SOG plant growing method? Simply shortening the vegetative phase of the plant to the necessary minimum and bringing on the flowering phase more quickly in order to make maximum use of the space in any indoor growing room.
Right from the start, let us set out three reasons why it is worth learning the SOG growing method:
- Regular and overall higher yield.
- Low height requirements, meaning more plants in a limited space!
- Earlier harvest, as plants are usually in the vegetative phase for only two weeks, often even less. Short-term growing also reduces the risk of plant diseases or pests.
Now let us explain how to do it:
- With this method, clones or cuttings are planted rather than seeds. (How do you recognise a quality clone? Read HERE.) For a sea of green, varieties with the shortest possible flowering time and lower expected height are selected.
- Plant your favourite plants so that each has ideally at least 30 x 30 cm of space. Practical and aesthetic considerations tell us to use smaller square pots.
- Using an LED lamp or light from a discharge lamp, give the plants 18 hours of light per day until they reach a height of between 25 and 30 cm.
- Then change the light cycle for a rapid start to flowering, i.e. 12/12. If, with regard to a specific variety, you do not want to limit yourself to the recommended plant height (see above) for this step, you can also use the age of the plants as a guide. At this point, your plants should be no more than three weeks old, but usually rather only two.
- As a result of the previous steps, a typical canopy of flowers will form during the flowering phase. This also ensures maximum use of artificial lighting.
- Use good-quality, clean scissors to trim all branches below the canopy of flowers.

Our TIP: By using a hanging structure, you can grow plants with this method above one another as well, making even better use of the space in the growbox or growing room. It does require a bit of DIY spirit, but it is worth it!
- Bear in mind that with this indoor cultivation method, a quality light source is even more important than ever, as it does most of the work. For repeated harvests, it will certainly pay to invest, for example, in LED grow lights from the Lumatek brand.
- The rest is taken care of by quality ventilation equipment, which removes excess humidity and heat from the growing space.
If you plan to harvest flowers or crops repeatedly thanks to this method, we recommend buying really high-quality equipment straight away, with the price-to-performance ratio in mind. We have added a few tips below and will be happy to help you choose. Do not hesitate to contact us at the well-known address info@higarden.eu.
We recommend these products:
- Lumatek ATS 300W (ATTIS) (9 499 Kč)
- Lumatek ZEUS 600W PRO 2.9 (26 499 Kč)
- Prima Klima fans with speed control and thermostat (from 3 299 Kč)
What to read next?
Maintenance of Hydroponic Systems
How should you care for hydroponic systems so that they serve you reliably and for as long as possible? In addition to generally valid advice and principles, while reading this article you will also learn, for example, the answer to a common question from growers who are only gaining their first experience in hydroponics, namely how to stop the futile effort to increase the oxygen level in the nutrient solution.
More experienced growers taking advantage of the benefits of automatic irrigation systems designed for hydroponic cultivation know well the colourless liquid with a typical aroma, which is hydrogen peroxide.
This liquid has a truly wide range of uses in gardening. It is therefore used not only in hydroponics as an indispensable part of caring for hydroponic systems, but often also when growing in coco or soil.
Hydrogen peroxide (H2O2) has a slightly higher viscosity than water. It is a strong oxidising agent, which in indoor growing, for example inside a grow box, makes it possible to increase oxygen saturation. As is well known, the root system of plants loves oxygen, and so, in addition to perfect cleanliness inside the growing system, your plants will achieve faster growth and will form larger leaves and strong stems, because peroxide, in view of its natural properties, directly contributes to increased photosynthetic activity of plants and the efficiency of nutrient uptake nutrients. The classic sign of a root system well saturated with oxygen is healthy white roots.
Quality liquid additives based on hydrogen peroxide are not only an easy way to add oxygen in a hydroponic system, but, in addition to increasing the oxygen content, they are also an ideal means for simple cleaning of any hydroponic system. They therefore form the basis of successful maintenance, which will ensure better results linked to the return on the investment in the automatic growing system itself, as well as its longer service life.
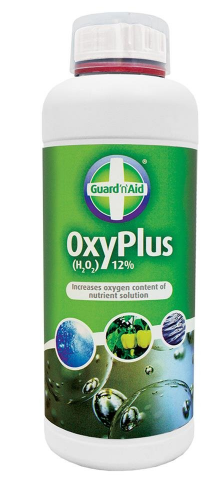
OxyPlus can also be used for sterilising soil. It eliminates pathogens with a high success rate, and you can also use it after harvest as an effective cleaning agent. It also removes chlorine from water and breaks down pesticides, herbicides and various organic substances. A sufficient and affordable prevention against root diseases has a proven recipe: add hydrogen peroxide to every watering. Dead root residues and rot simply do not belong in a hydroponic system!
How should hydrogen peroxide be dosed and used correctly?
An important rule is: never mix a liquid additive containing hydrogen peroxide with organic (BIO) fertilisers or beneficial microorganisms. The same applies to root stimulators and enzymes, as peroxide significantly reduces their effectiveness, so when using peroxide always choose mineral fertilisers.
Faster seed germination and easy rooting of cuttings is usually ensured by ten drops of peroxide per one litre of water. For sprays, you can use the same ratio.

The difference in the use of peroxide lies in whether you use it when growing herbs, fruit or vegetables within hydroponic systems, or whether you apply it in coco, or perhaps in soil. In this article we look at peroxide from the perspective of maintaining autonomous irrigation systems, so our recommendation is as follows: the optimal amount of hydrogen peroxide intended for ten litres of nutrient solution (water + nutrients) is 5 ml. However, only at the beginning. Afterwards, it is enough to maintain the peroxide level in the nutrient solution by adding 2 ml of peroxide for the same volume of nutrient solution, and that at most three times a week.
As you can see, caring for hydroponic systems is easier than it may at first seem, especially in the beginning. And if anything is unclear to you, we will be happy to advise you on the maintenance of both new and existing hydro systems. Do not hesitate to ask us anything. Write to us at info@higarden.eu.
- OxyPlus
How to Grow Chilli Peppers?
Read everything you need to know about growing popular hot peppers. If you love chilli, all you need is a complete growbox with accessories, and you will be set for a spicy harvest several times a year. We will also add tips for growing chilli in the garden or in a greenhouse. Whether you prefer growing hot peppers indoor or outdoor, you will never need to go to the shop for them again, and you can also choose specific varieties that you will enjoy.
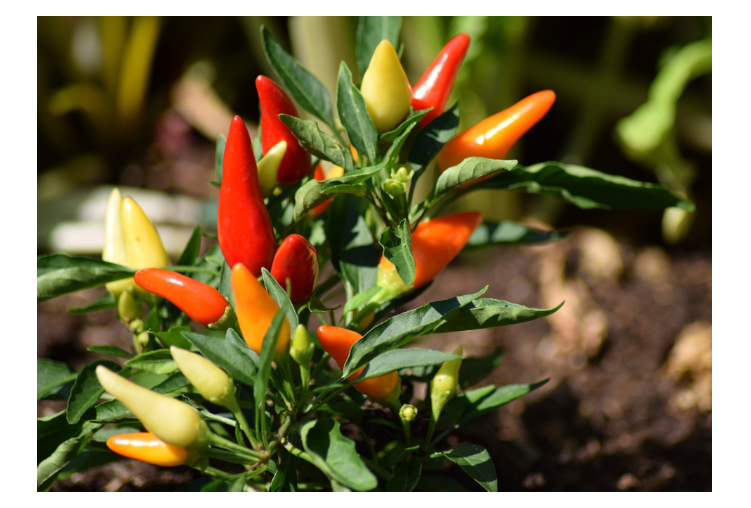
Variety and heat are characteristics that play an important role even before you start growing chilli peppers. Individual chilli varieties require their own specific growing conditions. However, these differences would only slow you down at the beginning unnecessarily, so we will simplify everything as much as possible so that you can start growing chilli peppers with the prospect of a hot and juicy harvest. You only need to avoid a few basic mistakes and shortcomings, which we will focus on.
Pre-growing chilli peppers
- Seed quality and germination time
Vital seeds are the basis. And the basic prerequisite is that they have not been stored for longer than 3 years. To ensure germination, they should also be stored in a dry, dark and cool place. Apart from the variety capsicum pubescens, whose seeds are naturally black, do not germinate seeds on which you notice black spots. Obvious mechanical deformities, softening, or visible signs of pests or mould are also undesirable. It is worth selecting the seeds. Choose only the largest ones with a proven history and clear genetic potential.
When it comes to pre-growing chilli peppers, you are probably mainly interested in how long it takes from the start of germination until you can look forward to new growth. For most varieties, the germination time is a maximum of three weeks. Varieties such as Habanero or Tupin require twice as long, up to six weeks.
- Correct timing
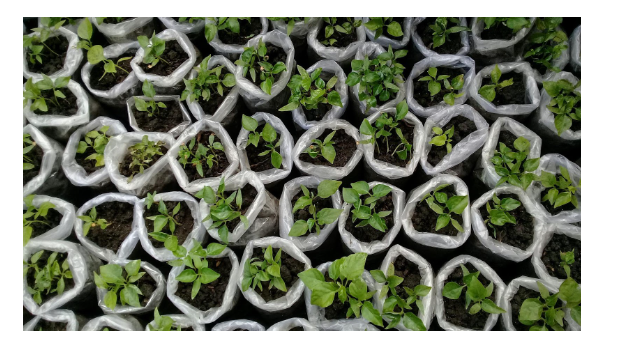
It is essential to determine the sowing time if you are growing chilli peppers somewhere other than in a growbox. In a grow tent, you do not need to deal with timing, which is a huge advantage of growing chilli peppers indoor. The disadvantage is the consumption of electrical energy by the artificial lighting source. In sunlight, chilli plants need an average of 6-9 months to ripen their fruits. This means that when growing outdoors (outdoor), young chilli seedlings need to be pre-grown during the last frosts in early spring, ideally transplanted outdoors after the last frost, and then the ripe fruits harvested before the first winter frosts.
- Sowing media and climatic conditions
Of course, the climatic conditions for growing chilli peppers outdoors do not play much in favour of growers in Central Europe, and pre-growing is one of the factors that can compensate for the unfavourable climate. Another option is in polytunnels or greenhouses, the advantage of which is the extension of the plants’ vegetative period and getting closer to ideal climatic conditions. It is, of course, also worth choosing the most resilient chilli varieties for growing.
Which medium should you choose for successful pre-growing of chilli peppers? Probably the gentlest way to germinate is to use rockwool, or mineral wool, from which the popular Grodan propagation cubes are made. These are inert, so they are also perfect for hydroponic growing of chilli peppers.
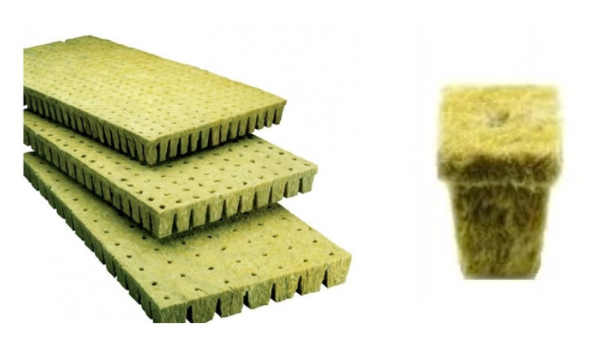
You can also use a quality substrate for pre-growing, but do not forget to ensure its sterility. When using a substrate, it is important not to sow the seed deeper than 3 mm below its surface.
During germination and pre-growing, it is important to maintain an optimal temperature and relatively high humidity in the growing space. Mini greenhouses and propagators or propagators (in combination with grow light) will make your work easier during pre-growing and increase the likelihood that you will transplant vital seedlings a little later. A simple way to successful seed germination and pre-growing of chilli seedlings is the practical SMALL propagation set.
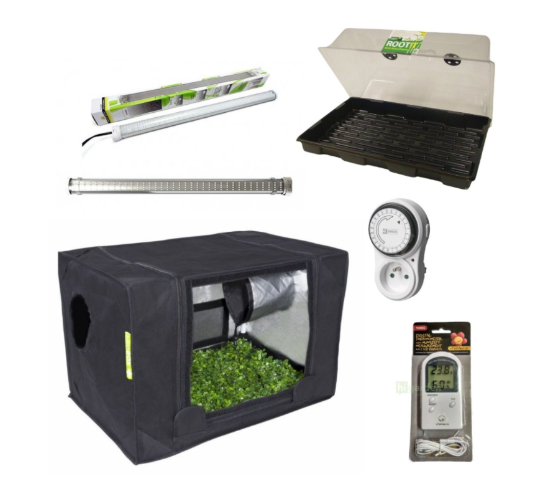
At the beginning of the article, we mentioned that individual varieties have their own specific requirements. To simplify things, we can state a temperature of 29 °C as universal for chilli peppers. And it is precisely in a propagator that you will be able to maintain a constant temperature much more easily. This also applies if you decide to maintain the optimal temperature so that a specific variety germinates for you. Let us give at least a few examples. The suitable temperature for germinating tropical varieties of the chinense genus is 24-32 °C, whereas for germinating varieties of the annuun genus it is ideal to maintain a temperature in the range of 10-24 °C.
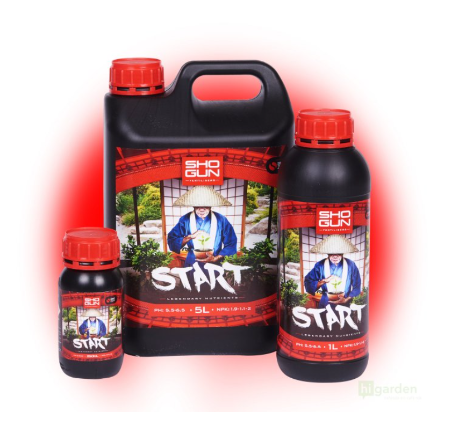
Our TIP: Shogun Start will provide young plants with full-strength trace elements at the time when they are still weak and need them most. Great nutrition for seedlings of all chilli varieties!
Transplanting chilli plants
The more we help young plants in the early stages of development, and this does not apply only to chilli peppers, the more they will repay us in adulthood with stable growth, vitality and the final quality of the crop.
During the pre-growing stage, the key factors were mainly temperature and humidity inside the growing space. As soon as cotyledons appear on the plant, light is added to these climatic factors as well! The day should already be sufficiently long when transplanting chilli plants. If young plants lack light, you can provide supplementary lighting (see below). A light deficit can be recognised by the fact that pepper plants stretch their stems upwards, making them fragile and unstable.
If you are growing plants indoor in a growbox, we recommend in particular full-spectrum LED lighting by Lumatek, which perfectly simulates natural sunlight for them. You can learn more in a separate article dedicated to a comparison of the TOP LED lights. In propagators or for supplementary lighting of shaded areas in the grow tent, you can use the 100W full-spectrum supplementary Lumatek BAR 2.9 light. Discharge lamps can also be used as a light source, which is why the topic of growing under artificial lighting, as well as the differences between lighting technologies, is summarised in another HPS vs. LED article.
Transplant young plants into the growing substrate or soil together with the rockwool base. This way you will not unnecessarily pull at the plant’s roots and you will increase the success rate of transplanting. This also applies if you used peat tablets Jiffy. Here we will briefly return to the choice of propagation medium, because although both rockwool and Jiffy allow a young plant to be transplanted with its root ball, the casing of peat tablets breaks down over time, unlike rockwool, and does not prevent the roots from further development. The fact that rockwool does not break down can, on the other hand, cause problems for weaker plants during growth or metabolism. If you use hydroponic systems, prefer rockwool. If you germinated, for example, on a damp paper towel or by another method, remember that the first roots are very sensitive and require the most careful handling during transplanting.
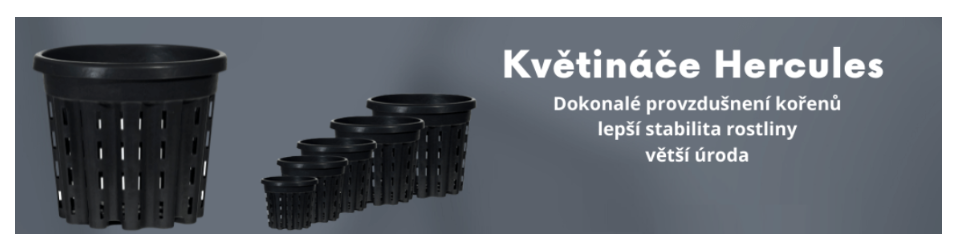
The minimum size of a pot for growing one plant is at least 10x10 cm in the case of chilli peppers. We recommend trying aerated pots instead of cheap plastic pots, for example HERCULES.
Caring for mature chilli plants
When it comes to caring for mature plants, we will again focus on the key factors leading from trouble-free ripening to the intense and fresh flavour of the spicy fruits:
- Light: Hot peppers are classified, just like sweet peppers, as light-loving plants. If you are growing chilli outdoors, it is therefore important to choose a place where the sun’s rays fall for as long as possible during the day. Plenty of sunlight (in indoor growing, full-spectrum lighting replaces it for the plants - see above) also means plenty of energy for pepper plants, which they then put into the development of the root system, flowers and, above all, fruits. It is important to choose a place with sufficient light intensity, but too much of a good thing is harmful, so be careful in the hot summer months if you are growing chilli peppers in a garden greenhouse with clear glass, to avoid scorching the plants. Chilli peppers require a slightly atypical photoperiod, namely: 14 hours of light - 10 hours of darkness.
- Temperature: The good news is that nowadays you can easily obtain so-called acclimatised varieties on the market. These are pre-adapted to our climatic conditions, but that is not yet a reason to completely forget that nature is simply nature, and so even these varieties of mature plants have a “coded” tendency to return to their original requirements from tropical areas. That is why they do not tolerate frosts well and low temperatures are very exhausting for them. This can lead, for example, to slowed growth. It therefore makes no sense to plant seedlings on days with short sunshine, when the weather outside is still relatively cold. The opposite extreme is temperatures that are too high, above 35 °C, which are typical of unventilated greenhouses and cause significant metabolism problems for mature plants. Chilli peppers appreciate it when you ensure air movement in the upper parts of the plants. Outdoors, wind takes care of this. In a greenhouse, we recommend ventilating often and ideally near the ceiling. Indoors, a circulation fan will come in handy.

- Humidity: High air humidity is suitable during germination and pre-growing, for example in a propagator, as already mentioned. However, although this may be surprising for originally tropical plants, it is no longer beneficial for mature chilli peppers. A typical problem is therefore steamy polytunnels that are poorly ventilated. Practically any insufficiently ventilated growing environment is often the cause of mould. Watering is also related to humidity. Mature chilli plants need to be watered with lukewarm and sufficiently settled water. Beginning growers often make a major mistake in summer, when it is hot, and plants watered with cold water suffer a considerable temperature shock. Another common mistake, which you should definitely avoid, is permanently waterlogged soil. The ideal state, on the other hand, is soil that is kept slightly moist on an ongoing basis. During the fruit ripening period, we recommend reducing watering a little more to prevent osmotic pressures in the fruits, which can cause ripening peppers to split. Reducing watering at this stage is also desirable in terms of increasing the heat of the final product. Are you interested in what affects the heat level of individual chilli varieties? It is a substance called capsaicin, the concentration of which affects the heat of a given variety, and by the heat you can also estimate the time until harvest, because it usually holds that the hotter the variety, the longer it takes to ripen.
Our TIP: Not only with chilli does it apply that the cleaner the water we use to water the plants, the more vital and tastier the harvest we will get. Therefore, we recommend reading the article Reverse osmosis (RO).
- Soil properties: Soil preparation is important. Well-loosened soil, or an aerated substrate, is an excellent basis for a beautiful and abundant harvest. For this purpose, the substrate for chilli peppers is enriched with perlite. A versatile natural helper for improving soil properties is vermiculite. For growing peppers, alkaline soil is ideal. In hydroponics, expanded clay balls known as clay pebbles (hydroton) are most commonly used.
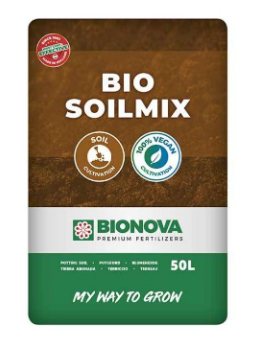
Our TIP: If you are looking for quality soil that will allow you to grow your own chilli in organic quality, we recommend, for example, BioNova Bio Soilmix.
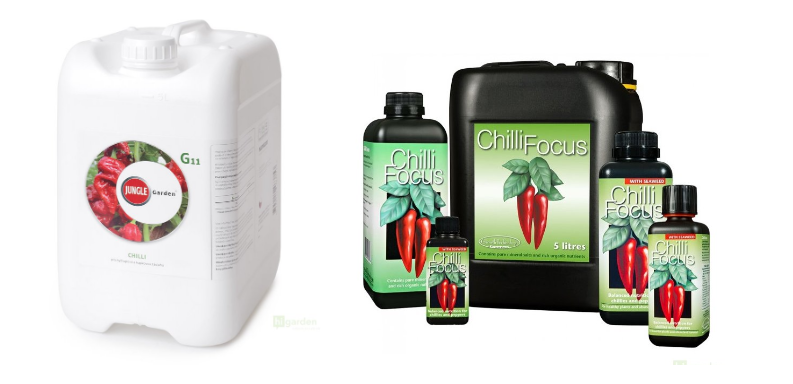
- Fertilisers: The most important elements in pepper nutrition are carbon, nitrogen, phosphorus, potassium, calcium, hydrogen, oxygen, sulphur, manganese, magnesium, iron, copper, zinc, boron, chlorine and molybdenum. When growing chilli peppers, you have the option of choosing top-quality fertilisers from the Jungle Indabox brand, made in the Czech Republic, which are also specially adapted directly for growing chilli peppers thanks to the Jungle GARDEN product line. You need the basic fertiliser Garden BASE and, with it, the specialised component, in the case of fertilising chilli peppers G11. (You can use the same procedure for other popular types of herbs, vegetables, fruit, as well as ornamental flowers including roses. Choose the larger BASE component pack for growing citrus fruits, strawberries or tomatoes right through to summer lettuce, spinach and cress.) From the very beginning of the vegetative phase you can also try the premium liquid fertiliser Chilli Focus from Growth Technology.
- Plant protection: We have already explained that soil that is too wet or a steamy growing space is an invitation to fungal diseases in plants. Furthermore, do not let chilli peppers grow outdoors in the presence of weeds, which provide shelter for harmful insects. Check the plants regularly during the growing cycle and rely above all on prevention. An excellent helper in the protection of chilli plants will be, for example, Canna CURE - pest spray. You can learn more in a separate article: How to deal with pests?
Hydroponic pot for easy growing of chilli peppers
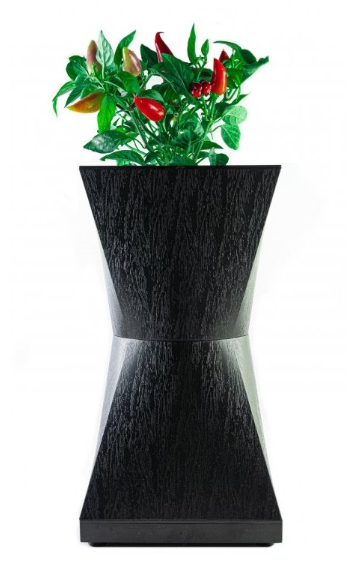
We have saved the extra handy helper for the end! It is a hydroponic pot, which is very popular among home chilli growers! This design piece represents, from a functional point of view, a circulation system that starts automatically every three hours thanks to the built-in pump, which floods the entire clay pebbles, and you only change the watering. No timers are needed, no watering, the pot works automatically by itself once plugged into the socket.
If you do not yet have any experience with growing chilli peppers, we recommend less hot varieties for beginners to start with, which are among the less demanding ones, such as Tabasco, Habanero Chocolate, Apache, Giallo or Serrano Balin.
Do not hesitate to ask us anything you are interested in. We will also be happy to advise you on choosing specific products and their use. We are here for you at the well-known e-mail address info@higarden.eu. We look forward to your questions!
We also recommend these products:
- BioNova VitaSol
- Shogun fertilisers
- Digital temperature and humidity metre VF with external probe
- Everything for growing chilli peppers
What to read next:
How to Plant Germinated Seeds?
Allowing seeds to germinate directly in the growing medium is, in practice, and especially if you have paid extra for their quality, a somewhat more demanding discipline than using the tried-and-tested “trick” of damp cotton wool or paper. That is why many growers first let plant seeds germinate “externally” in this way, and only then comes the proper planting of already germinated seeds into the substrate. Read a simple guide on how to do it.
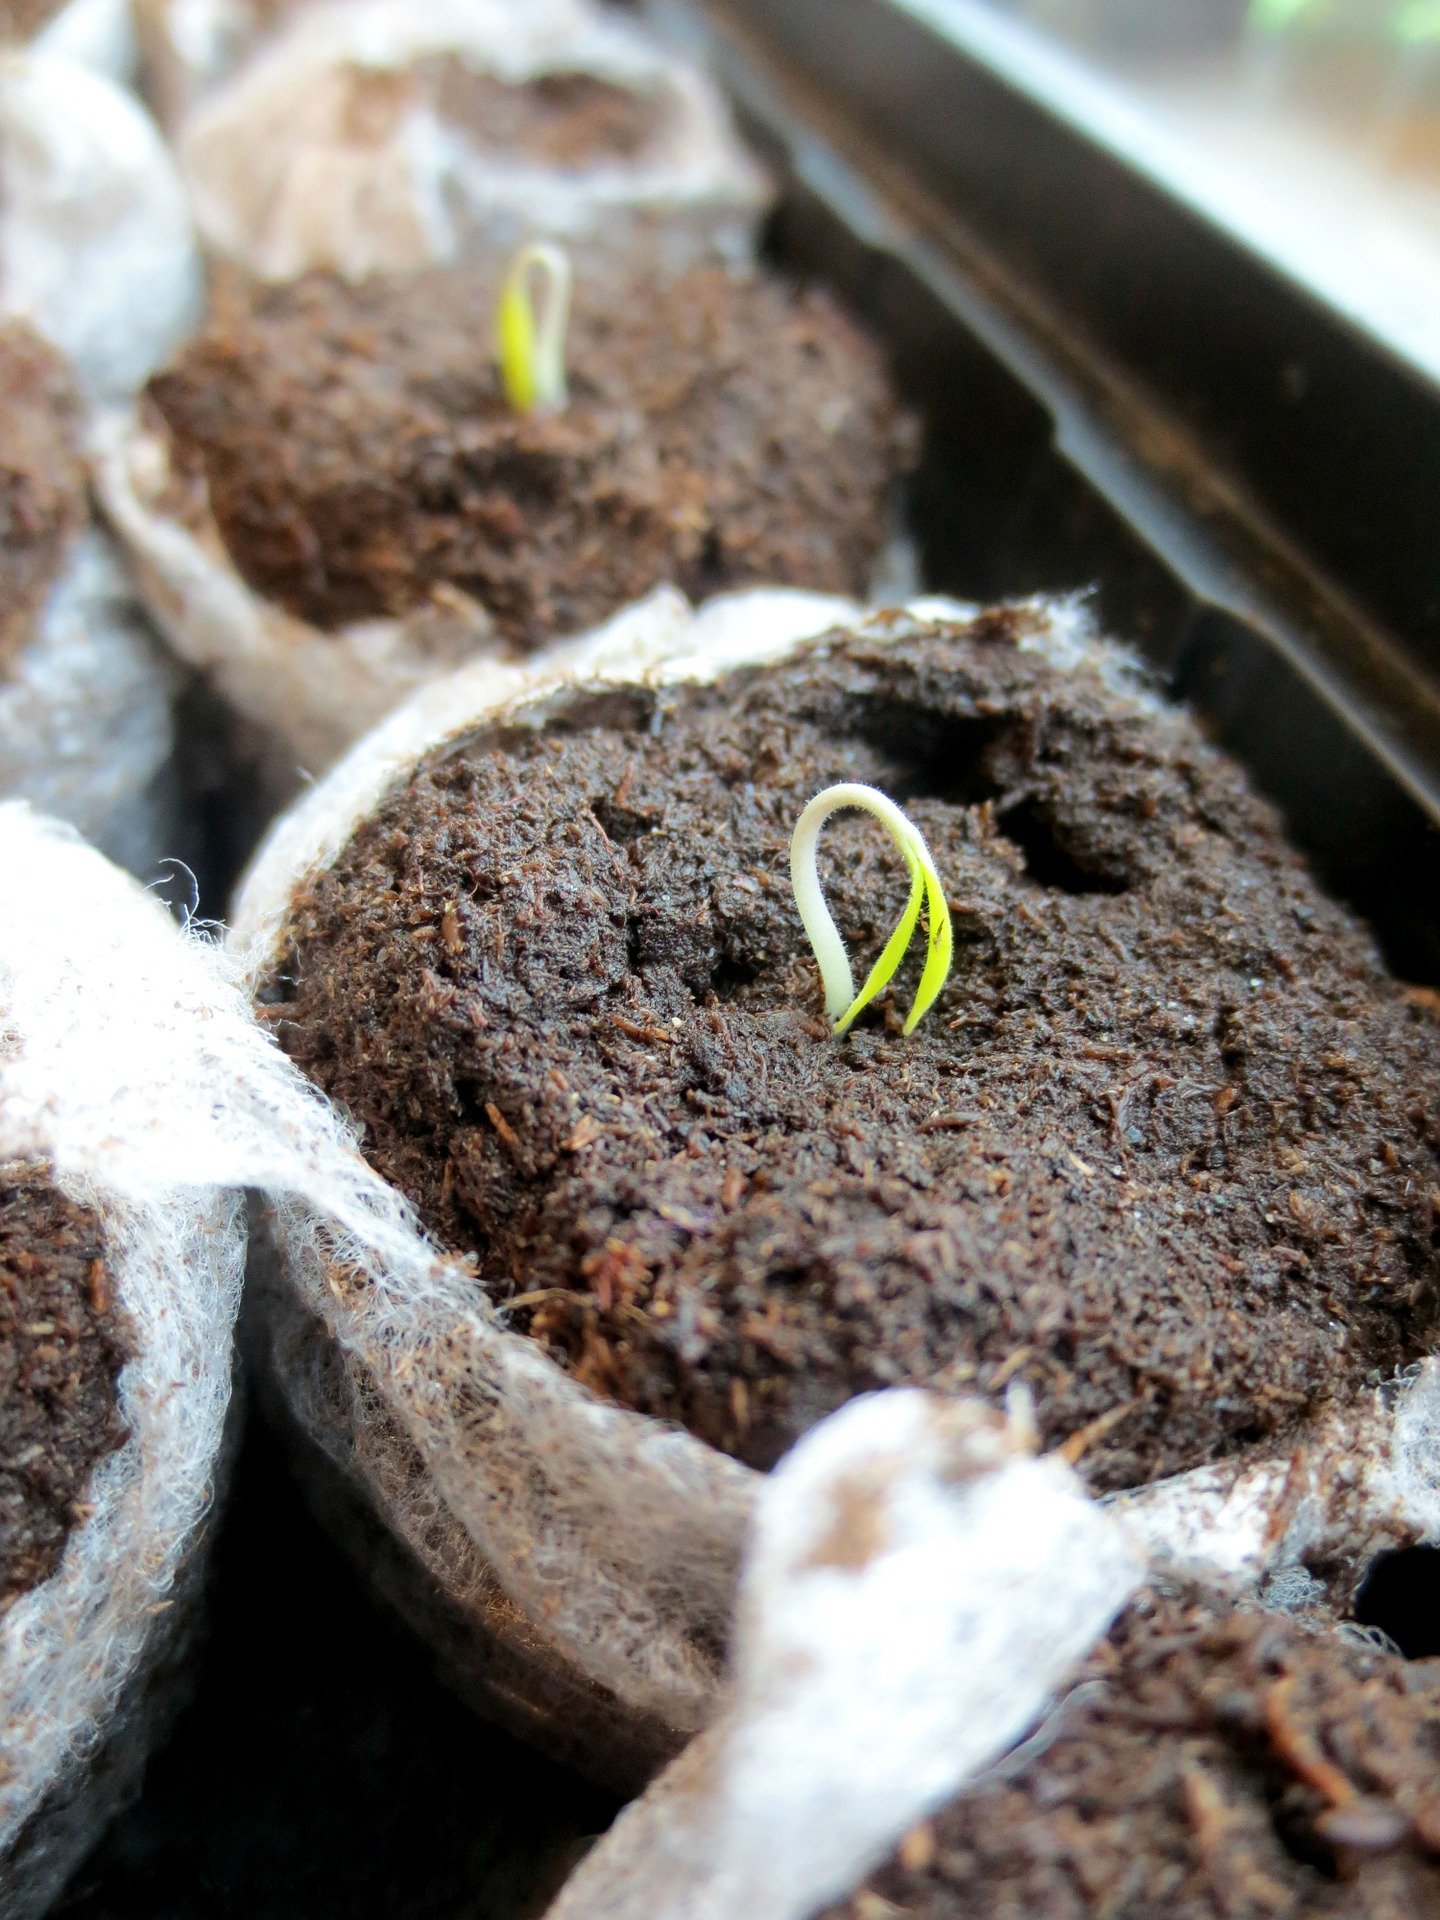 Source: Ecolife Permaculture
- Climate is the first factor directly determining the healthy growth of freshly germinated seeds. They should “grow” under ideal temperature and humidity. It is therefore advisable to measure these values continuously. The measured temperature should then be in the range of 24–28 °C and humidity from 70 to 85%.
- Another factor according to which we recommend planting germinated seeds is their size. You can apply the golden rule and plant them to a depth corresponding to their size. For example, if the seed is 0.5 cm large, gently press it into the substrate to a depth of 0.5 cm.
- Always plant germinated seeds with the sprout facing down! The plant will then emerge to the surface more easily, and you will be almost there.
- Beginning growers often make the common mistake of watering germinated seeds too heavily. However, if you water germinated seeds too early or even overwater them, the consequences in the form of dead roots or stem are difficult to remedy. Another unnecessary and common beginner mistake is watering plants directly at the stem. It is much better to water around it, with a slight distance.
- Lighting for freshly germinated seeds, representing the plant in the earliest stages of development, is another factor that must be monitored. In this part of the vegetative phase of the plant, it is necessary to set the lamps as high above the plants as possible and give them 18 hours of light and 6 hours of darkness each day.
- Larger rockwool growing cubes provide an ideal environment for the development of young seedlings. A new alternative is Agra-Wool - 100% natural cube made of stone wool, featuring a small hole in the centre.
- Young plants in the early stages of development, whether you are growing fruit, vegetables or herbs, are very well supported not only by basic nutrition for the vegetative phase, but also by a quality root stimulator.
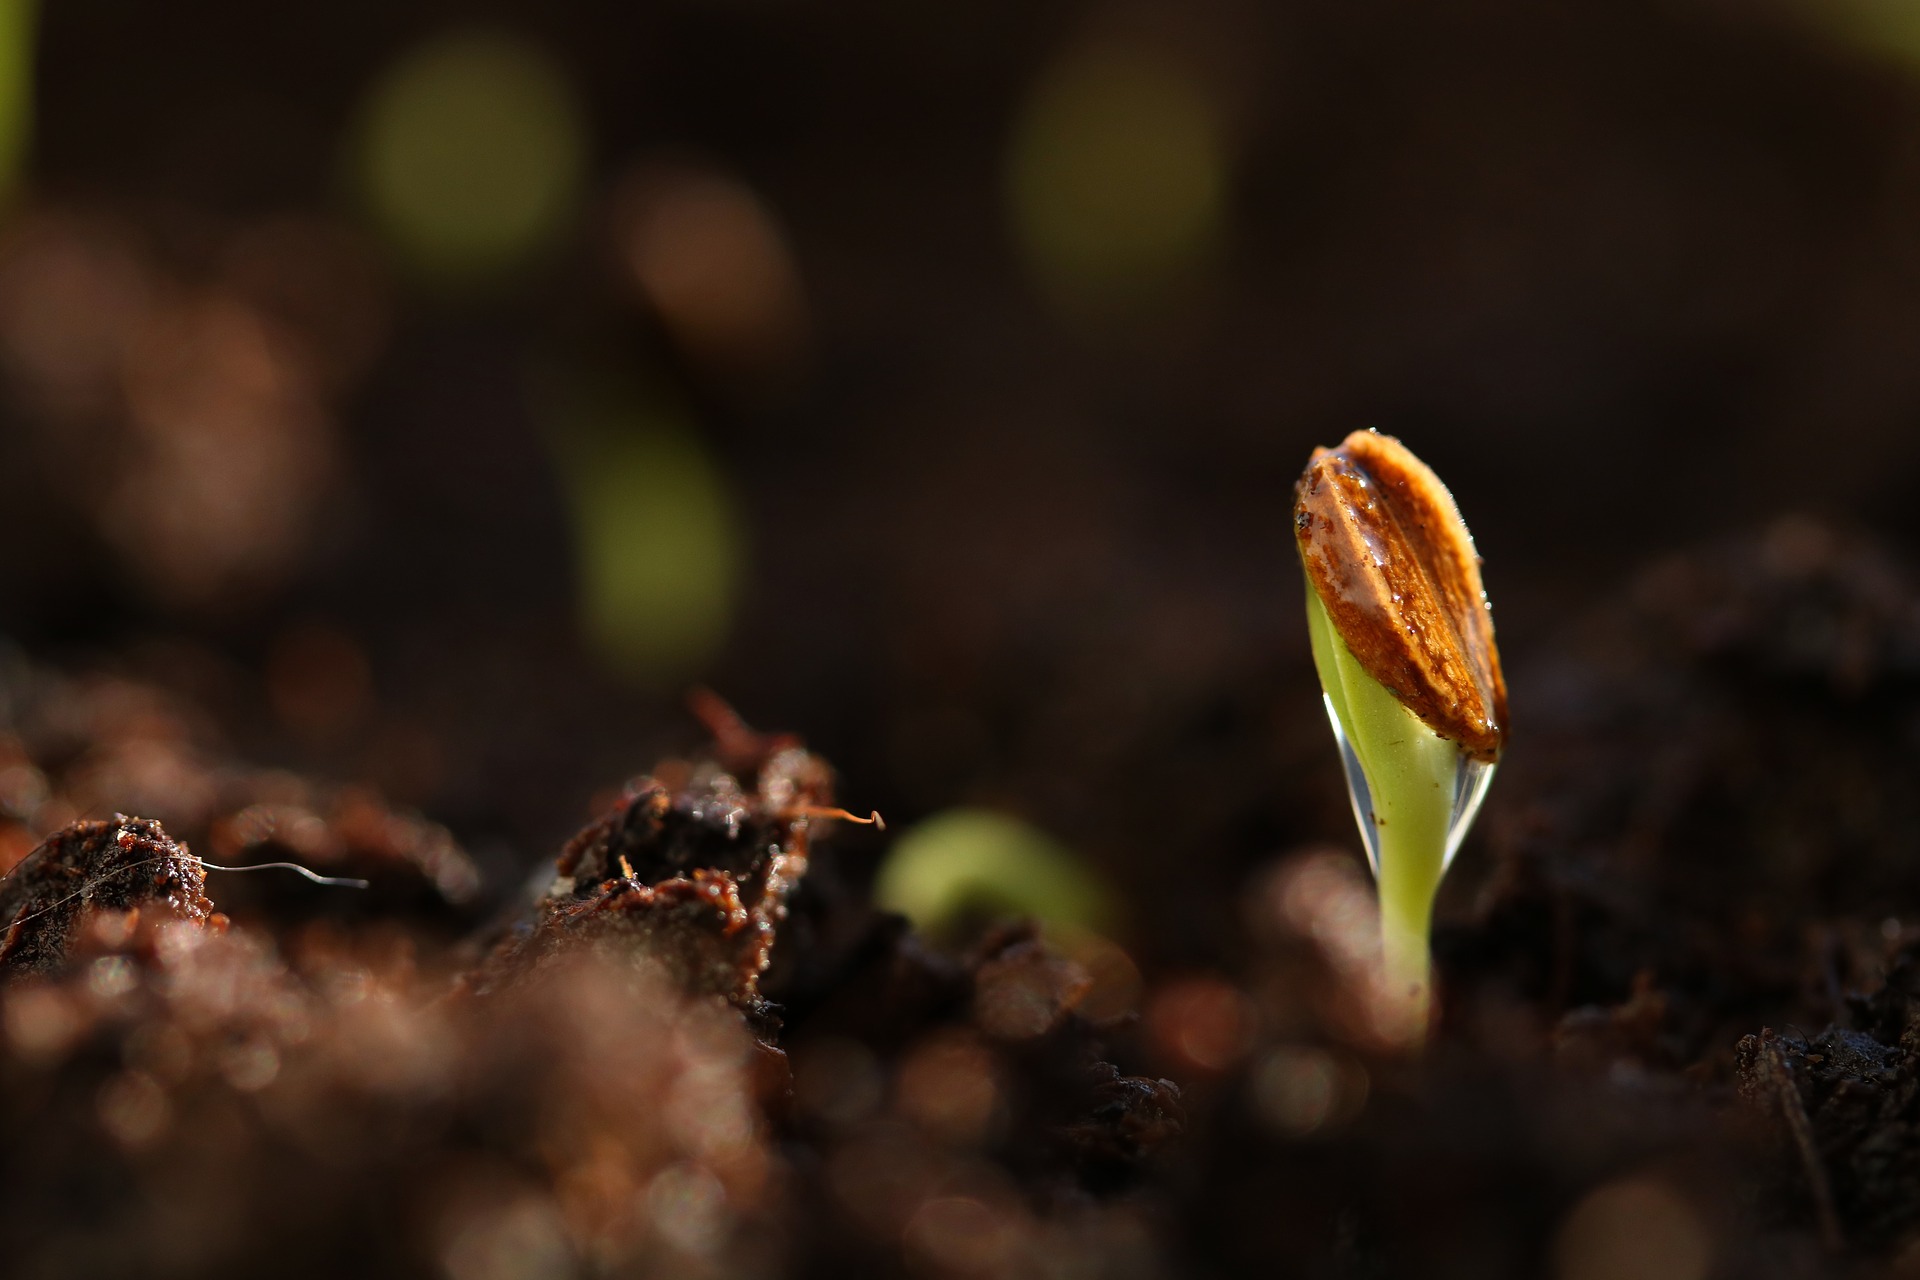
We recommend these products:
- Canna Rhizotonic or for example BioNova BN Roots - proven root stimulators for a successful start and the subsequent course of the plant’s entire growing cycle.
- The best substrates (soil, coco) in terms of price and performance from the Dutch brand BioNova.
- Grodan growing and propagation cubes
- Agra-Wool - growing and propagation cubes made from 100% natural material.
- HERCULES - modern plastic pots will make your journey from seedlings to beautiful flowers and fruits easier.
- LED sets – a refined grow box complete with everything for more than one growing cycle and a fantastic harvest.
- Digital temperature-humidity metre VF with external probe
We hope that this article will help you in caring for freshly germinated seeds and seedlings. Why learn from mistakes when you can obtain information that allows you to avoid them, right? We will also be happy to advise you on selecting products to support seedlings. We are here for you at the well-known address info@higarden.eu.
What to read next:
What are the developmental stages of a plant?
Today we have a botanical note that will be useful in growing practice. The developmental stage in which the plant currently is is important, among other things, for the correct dosing of fertilisers.

The development of a plant can be divided into the four stages listed below. For you, as a grower, the middle two play the most important role in fertilising, namely the vegetative stage, or growth stage, and the stage of flower formation or fruit formation.
- Embryonic: cell division begins and plant tissues are formed as the basis of the future plant body.
- Vegetative (growth): begins with seed germination and ends with the arrival of the first flowers after the plant’s stems and leaves have reached their maximum size. Depending on the plant species, it usually lasts 3–16 weeks. In nature, the end of the growth stage happens automatically (summer turns into autumn and the sun shines for a shorter time). However, if you grow plants indoor, in a grow box, the end of the growth stage is in your hands and depends on shortening the lighting period. You must practically force the plant to end growth by this act and provide it with 12 hours of light and 12 hours of darkness every day. An honourable exception is autoflowering plants, so-called autoflowering, which begin to flower automatically depending on their age. Within plant growth, we distinguish three smaller stages, namely embryonic, elongation and differentiation. It is enough to know that cells in plants gradually divide and increase their volume, as these processes can be effectively supported by suitable products, thanks to which you will achieve not only explosive plant growth, but also greater vitality and immunity for young plants. The physiological processes in the plant associated with its growth require, above all, a sufficient supply of nitrogen. You can add this to the basic nutrition for growth. Once the seeds germinate and break through the surface of the substrate, they become seedlings, which are soon transplanted, for example, from a propagator into larger pots, so that they can fully develop their root system, through which they absorb nutrients for further development until the end of the growing cycle. We therefore strongly recommend adding a quality root stimulator to the watering during this period as well.
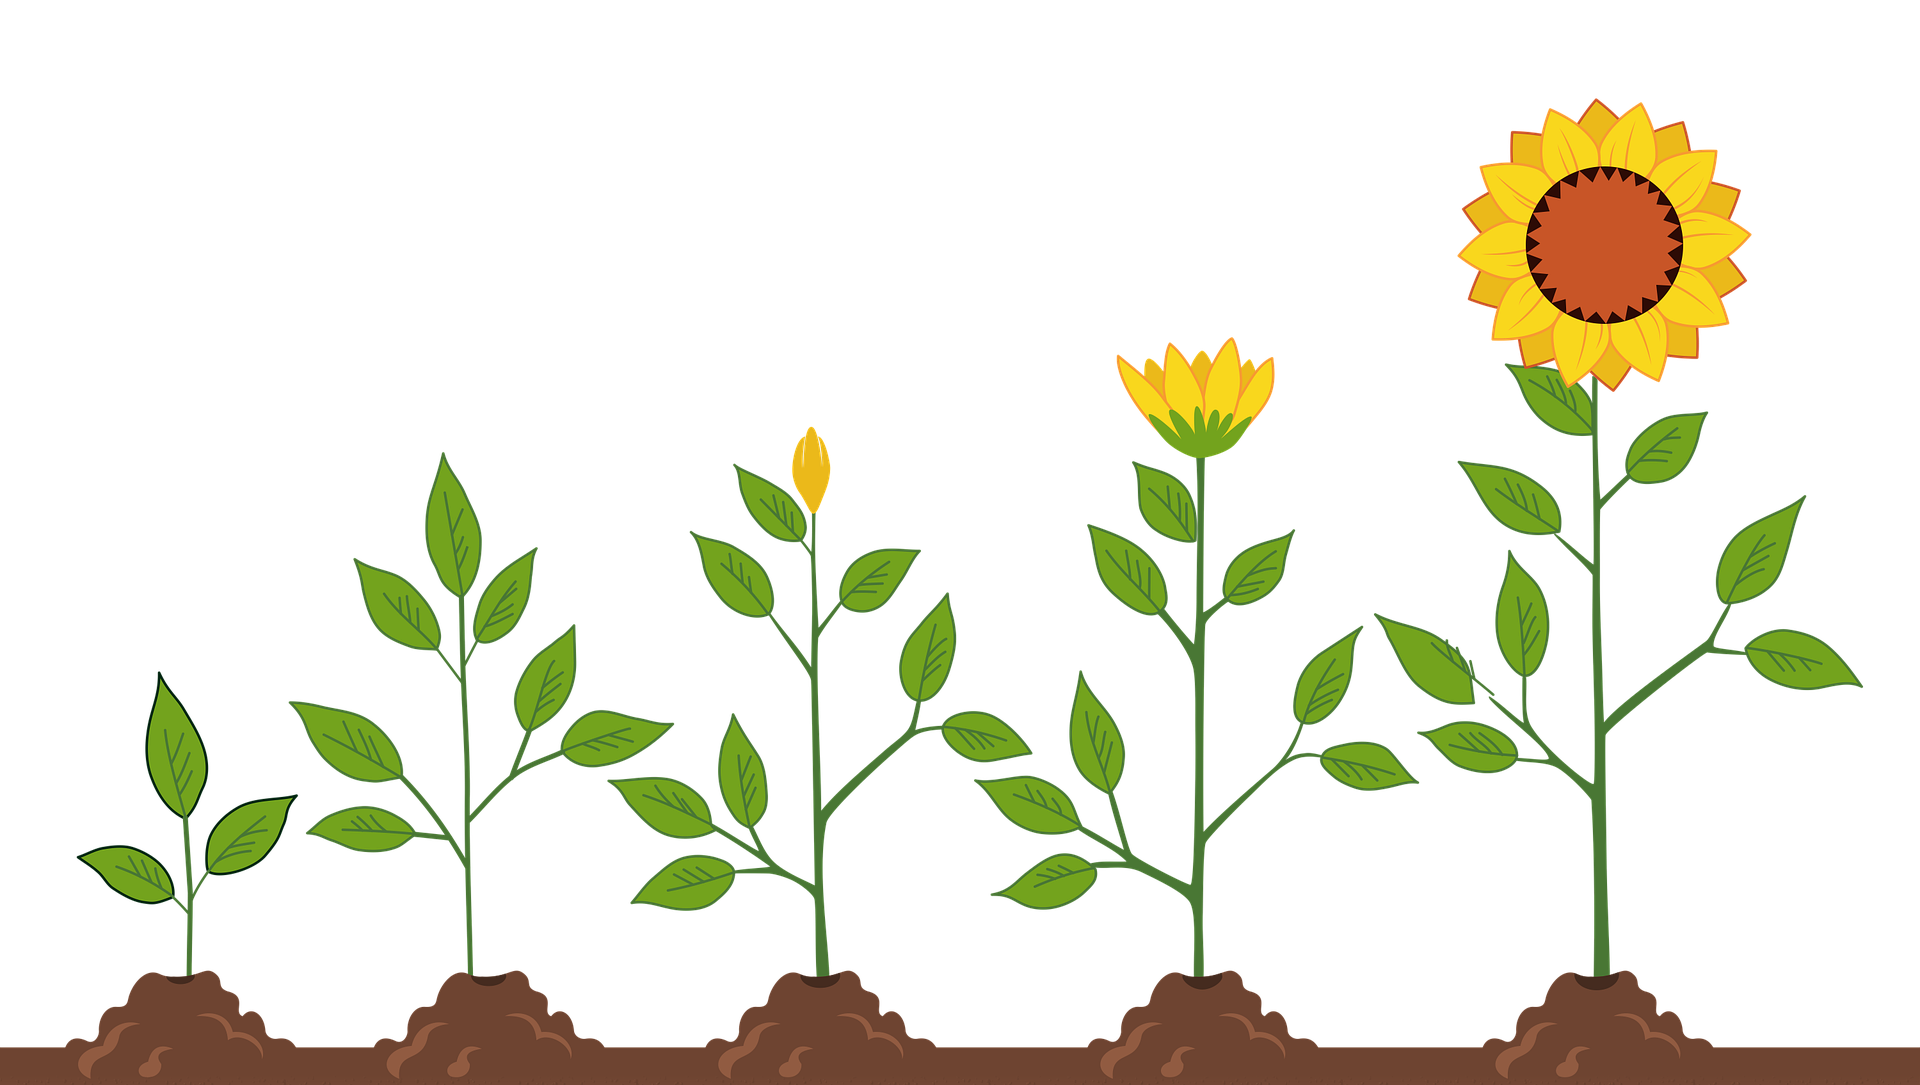
- Maturation (flowering): in this stage, the plant’s reproductive organs are formed, which leads to vegetative and sexual reproduction and the formation of flowers or fruits. In this stage, plants consume the most phosphorus and potassium, and flower fertilisers are adapted to these needs, as are flower boosters and other supplements, for example those based on enzymes, which support biochemical reactions in plants during this period, because abundant blooms and large, juicy fruits are, of course, what every grower wants this stage to end with. And when is a plant mature? As soon as its organs are fully developed.
- Senescence: at this stage, there is no longer any need to pay attention to it, because you have already harvested. However, at least we have the opportunity to clarify terms such as annuals, biennials and perennials. During this stage, plant organs naturally age and then die. These terms indicate the lifespan of the plant from the initial cell division in the embryonic stage until this point.
We recommend these products:
- BioNova fertiliser sets - comprehensive nutrition for the entire growing cycle from a popular Dutch brand.
- BioNova Veganics - everything needed for the growth stage and the flowering stage if you want your harvest to be 100% organic.
- HERCULES - modern plastic pots will make your journey from seed to beautiful flowers and fruits easier.
- LED sets – a tuned grow box complete with everything you need for more than one growing cycle and a fantastic harvest.
Now you know how the plant life cycle works, and if you needed to clarify what it needs and when for its development, this article should help you with that as well. If you have any questions, we will be happy to advise you at the well-known address info@higarden.eu.
What to read next:
Hydroponics – What Does It Involve and How Do You Get Started?
Hydroponics is a modern and very clean way of growing plants without soil in a nutrient solution. Simply put, for such cultivation you need only a plant, nutrient solution and a growing medium to support the plant in a pot. Cultivating herbs, fruit and vegetables is made easier by a hydroponic system, of which there are several types, so among other things we will advise you on how to find your way around the individual growing systems.
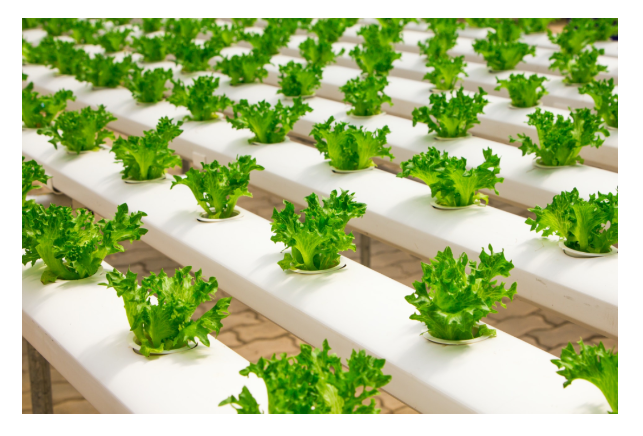
Hydroponic cultivation is really very popular among growers. No wonder. These are the main advantages of hydroponics:
- Perfect control of plant nutrition throughout the entire growing cycle.
- Greater growing efficiency associated with higher yields.
- With proper care of the hydroponic system, this is a very clean growing method, which means:
- Lower risk of pests or plant diseases.
- Much less mess.
Ordinary soil contains many organic and inorganic substances that the plant uses, so it can grow even without much help from fertilisers.
Hydroponic media, with which growers usually achieve the best results, are:
- coconut fibre
- expanded clay (hydroton)
In the past, perlite was also used, for example, but hydroponic cultivation of plants in perlite is now a thing of the past.
When growing hydroponically, be sure to pay attention to the choice of propagation medium, or rather propagation cubes. For example, Jiffy is not suitable for hydro, because dirt is often released, which clogs pumps or the irrigation lines of the watering system. On the other hand, we can clearly recommend rockwool or stonewool for hydroponics, especially Grodan propagation cubes.
The growing media mentioned above are inert, which means that they contain no nutrients, and it is therefore necessary to supply all the nutrients the plant needs for healthy development through the nutrient solution, that is, water combined with nutrients sourced from quality hydroponic fertilisers.
Fertilisers for hydroponics are discussed in more detail in a separate article as well: What are the best fertilisers for hydroponics and how should they be used correctly?
A common feature of hydroponic fertilisers is a mineral-based composition. Growers for whom natural feeding is a priority, but who also like hydroponics, are increasingly turning to bioponics, most often using products from the brand Terra Aquatica. Bioponics is essentially organic hydroponics. You can read more about this method in the article: What is bioponics?
OUR TIP: In addition to the legendary manufacturer Terra Aquatica (formerly General Hydroponics), we also recommend a new addition to our range, namely the best British fertilisers with an emphasis on research.
What should you consider before you start with hydroponics in practice? Above all, answer the following questions:
- What is your budget?
With a smaller budget, you can manage in the beginning, when you can get a feel for hydroponics on your first plants using simple but practical passive systems (see below). With a larger budget, you can afford a sophisticated hydroponic system that allows efficient plant cultivation on a larger scale, with electricity use and additional accessories (see below).
- How much time and effort do you want to devote to your plants?
Hydroponics requires more than just regular watering. You will hardly enjoy beautiful, abundant flowers or tasty fruit if you do not take into account that during the growing cycle it is necessary to regularly check and measure electrical conductivity (EC) and the optimal values of pH of the nutrient solution using pH and EC metres as well as temperature and its stability.
Especially more complex hydroponic systems need to be maintained and cleaned regularly. You can get a better idea of hydroponic system maintenance through the separate article HERE.
- Which specific plants or crops do you intend to grow, and on what scale?
Based on that, we will help you choose the appropriate size of grow tent set with accessories as well as the hydroponic system itself.
Hydroponic systems are generally divided into active and passive.
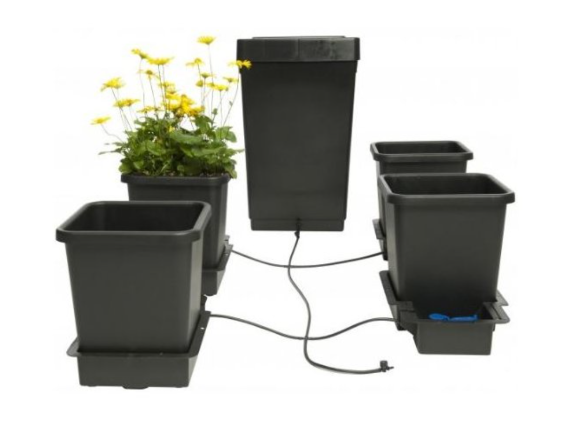
- Passive hydroponic systems, such as the popular AutoPot 1Pot system (pictured below), do not consume any electrical energy. They do not need any switches or pumps to operate. They rely on gravity pressure from the tank, which is usually part of the system. This makes them a perfect choice especially for beginners who want to try hydroponics in practice first on a few smaller plants.
- Advantages: low purchase price and negligible operating and maintenance costs.
- Disadvantages: lack of advanced options for dosing and timing irrigation, suitable only for smaller-scale growing, grower presence required.
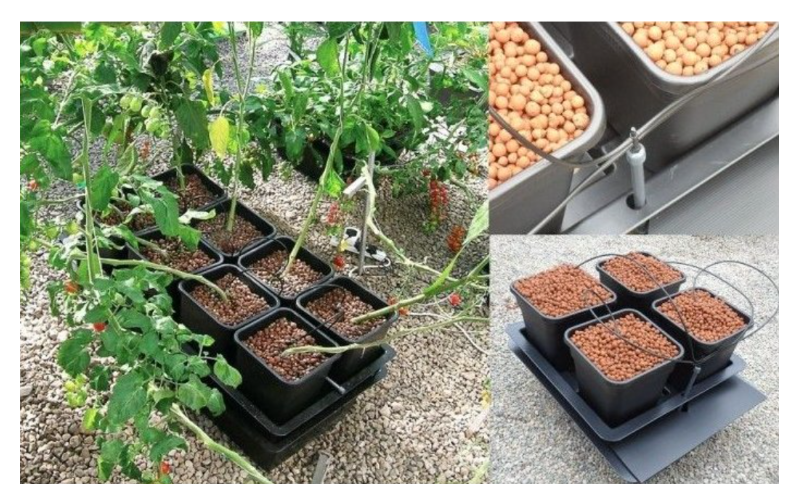
- Recirculating hydroponic systems, which include, for example, Atami Wilma (pictured below), allow uncompromising control over growing processes, whether it is irrigation timing or optimal nutrient supply. An undeniable advantage of active hydroponic systems is the use of a circulation pump, thanks to which you can easily go away for several days with the certainty that your plants are being cared for exactly according to the growing plan. To be objective, among the disadvantages we list electricity use in contrast to passive systems, but the reality of modern hydroponic systems is that they are very economical. (This is therefore an investment that pays off, much like modern LED lighting, which may cost more than conventional luminaires, but is light years ahead in both efficiency and economical operation. We definitely recommend it for indoor growing, whether with a passive or active hydroponic system. More HERE.)
- Advantages: savings on fertilisers, which circulate in the system instead of everything having to be poured away, complete control over growing processes, autonomous operation, almost unlimited possibilities with regard to scale and budget, compatibility with different growing media, longer service life.
- Disadvantages: higher purchase and operating costs, electricity use, more demanding maintenance.
Examples of hydroponic recirculation also include complete flood tray systems from GHE, which are often incorrectly confused with the run2waste systems mentioned below.
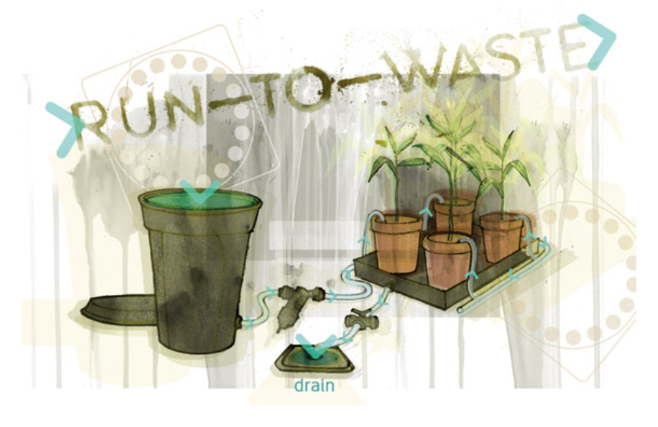
- Run2waste (or Run-to-waste or RTW) are simple hydroponic systems. As the name suggests, with this irrigation method the watering is applied until it flows from the root zone into the waste tank, after which it is disposed of and does not return to the system (unlike the recirculating systems above, where the fertilisers dissolved in water are recycled). Hydroponic growing using the RTW method is illustrated in the picture.
- Advantages: from a practical point of view, above all safer plant cultivation.
- Disadvantages: higher operating costs.
For hydroponic systems, it applies that the smaller the system, the more susceptible it is to fluctuations in values and also that the larger the tank, the better. That is all for their general division into active and passive.
It is also worth becoming familiar with the characteristics, including the advantages and disadvantages, of the individual systems associated with specific hydroponic methods, which we gradually cover in a series of separate articles. These are:
- NFT hydroponic systems and vertical NFT systems
- Ebb and flow - flood hydroponic systems
- Drip - drip irrigation
The most efficient growing method is aeroponics. However, this way of growing plants is also associated with the highest risk, because if the power goes out and the pumps stop working as a result, all plants connected to the system are doomed to die. Aeroponic systems have special chambers with nozzles in which the plant roots hang freely and breathe, while efficiently absorbing nutrients from the microdroplets that cling to them. The most powerful, most efficient, most dynamic and most flexible hydroponic / aeroponic system on the market GrowStream from the brand Terra Aquatica then functionally combines elements of aeroponics and hydroponic NFT systems.
We must not forget to mention that not everything can be grown hydroponically, because it simply is not worthwhile. A typical example is potatoes.
And that is it. Hydroponics is above all about the willingness to learn and improve. It then allows you to start with minimal costs and gradually move further, as far as you want. If you need any advice, do not hesitate to contact us at the well-known e-mail address info@higarden.eu. And while we are on the subject of hydroponic beginnings, we have also prepared a BOOK TIP: William Texier - Hydroponics for Everyone. This is the ideal first step for anyone interested in hydroponics.
Outdoor Growing - Tips for Getting Started
Are you planning to grow plants outdoors? Let us answer a few key questions together and take the first steps towards creating a plan for establishing a crop.
With a good plan, on a small scale
If you plan things well, growing outdoors can pay off in many ways and it can also be enjoyable. First, it would be a good idea to obtain the equipment you will need for your growing project.
Then answer the following questions:
- What plants do you want to grow? You will need to obtain seeds or cuttings of the given species – you can obtain these materials for establishing a crop from specialist shops or order them online.
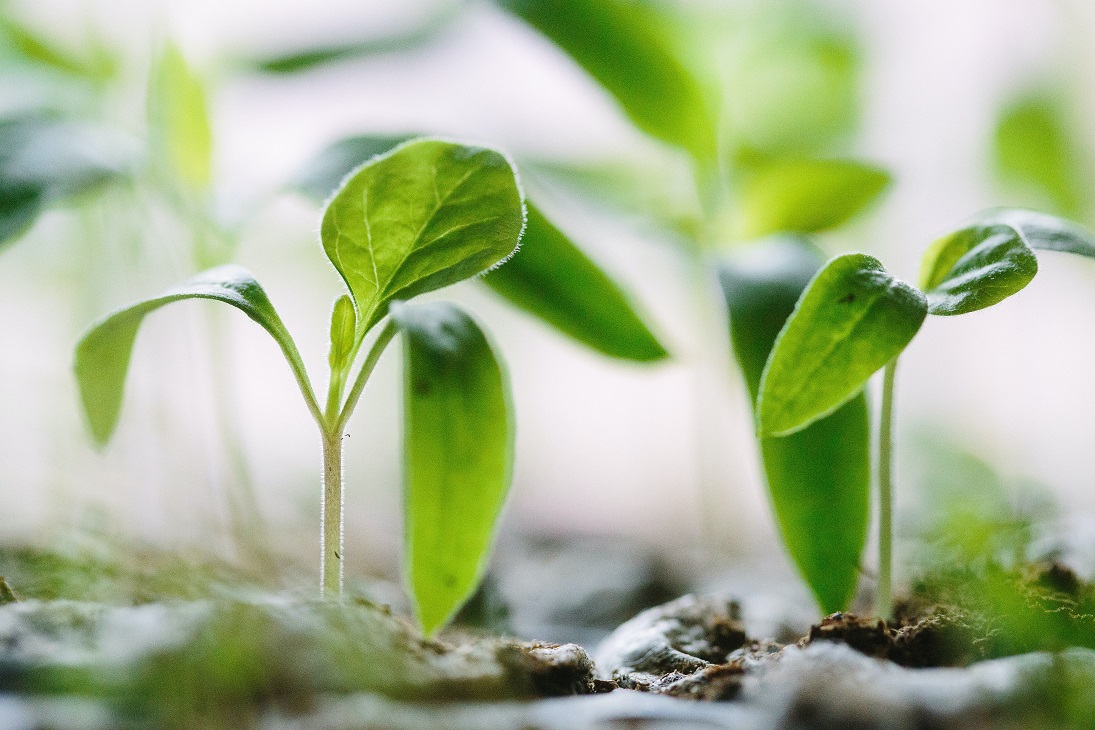
- Will you grow in open ground (in a field, etc.) or in pots? Both methods have their advantages and disadvantages. However, it is essential to answer this question as early as possible. The growing method determines the needs and tools you will require for cultivating the crop. For example, if you are growing plants from seed, it is advisable to let the seeds germinate first in a box intended for this purpose, and then transplant the seedlings into larger pots until they are ready to leave the comfort of home (indoor spaces) and move outdoors (bed, etc.).
- Do you have suitable soil conditions? If there is no quality soil at your chosen location, or none at all, then it is ideal to secure your own substrate. If you plan to visit the plants often and enrich the substrate with fertilisers, a lightly pre-fertilised substrate will be enough. For example, BioNova SoilMix. For those who do not have the opportunity to fertilise regularly, heavily pre-fertilised substrates are ideal, as they will release nutrients for your plants for up to 6 weeks. For example, Plagron Royalmix.
- Do you already know where you will plant the plants? For growing in open ground, the location is crucial – later it will no longer be possible to move the plants without damage. When growing in pots, you will not have to deal with this problem. On the other hand, the limited space of a pot also limits the plant’s maximum growth. The place for establishing the crop should have good access to sunlight, at least 6 hours a day.
- When growing in a pot, it will also be essential to protect the plants (at least in the early stages) against strong wind. A natural windbreak of shrubs or other vegetation nearby is ideal. The situation changes at the end of the flowering phase, when the wind helps prevent mould from forming on the fruits of the cultivated plant.
- Will you have time to fertilise? Not everyone has the time to devote themselves fully to plants and fertilise them regularly. For these cases, there are several solutions. One of them, organic and gradually releasing, are tablets from the manufacturer BioTabs. One tablet is enough for 5L of substrate. For volumes greater than 40L, one tablet per 10L is sufficient. You can read more about BioTabs in our article HERE.
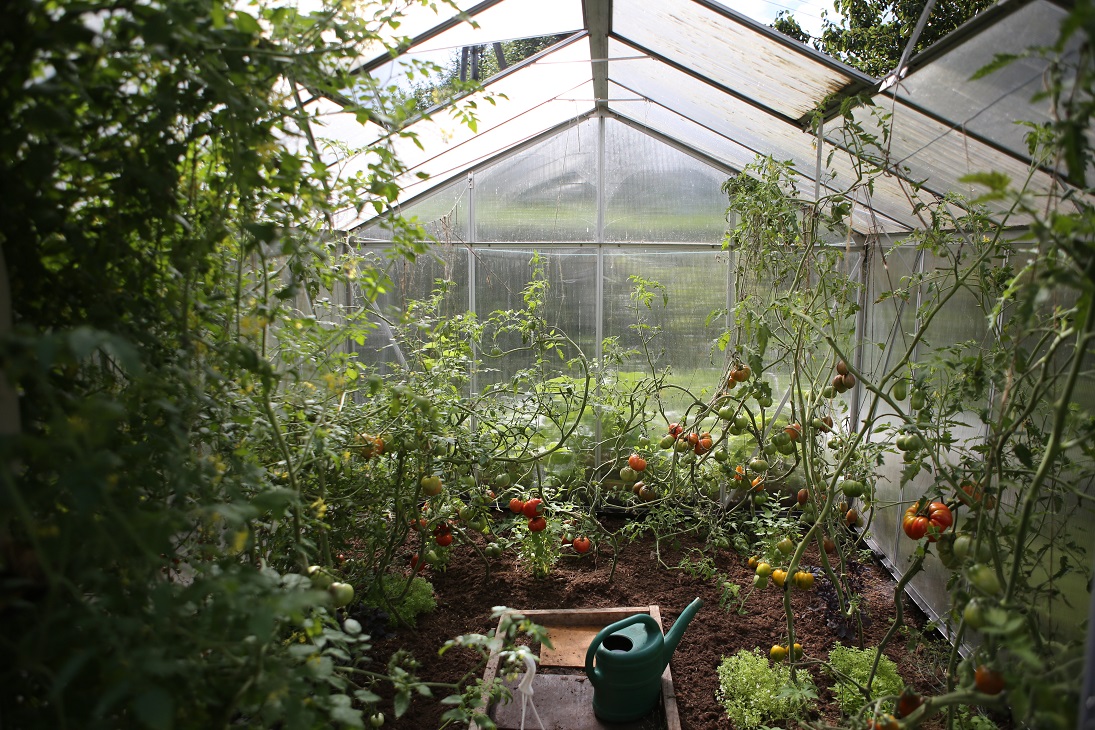
Would you like to ask us something? We are here for you at the well-known e-mail address info@higarden.eu. We will be happy to advise you, for example, on choosing suitable products and accessories.
We also recommend these products:
- Pure Pot fabric pot with handles, 26L
- Guanokalong granules - bat guano
- Organics Nutrients MYKORIZA premium
What to read next: