
Growth phase
List of articles
Growth Phase: A Guide for Outdoor Growers
Would you like to grow strong and healthy plants in the garden this year and harvest a proper yield? You need to start during the growth phase already – the period when plants build roots, leaves and stems, which will later form the basis of your harvest. In our guide, we will advise you on how to support vegetative growth in outdoor cultivation.
During their life, plants go through two specific periods – the vegetative (growth) phase, when they grow and form leaves, roots and stems, and the generative (flowering) phase, when they flower and produce seeds. The length of the vegetative and generative phases varies among different plant species; some species have a long vegetative phase and short flowering (for example, trees), others move quickly into the generative phase (for example, annuals), and in some plants (for example, perennials) these phases repeat cyclically over several years.
You may also be interested in: Photoperiod: Short-day and long-day plant species
Why healthy stems and roots are important
During the growth phase, it is very important for plants to develop enough roots, leaves and stems, because during flowering they will focus most of their energy on producing flowers, fruits and seeds. Simply put, without strong stems and healthy leaves and roots, you will not achieve a proper harvest. Stems support the leaves, flowers and fruits and contain the vascular system that transports water and nutrients throughout the plant. The root system also serves several functions at once. Roots draw nutrients and water from the substrate and serve as a reservoir for plants during dry periods. In addition, sufficiently deep and branched roots are a guarantee that plants will withstand strong winds as well, which is important in outdoor growing.
Enough nitrogen
As with people, the right composition of the diet is half of health for plants too. During their entire life, plants need a total of 17 different nutrient elements. Some are taken from the air and water (carbon, oxygen, hydrogen), but most are obtained from the soil through the roots. If any of these important nutrient elements are missing, it has a major impact on plant health. Fertile soil and the right fertilisers are therefore the first step to ensuring that your plants are in good condition during the vegetative phase and quickly form robust stems and many roots.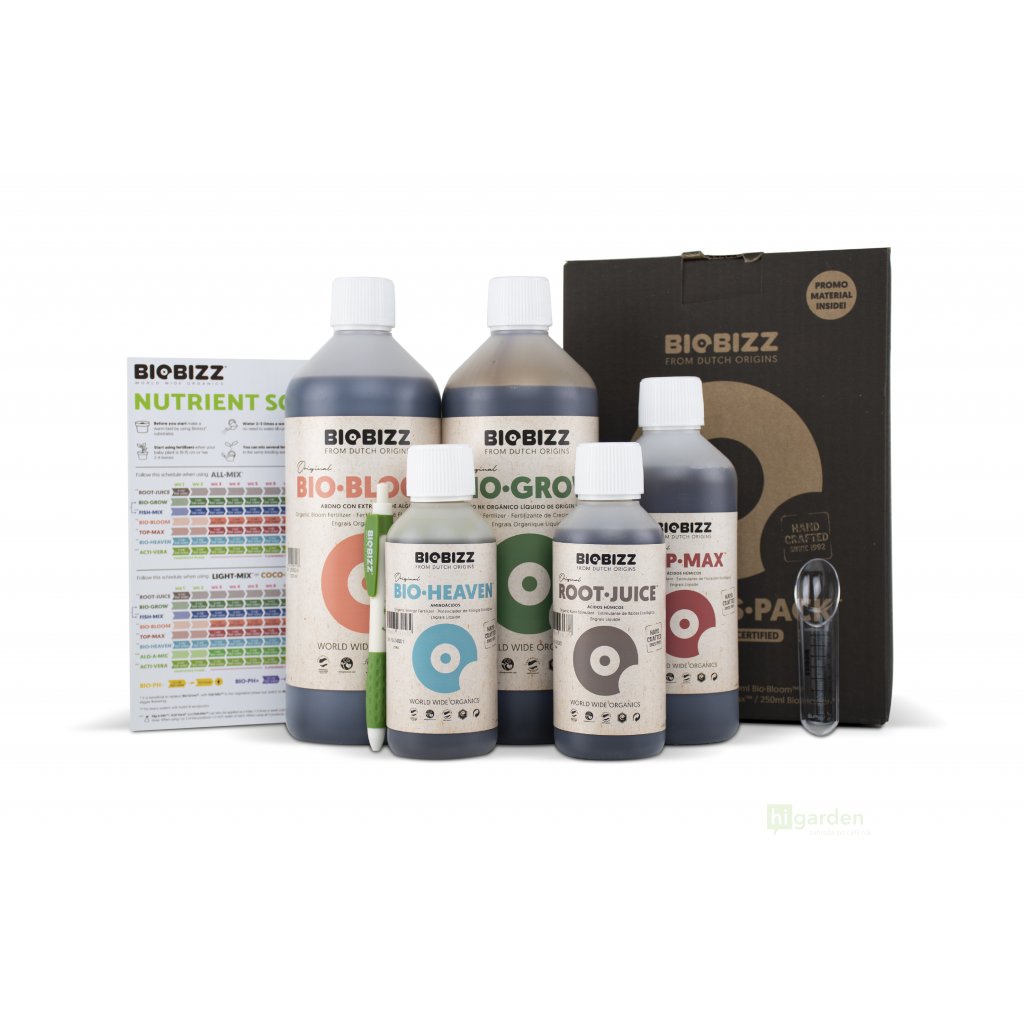
The three most important nutrients in the soil for plants are nitrogen (N), phosphorus (P) and potassium (K), which they consume in the greatest quantities. During the growth phase, nitrogen plays the main role, as it is the cornerstone for the formation of proteins, which are the “building blocks” of all plant cells and tissues. Without proteins, plants would not be able to form new leaves, stems or roots. Nitrogen is also part of chlorophyll, the green pigment that enables photosynthesis, that is, the conversion of light into energy. Last but not least, nitrogen is also part of RNA, DNA and enzymes. Nitrogen enters the soil in several ways:
Biological nitrogen fixation: Some bacteria (for example of the Rhizobium or Azotobacter genus) convert atmospheric nitrogen (N₂) into ammonia (NH₃). These bacteria live both in the soil and on the roots of leguminous plants (peas, beans, clover). Planting these plants in beds (green manure) is a great natural way to increase the amount of nitrogen in the soil.
Organic matter: Nitrogen also enters the soil as part of decomposing organic matter, which soil microorganisms transform into nitrates (NO₃⁻). The most effective way to add organic matter to the soil is compost, humus and mulching.
Growth fertilisers: There is a huge range of fertiliser types, from fully organic to purely mineral, with slow-release or fast-acting effects, in powder or liquid form. Choosing the right one depends mainly on your growing method. While liquid, fast-acting fertilisers are suitable for growing in pots, organic slow-release variants are more suitable for soil. Whatever type you choose, growth fertiliser should always contain a high proportion of nitrogen (N).
You may also be interested in: Growth fertilisers: What they are for and how to use them
Supporting nutrient elements
 Calcium (Ca) and silicon (Si) are two nutrient elements that most outdoor growers do not pay much attention to, because there is usually enough of them in the soil. Nevertheless, a lack of silicon or calcium during the growth phase can have a major effect on plants, because both of these elements directly influence the strength of cell walls. When a plant receives enough silicon and calcium, it has stronger leaves and stems and better withstands wind, drought and pathogens.
Calcium: This element is essential for the development of new cells and also regulates the transport of water and nutrients between cells. Calcium deficiency in plants is shown by deformed or dying young leaves and slowed growth. A good source of calcium for outdoor growing is dolomitic limestone, which also helps reduce soil acidity. A quick source of calcium for plants in the growth phase is liquid fertilisers containing calcium and nitrogen (CalMag). Decomposing organic matter, for example in compost or during mulching, also contains calcium.
Silicon: In outdoor growing in open soil, silicon is widely available to plants, but if you are growing, for example, in coco or inert substrates, your plants may lack it. Silicon increases the strength of cell walls, so plants better withstand high temperatures, dry air and drought. If you want to supply silicon to plants quickly and protect them against warm weather, try silicon in foliar application form, for example Terra Aquatica Silicate.
Watering and soil moisture
The vegetative phase is a period of rapid and intensive growth, and plants need a regular supply of water. Especially young plants with developing roots can be significantly slowed down by drought. On the other hand, overwatering the substrate can result in root rot and the development of mould. Therefore, when watering outdoor plants, it is good to follow these rules:
- Water more often and in smaller amounts rather than in one large dose.
- Regularly check the soil moisture – it should feel moist to the touch, but not muddy.
- Water in the morning or evening.
- During periods of heavy rain, ensure sufficient soil drainage.
For more useful tips and guides for outdoor and indoor growers, visit our Higarden blog!
Growing Diary: With Care, You Will Achieve the Best Bloom
Do you keep a growing diary? It is a question that will probably surprise most growers. The truth is that this somewhat old-fashioned way of keeping records gives the grower a perfect overview of the processes that affect the outcome of cultivation. In addition, keeping a diary is a cheap and easy way to improve at indoor growing.
 Are you wondering what a growing diary is good for? Our memory can often deceive us, and after the harvest it is often difficult to remember where we made a mistake during cultivation. If you write down what you did throughout the entire cycle, you can easily find out at the end what worked and what did not. Overfeeding, incorrect watering or late transplanting? If you have a record of it, you will avoid these mistakes next time. In addition, thanks to systematic monitoring of procedures, you can continuously improve your cultivation. Over time, you will find out which substrate is the most fertile or which combination of fertilisers and lighting produced the best results. All this will help you cultivate more efficiently. Last but not least, a growing diary is helpful whenever you encounter a problem. For example, if you notice yellowing leaves, you can easily look back and see what changed in the previous days. Perhaps you used a new fertiliser, adjusted watering, or the temperature changed. The diary will help you identify the cause and quickly find a solution.
What should you record in a growing diary?
The most important function of a growing diary is a thorough record of the growing environment, plant nutrition and important milestones. Record the dates of sowing, germination, transplanting, the start of flowering and the time of harvest. The timeline will help you track the length of individual growing phases and plan future cycles. Write down which substrate you used, which fertilisers and supplements you gave the plants, and the lighting regime. Every time you water the plants, note the time and amount of watering. If you measure the pH or EC of the nutrient solution, be sure to write these values down every time. Also record the temperature and humidity in the growing area every day. Note how the plants are changing, the colour of the leaves, the growth rate or the onset of flowering.
- Basic milestones (sowing, transplanting, switching to flowering, harvest)
- Materials, fertilisers and equipment used
- Measured values (EC, pH, humidity, temperature, VPD, PPFD)
- Observations (plant development, growth rate, colour, unusual deformities)
- Interventions and unusual events (LST, sprays, pests, mould, environmental fluctuations)
Tips and tools for keeping a growing diary
The great thing about a growing diary is that anyone can do it and you do not need any expensive equipment for it. It is not about writing essays. A few numbers or sentences a day are enough. What matters is consistency and care. Ideally, set aside time every day and spend a few moments with your plants. They will reward you with a plentiful harvest.
- Pen and notebook: It may have been some time since you used a pen and notebook, and of course you can keep a diary digitally as well. However, old-fashioned paper and pencil are still the quickest (and safest) way to record things in this case.
- Digital hygrometer and thermometer: Measuring the temperature and humidity in the growing area should be part of every grower’s routine. We recommend choosing a digital thermo-hygrometer.
- EC and pH metre: Many growing techniques require regular measurement of the EC and pH of the nutrient solution, or the runoff from the substrate. For use in indoor growing, the most suitable are digital EC and pH metres, which provide accurate and reliable measurements.
You may also be interested in: How to measure EC correctly
For more tips and guides for indoor and outdoor growers, visit the Higarden blog.
LST - plant shaping and training techniques
How can you easily influence the shape of plants so that you get the most out of them? With proper training, you can achieve a rich harvest even from a smaller space. We have put together an overview of the most popular techniques used by both hobby growers and professional cultivators.
Experienced growers know that yield is not only about genetics or nutrition. The plant’s structure also plays a decisive role. Techniques such as supercropping, schwazzing or ScrOG make it possible to adjust growth in a targeted way, increase lighting efficiency and achieve significantly better results. Let us look at how they work and when to use them.
Topping: Trimming the tops
A basic technique that every grower should know. It consists of simply trimming the tops of the plants so that branching occurs at that point. Most growers trim young plants for the first time once they have three sets of true leaves, with the exception of some specific growing styles (for example SoG). After trimming, two new tops grow from the main stem and four side branches one level lower grow faster. The plant should then have six new tops at roughly the same height.
You can trim more than once, but only during the vegetative (growth) phase. After switching to flowering, removing the tops would only deprive you of future buds. The more often you trim the plants, the bushier they will be.
Fimming: Pinching the tops
A top-pinching technique that is said to have originated by accident, which is also where its English name F*** I Missed comes from. Fimming consists of trimming the top shoots so that about 20% remains on the plant. When successful, the plant creates four or more new tops close together instead of two. The result is low plants with buds packed closely together and a high yield.
Defoliation: Removing leaves
Leaves are where photosynthesis takes place and are indispensable for plants. Nevertheless, most growers regularly remove leaves from their plants. Usually this is done to improve the penetration of light and air through the canopy, which helps prevent mould and increases yields. However, defoliation must not be overdone, and it is necessary to know when and which leaves to remove.
During the vegetative phase: Among growers, there is a widespread myth that removing large leaves helps plants direct energy into forming new tops. In reality, this slows growth. Therefore, during the growth phase, remove only leaves that shade lower branches, grow inwards towards the plant, touch the substrate or are in the shade. Also remove yellowing or dried leaves.
During flowering: Although plants also need leaves during flowering, careful defoliation helps create a better microclimate and prevents mould. Especially in indoor growing, it is a good idea to remove leaves from the lowest levels where no light reaches. Likewise, remove larger leaves that shade ripening buds. As harvest approaches, regularly remove yellowing and drying leaves as well.
Schwazzing: Extreme defoliation
Leaves that receive enough light photosynthesise and create carbon, which is a source of sugars for the other parts of the plant. On the other hand, shaded leaves store carbon and photosynthesise only minimally. Therefore, removing shaded leaves helps plants make better use of the available carbon and leads to higher yields.
Schwazzing is a method popularised by J. Haupt in the book “Three A Light”, which consists of repeated extreme defoliation during the first three weeks of flowering. The result is shorter plants with long buds, including on the lower branches.
How to do it: On the first day of flowering, remove all large (fan) leaves. This will not only increase the permeability of the canopy, but also force the plants to focus on developing new leaves instead of elongating the stems, so they will remain more compact and will not stretch as much. Do not forget that by removing the large leaves, your plants have lost a significant reserve of nutrients. Over the next ten days, increase the nutrient dose by about 20% with a formula that is higher in phosphorus and potassium (flowering formula).
Carry out the second defoliation on day 20 of the flowering phase and again remove only the large leaves. Take care not to damage the developing flowers. In the third week of flowering, the plant has already passed the stem-elongation phase and, thanks to the first trimming, the buds should be growing close together. After the second trimming, the flowers will develop close together and the result will be long buds. One of the advantages of schwazzing is that, unlike the traditional method, there is no need to trim the lower branches, because they will also receive enough light thanks to the absence of leaves and you will harvest nice buds on them.
ScrOG: Weaving into nets
Screen of Green (ScrOG) is a plant-training technique that shapes plants into a horizontal plane using a net or grid. This has countless advantages, especially in indoor growing under artificial lighting. If you leave your plants unattended, they will always grow more upwards than outwards. The main branch will then be too close to the grow light, while the tops in the lower levels will receive too little light. The aim of weaving into a net is to create a uniform surface of tops that all receive the maximum energy from the lights.
How to do it: Place the support net 20-30 cm above the base of the plant. Start weaving the tops as soon as they grow 5 centimetres above the mesh openings. Gradually guide the main branches in all directions, and once almost the entire net is filled, switch to flowering and continue weaving for the next two to three weeks until full flowering begins and the plants stop stretching.
LST: Bending stems
LST (Low Stress Training) is a gentle plant-training method in which branches are slowly bent and tied down. Bending stems can be used in many ways, from spreading the canopy and exposing lower branches to light to training photogenic cannabonsaïs. Alternatively, bending can be used to deal with overgrown plants in the early flowering stage.
How to do it: Using soft tying wire, string or plastic clips, start bending the main stem and later also the side branches away from the centre of the plant. This will expose more leaf area to the light and encourage the growth of new shoots. Carry out LST exclusively during the vegetative phase and in the first weeks of flowering, while the stems are still flexible.
Supercropping: Breaking stems
Supercropping is a technique in which you deliberately disrupt the internal structure of the stem so that it bends but does not break. The plant responds to the stress by strengthening the damaged area and growing more intensely in other parts. Breaking stems is one of the advanced techniques and requires a steady hand.
How to do it: Choose a flexible stem in the growth phase and gently squeeze and massage it between your fingers until it gives slightly. Then bend the shoot in the desired direction. If the branch does not want to stay in the new position, tie it down or support it. Within a few days, the plant will form swollen joints on the damaged stem.
Training is a way to achieve better results without having to change nutrition or lighting. Start with simple techniques such as topping or LST, and gradually discover what suits your plants best.
Are you interested in news from the growing sector and tips for both beginner and advanced growers? You can find all this and much more on our growing Higarden blog.
How to Pinch Plants Correctly?
Learn the techniques of pinching plants and pinch like an experienced gardener. These lines will provide you with the theory. You can then eagerly head out into the garden and apply the theory directly in cultivation practice.
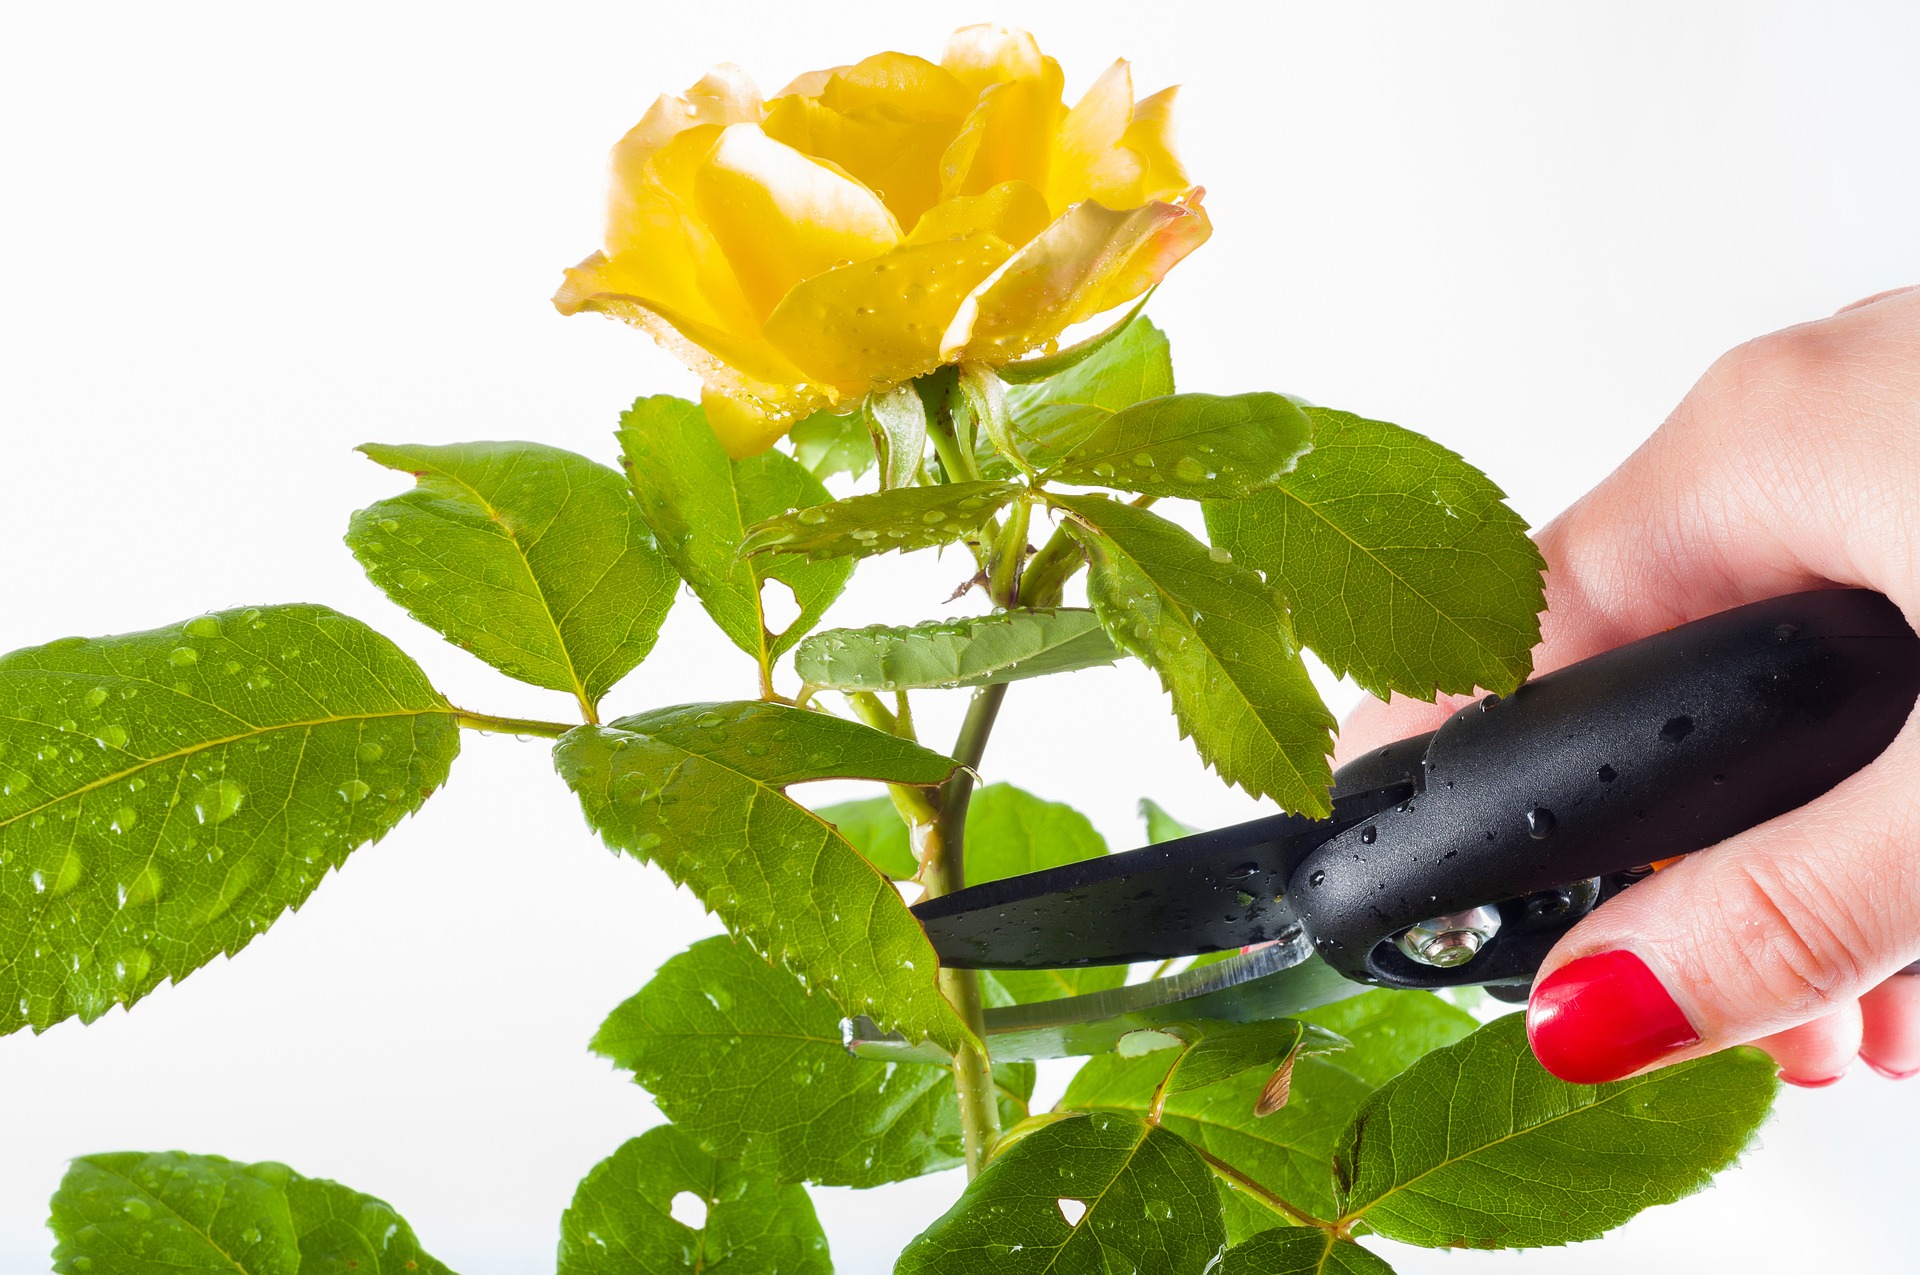
Plants and flowers are pinched for two main reasons. With proper pinching, you will achieve a more beautiful harvest, as you give the plants the desired shape, and you will also support their healthy development.
Many not only beginner growers hesitate to pinch, and the word itself creates a feeling of complexity and the impression that it is not really that necessary in order to harvest. Yet it is a very simple method that will help you achieve a much better harvest.
Influence plant growth in terms of height, direction and final shape. It is in your hands. And with quality scissors, or other aids such as gloves, plant growth management can be enjoyable.
To pinch a plant means to cut or trim its shoots and branches, thereby beautifully encouraging, or rather maximising, branching, which is a highly desirable phenomenon in plants.
With every pinched shoot, you increase the number of branches, but at the same time you also reduce the plant’s height. Are you interested in how it is that the number of branches increases in the end? If you make the cut in the right place, two new shoots will form instead of one. When you gently pinch these two shoots, the principle repeats itself and from one branch we already have four! Well, judge for yourself, isn’t it a little magical? As a gardener, you simply have that power. You will discover that cultivation gives a person space to create and does not have to be only about sowing, watering and harvesting. If you do not yet have experience with pinching, but this idea has caught your interest, or even excited you, let us explain how to do everything correctly.
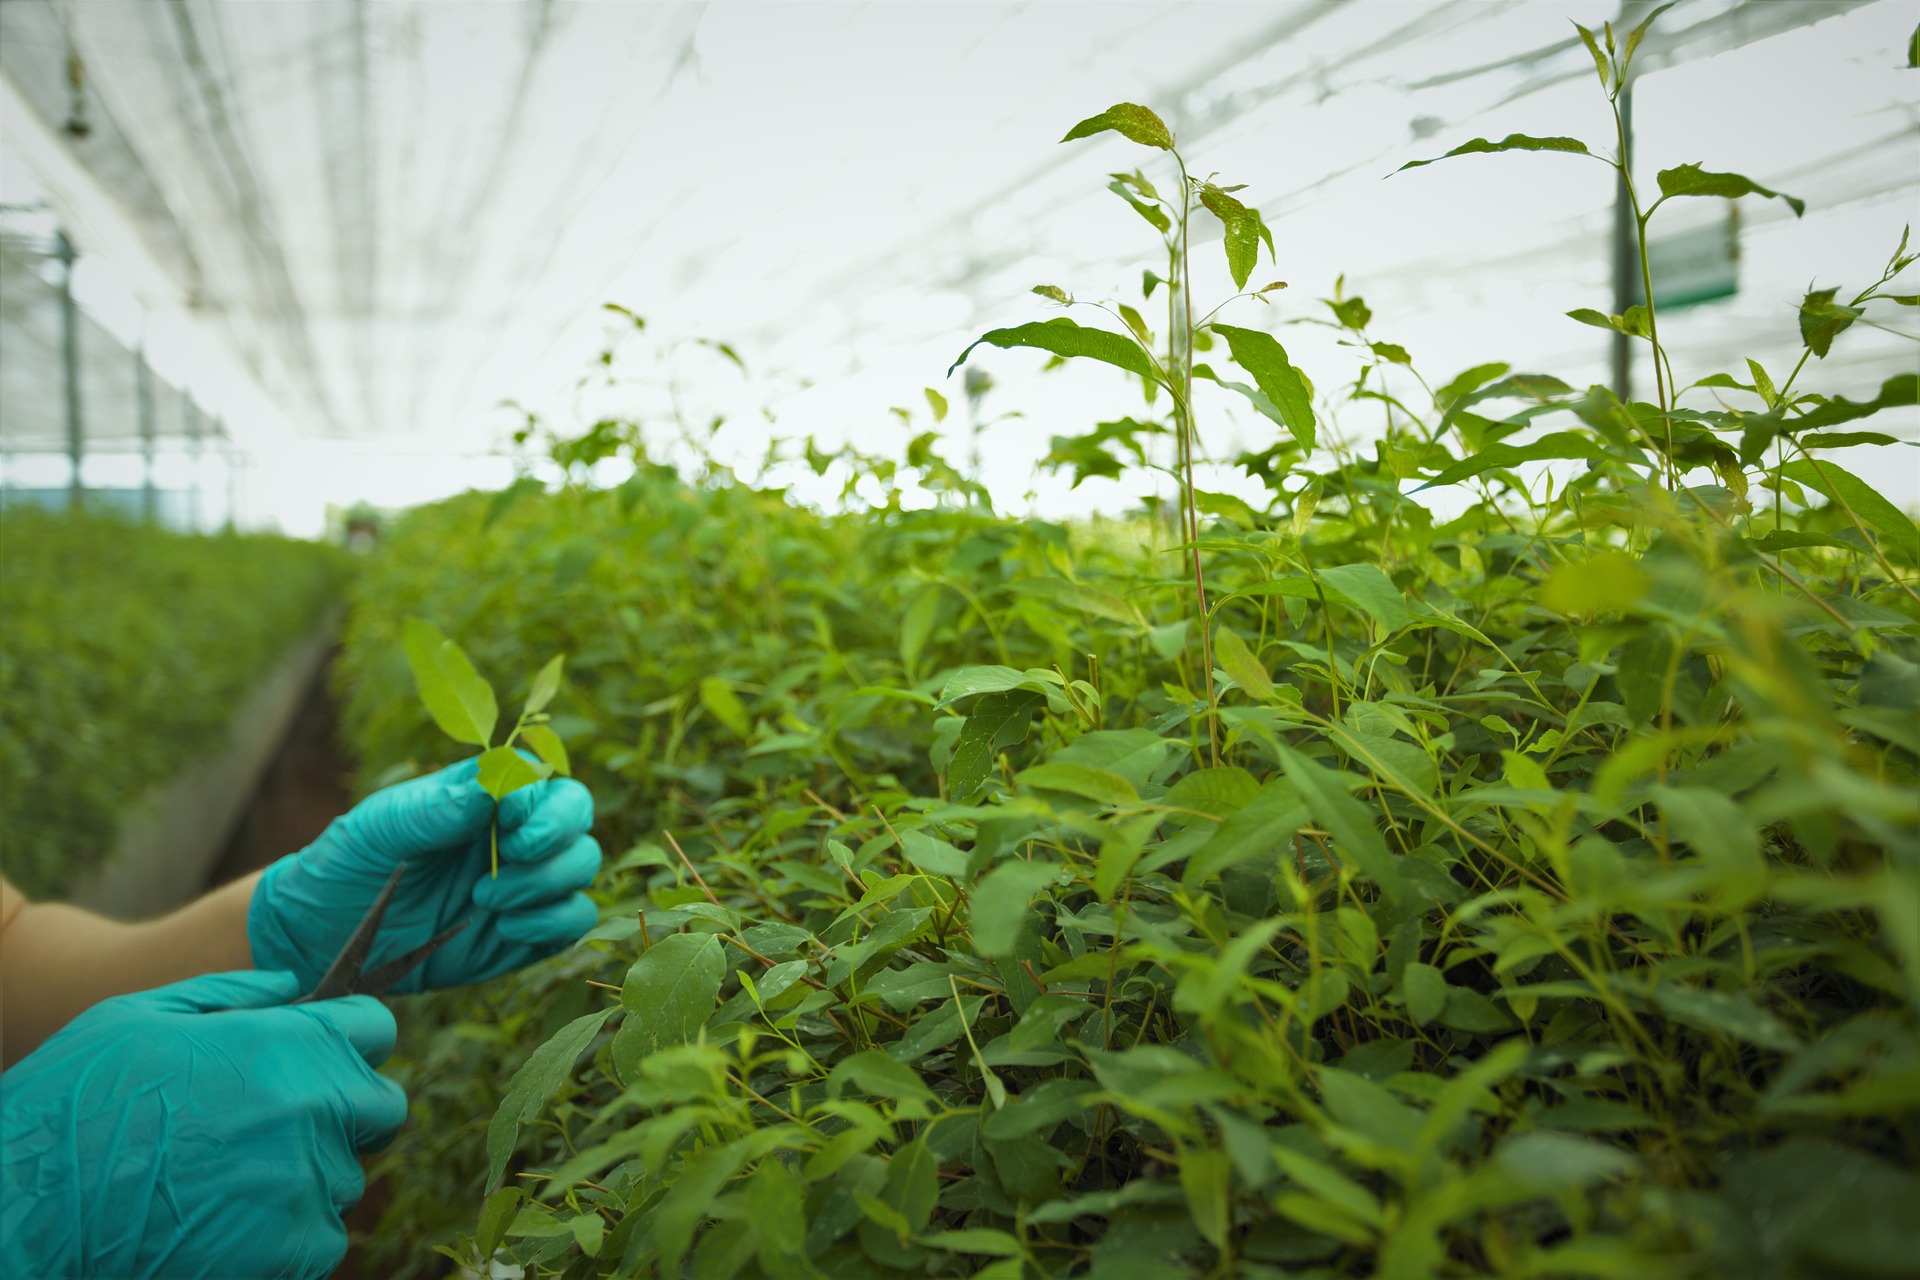
It mainly depends on the type of plant you are pinching. With small plants there is nothing to discuss; use smaller and sharp gardening scissors together with a bit of manual dexterity. For large plants you will need a sterile scalpel. With a little exaggeration, pinching is actually surgical work; you must be as precise as possible. The place and execution of the cut are crucial – always pinch off the shoots just above the junction of two branches opposite each other. Remove only part of the tip. In addition to managing the growth of an existing plant, you can also grow a completely new plant from the top. Simply dip the pinched top into water, where it will root easily and well with the help of a suitable root booster. You can learn more about supporting rooting in a separate article. If you know in advance that you are cutting or trimming the top in order to grow a new plant, make an angled cut.
If you are just starting out, you do not have to jump straight into the whole harvest by trial and error. Try pinching only the tops of a single plant and observe how it develops after your gentle “surgical” intervention compared with the other beauties.

Finally, it is also important to mention the correct timing. So when should plants be pinched? It is determined by how many times you plan to carry out this task during the growing cycle. If only once, wait until just before flowering. If more than once, start pinching a little earlier during the vegetative phase.
Have you found pinching plants difficult so far and had to gather your courage? Do not hesitate, it is a pleasure! If, after reading this article, you still have unanswered questions in mind, we will be happy to remedy that at the well-known address info@higarden.eu. We look forward to your questions!
What stages does a plant go through, and what are their specific characteristics?
Once you have obtained the basic necessities, it will be necessary to wait for the right moment. Remember that the plant goes through different stages of development, and within each of these stages it has different requirements for care and nutrition.
- Germination stage: You sow the seeds and germinate them in germination boxes or mini greenhouses. This stage should take place in the period from the end of February to mid-May. After the plants have germinated, you move them into smaller pots. Germination can be skipped if you decide to establish the crop by planting germinated plants or cuttings.
- Growth stage: During this stage, the plant will gain most of the green above-ground mass that it will produce within its annual cycle. In outdoor conditions, the growth stage usually lasts longer. From the beginning of April, you can already move the plants outdoors, because the length of daylight is now sufficient for the plants and their development. At the beginning of April, there is still a constant risk that night temperatures will drop below freezing, which can pose a considerable problem for some plant species. This problem usually subsides in mid-April, when moving plants outdoors is safer. The time when it is appropriate to move plants outside is determined primarily by the flowering period of the cultivated species. Short-flowering plants may remain indoors a little longer, while plants with a longer flowering period should now be planted outdoors.
- Flowering stage: Depending on the plant species and the flowering period of the selected variety, your plant will begin to flower in July to August. During this stage, the plant forms flowers and subsequently also fruits, which you harvest from the end of August to the beginning of October - again depending on the flowering period of the cultivated plant and variety.
Sea of Green (SOG), or Sea of Green
Do you have only limited growing space available and want the largest possible harvest? It has been some time since Dutch growers came up with this simple, effective, and therefore now widely used growing technique, which makes indoor herb cultivation in a growbox easier and more efficient. Let us take a closer look!

What is the basic principle of the SOG plant growing method? Simply shortening the vegetative phase of the plant to the necessary minimum and bringing on the flowering phase more quickly in order to make maximum use of the space in any indoor growing room.
Right from the start, let us set out three reasons why it is worth learning the SOG growing method:
- Regular and overall higher yield.
- Low height requirements, meaning more plants in a limited space!
- Earlier harvest, as plants are usually in the vegetative phase for only two weeks, often even less. Short-term growing also reduces the risk of plant diseases or pests.
Now let us explain how to do it:
- With this method, clones or cuttings are planted rather than seeds. (How do you recognise a quality clone? Read HERE.) For a sea of green, varieties with the shortest possible flowering time and lower expected height are selected.
- Plant your favourite plants so that each has ideally at least 30 x 30 cm of space. Practical and aesthetic considerations tell us to use smaller square pots.
- Using an LED lamp or light from a discharge lamp, give the plants 18 hours of light per day until they reach a height of between 25 and 30 cm.
- Then change the light cycle for a rapid start to flowering, i.e. 12/12. If, with regard to a specific variety, you do not want to limit yourself to the recommended plant height (see above) for this step, you can also use the age of the plants as a guide. At this point, your plants should be no more than three weeks old, but usually rather only two.
- As a result of the previous steps, a typical canopy of flowers will form during the flowering phase. This also ensures maximum use of artificial lighting.
- Use good-quality, clean scissors to trim all branches below the canopy of flowers.
Our TIP: By using a hanging structure, you can grow plants with this method above one another as well, making even better use of the space in the growbox or growing room. It does require a bit of DIY spirit, but it is worth it!
- Bear in mind that with this indoor cultivation method, a quality light source is even more important than ever, as it does most of the work. For repeated harvests, it will certainly pay to invest, for example, in LED grow lights from the Lumatek brand.
- The rest is taken care of by quality ventilation equipment, which removes excess humidity and heat from the growing space.
If you plan to harvest flowers or crops repeatedly thanks to this method, we recommend buying really high-quality equipment straight away, with the price-to-performance ratio in mind. We have added a few tips below and will be happy to help you choose. Do not hesitate to contact us at the well-known address info@higarden.eu.
We recommend these products:
- Lumatek ATS 300W (ATTIS) (9 499 Kč)
- Lumatek ZEUS 600W PRO 2.9 (26 499 Kč)
- Prima Klima fans with speed control and thermostat (from 3 299 Kč)
What to read next?
What are the developmental stages of a plant?
Today we have a botanical note that will be useful in growing practice. The developmental stage in which the plant currently is is important, among other things, for the correct dosing of fertilisers.

The development of a plant can be divided into the four stages listed below. For you, as a grower, the middle two play the most important role in fertilising, namely the vegetative stage, or growth stage, and the stage of flower formation or fruit formation.
- Embryonic: cell division begins and plant tissues are formed as the basis of the future plant body.
- Vegetative (growth): begins with seed germination and ends with the arrival of the first flowers after the plant’s stems and leaves have reached their maximum size. Depending on the plant species, it usually lasts 3–16 weeks. In nature, the end of the growth stage happens automatically (summer turns into autumn and the sun shines for a shorter time). However, if you grow plants indoor, in a grow box, the end of the growth stage is in your hands and depends on shortening the lighting period. You must practically force the plant to end growth by this act and provide it with 12 hours of light and 12 hours of darkness every day. An honourable exception is autoflowering plants, so-called autoflowering, which begin to flower automatically depending on their age. Within plant growth, we distinguish three smaller stages, namely embryonic, elongation and differentiation. It is enough to know that cells in plants gradually divide and increase their volume, as these processes can be effectively supported by suitable products, thanks to which you will achieve not only explosive plant growth, but also greater vitality and immunity for young plants. The physiological processes in the plant associated with its growth require, above all, a sufficient supply of nitrogen. You can add this to the basic nutrition for growth. Once the seeds germinate and break through the surface of the substrate, they become seedlings, which are soon transplanted, for example, from a propagator into larger pots, so that they can fully develop their root system, through which they absorb nutrients for further development until the end of the growing cycle. We therefore strongly recommend adding a quality root stimulator to the watering during this period as well.
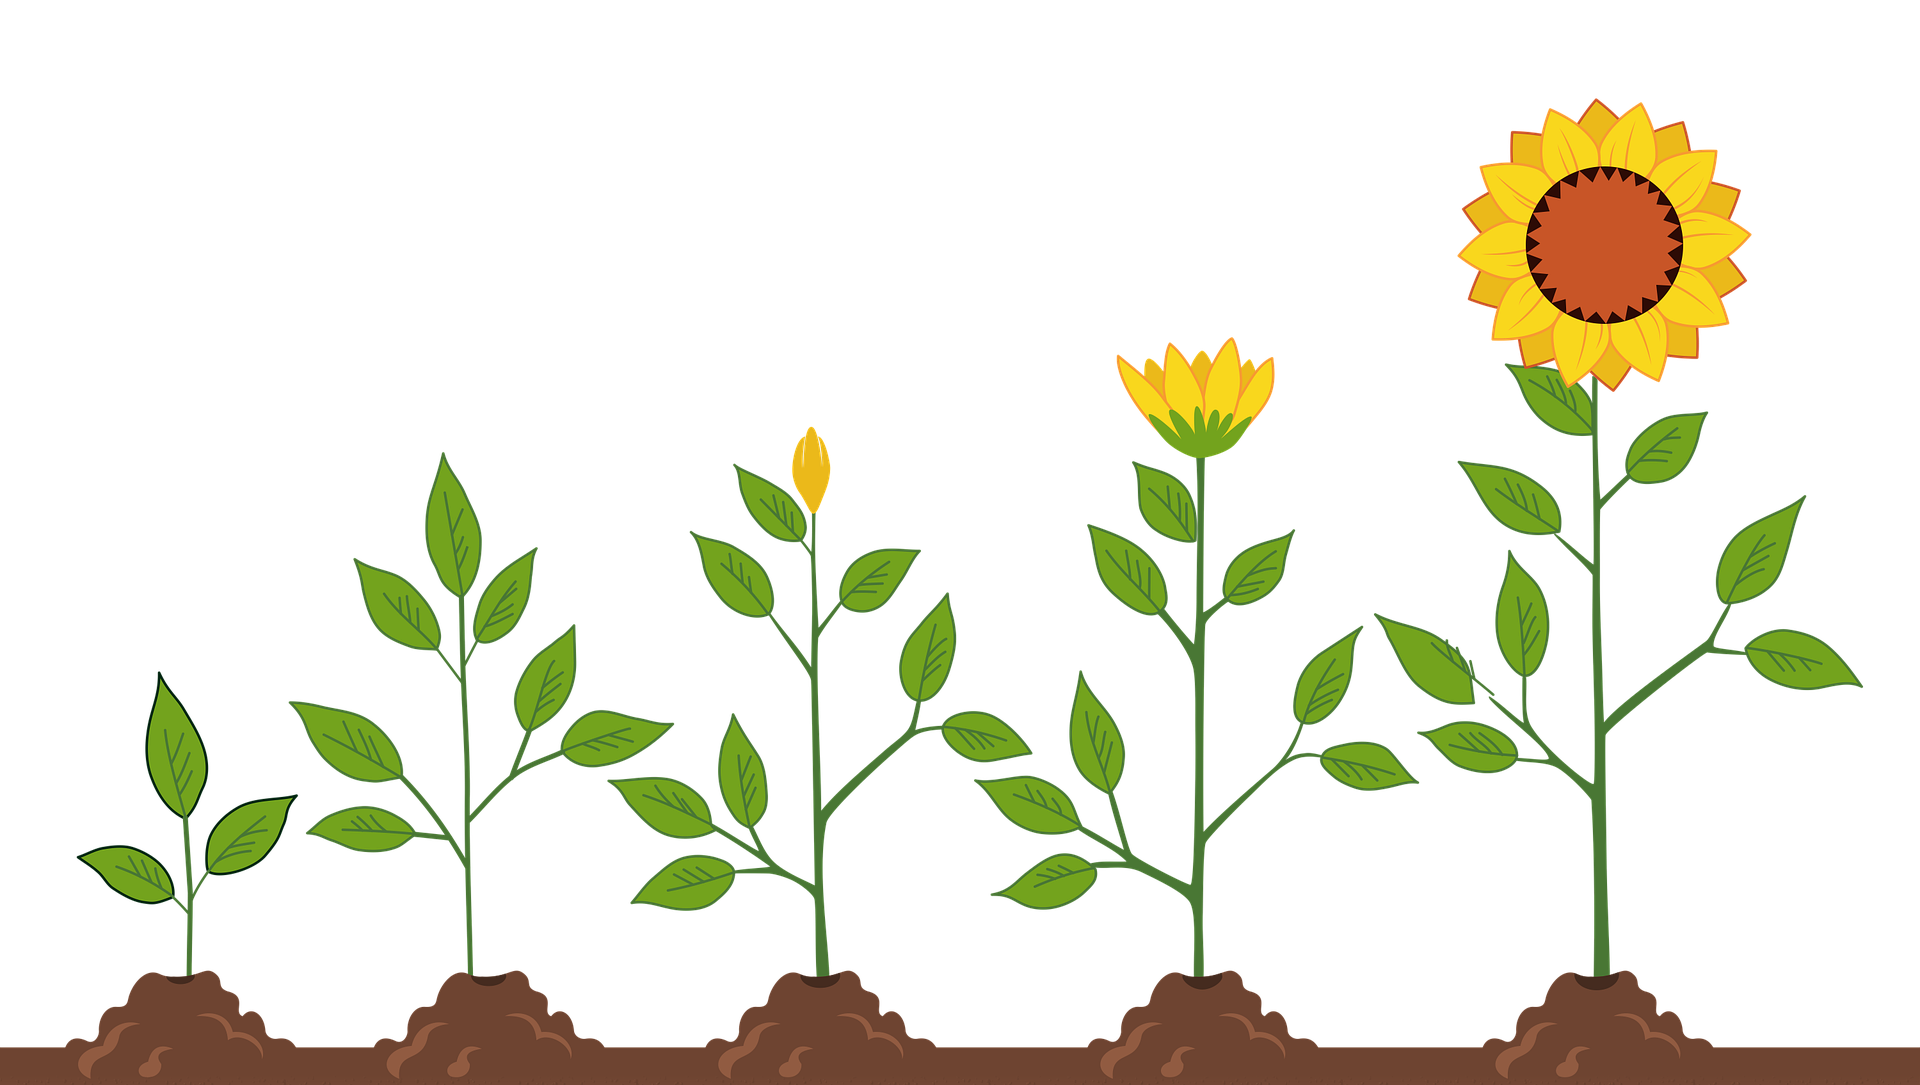
- Maturation (flowering): in this stage, the plant’s reproductive organs are formed, which leads to vegetative and sexual reproduction and the formation of flowers or fruits. In this stage, plants consume the most phosphorus and potassium, and flower fertilisers are adapted to these needs, as are flower boosters and other supplements, for example those based on enzymes, which support biochemical reactions in plants during this period, because abundant blooms and large, juicy fruits are, of course, what every grower wants this stage to end with. And when is a plant mature? As soon as its organs are fully developed.
- Senescence: at this stage, there is no longer any need to pay attention to it, because you have already harvested. However, at least we have the opportunity to clarify terms such as annuals, biennials and perennials. During this stage, plant organs naturally age and then die. These terms indicate the lifespan of the plant from the initial cell division in the embryonic stage until this point.
We recommend these products:
- BioNova fertiliser sets - comprehensive nutrition for the entire growing cycle from a popular Dutch brand.
- BioNova Veganics - everything needed for the growth stage and the flowering stage if you want your harvest to be 100% organic.
- HERCULES - modern plastic pots will make your journey from seed to beautiful flowers and fruits easier.
- LED sets – a tuned grow box complete with everything you need for more than one growing cycle and a fantastic harvest.
Now you know how the plant life cycle works, and if you needed to clarify what it needs and when for its development, this article should help you with that as well. If you have any questions, we will be happy to advise you at the well-known address info@higarden.eu.
What to read next:
Does Removing Leaves Make Sense for a Better Harvest?
The topic of leaf removal, defoliation, or, in technical terms, defoliation has been the subject of passionate debate among growers for many years. Among growers around the world, we can find both staunch opponents and supporters. There is therefore no generally accepted verdict on whether it is better to leave plant leaves alone or whether it is worth devoting attention to this technique. The fact remains, however, that professional growers also repeatedly use it on various plant species and achieve impressive results, so this technique probably does have something to it. All the more so because today, even in home conditions, an increasing number of experienced indoor growers consider defoliation a normal part of their cultivation routine, which significantly contributes to their high and regular yields.
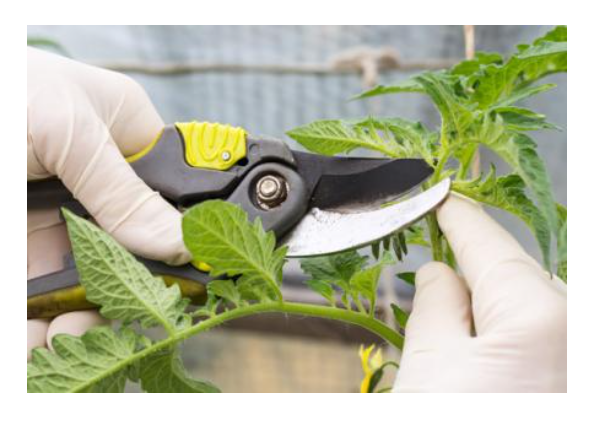
We also know the natural process of defoliation from nature. Just think of leaves falling. Let us now explain why the targeted removal of plant leaves makes sense not only in outdoor growing, but also in the case of indoor cultivation of plants under artificial lighting such as usually LED lamps or discharge lamps.
Improving air circulation and reducing humidity inside the growing space
In indoor growing rooms and inside grow tents, practically any vegetation is often very dense to impenetrable, because every grower naturally tries to use the growing space with artificial lighting to the maximum in order to grow as many healthy plants as possible in the given area. The number of plants does not have to be the only priority. Some growers let the plants grow considerably before changing the photoperiod so that they fill the entire growing area as much as possible.
However, far from all of these growers realise in practice that the denser the vegetation inside the growing space, the more it ultimately hinders the flow of fresh air between individual plants, which is very important for their healthy and vigorous development.
Our TIP: Circulation fans help increase the flow of fresh air around plants precisely where it is most needed. If you do not yet have one in your grow box or room, even at the start of summer, be sure to read the separate article: How do you choose a circulation fan?
Another problem arising from the fact that plants carrying lots of leaves are crowded together inside the growing space is increased humidity. Humidity itself is not such a big problem, but in combination with the above-mentioned lack of fresh air supply, exhaled air from the plants accumulates around their lower leaves. This air is no longer sufficiently saturated with carbon dioxide (CO2). The significance of CO2 for plants is also covered in a separate article: Plant growing and carbon dioxide. How and why should it be used?
Our TIP: Give plants in the grow box an extra dose of carbon dioxide thanks to the natural CO2 generator!
If we have dense vegetation in the growing space, insufficient fresh air circulation around individual plants together with increased humidity creates an ideal environment for dangerous moulds, which thrive in such stagnant air. Where plant leaves touch, the highest concentration of moisture also occurs, and therefore the leaves are often wet and stuck together at the points of contact. And that is exactly the phenomenon you want to prevent.
Improving light access to plants
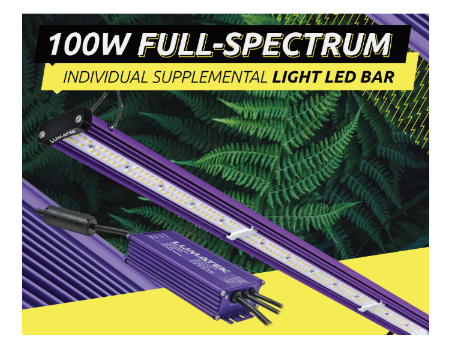
For plants to develop, their green parts, by which we mean primarily the leaf area, must receive enough light radiation. Moreover, it must be of sufficient intensity for most leaves to receive their daily portion of photons. In nature, this is arranged by the sun, which is not only a source of light with extremely high radiation intensity, but also moves across the sky during the day, gradually changing the direction and angle at which the sun’s rays fall on plant leaves. In indoor gardening, even the most powerful light source remains fixed in one position all the time. The above-mentioned density of vegetation therefore also becomes an important variable. It is common for less light to penetrate into the lower levels, so that leaves in the darker parts of the growing space do not achieve the optimal level of photosynthesis. Therefore, if we set aside the effect of defoliation for a moment, TLED lamps for supplementary lighting of shady areas are used in grow tents or other indoor growing spaces.TLED lamps for supplementary lighting of shady spots.
Our TIP: 100W full-spectrum supplementary luminaire Lumatek BAR 2.9
It probably will not surprise you that a plant does not decide that it will stop supplying these insufficiently lit leaves in the lower levels with water and nutrients, because the grower usually cares mainly about the flowers or fruits. And that is precisely why these leaves become a non-negligible burden for the plant. This is where we get to the heart of the matter.
Experience with defoliation - leaf removal - speaks quite clearly. It is enough to let more light reach the flowers by removing unwanted leaves in order to notice a visible improvement in their development. On the other hand, leaves can be compared to solar panels as a reservoir of energy used by the plant, which is needed, among other things, for the formation and ripening of flowers. Therefore, defoliation must be approached very sensibly if it is to be beneficial and not harmful... Let us therefore explain the four basic rules that you should definitely respect before you put this gardening method into practice.
- Plant health
Whether it is mainly thanks to your growing experience and skills, or thanks to premium products from our range, which we mention in more than one other article here on the blog, your plants must be in perfect condition. Otherwise, do not start targeted leaf removal at all. There is no point in doing so. If your plants are dealing with pests, or if it is clear that their growth is not yet optimal, defoliation will bring no benefit and will more likely harm your crop. Healthy plants naturally have everything to do with optimal growing conditions in indoor plant cultivation. Therefore, before you begin leaf removal, first make sure that your plants have enough light and the ideal climate (see above), and that you are able to provide them with the correct dosage of important nutrients as part of regular watering. If everything is in order, you can begin to experiment.
- Genetics
Opinions on defoliation in the international growing community differ considerably, possibly also because not every variety is suited to leaf removal. Genetics certainly plays a role here. If it is a variety that forms dense vegetation with a large number of side branches and leaves, it is likely that defoliation will indeed benefit it. However, there are also many varieties of different plants with a more open plant structure, for which it is natural to produce only a smaller number of leaves. Here we already lean towards caution and minimalism. This means that, provided rule number one is met, you can first try defoliation on a very small scale and observe how your plants react compared with places where no leaves were removed. If the effect is positive, you can carefully continue with the targeted leaf removal process. And then there are exceptions, which makes the situation a little more complicated. Morphology is not everything, and therefore some varieties may ultimately respond better to leaf removal than others, regardless of their structure or total number of leaves.
- When less is more...
Some growers do not make a fuss about it and remove almost all large leaves in one go, leaving only smaller leaflets near the flowers and leaflets attached to the stem that do not yet have a fully developed petiole. Only a grower who knows exactly what they are doing, namely which variety they are growing and how that variety reacts based on repeated experience, would dare to do something like that. Or, on the contrary, someone who knows absolutely nothing about defoliation, but that is pure gambling. So if you decide to try leaf removal in practice, we recommend following the well-known rule “less is sometimes more” and starting defoliation very cautiously. First remove only a few large mature leaves. Then wait several days and observe how the plants react. Based on that, you can more easily consider further defoliation.
- Correct timing
Think about the point at which the proverbial back door is closing. During the vegetative phase, plants are still growing new leaves, usually before the photoperiod changes to 12/12. At this time, plants devote all their energy only to the formation of stems and leaves. Plants then continue to produce new leaves for approximately three more weeks after the photoperiod changes to the so-called flowering mode, while they rapidly grow taller. Once they stop growing taller, no new leaves will grow either, apart from the fine leaflets in the immediate vicinity of the flowers.
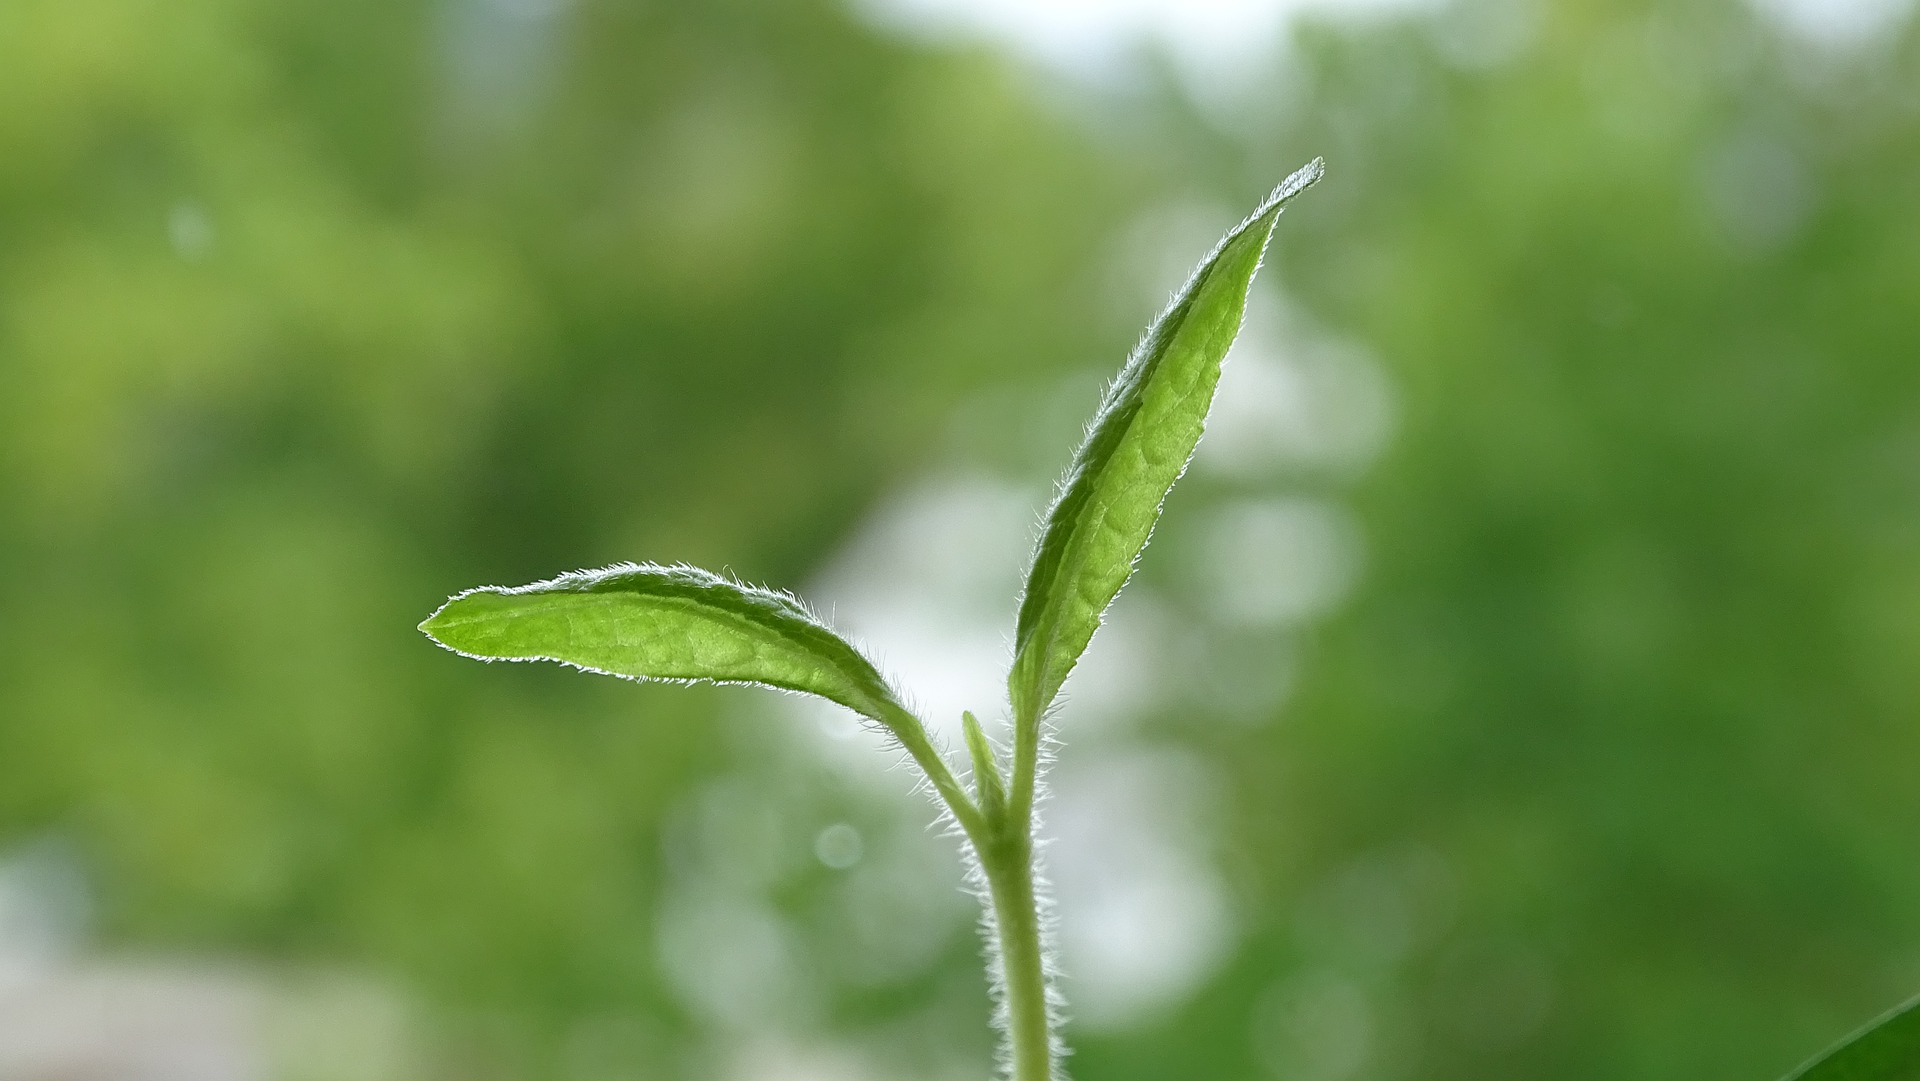
Further useful tips for leaf removal can be summarised in the following points:
- Removing leaves from seedlings or young plants in the early stages of development makes no sense. They need to devote as much energy as possible to development, and they are also usually spaced sufficiently apart. As a result, light of sufficient intensity falls on all levels of the young plant, which supports the growth of side shoots.
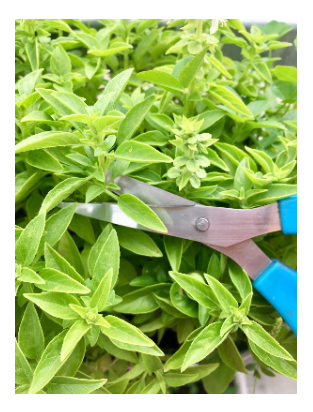
- For precise, safe, but also more comfortable and faster leaf removal, you will find quality, modern garden scissors useful.
- Growers in practice often also deal with the dilemma of whether to pinch off leaves with the petiole or leave the petiole in place. Leaving the petiole will do no harm, because the petiole does not block the penetration of light and, after it has provided the plant with its contained nutrients, it naturally dries out and then falls off on its own.
- Sometimes it is not necessary to remove whole leaves and it is enough to cut off only part of the leaf blade. This method of defoliation can be advantageous if there are not many leaves, but at the same time they take up a lot of space because of their size and prevent light from passing through.
So now you know the basic rules for leaf removal, and we can now focus on specific recommended procedures for defoliation of plants grown in an indoor environment.
- In the growth phase (or during the growth photoperiod in indoor plant growing), we have several options for using leaf removal:
- If you need to achieve an even height of the green growth, removing leaves from selected branches, which will slow growth as a result of defoliation, will help you.
- When you remove large leaves that tend to shade, more light reaches the shoots and branches even in the lower levels. This supports their development and at the same time leads to more efficient use of the total growing space available to you.
- We now return again to the phenomenon described above. You should definitely remove leaves that touch each other and where moisture condenses on their surface at the point of contact, which favours mould or powdery mildew. If, at this stage, you notice old leaves in the lower part of the stem that no longer receive enough light, remove them as well straight away.
- Once you change the photoperiod to initiate flowering, the plants will undergo intense upward growth for the next approximately 3 weeks, and flowers will also form. There is an established English term for this phase: “stretch”. You may also have come across plants that flower regardless of photoperiod. We refer to these varieties as autoflowering. They usually also require special nutrition, such as BioNova Autoflower Supermix. With autoflowering plants, the individual phases of the cycle simply have to be determined by eye - according to how they look and whether they are already visibly forming flowers. In any case, remember that the aim of defoliation in the flowering phase is to get as much light as possible to the flowers, while at the same time trying to leave the plant with a sufficient number of leaves. Yes, it is a certain art of balancing on the edge, but the more experience you have with leaf removal, the easier it will be for you to achieve the desired balance in the process of defoliation.
Our TIP: A new range of premium hand tools that will last you for years will make defoliation easier once and for all. Stainless steel blades, such as those on the small PRO CUT garden scissors with eye, stay sharp for longer.
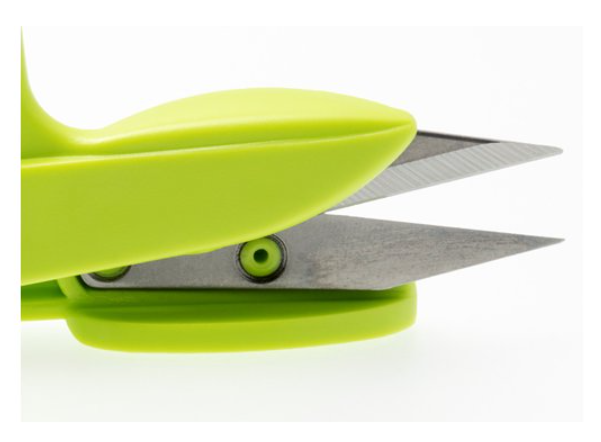
When and how should you defoliate? The strategy is in your hands
- Before changing the photoperiod
An increasing number of growers practise radical leaf removal just before changing the photoperiod. After the photoperiod changes, the so-called stretch phase begins (see above), which doubles the final effect of defoliation. To a certain extent, this should help you limit the stretching of branches upwards, but the main significance lies in the greater amount of light falling on the lower internodes. A sufficient supply of intense light in these places will then significantly support flower development, which would not do so well in the shade of leaves.
- Ongoing defoliation
We will now present a much more conservative approach to leaf removal. It consists of the ongoing removal of leaves during the growing cycle, right up to the final flowering stage. You can set certain intervals for regular leaf removal, say every other day, for example. However, it is similar to watering - better more often, but in smaller amounts. Therefore, always remove only a few selected leaves that are shading the flowers the most at that moment. Or leaves that are touching each other. This conservative approach helps prevent unexpected shocks that plants may experience after the one-off removal of a larger number of leaves. At the same time, you have room to test how the given variety reacts to leaf removal without causing more harm than good.
- Comparative test
The real potential, or rather the possible benefit, of defoliation for the development of the variety you are currently growing in a controlled environment can be revealed by a classic comparative test. It is up to you how large an area of vegetation you compare. Let us say you split it fifty-fifty. That means you subject one half of the growing area to defoliation and let the other half grow freely. However, the comparative method also works for comparing different approaches to defoliation. So we again return to the fact that the best thing is to observe the plants carefully, and the differences between the two halves or other proportions of the growing area you choose will help you clearly determine which path to take in order to achieve a plentiful harvest. Do not forget that the basic condition for this comparison is that all the plants being compared are the same variety and that all the plants being compared have the same conditions for development available in the growing space.
If you have any questions, do not hesitate to contact us via the well-known e-mail address info@higarden.eu.
We also recommend these products:
- PRO CUT garden scissors - large straight
- PRO CUT garden scissors - large curved
- Easy Snip curved scissors
What to read next:
Stress also harms plants, or: Abiotic stresses in plants
Plants are like people. Their health depends on living conditions, proper nutrition, and they are equally harmed by intense stress, also known as the “enemy of yields”. What kind of stress? In this article, we will focus on the specific stress factors that your plants should definitely not face if you want to achieve a beautiful harvest. Read on to find out how to prevent negative influences.
Just like humans, every plant has certain genetic predispositions and innate defences. Modern cultivation, much like medicine, offers effective means of strengthening the natural defence mechanisms of plants as well as practical devices for maintaining optimal conditions for their growth and vitality.
Once a plant is repeatedly or long-term exposed to excessive stress, a stress response occurs. The plant’s receptors, for example photosensors responding to the intensity of light radiation, first trigger a kind of internal alarm, which activates all available defence mechanisms, with the help of which the plant continues to survive. This period of resistance rarely passes without significant damage; it is usually harmed, or even completely destroyed by exhaustion, much like the flower in the picture. 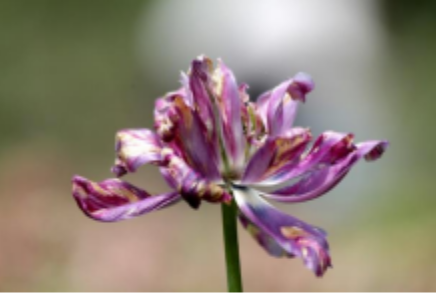
Unlike us humans, plants are sessile. They therefore cannot run away from stressors around the nearest corner or to a wellness centre. It is therefore the task of every grower to balance suitable conditions so that the plants they care for remain calm and full of life. Below we will discuss the most common abiotic stress factors. From the grower’s point of view, we can imagine under this term flooding, nutrient deficiency, excessively high radiation, low temperatures and the like. As the saying goes, too much of anything is harmful. And that applies in the plant kingdom too. Stress can therefore be caused by a deficiency as well as an excess. We also often encounter a combination of several factors at once. For example, wilting, caused mainly by a lack of water, can also be a response to excessive radiation. A plant’s ability to tolerate stress depends mainly on its intensity and duration. Heat stress can destroy a crop in a short time. Water deficiency within a few days...
Physical stress factors
- extremely high or low temperatures
- drought (water deficit), as well as overwatering or flooding
- mechanical damage
Among the most common abiotic stressors of plants is unsuitable climate. If you grow outdoors, it is necessary to pay increased attention to plants every year, especially during the hot summer. Individual species
have their own temperature optimum, which we can meet perfectly especially when growing indoors. The microclimate inside a grow box or grow room can be conveniently regulated thanks to fans and ventilators, or heating. Changes in outdoor temperatures often also require changes to the settings of indoor elements. In summer heat, your plants will appreciate the presence of CMH or LED lighting due to the lower amount of heat emitted into the growing environment.
Just as destructive as heat can be for plants cold or, when growing outdoors (or in a large outdoor greenhouse), frost. Under the influence of low temperatures, changes occur in the internal cell structures of plants, growth slows down and leaves lose their colour. During frosts and light frosts, tissues are damaged. Plants such as tomatoes or beans are very sensitive to cold.
Always protect the roots as well as the above-ground parts of plants from extreme temperatures.
In hydroponics, protect tanks with nutrient solution from direct light and maintain a temperature of 18-26 °C. Tank cooling can help you with this.
Maintaining optimal temperature and humidity with the use of humidifiers and digital measuring devices is relatively easy, but many beginners make mistakes in placing the probe from a combined thermometer – hygrometer, which should not be missing from the basic equipment of any grower. We recommend placing the probe in the upper third of the plant’s height, that is, somewhere just below the top. Circulation fans are an ideal helper that ensures continuous airflow around the plants. The higher humidity needed for seedlings is excellently maintained during pre-growing in small greenhouses and propagators.
Drought is related to reduced air humidity and is generally better tolerated by plants with a shorter life cycle. Dry substrate is, however, clearly bad, as it does not support the development of new roots. Nature has equipped plant leaves with microscopic stomata that open and close depending on air humidity. As soon as the plant feels drought, it closes the stomata to prevent water loss. The problem for the grower is that closed stomata do not exactly go hand in hand with effective photosynthesis. So watch out for dehydration throughout the entire growing cycle. The best prevention is regular watering.
The mentioned abiotic factors are also excellently prevented by the innovative perforated pots from the brand Hercules and other fabric pots, which help with proper watering and maintain optimal aeration of the root system.
Recommended temperature and humidity ranges for indoor growing:
For the growth stage, the ideal temperature is 21-28 °C in light, 18-23 °C at night, and humidity between 50 and 70 per cent. For the flowering and fruiting stage, lower air humidity of 35-50% is recommended, with daytime temperatures of 21-26 °C and night temperatures in the range of 18-23 °C. Seedlings benefit from higher air humidity of up to 80%.

Chemical stress factors
- Plant and substrate undernutrition
Proper, or rather rich, plant nutrition is the basis of a healthy and juicy harvest. The possibilities available to today’s grower are so varied that this stress factor can be practically eliminated with appropriate plant care thanks to a wide range of fertilisers and supporting additives for the growth and flowering stages. All you need is suitable nutrition so that nothing is lacking for the plants and their roots. We may also encounter oxygen deficiency, so do not forget sufficient aeration of the substrate, which is enabled for example by perlite.
In the case of soil, another difficulty associated with chemical processes acting on the plant is its over-salination. Salinisation of the soil, whether by natural or artificial means, reduces water uptake.
It is also important to ensure that the plant does not have to face a high concentration of toxic ions and heavy metals such as mercury, aluminium or cadmium. Toxins may also be contained in polluted water, so it depends on what water you grow in and what water you use for watering. (This is so important that we will soon dedicate a separate article to this topic.) The presence of toxins disrupts the uptake of nutrients from water or soil and disturbs mineral balance. Heavy metals not only directly threaten the life of the plant, but can completely devalue the final harvest!
- Polluted air
Just as toxins can act from the soil, plants and agricultural crops absorb many harmful substances from the air (especially when growing outdoors), which of course harms them. We are mainly talking about oxygen radicals such as ozone, the excess of which around the green parts of plants significantly accelerates ageing processes. In addition to ozone, growers encounter the effects of sulphur dioxide, ammonia and nitrogen oxides.
- Excess light
An excessive amount of light also contributes to the formation of oxygen radicals. The result is the destruction of chlorophyll. Simply put, in a grow tent or greenhouse, it is enough not to overdo it. Outdoors, it is again necessary to use gardening instincts together with information about the planted species and, on that basis, give them a suitable level of exposure.
We believe that the time you have devoted to reading will help you avoid common mistakes in practice, which cost both plants and your wallet, and we wish your plants in your care the very best. If you would like to ask us anything, we are here for you every day, call or write to info@higarden.eu, so that growing with us is a pleasure for you.
- Perlite
- LED lighting
- CMH lighting
- Thermo-hygrometers
- EC / pH metres
Listing controls
9 items total