
Outdoor Growing
List of articles
Outdoor season is just around the corner: What will you need?
Winter is ending, plants are waking up, and your garden is waiting for a proper spring boost! Whether you grow tomatoes, herbs or something special, you will not do without the right substrate, fertilisers and pots. We will advise you on everything you should not forget when buying equipment for the outdoor season in spring.
The right substrate is the basis of success
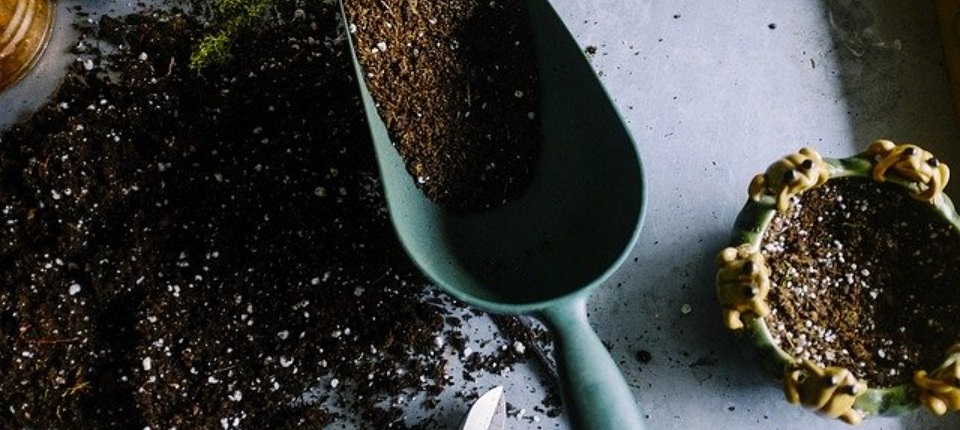 Whether you grow outdoors in pots, beds or in a greenhouse, your plants need suitable soil. The purpose and use of different types of substrate vary according to their composition and nutrient content. In general, seedlings need a lighter and less fertilised substrate than plants in the peak stage of growth or flowering. When growing outdoors in open soil, we recommend using soil-based growing substrates and coconut substrates if you are growing in pots. Soil mixes for outdoor growing may contain organic or mineral fertilisers that nourish plants for several weeks to months. Additives for substrates in outdoor growing usually serve to improve depleted soil.
You may also be interested in: How to choose a horticultural substrate
Sowing substrates – If you are planning to grow from seed in spring or to raise your own seedlings in advance, you will not do without a sowing substrate. Propagation substrate must be light and airy and should contain only a small amount of nutrients. We do not recommend germinating seeds in pre-fertilised substrates.
Substrates for growing in pots - The choice of growing substrate for growing in pots depends mainly on the feeding programme you choose. If you decide on organic fertilisers, choose soil substrates intended for organic farming, such as Canna Bio Terra Plus or BioNova Bio Soilmix. If you will feed plants with mineral fertilisers, you can choose from a wide range of soil mixes or coconut substrates. For growing in pots, we recommend using lighter mixes with perlite, which helps prevent soil compaction.
Additives for improving soil – When growing in beds, the soil is often depleted in spring and plants would not do very well in it after planting. Before spring planting, we recommend adding compost or worm humus to the soil, or products with mycorrhiza and beneficial bacteria.
Root stimulators and growth fertilisers
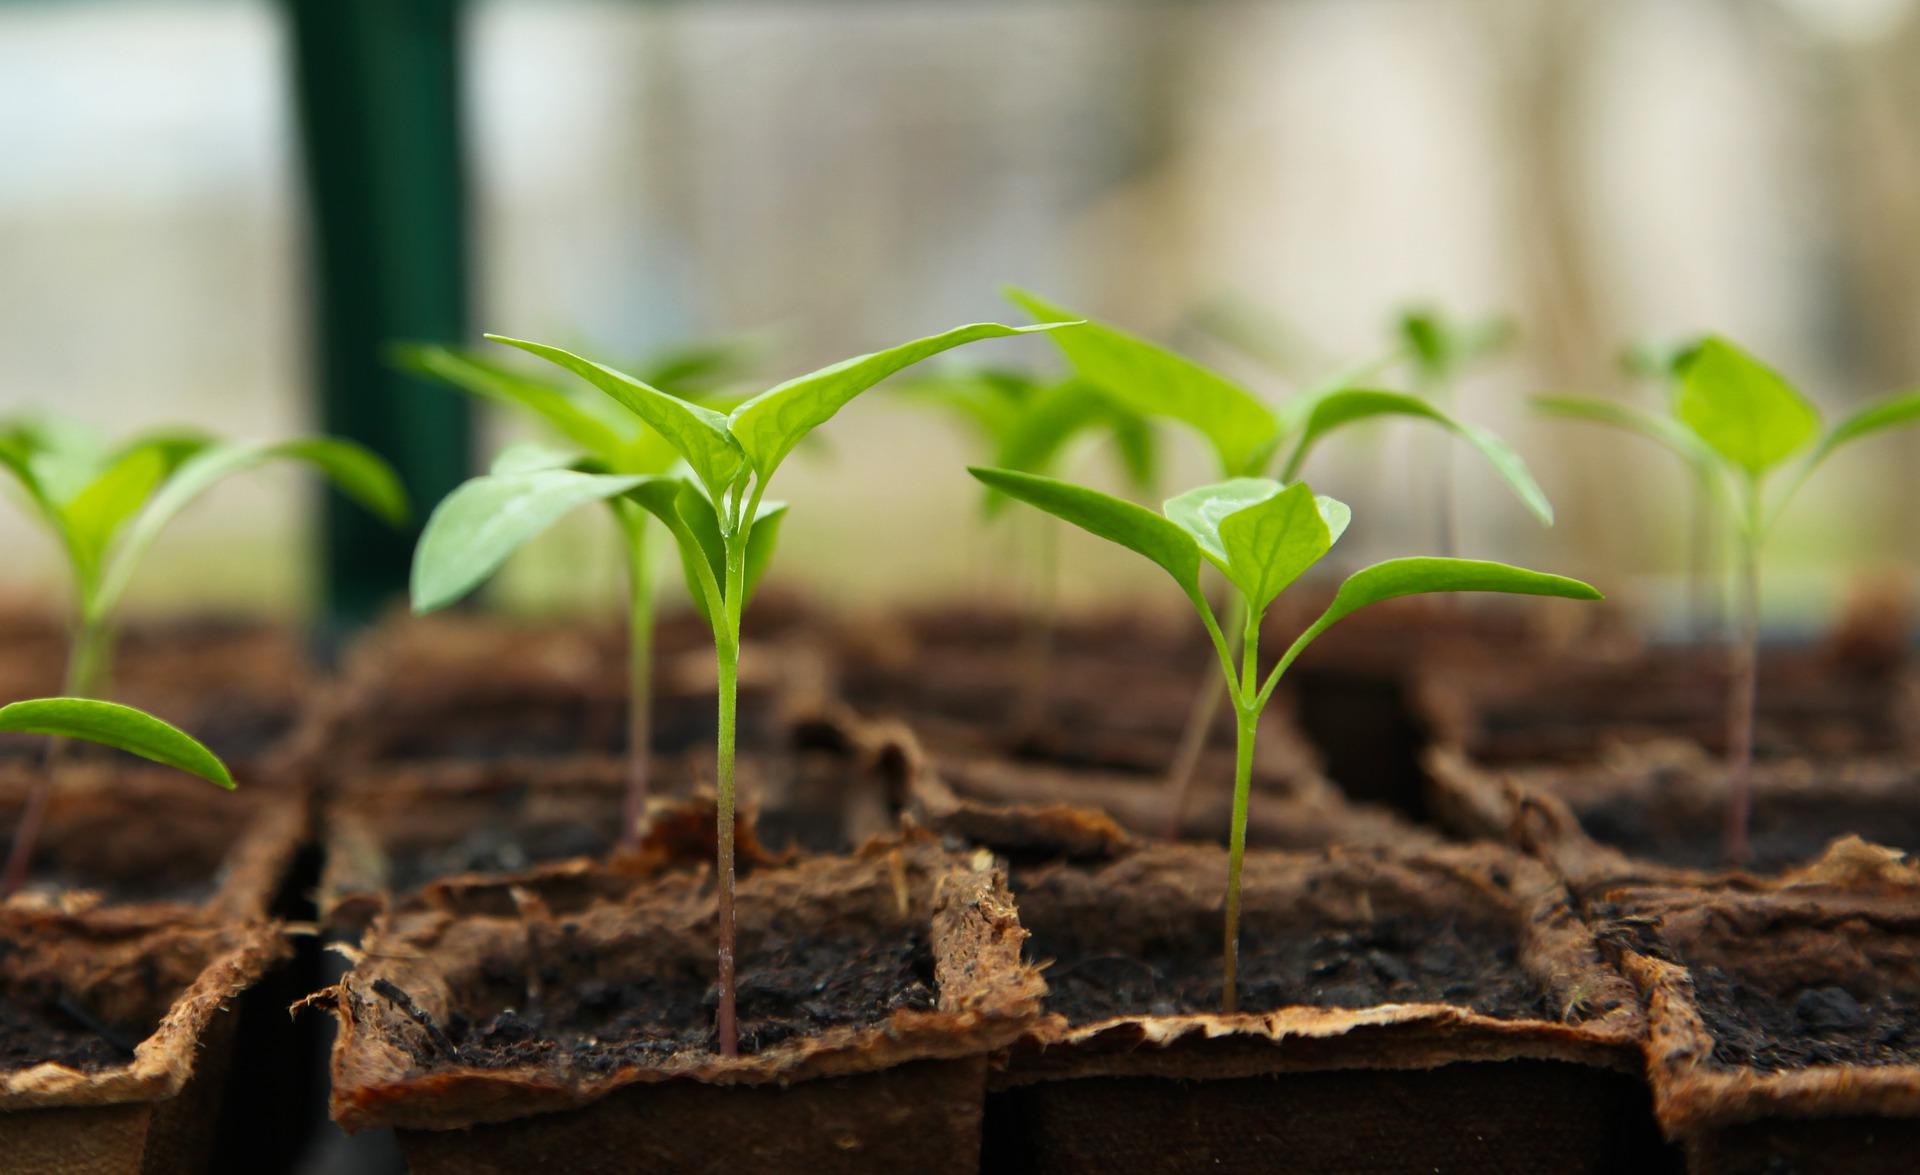 Germination and the first weeks of life are the most critical period in a plant’s life, and it does not hurt to give them a little help. If you grow from seed, we recommend trying germination stimulators, which increase germination success and help you achieve a greater number of healthy seedlings. Root stimulators for growth are especially useful when caring for seedlings and transplanting them, but they are beneficial throughout the entire growing cycle, so there is no need to be afraid of buying a larger pack. If you are growing in pots, the substrate is quickly depleted, so do not forget a suitable growth fertiliser.
You may also be interested in: Organic or synthetic fertilisers: Which are better for your plants?
Germination stimulators for outdoor growing – Germination stimulators are most effective if you apply them directly to the seeds. These products contain plant hormones, mycorrhiza or beneficial bacteria that help seed germination. If you grow with organic fertilisers, try root stimulators with mycorrhiza, such as Orca Liqiuid Mycorrhizae or Ugro Rhiza 1200. If you will use mineral fertilisers, choose products that do not contain mycorrhizal fungi or other beneficial microorganisms, for example Plagron Start Up or Canna Start.
Root stimulators for seedlings and planting – You may have experienced that after transplanting, your little plants had wilted leaves and it took some time before they recovered. This phenomenon is known as transplant shock and can even lead to plant death. Using a root stimulator is a great way to prevent this. Apply the root stimulator to seedlings both before planting, directly around the roots of the plants, and into the soil immediately after planting.
Fertilisers for seedlings and young plants – Plants grown in pots may require more frequent fertilising than those grown in open soil. This is because the substrate in the growing container contains only a limited amount of nutrients, which plants gradually deplete. During the spring months, plants mainly need a high amount of nitrogen for the formation of new leaves, but also phosphorus, potassium and other nutrients. Choose a growth fertiliser according to the type of substrate (soil/coconut) and the growing method (organic/mineral).
You may also be interested in: What growth fertilisers are for and how to use them
Pots for every occasion
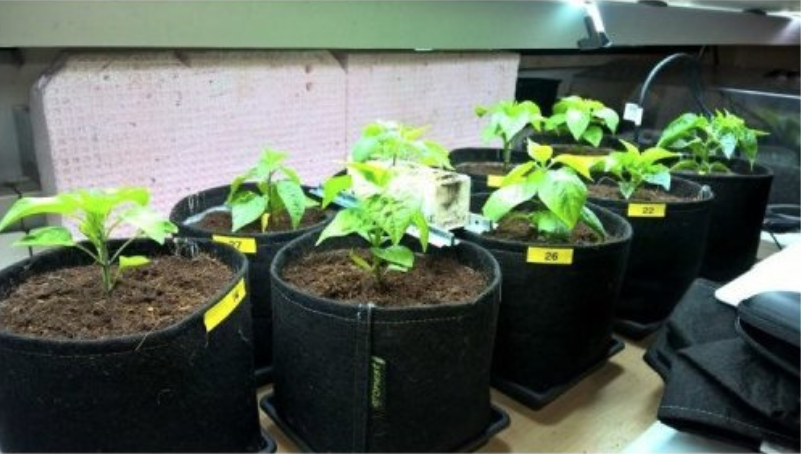 Few growers can do without pots, whether for germination and raising seedlings or for growing on balconies, in gardens or in greenhouses. When choosing a pot, size is not the only factor; the material from which the growing container is made is also important. Plastic pots in various sizes are suitable for almost every occasion, fabric pots dry out faster and support root development, and pots made from biodegradable materials are suitable for raising seedlings.
Pots for raising seedlings – As a rule, it is not worth germinating and growing seedlings in a large pot. With the exception of species that do not tolerate transplanting, it is at least impractical and often more demanding. For germinating seeds, we recommend using propagation cubes or jiffies. For raising seedlings, choose small plastic pots or seedling pots made from biodegradable materials.
Fabric pots – The advantage of a breathable pot is faster drying of the substrate, so plants grown in fabric pots need watering more often. More frequent alternation of wet and dry conditions supports root formation in plants and is especially beneficial for nutrient-demanding species, such as tomatoes or peppers. Fabric is also a great material for raised beds.
Self-watering pots – Although progress has not yet reached the point where pots do all the work for us, there is no reason not to make growing easier. If you grow herbs, try smart planters. If you want to start growing peppers, tomatoes or medicinal plants, choose the modular AutoPot systems.
You may also be interested in: Everything about AutoPot growing systems
Gardening tools and equipment for spring work
Last but not least, we will also add a few tips on garden accessories specific to the spring season. So what else should you not forget? If you are planning to sow vegetables directly into beds in spring, it is important to protect germinating seeds from frost and pests using breathable geotextile. Do not forget planting aids such as labelling tags, planting stick and trowel, sprayer and other garden tools.
Are you looking for news and useful tips for gardeners and growers? Visit our Higarden blog, where you will find news and guides from the field of indoor and outdoor growing, as well as other expert advice for lovers of greenery.
Prepare Your Garden for Spring: What Should You Do Before Spring Sowing?
Careful preparation for spring pays off. The more thoroughly you look after the garden before the season begins, the better your plants will thrive once the weather outdoors is right for planting. We have prepared a brief guide so that you do not overlook anything during your spring preparations.
Successful cultivation does not begin only when the first seeds are sown – the key to a rich harvest is careful preparation right at the start of the season. Tidy the garden, prepare the soil, plan the sowing and ensure enough nutrients – all of this needs to be done before spring fully arrives. Let us look at how to do it step by step.
Thorough cleaning: Before the soil warms up in spring, you have time for a proper clean-up. First clear the garden of fallen leaves and remove all twigs and dead plant remains from the beds. If possible, add everything to the compost.
Preparing the soil in the beds: After a thorough clean-up of the whole garden, it is time to get to the beds. Start by raking away the mulch from the previous season and pulling out weeds so that you expose the bare soil. Decomposed remains of old mulch can be worked into the soil, but it is better to add “fresh” mulch to the compost. Weed remains should either be burned or thrown away. Do not compost pulled weeds, because the seeds could later germinate in the beds or in pots.
Loosening and adjusting soil pH: It is a good idea to loosen exposed soil after winter. Dig over the top layer of the substrate with a sharp spade to a depth of 10 to 15 centimetres. If the soil in your garden is heavy or clayey, enrich it with compost or humus. If you find that the existing substrate is particularly poor or stony, the easiest option is to build a raised bed in the given place. During loosening, you can also lime the soil, which will help neutralise acidity. Soil pH is measured with analogue or digital pH metres.
 Spring fertilising: For your plants to get a good start in life, the soil must contain all the necessary nutrients. In spring and during the beginning of summer, plants mainly require nitrogen, which they need for the formation of new leaves and stems. Compost, humus, well-rotted manure, guano or fertilisers with a higher nitrogen content contain plenty of nitrogen. For root formation, plants also need phosphorus in spring, which you can add to the soil in the form of wood ash, bone meal or phosphate fertilisers.
You may also be interested in: Organic or synthetic fertilisers: Which is better for your plants?
Preparing the bed and planning the sowing: Before the weather outdoors is suitable for sowing, it is time to think about where and which plants you will plant in the garden. Crop rotation is important for soil health and for preventing pests. Bear in mind that some plants help enrich the soil with nitrogen (legumes), while other nutrient-demanding species deplete the soil (kale, kohlrabi).
Care for fruit trees and shrubs: Spring is the ideal time to prune fruit trees and shrubs. Remove dry, diseased or crossing branches and give the plants the necessary fertiliser. If needed, you can spray fruit trees against overwintering pests using suitable sprays.
Pre-growing seedlings: Many types of vegetables, herbs and flowers can be pre-grown at home before the frosts have passed. This gives you a head start, and after planting outdoors your plants will grow and ripen faster than when sown directly into the bed. Tomatoes, peppers or lettuces are most commonly pre-grown. You can pre-grow seedlings by the window in a cold frame or under artificial lighting in a propagator.
You may also be interested in: How to pre-grow seedlings correctly? A guide to equipment for the spring season
Would you like to grow like professionals and learn about new products for growers? Visit our gardening blog, where you will find useful tips and guides on cultivation.
How to Plant in Spring: Choosing the Right Location and Preparing the Soil
It is hard to deny that the right location and fertile soil are the basic prerequisites for successful cultivation. There is no point trying to grow tomatoes, for example, in a forest, where the soil is acidic and trees provide shade. But how do you find the perfect place for your plants? We will advise you, whether you live in a city and have only limited space for growing, or, on the contrary, cannot decide where in your spacious garden to plant your plants.
Choosing a suitable place for growing is not a matter of opinion, but mainly of balancing your priorities and the needs of the plants. The most important factors you should consider before choosing a growing site are the amount of light, proximity to a water source and soil quality.
Sunlight
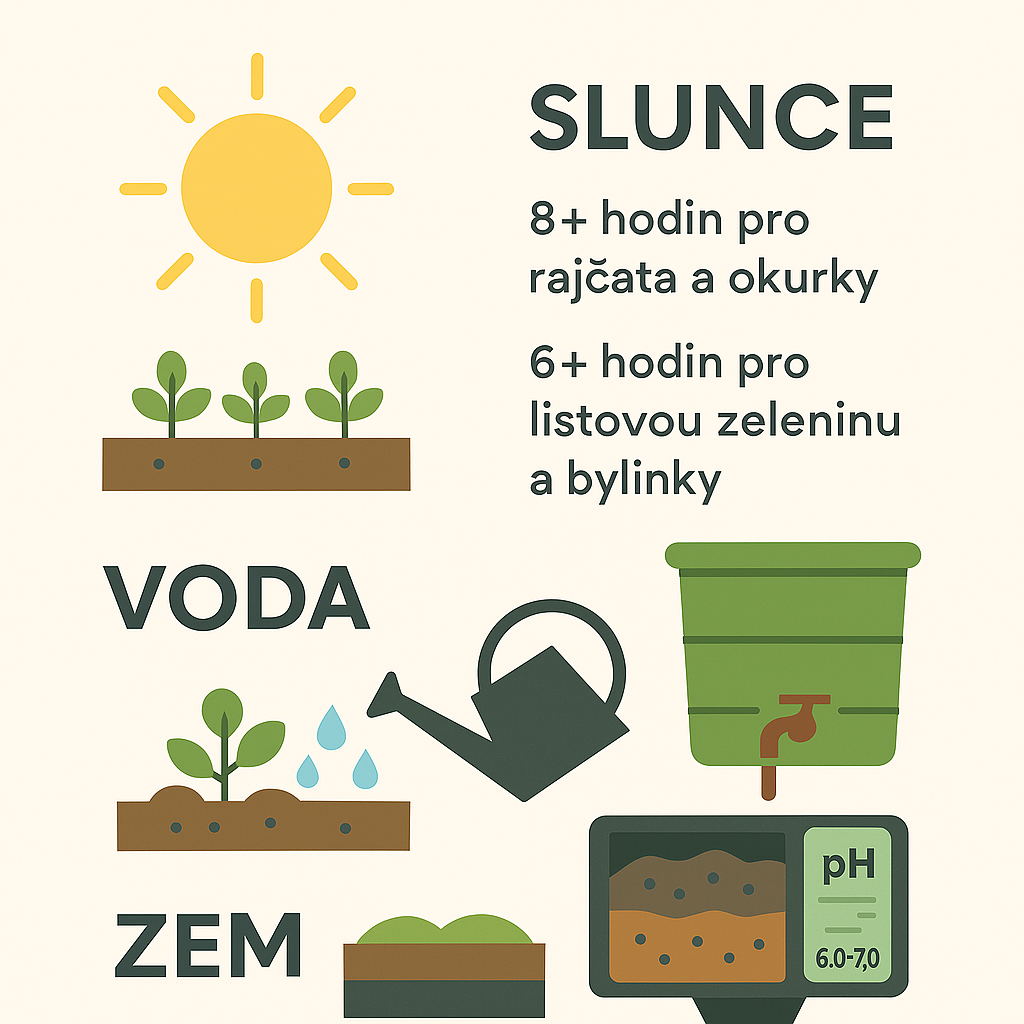 When growing, the more light reaches the plants, the better. It sounds simple, doesn’t it? However, few people are lucky enough to live in a place where there are no tall buildings, trees or fences. When planning, follow the rule that, if possible, the growing site should not be shaded from the south. Even a low fence on the south side of a bed will block a great deal of sunlight.
Most flowers and crops, such as tomatoes, cucumbers or medicinal plants, need 8 or more hours of direct sunlight a day. The same applies to perennial berries or citrus plants. These plants will survive in a site with less light, but they will produce far fewer flowers and fruits. However, there are also species that will thrive in shadier locations. If your garden receives at least 6 hours of light a day, you can grow peas, beans, lettuces and herbs.
You may also be interested in: Light spectrum and its effect on plant growth: Outdoor vs. greenhouse vs. indoor
Proximity to a water source
Rain is the cheapest and best source of water for outdoor growing, but nature is unpredictable and most plants do best when they have a regular watering regime. When choosing a growing site, do not forget that you will need to water. You can do this by hand, or use an automatic irrigation system.
Place a barrel or water tank near the growing site so that you can collect rainwater in it, or where it can be easily filled from the tap. This is not only about your convenience, but also about the fact that water for watering plants should not contain chlorine. Therefore, if you draw watering water from the mains supply, it is a good idea to let it stand in the tank for at least a day before use.
You may also be interested in: What you need to know about the water you use for watering
Soil quality
Whether you are planning to grow in a bed in open ground, in a greenhouse, or on a balcony or terrace in pots, fertile and high-quality growing substrate is a prerequisite for success. Most plants do best in neutral to slightly acidic, well-drained soil (pH 6.0 – 7.0) rich in organic matter. Growing substrates for growing in pots usually contain a mixture of soil, compost and perlite for aeration. If you are growing in beds in open ground, some dirty work awaits you.
You may also be interested in: How to choose a horticultural substrate
How to prepare bed soil for growing
- Thorough clean-up: Remove weeds, fallen leaves and the remains of plants and mulch from the previous season from the bed. The aim is to expose the loose soil.
- Loosening and adjusting soil pH: Loosen the exposed soil by digging over the top layer with a spade to a depth of about 10 to 15 centimetres. If the soil in your garden is heavy or clayey, enrich it with compost or humus. If you find that the existing substrate is particularly infertile or stony, the easiest option is to build a raised bed in that place. During loosening, you can also lime the soil, which will help neutralise acidity. Analogue or digital pH metres are used to measure soil pH.
- Spring fertilising: In the spring months, plants mainly need enough nitrogen, which you can add to the soil, for example in the form of compost, vermicompost (humus), guano or fertilisers with a higher nitrogen content. In spring, you can also add wood ash to the soil, which contains phosphorus that supports root growth in young plants.
You may also be interested in: Prepare the garden for spring!
More tips on growing and gardening for indoor and outdoor use can be found on the Higarden blog for growers.
Growing Year Plan: Prepare for the Outdoor Season
Anyone growing outdoors must take the vagaries of the weather into account and adapt their cultivation to nature. A conscientious gardener is not caught off guard and plans planting and the work schedule months in advance. We will guide you through the key periods of the entire outdoor season, and you will learn when and how to plant each crop so that you can look forward to a truly abundant harvest.
January and February: Preparing for the season
Winter is a time for planning and preparing for spring. Start by thinking about what you want to grow in the coming season. Explore new varieties that could enrich your garden or be better suited to the given site. Did you encounter pests or moulds in the previous season? Now is the right time to consider whether to plant more resistant cultivars or even a different plant species. Create a bed plan so that you use the growing area as efficiently as possible.
Tool care: Check the condition of your tools and repair or replace damaged pieces. Invest in quality gardening supplies for professional gardeners, which will save you time and money. Think about everything that might come in handy in the next season. Do not forget sprayers, watering cans, gloves, tying wire, geotextile, plant labels and pruning shears.
Soil maintenance: If the weather allows, add quality compost or vermicompost to the beds to supply the soil with nutrients. Try not to underestimate this step; organic fertilisers need some time to break down in the soil. Mulching is an excellent way to protect the soil from erosion and keep it ready for spring planting throughout the winter.
Are you wondering which fertilisers to use when growing outdoors? Read the article Organic vs. synthetic fertilisers: Which is better for your plants?
March: First sowing and soil care
In March, nature begins to wake up, and it is time for the first outdoor sowing and soil preparation. If you grow plants that need a long ripening period (for example chilli peppers), you can start raising seedlings at home under artificial lighting. You can find out how to raise chilli peppers here.
Preparing the beds: Loosen the beds thoroughly and remove weeds. Add compost or quality growing medium to improve the soil structure and supply it with nutrients. If you are growing using the “no-till” method, where sowing is done directly into unworked soil, skip this step.
Sowing hardy crops: Radishes, carrots, parsley or peas can be sown directly into the beds. For peas, keep a distance of about 10 cm between seeds and 40–60 cm between rows. You can also start raising onions from sets or garlic.
Cold frames and greenhouses: If you have a cold frame or greenhouse, you can start raising tomatoes, peppers and other fruiting vegetables. Do not forget sufficient light and the correct temperature, and you can also try tube heaters for greenhouses.
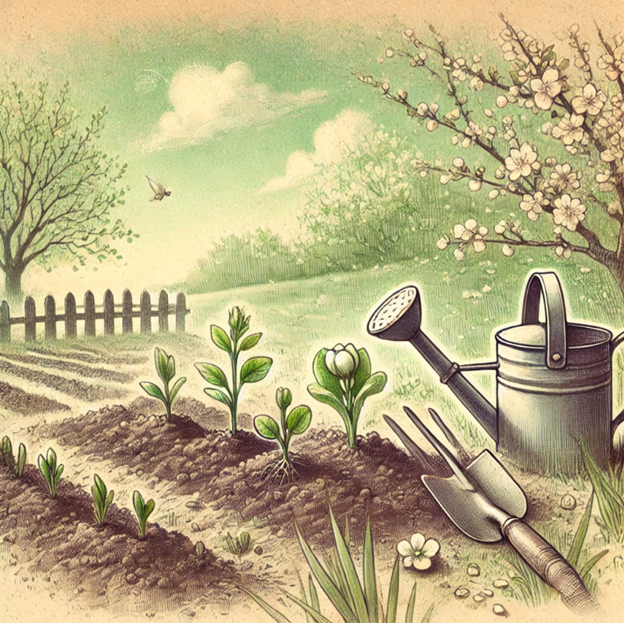
April: The season gets underway
April is a month full of busy work for outdoor growers. The soil begins to warm up and allows the sowing of less hardy plant species.
Planting potatoes: If you plan to grow potatoes, April is the ideal month to plant them. Plant the tubers in rows 60 cm apart, at a depth of about 10–15 cm.
Sowing leafy and root vegetables: Spinach, beetroot, kohlrabi and chicory can be sown directly into the beds. Also prepare a place for herbs such as coriander, parsley or chives.
Fruiting vegetables: Start raising tomatoes, peppers and cucumbers at home or in the greenhouse. These plants need a longer growing season and will only be moved to outdoor beds in May.
May: Peak planting time
In May, your garden will begin to fill with life. As the saying goes, after the “ice saints”, that is after 14 May, you should start planting heat-loving crops directly into the beds.
Planting tomatoes and peppers: Transplant the raised tomato and pepper seedlings into sunny beds. Keep sufficient spacing between plants so that they have enough room to grow.
Sowing courgettes and pumpkins: These crops need plenty of space, ideally at least 80 cm between plants. Sow them directly into the beds as soon as the soil is sufficiently warm.
Care for young plants: Monitor the weather forecast and protect plants from any night frosts. Use non-woven fabric or film covers.
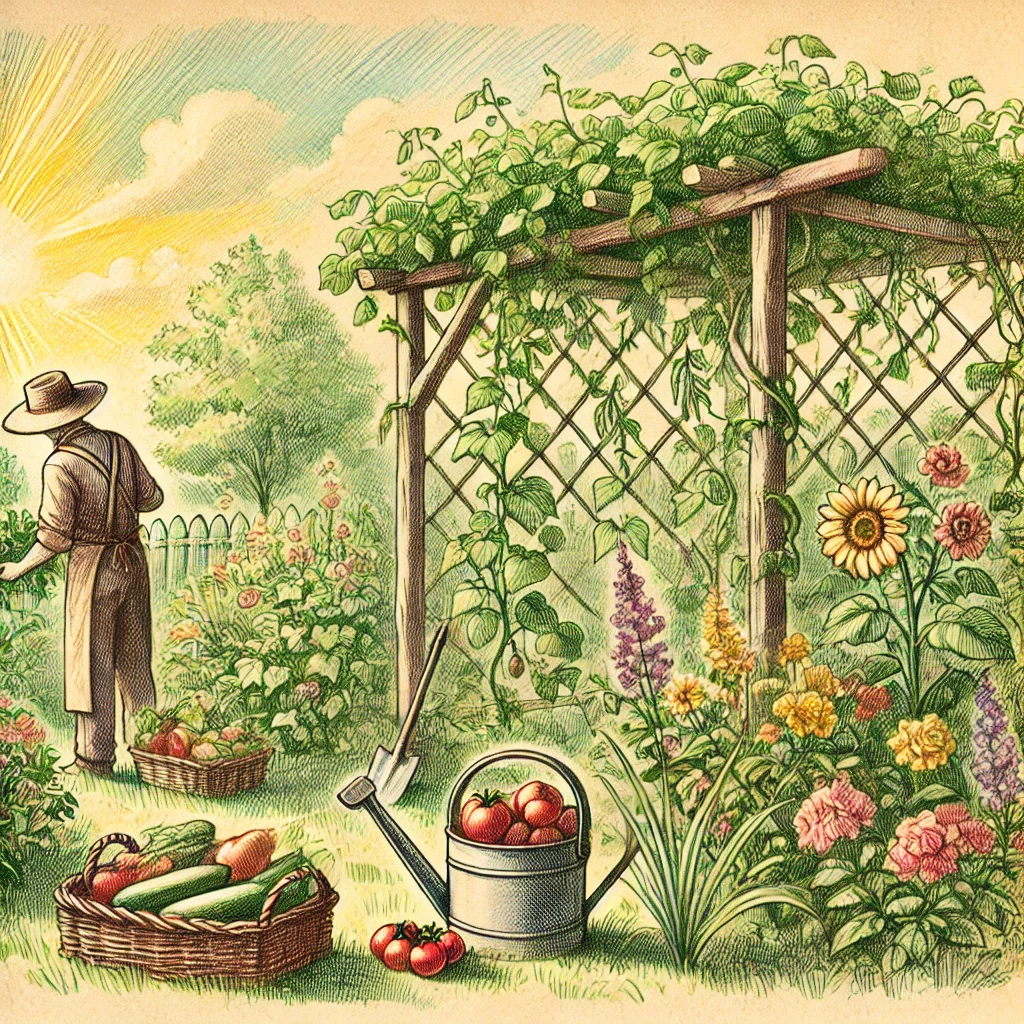
June and July: Garden care and harvesting
Summer is a time of intensive work for gardeners, but it is also when we can enjoy the first summer harvest. This period is also the peak of activity for many pests. Check the plants in the garden regularly so that you can intervene in time. An overview and detailed information on how to fight insect pests and moulds can be found on our blog.
Watering and mulching: During dry periods, do not forget to water regularly. The modern grower has a range of tools at their disposal, including automatic irrigation systems, which take care of most of the hard work for you.
Pest control: Monitor plants for aphids, slugs or other pests. Try to use ecological methods of protection against pests and diseases, such as predatory beetles or natural insecticides.
Harvesting fast-growing crops: Radishes, spinach and lettuce are ready to harvest within a few weeks of sowing. Sow these crops throughout the season so that you can harvest them gradually.
August and September: Harvest and preparation for autumn
The end of summer and the beginning of autumn are a time of abundance and preparation for the end of the season. Proper care of the garden in these months will ensure not only a flawless harvest without mould, but also a healthy start to the next year.
Harvesting: Tomatoes, peppers, courgettes, potatoes and other crops are ripening. Harvest gradually so that the plants can continue to bear fruit.
Sowing autumn vegetables: Sow winter leeks, Brussels sprouts or autumn spinach so that they have time to grow sufficiently before the frosts arrive.
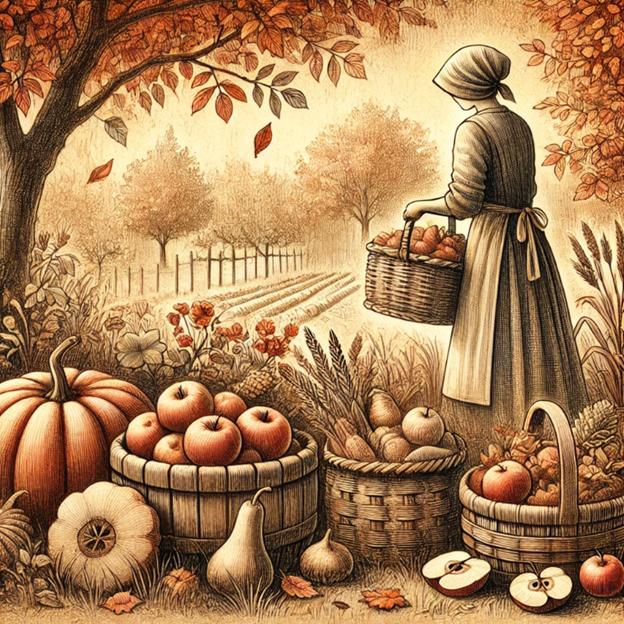
October and November: The garden rests
With the coming winter, nature begins to prepare for winter rest. Spend time cleaning and caring for the soil. Remove plant residues to prevent the spread of pests and moulds.
Garden clean-up: Remove plant residues that could harbour pests or diseases. Take out the tubers of flowering plants, such as dahlias, and store them in a dry place.
Fertilising and composting: If you have not already done so, add organic fertilisers and compost to the soil so that the soil has enough nutrients for the next season. If the soil needs liming, now is the right time.
Protecting perennials: Cover delicate plants with conifer branches or non-woven fabric to protect them from frost.
By now, you should be perfectly prepared for the coming season. Finally, we add a clear table of popular crops with the months of planting, which will help you plan sowing more effectively. You can find more useful tips for growing at home and outdoors on our Higarden blog.
How to Grow in a Greenhouse?
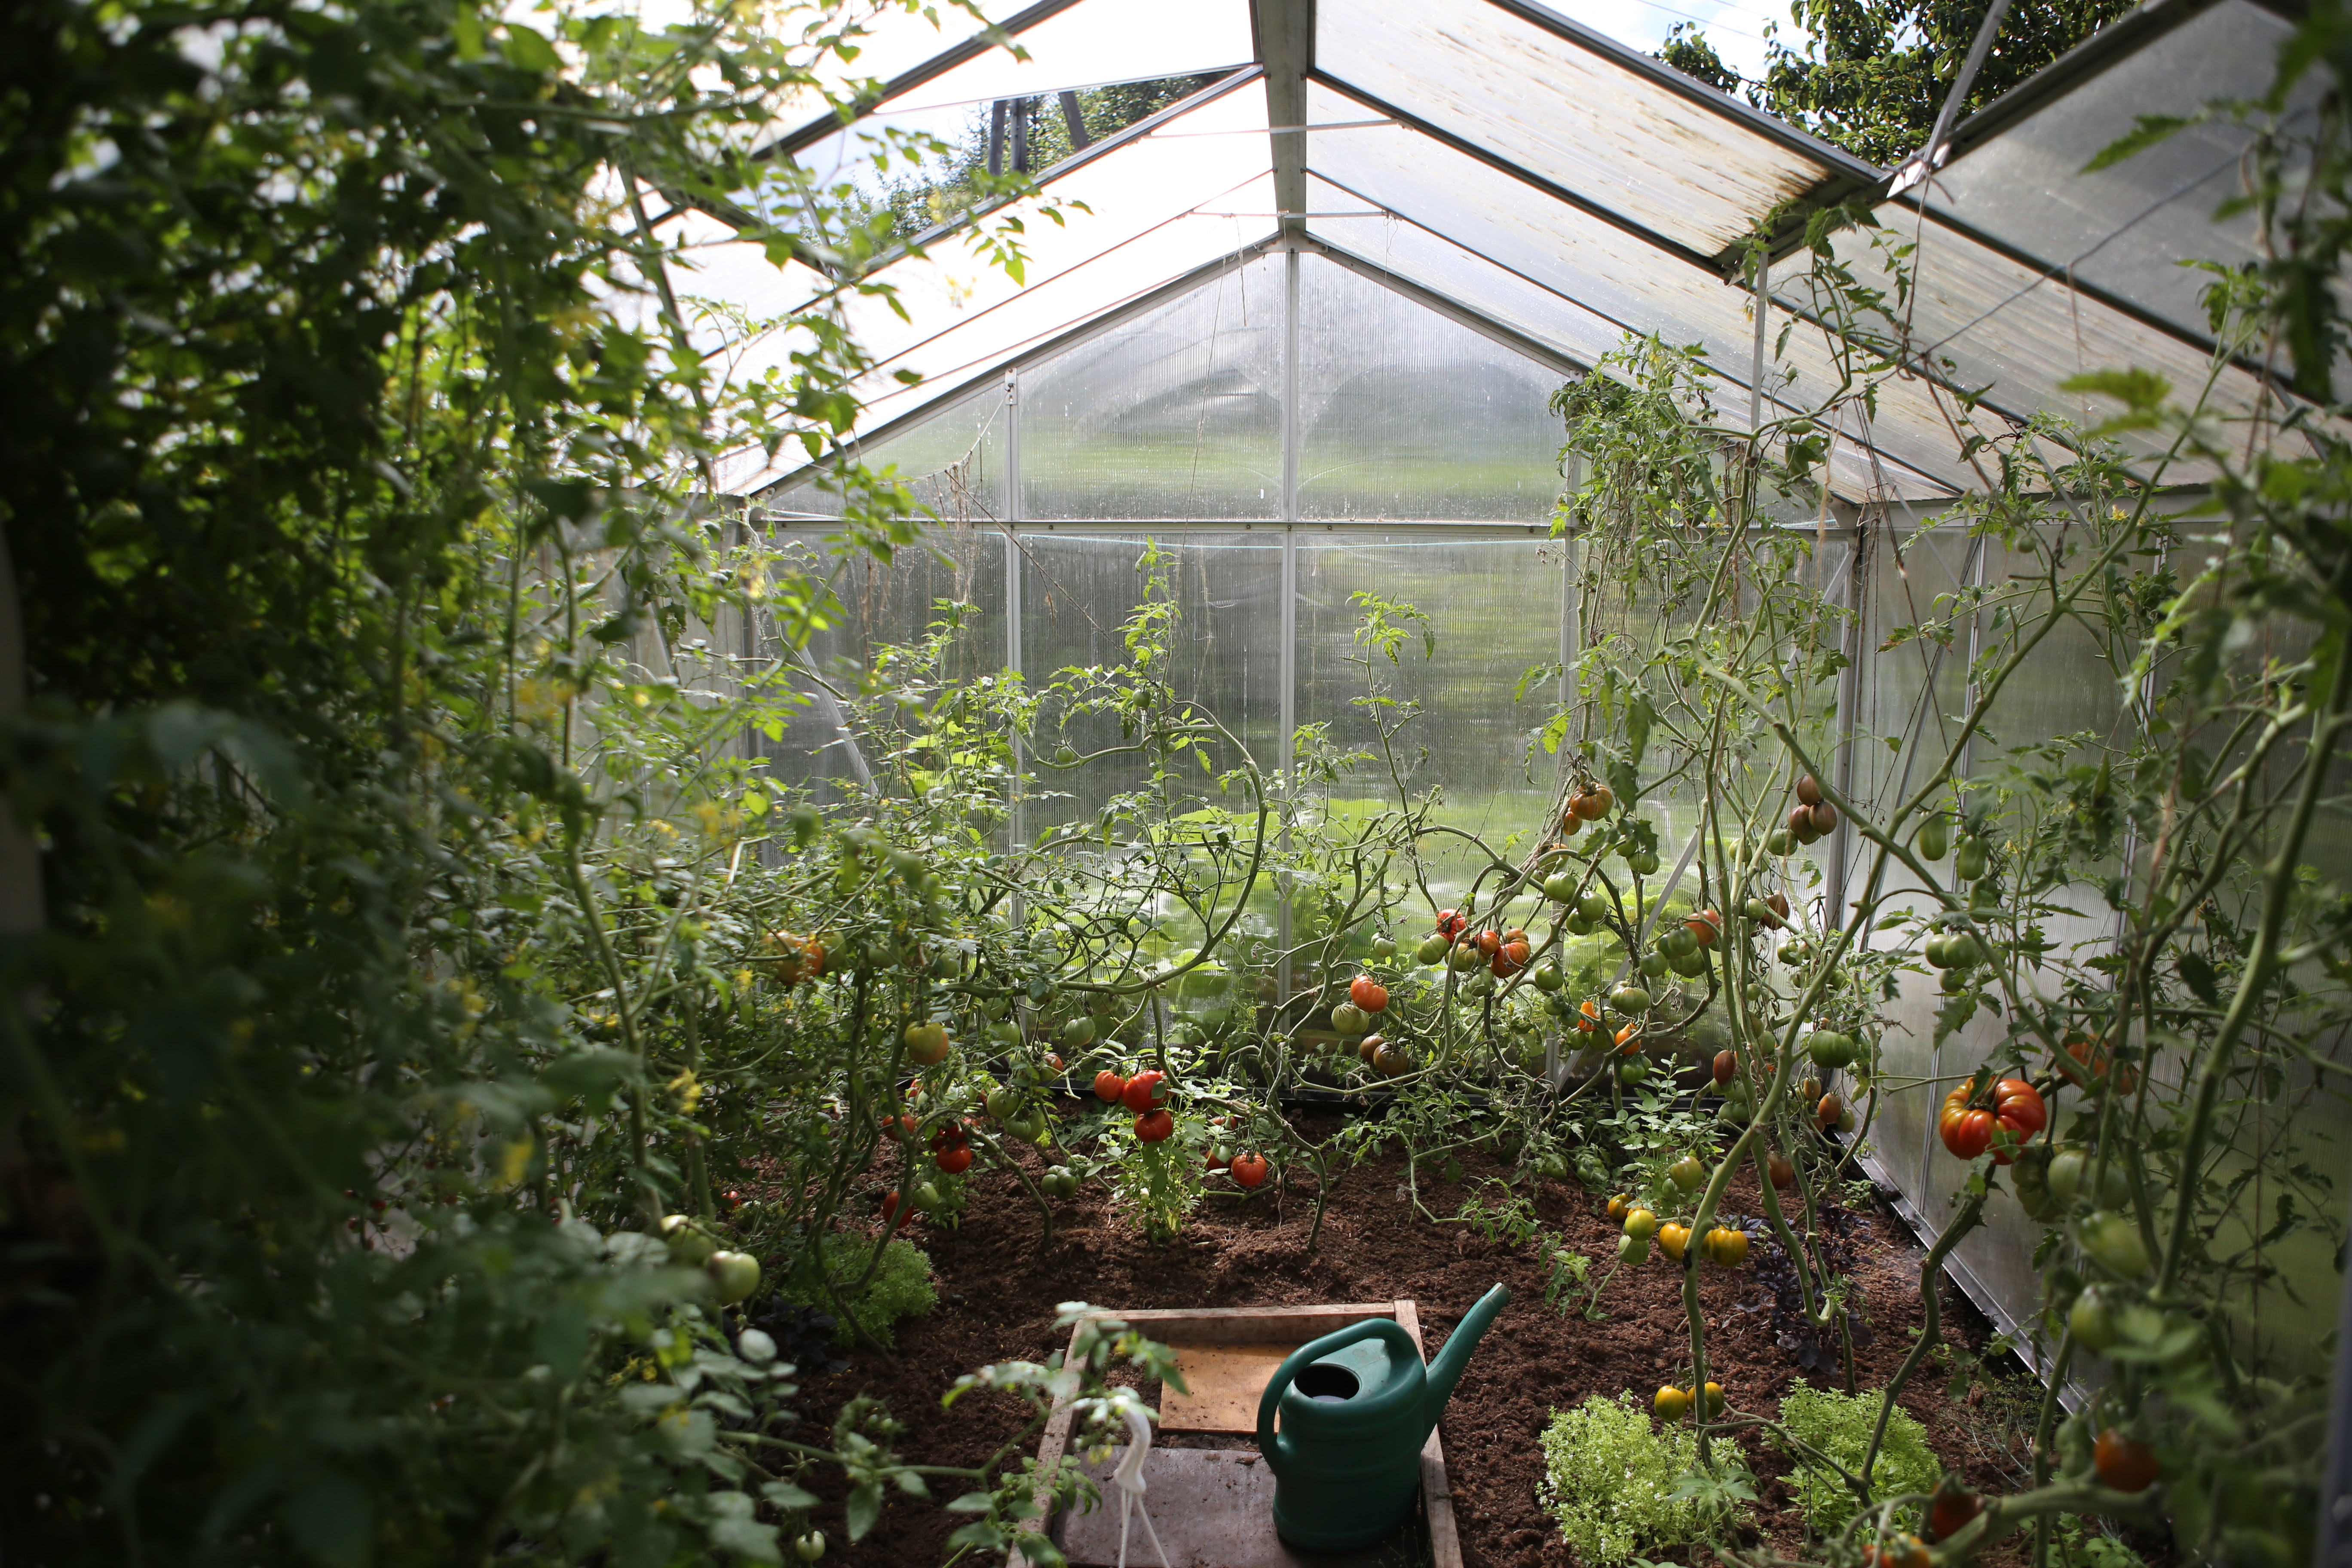
Greenhouses are often associated with harvesting fresh home-grown tomatoes, peppers or cucumbers. However, successful cultivation of a wide range of vegetables, fruit and herbs in a greenhouse has its time-tested principles, which experienced growers follow so that they can enjoy a rich harvest once or even twice a year. Read about the advantages and pitfalls of greenhouse growing.
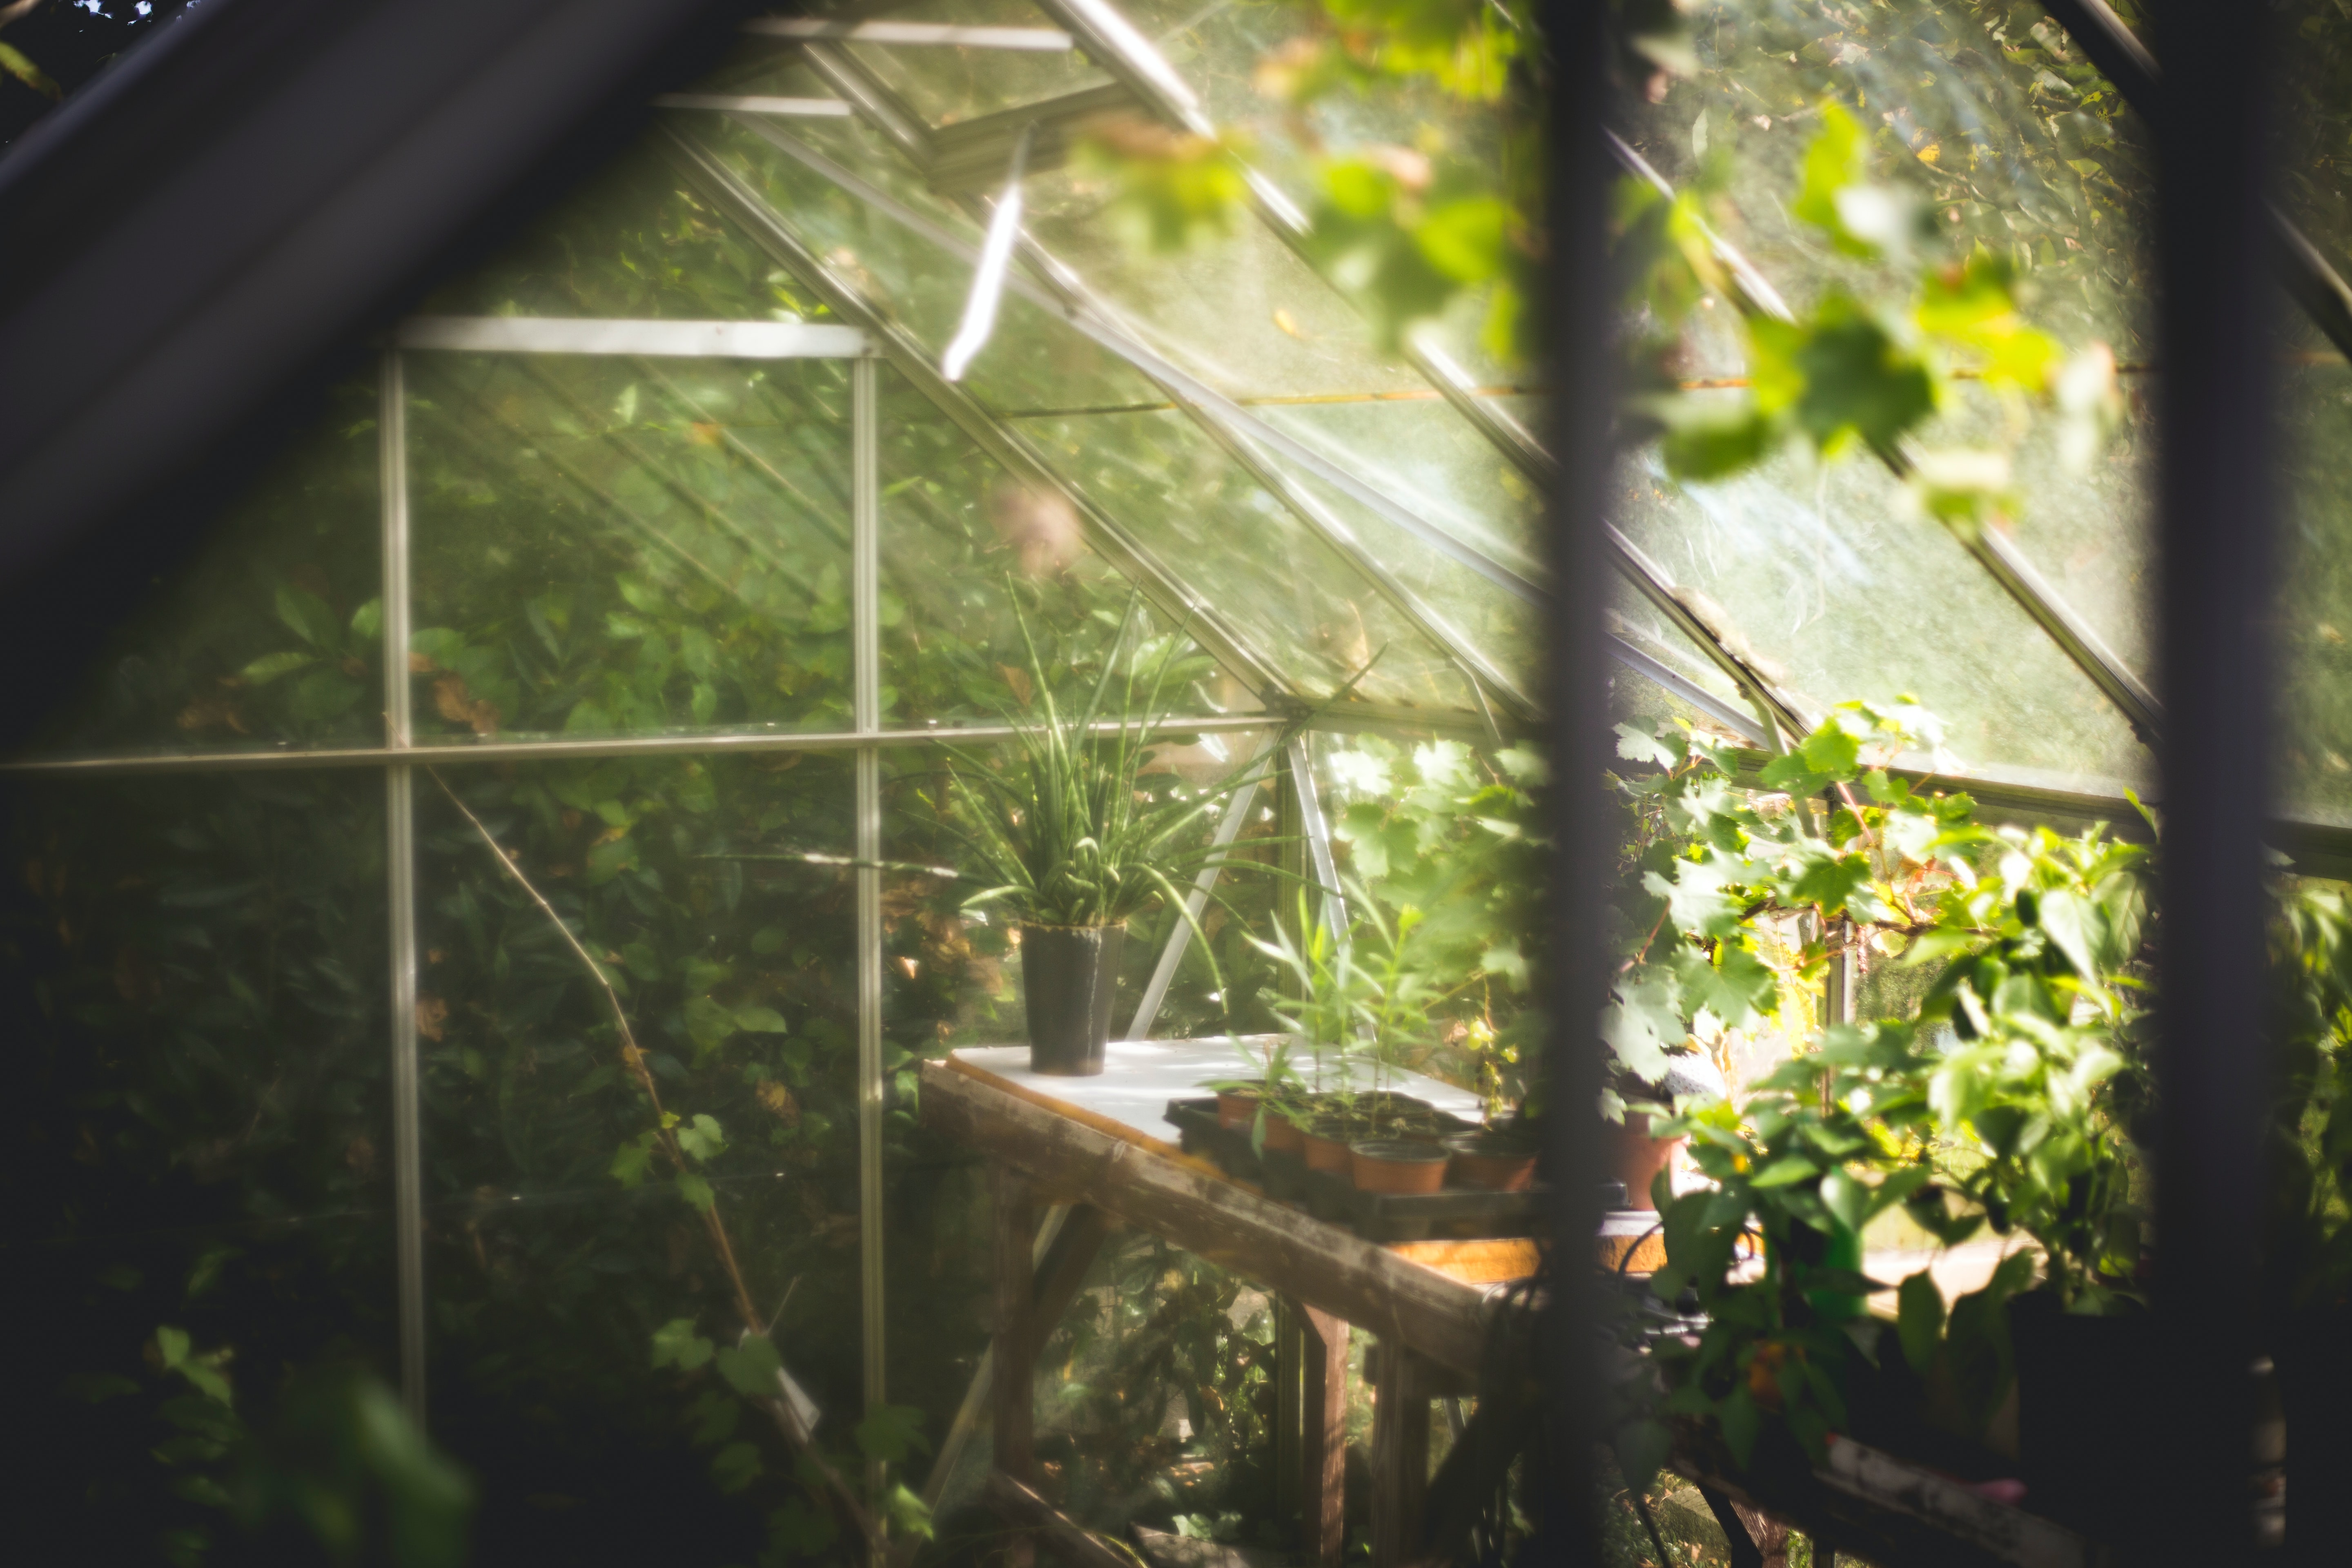
Advantages of growing in a greenhouse
What is the main advantage of greenhouses compared with growing on uncovered beds in the garden or in a field? The answer is: optimal growing conditions, to which some popular plant species are very sensitive. Unlike purely outdoor growing, a greenhouse makes it possible to maintain a constant temperature and humidity. Greenhouses also protect plants from adverse weather in the form of strong winds or heavy rain. (Below the article you will find a link to a separate article devoted to various stress factors that harm plants.) Greenhouses therefore allow plants to grow faster and crops to ripen more quickly. Growers make the greatest use of this especially when growing seasonal vegetables. Some vegetable varieties cannot really be grown without a greenhouse. If you have a greenhouse in your garden, you have much greater scope in terms of which varieties to grow.
Our TIP: A Dutch high-tech innovation also helps growers achieve optimal conditions in greenhouses: the intelligent TechGrow S-2 CO2 sensor. We also warmly recommend other unique devices from this manufacturer! For example, modern timers for your irrigation systems.

Another advantage of growing in a greenhouse is, of course, energy savings, because as far as plant lighting is concerned, you do not need an artificial light source and you use the sun, which shines on plants for free and whose light is intensified by clean glass (see below).
Another advantage of greenhouse growing lies in the head start. What do we mean by that? As mentioned at the beginning, harvesting can take place even twice a year. This is because while in open outdoor beds we usually plant tomatoes or peppers only during May, when the weather is sufficiently warm, a greenhouse gives growers up to a two-month head start, so more hardy vegetable species are commonly planted as early as March.
Ventilate, ventilate, ventilate
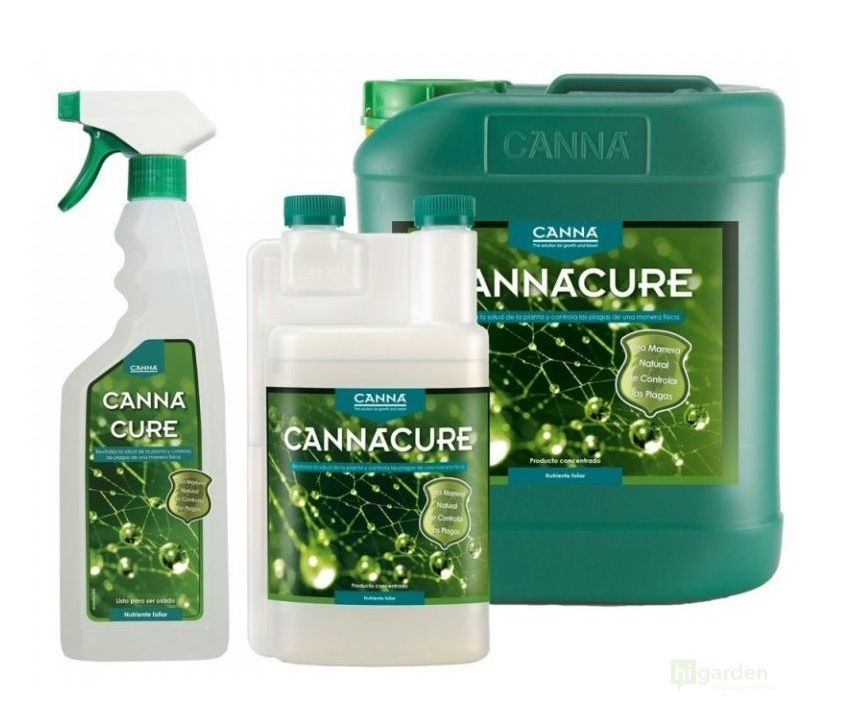
Ventilation, ventilation, and plants will be protected from mould... Not only for this reason should regular air exchange be a matter of course when growing in a greenhouse. If it is not, an environment is automatically created in which plants, put simply, struggle to breathe. Excessive humidity forms inside the growing space, which increases the risk of plants being affected by mould or other fungal diseases. A common mistake is also to rely on just one ventilation opening. You should always open at least two windows to ensure sufficient air circulation inside the greenhouse. On warmer days, opening the doors is an option, but bear in mind that the larger the ventilation opening, the easier it is for pests to get inside. After all, a greenhouse is not a grow box, so you should definitely think about effective prevention. Also read the article: How to deal with pests? A great helper is especially the popular Canna CURE spray. On the other hand, by opening ventilation openings including the doors, we give useful flying insects, namely pollinators, the opportunity to look into the greenhouse, and they thus fulfil their role given by nature inside the greenhouse and help us achieve a wonderful harvest. To summarise:
- Ventilate thoroughly in combination with effective prevention.
- Opening at least two ventilation openings on opposite sides of the greenhouse ensures that air circulates naturally in the growing space.
- In spring, ventilate only during the day, when outdoor temperatures reach their maximum, and do not forget to close the ventilation openings at night so that night-time temperature fluctuations do not endanger the development of your plants; greenhouse heating can also help protect them from these fluctuations (see below).
Make the most of the space
Efficient use of space in a greenhouse makes it possible to multiply the amount of tasty produce or fragrant herbs you will be able to harvest. For this purpose, greenhouse shelving or window ledges are purchased for greenhouses. Handy DIY enthusiasts can also make them themselves. The material is not as important as stability, because damp soil has considerable weight. They are perfect, among other things, for pre-growing seedlings in pots. Some shelves are foldable, others are not. The advantage of foldable shelves is that they do not later get in the way of larger plants. Under fixed shelves you can grow lower vegetables and set up another level on shelves where you place window boxes with basil and other heat-loving plant species. Ideally, the shelves should have various openings through which the flowing air can also reach the lower level.
Tips for pots for a healthy root system and higher yields
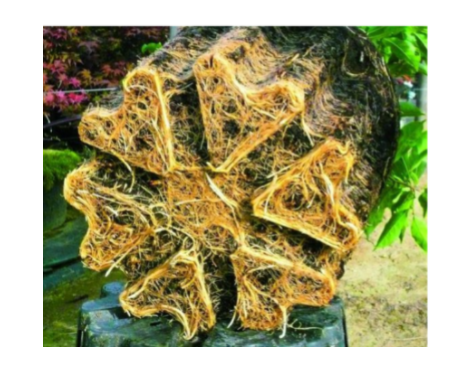
Fabric pots are made with sustainability in mind. After harvest, you can simply wash them and use them again for the next growing cycle. Unlike plastic pots, there is no risk of the growing container degrading, and you ensure perfect drainage of the substrate as well as its aeration, meaning an above-standard supply of oxygen to the roots. Read the article: When should fabric pots be preferred over plastic ones? From plastic pots, we recommend aerated HERCULES pots for excellent root development. The picture clearly shows how well plant roots thrive in them.
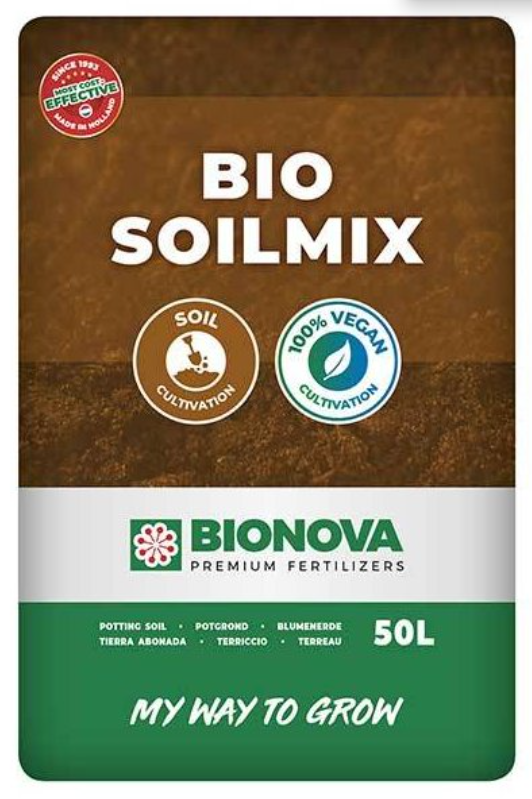
Some growers prefer beds in the greenhouse, supplemented by hanging pots for maximum use of the growing space. If you decide to give preference to cultivating plants in beds inside the greenhouse, do not forget to get quality soil substrate and replace it regularly, or revitalise it. Substrate revitalisation is the subject of the article: How and why should substrate be revitalisedsubstrate? Regular revitalisation and replacement of spent substrate in greenhouse beds is part of important prevention against mould and plant pest infestations. If your priority is to harvest tasty crops in organic quality, we recommend, for example, BioNova Bio Soilmix.
Advantages and pitfalls of the greenhouse effect
This process, which we already know from school, allows plants to grow faster and produce fruit that also ripens more quickly. Fruiting vegetables are therefore usually the number one topic in greenhouses. Short-wave radiation enters the greenhouse through the glass, creating heat that is retained very well inside. Growers and gardeners use this every year as early as spring for pre-growing seedlings. The greenhouse effect is beneficial in most situations, but it is said that too much of a good thing can be harmful. This also applies to too much sun, whose rays are intensified by the glass. During the hot summer months, care must be taken to ensure that extreme temperatures do not develop inside the greenhouse. In our e-shop, you can choose from a wide range of devices for measuring temperature and humidity.
Heating the greenhouse
Protect your plants in the greenhouse from sudden drops in temperature or low night-time temperatures and provide them with a stable environment using special heating.
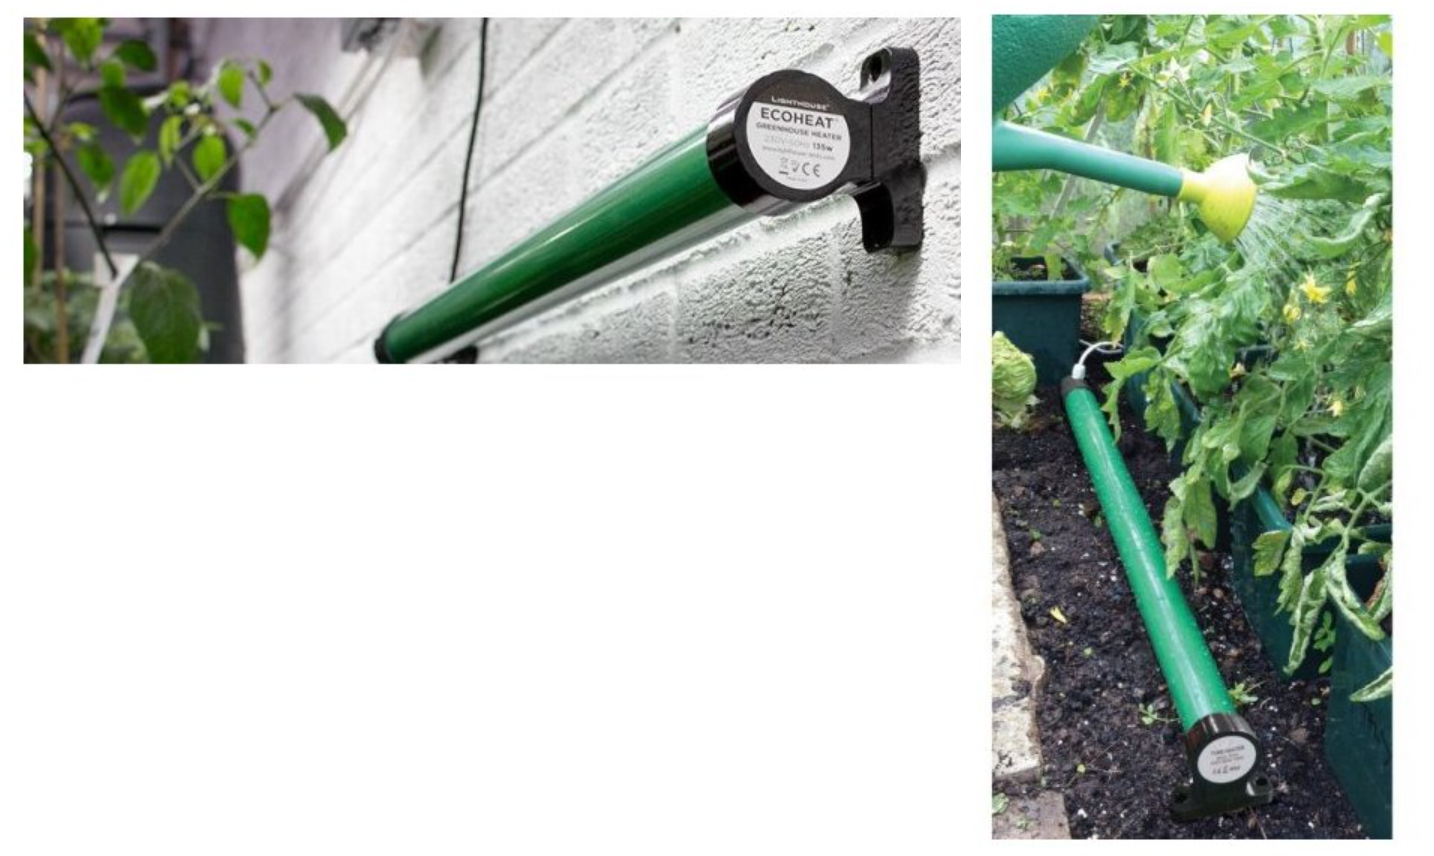
We recommend the reliable tubular heating elements LightHouse ECOHEAT, made directly for greenhouse growing purposes in four variants. Simply choose the required output to (45 W, 80 W, 135 W or 240 W) according to the size of the greenhouse.
You can easily attach the practical heating elements to the greenhouse wall, but you can also place them directly next to the plants without any problem, as they are resistant to sprayers and water splashes. You can see both options in the picture.
Greenhouse heating will certainly also come in handy for safely overwintering portable plants.
Heating the greenhouse is certainly a suitable support for plant development during the colder months, but do not forget that if you want to grow plants in a greenhouse in winter, in addition to heating the greenhouse you must also obtain sufficiently powerful artificial lighting. And heating a large space with artificial lighting is already a fairly costly matter. Year-round growing of any plant species under artificial lighting is also made possible by grow tents of various sizes, thanks to which you can harvest in the comfort of your home from spring to winter.
Clean glass and birds
If you keep the glass permanently perfectly clean, you maximise the effectiveness of the sun's rays that pass through the glass and fall on photosynthesising plants. In other words, it would certainly be a shame if your efforts were slowed down by a layer of dust or other dirt from the surrounding environment. For example, lettuces typically, as a result of a layer of dust on the greenhouse, do not absorb light rays with sufficient intensity and tend to accumulate nitrates in themselves.
However, too much of anything is harmful, and therefore, when it comes to the pitfalls associated with growing plants in a greenhouse, caution is especially necessary in summer. We have already mentioned the greenhouse effect. The accumulating heat inside the greenhouse could damage plants, so it is worth using proven methods, such as coating the greenhouse surface with a protective lime wash, which can be removed quite easily after the season with water and vinegar. These coatings are usually inexpensive, and you do not need to worry about damaging the glass in any way.
As for the clear glass, it is also important not to underestimate speed and not to overestimate the perception of birds flying over the property on which your greenhouse stands. A little translucent paint or UV stickers on the glass will protect the lives of birds and at the same time prevent damage.
If you have any questions about greenhouse growing, we will be happy to advise you at the well-known e-mail address info@higarden.eu. This also applies, of course, to choosing suitable products that will make your work in the greenhouse considerably easier and increase yields. We are here for you!
We also recommend these products:
What to read next:
Autumn Gardening
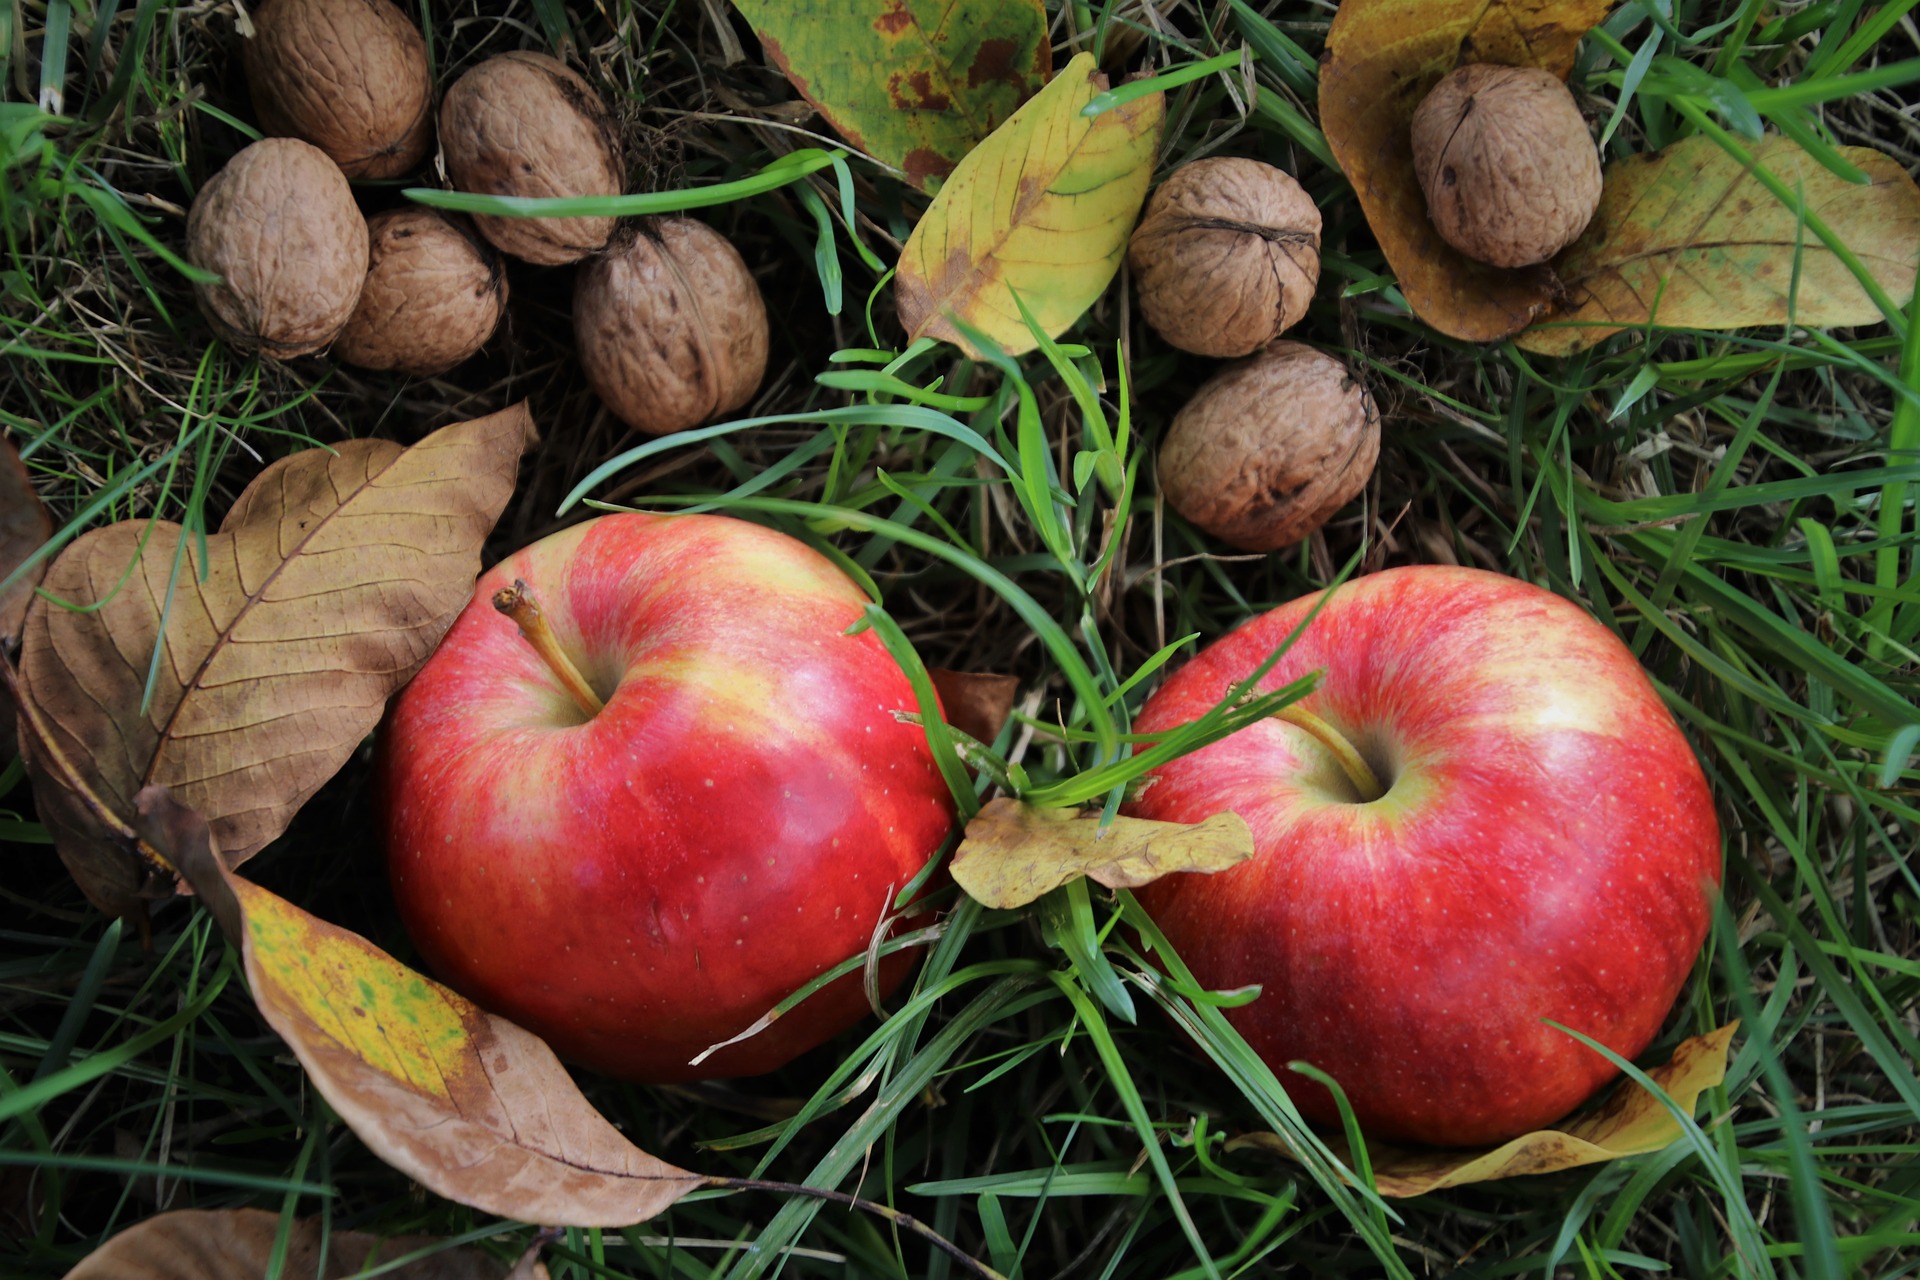
The garden has its own charm in autumn. Moreover, both at the end of September and during October, keen growers still have a whole range of opportunities for action. In addition to harvesting crops from the garden or orchard, it is the ideal time to take care of the lawn and roses. We will also advise you on what to plant in autumn.
What can you still manage in SEPTEMBER?
- Lettuce
- Radishes
- Onions
- Spinach, which you will still manage to harvest in two months.
- Bulbs, whose flowers will delight you in spring. These include, for example, snowdrops, snowflakes, irises, crocuses, hyacinths, daffodils and the popular tulips.
What to plant in OCTOBER?
- Garlic, whose cloves should be planted in the soil to a depth of approximately 6 cm.
- Kale, although there is no point exposing it to frost. However, before frosts arrive, it can safely be left outside. With the arrival of frosts, it is enough to transplant it into a flowerpot and grow it on in a cooler room.
- Ornamental woody plants and fruit trees – in this case, it applies that some species establish better than in spring, as they only need to root well and gain a head start before the spring days arrive. From mid-October until the first frosts, you can safely plant apple trees, plum trees, cherry trees, sour cherry trees, pear trees and walnut trees.
- Sea buckthorn
- Cranberries
- Blueberries
- Grapes
Herbs in autumn
- Experienced herb growers cultivate herbs not only in spring, but also in autumn, using mulch bark and moderate irrigation.
- Delicate herb species are protected from the effects of low temperatures by non-woven fabric.
- Among the most commonly grown herbs in the cold months are sage, chives, rosemary, thyme and mint.
Rose care
- The care you devote to roses during the autumn months, so that they can peacefully survive the coming winter period, will be richly rewarded in spring by beautiful flowers, whatever variety you grow.
- First of all, try to avoid black spot (Diplocarpon rosae), which is typically caused in roses by fluctuations between daytime and night-time temperatures. You will recognise this problem by brown or black spots on the leaves when viewed from above.
- Before you notice these signs, it is of course better to use a quality biological preventive spray, which effectively strengthens the defence of roses.
- If it is already too late for prevention, cut back the roses so that you remove all leaves affected by black spot.
- Quality scissors for trimming not only roses and other garden tools can be found HERE.
- Apart from rock roses, you will not be trimming roses only in the event of spotting, but also as part of proper shaping for their further growth and beauty.
- Among the tried-and-tested tips from gardeners is trimming roses 2 cm above the point where the fifth to eighth branch with leaflets begins.
- The ideal time to trim roses is at the end of October.
- Even before that, right with the arrival of autumn, it is also the ideal time to plant new plants, as roses thrive in soil that is naturally settled. All the more so if you enrich it with compost or quality phosphate fertiliser.
- Trim new roses back to the strong part, soak them in water (2 hours) and you can plant them.
- If you know that you are growing a more delicate variety, geotextile will benefit your roses.

Lawn care
- In summer, it is possible to leave mown grass for a while, but in autumn we definitely recommend removing the cut grass immediately for the health of the soil.
- If, after raking up leaves and cut grass, you discover “bare” patches, do not forget local overseeding.
We hope that the above recommendations will allow you to enjoy the gardener’s autumn to the full. And if you have so far devoted yourself to plant cultivation only in the garden, perhaps before winter is the right time to get your first grow box with accessories at a discounted price and discover the charm of indoor growing as well. Below, for inspiration, we also include links to articles on this topic, and if you would like to ask us anything, we are here for you at the well-known address info@higarden.eu.
We also recommend these products:
- Geotextile (from 59 Kč)
- Scissors and garden tools (from 29 Kč)
- Canna CURE (from 349 Kč)
What to read next?
How to Grow Outdoors?
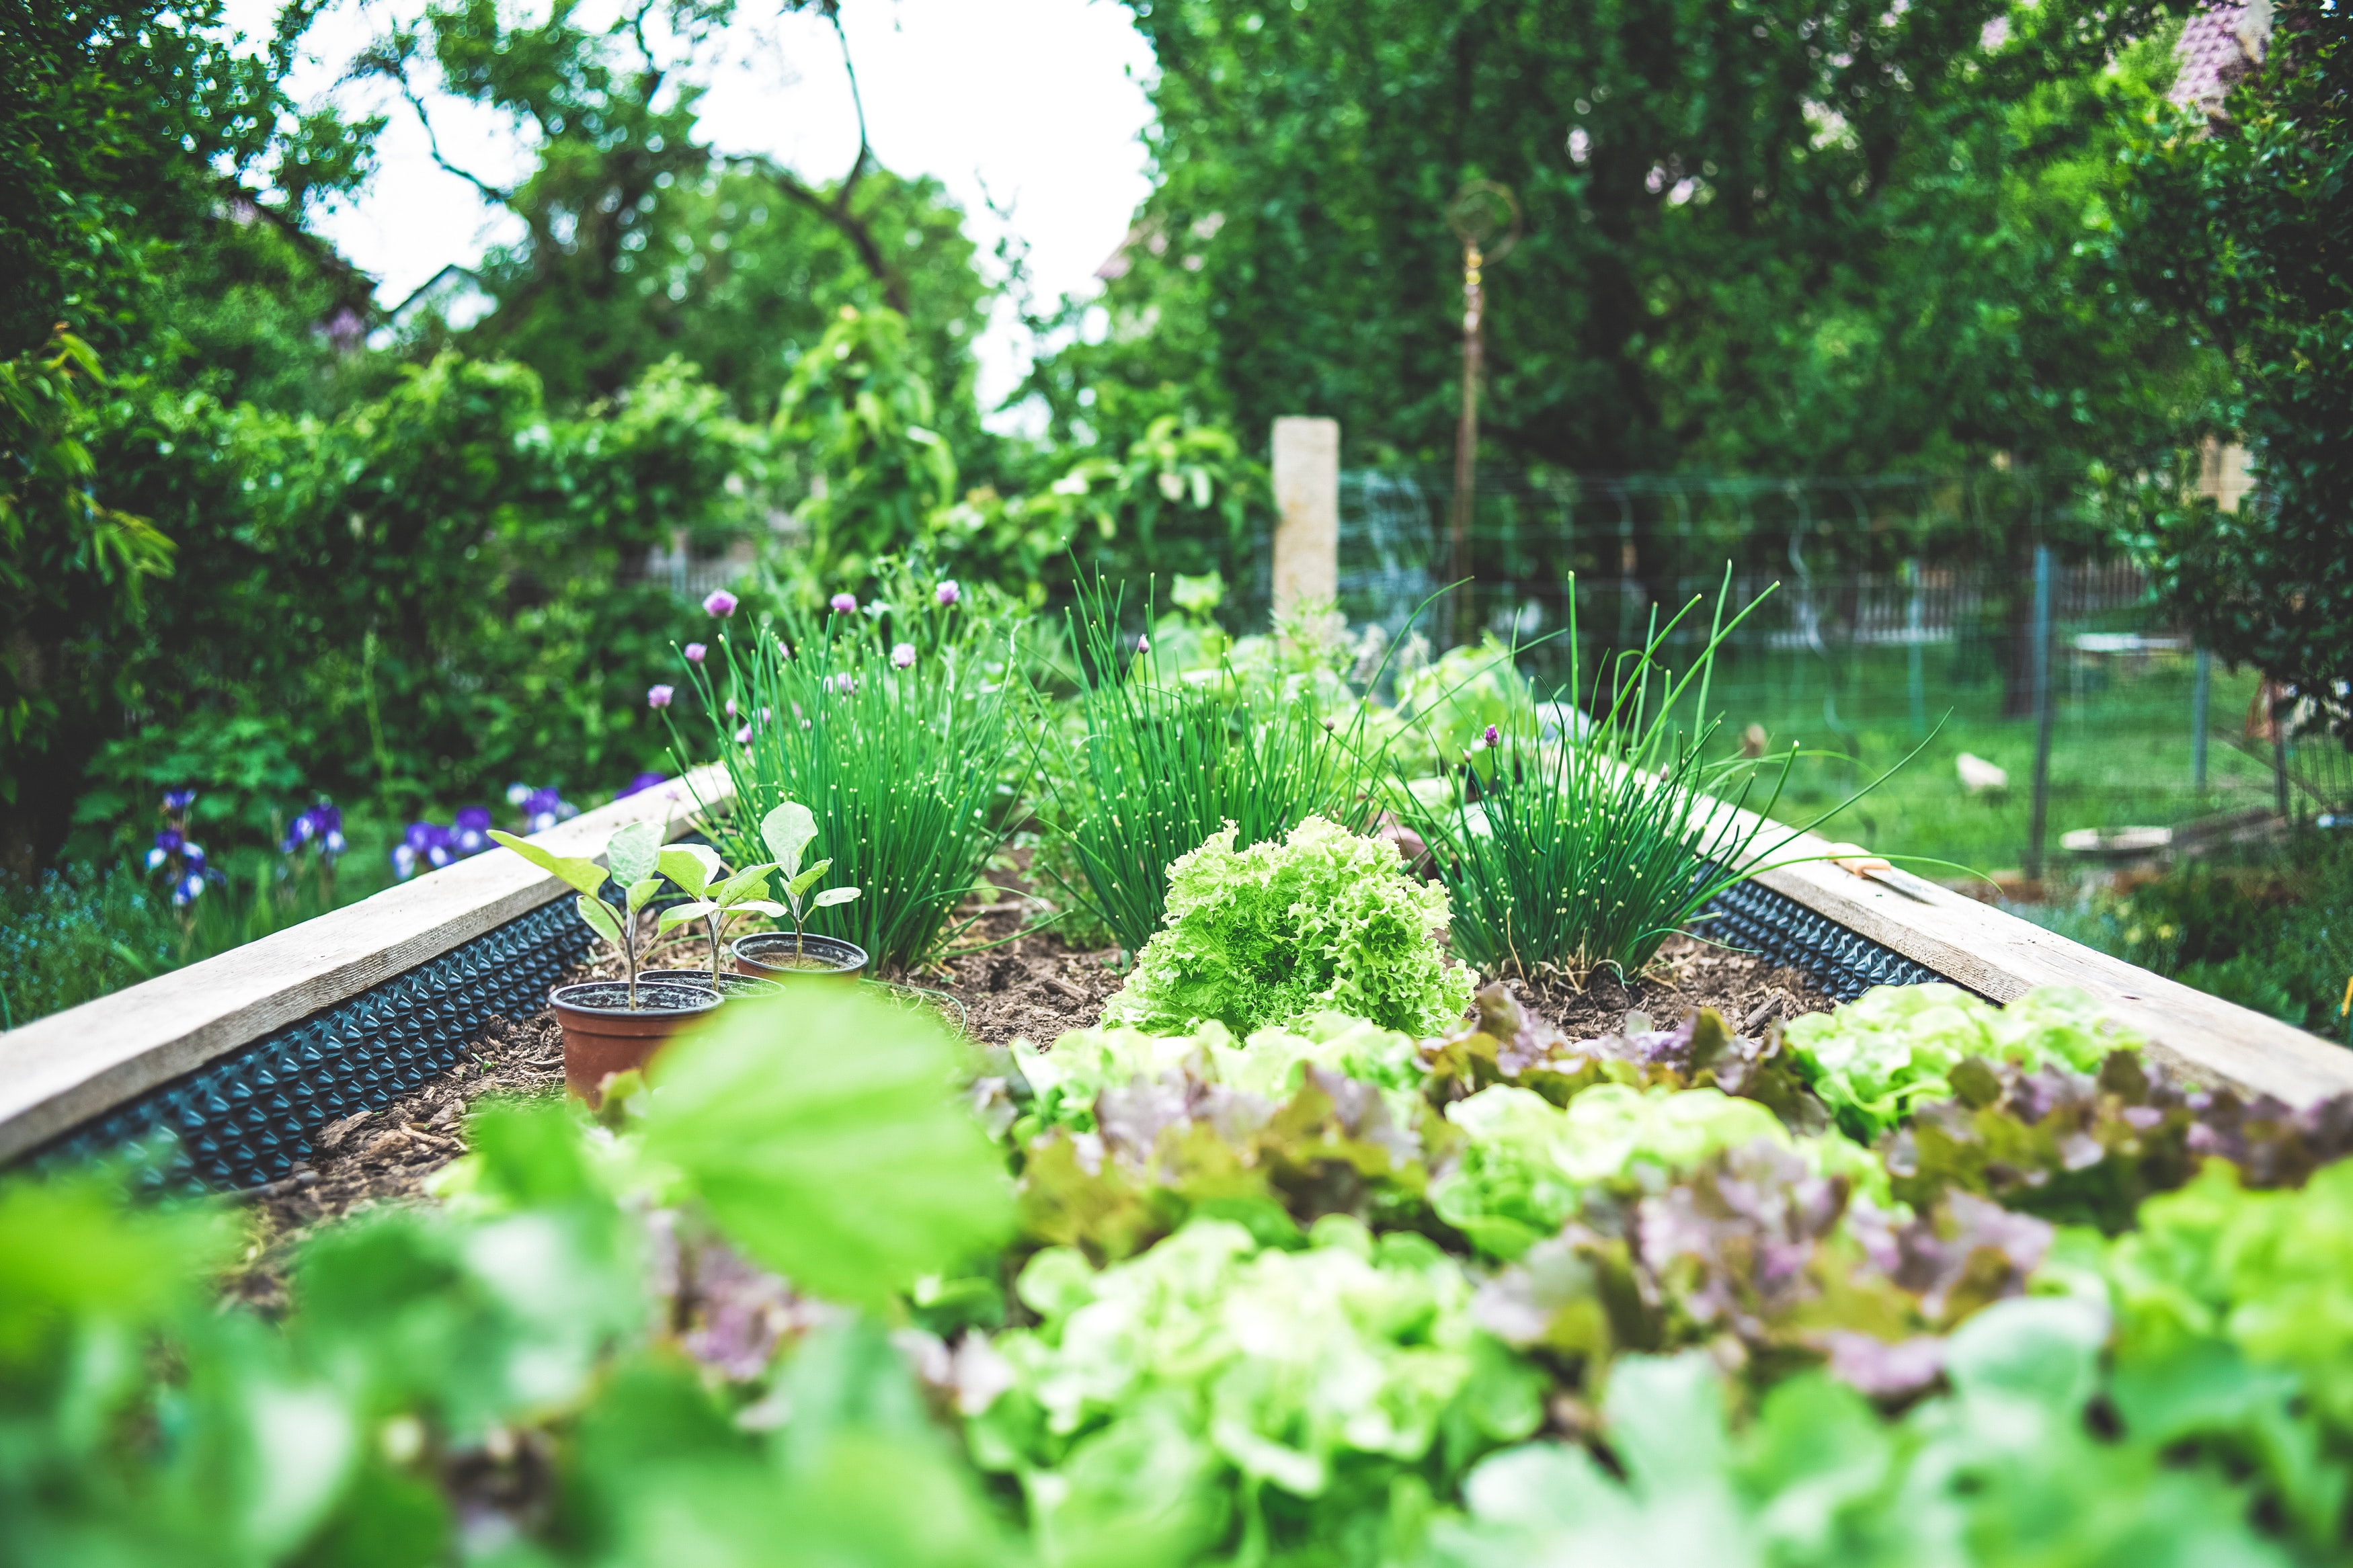
Today we have several practical tips for effective outdoor plant growing, that is, in the sun outdoors. After a long winter, the gardening season is in full swing, so it would be a shame not to give the plants in your beds much more this year than just what they absolutely need under the open sky. Even in outdoor conditions, it is possible to achieve fantastic yields!
Quality soil and rich soil life
Pests, dangerous pathogens or heavy metals. All of these work against us and our plants when growing in open ground. It is therefore a good idea to get to know the soil you have available and work with it accordingly.
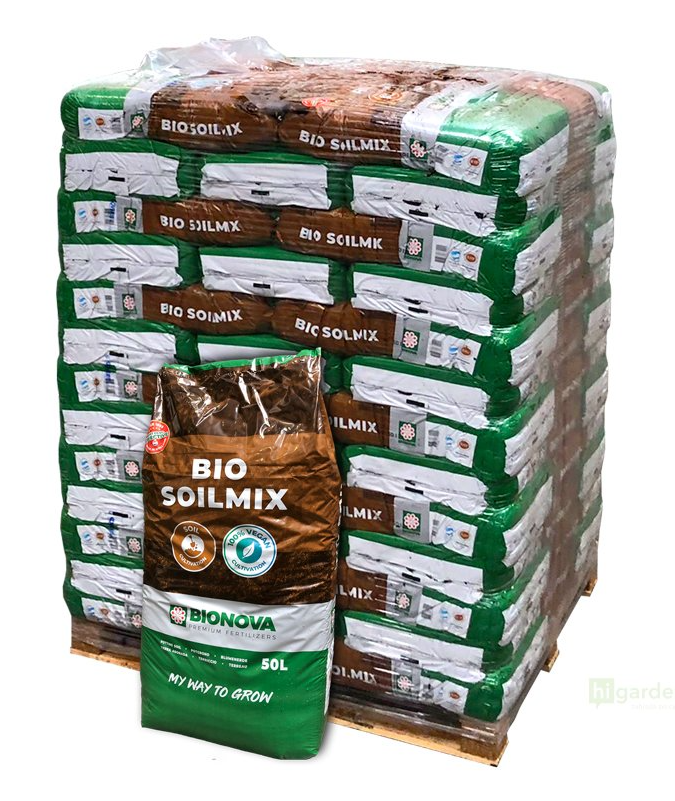
A high content or, conversely, a lack of specific nutrients contained in your soil can make it unsuitable for growing certain plant species. The same applies to the pH value, which you measure using a pH metre. Of course, a laboratory analysis is one option, but it is considerably easier to rely straight away on a proven soil substrate. Today, it is no longer a problem to obtain a large quantity of high-quality soil at a reasonable price. One example is BioNova Bio Soilmix, a first-class soil that is also 100% natural, making it suitable for organic outdoor plant growing.
When purchasing 55 pieces or more, delivery within the Czech Republic by pallet carrier is free.
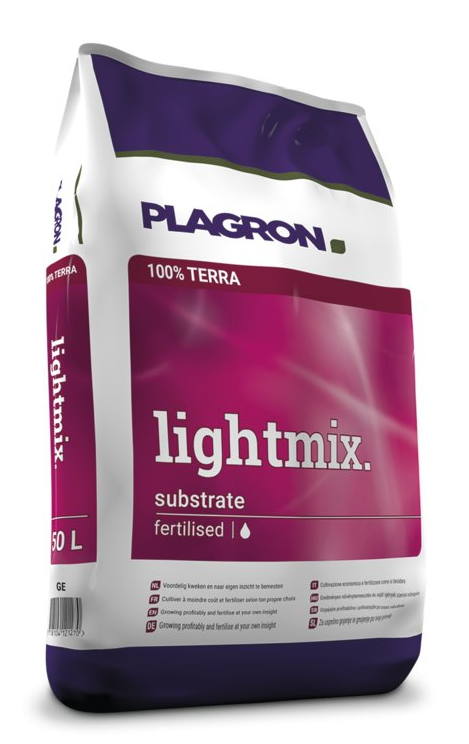
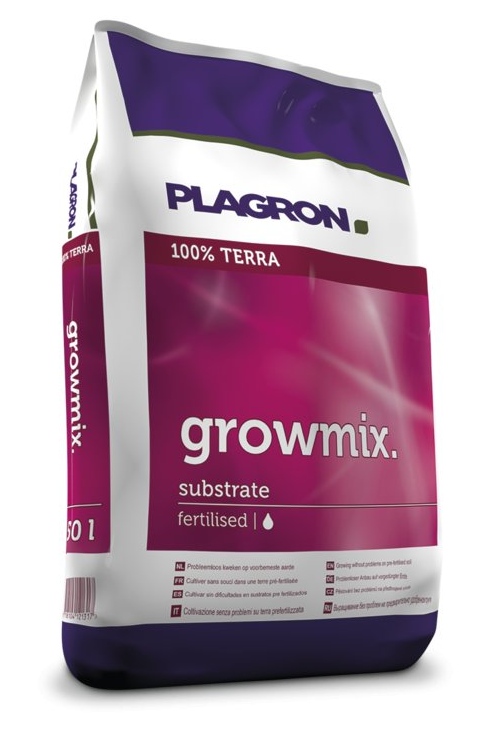
Our customers have long favoured, for example, the soil mixes from Plagron - Growmix and Lightmix. These provide an excellent foundation for fast and high yields in your garden! In addition to three types of high-quality peat (white, black and fibrous), they also contain a blend of biohumus, vermicompost or perlite. Biohumus and vermicompost support healthy “micro-life”, or beneficial microorganisms living in the soil, whose activity has a positive effect on the stable development of plants in soil, which are also more resistant to stress or any pest pressure that we simply have to expect when outdoor cultivating plants, so that we can enjoy a proper harvest. (This is also why some of our other tips for outdoor gardening will concern precisely the prevention and protection of plants against pests and diseases.) The perlite blend, in turn, ensures perfect aeration of these soil substrates, which significantly improves the effects of watering, as nutrients are absorbed better by the root system. Both of these pre-fertilised and aerated soil mixes contain mineral nutrients. So what is the difference between them? It is mainly about how long there is no need to use additional fertilisers. Lightmix contains all the nutrients plants need during the first week of the growing cycle. And the composition of Growmix is a proven source of health and strength for plants during the first three weeks of the growing cycle. Therefore, if you have less experience with outdoor growing so far, you can make use of it. By contrast, Lightmix is used more by experienced growers and gardeners who want to move on to applying selected fertilisers according to their own plans as early as possible from the start of the growing cycle.
As already mentioned, supporting the life of soil microorganisms is clearly worthwhile. And it is precisely for this purpose that so-called mycorrhizal fungi are used in cultivation, especially Trichoderma Harzianum. We devoted a separate article to this fungus and plant nutrition products that use its symbiotic relationship with the plant root system: Trichoderma, or the natural way to a rich and healthy harvest.
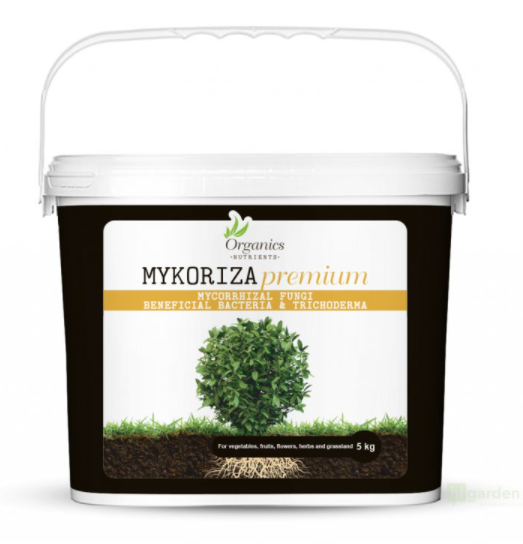
Our TIP: Organics Nutrients MYKORIZA premium contains a fully organic concentrated powder of Endo&Ecto mycorrhizal fungi, beneficial bacteria, microorganisms and Trichoderma. It increases root system growth by up to 400%, which allows your plants better nutrient supply and strengthens their immunity, as already mentioned. Plants will be more productive, healthier and the yield will be of better quality. We recommend it!
Nutrition for plants grown in soil
Deficit or excess nutrients in open ground are addressed by applying basic and supplementary fertilisers designed directly for use in soil or soil substrates. They therefore fully meet the needs of outdoor growers when cultivating all kinds of plants.
When growing outdoors, where purely natural conditions and influences prevail, there is an opportunity to grow fruit, vegetables or herbs in organic quality, that is, by 100% natural means. This is made possible by purely organic fertilisers. If the idea of organic growing appeals to you, be sure to read the article: BioNova Veganics – fertilisers not only for vegans.
Our TIP: Bat guano, worm castings or fish mix containing fish bone meal – all of these are other organic fertilisers commonly used when growing plants outdoors!
Plagron Alga fertilisers contain seaweed extract.
The problem with mineral fertilisers when growing in open ground lies in soil degradation. At the same time, there is no point in supporting soil life, because mineral-based fertilisers largely destroy beneficial microbial life, which in outdoor growing ultimately also results in a higher incidence of pests or plant diseases.
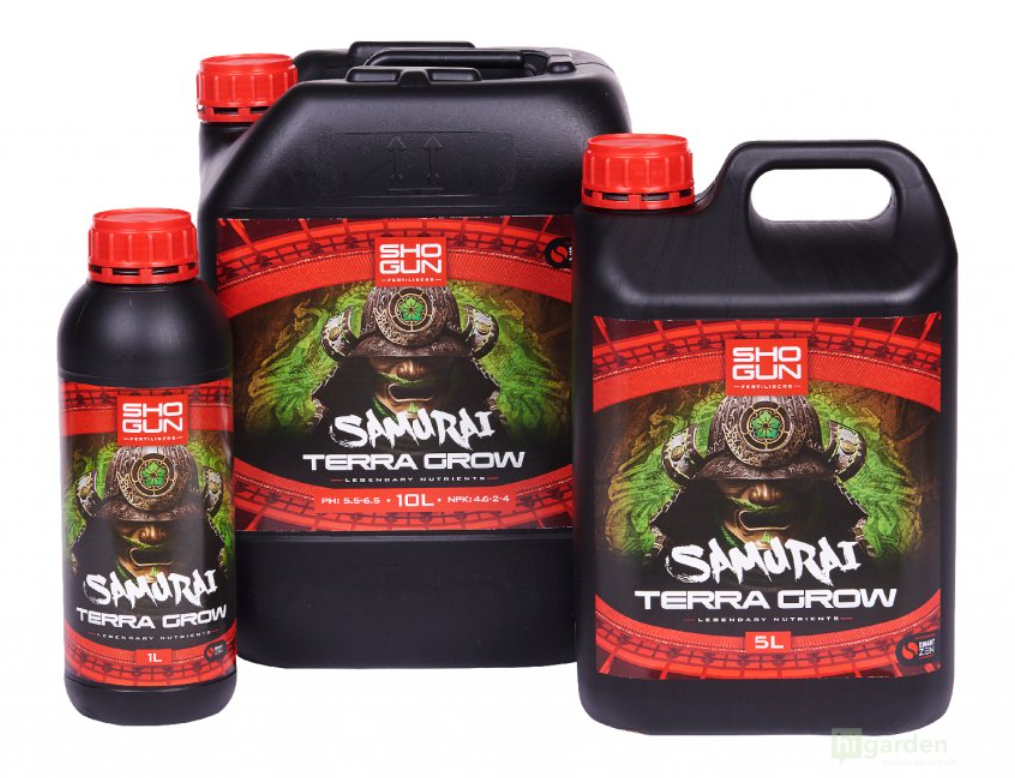
However, if you combine outdoor and irrigation systems, you will need mineral-based nutrition (see below). The Dutch brand BioNova also produces our best-selling single-component mineral fertiliser for soil, namely BioNova Soil Supermix. We will also be happy to advise you on the selection of other mineral fertilisers. You will often recognise them by the TERRA designation, for example Shogun Samurai Terra Grow as the best British fertilisers, combining a perfect balance of nutrients with an advanced understanding of the complex chemistry involved in nutrient availability in soil.
From the information above, it is clear that, just like the composition of the substrate, the composition of plant nutrition for plants grown in the sun is also important for healthy and rich microbial life. In addition to basic fertilisers, you can support the life of beneficial microorganisms in the soil with several products. The composition of these products is based on the effects that various organic substances have on plants:
- We discussed fulvic acids and humic acids, including tips on the best products, in detail in the article: Fulvic and humic acids: their importance and use in plant nutrition.
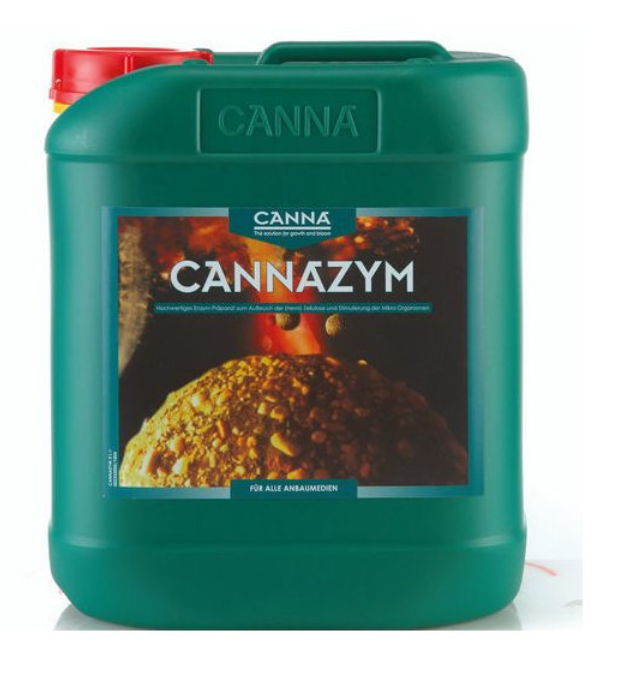
- The article Enzymes also deals with the composition of products based on complex sets of living microorganisms that can convert dead plant residues into valuable organic material and support plant development in many ways. For example, the unique enzyme preparation Cannazym, which many experienced and environmentally minded growers swear by, speeds up the breakdown of dead root material and activates beneficial microorganisms, while helping to maintain optimal aeration of the soil. As you may already know, excessive soil moisture and dead plant residues are often an invitation for mould spores. Cannazym therefore also serves as effective prevention against these problems.
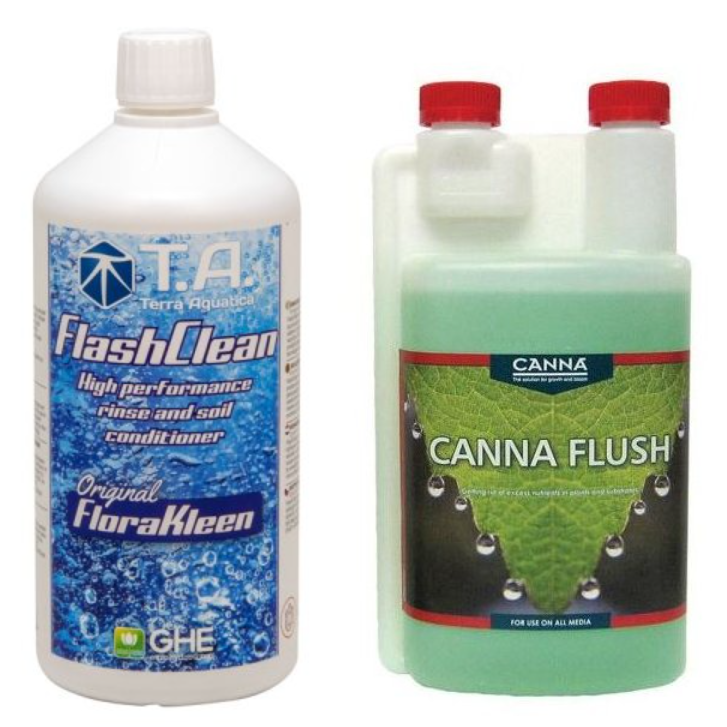
All of the products mentioned above share a common goal: optimal nutrient uptake and healthy plant development. At the end of the growing cycle, do not forget to flush the plants during the last week before harvest. Growers call this stage flushing, and it ensures that the harvested plants or their fruits are as clean as possible (without fertiliser residues) and taste as they should. Flushing products, such as Canna Flush, gently remove all excess salts from the plants so that they do not destroy beneficial fungi or bacteria, thereby guaranteeing excellent taste.
However, do not forget that water alone does not actually flush anything, because plants only begin to consume nutrients stored in the leaves on the tenth day of flushing. For this reason, it is important to use dedicated agents that speed up this process so that the desired and real flushing takes place immediately. In addition to Canna Flush, we also recommend, for example, T.A. Flashclean (G.H. FloraKleen).
Growing outdoors, managing water
Outdoor growers sometimes do not initially realise that hydroponic and aeroponic systems, which allow significantly more efficient management of water and fertilisers, can be used just as well for outdoor gardening as indoors. They are admittedly associated with a certain initial investment, but the benefits are worth it. Judge for yourself from the list:
- Higher yields and better-quality harvests
- A great deal of time saved and, in the long term, money saved on water and fertilisers
- A lifespan of several years
For outdoor gardening, you can also build your own DRIP irrigation system (drip irrigation) in any scale. On this topic, we recommend a detailed article entitled Hydroponics made easy: drip irrigation drip.
However, bear in mind that irrigation systems do not go together with organic fertilisers, because bio nutrient solution must usually be used within 24 hours! This means that watering solution prepared from purely natural plant nutrition would spoil in a hydroponic system and clog it.
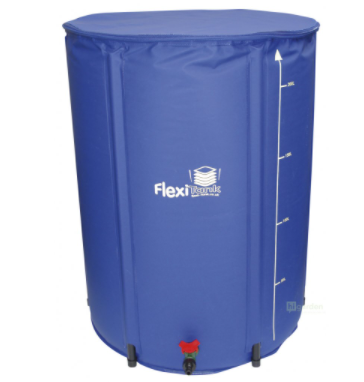
Do you have space in the garden and are you interested in growing tomatoes, peppers and similar plant species? Then you will also be interested in Autopot self-watering systems, which, compared with other hydroponic systems such as NFT or Aeroflo, allow much simpler and less time-consuming operation. Autopot is the perfect solution for all urban growers. In an urban environment, it is excellent for balconies, terraces, back gardens or greenhouses. If you have a sufficiently large space for “catching rainwater”, get a practical FlexiTank.
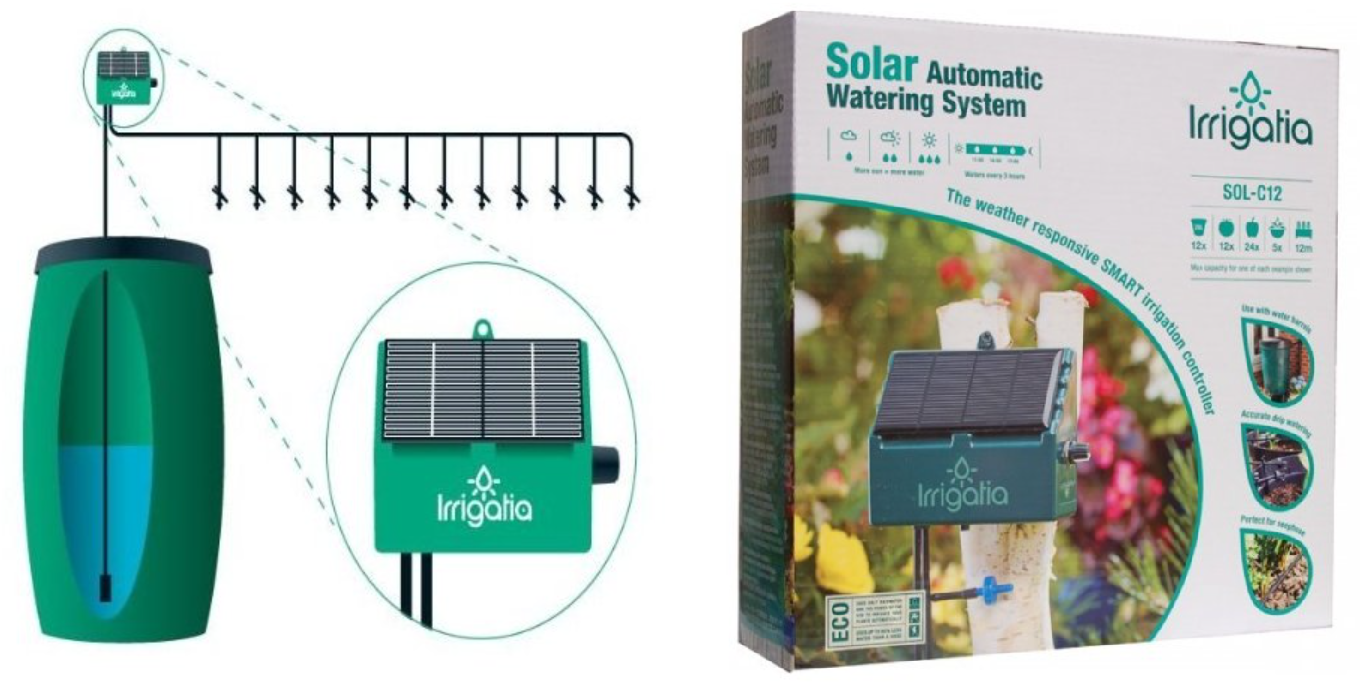
Growing various plant species outdoors in combination with an irrigation system can be so economical that you can manage entirely without a source of electrical energy. Do not believe it? Proof is provided by the automatic solar irrigation from the Irrigatia brand. You can also use it in gardens or plots where there is insufficient water pressure, or where there is no electricity connection. The rules are simple. The more the sun shines, the more IRRIGATIA waters! At night, the system switches off. Right now the sun is starting to shine outside and we have some six or seven relatively sunny months ahead of us, including the hot summer. So why not provide plants outdoors with automatic irrigation at minimal cost, even if you head somewhere by the sea for even stronger sunshine. From our point of view, Irrigatia is simply a very smart investment in spring and later at the turn of spring and summer for outdoor growing.
How can plants be protected in outdoor conditions?
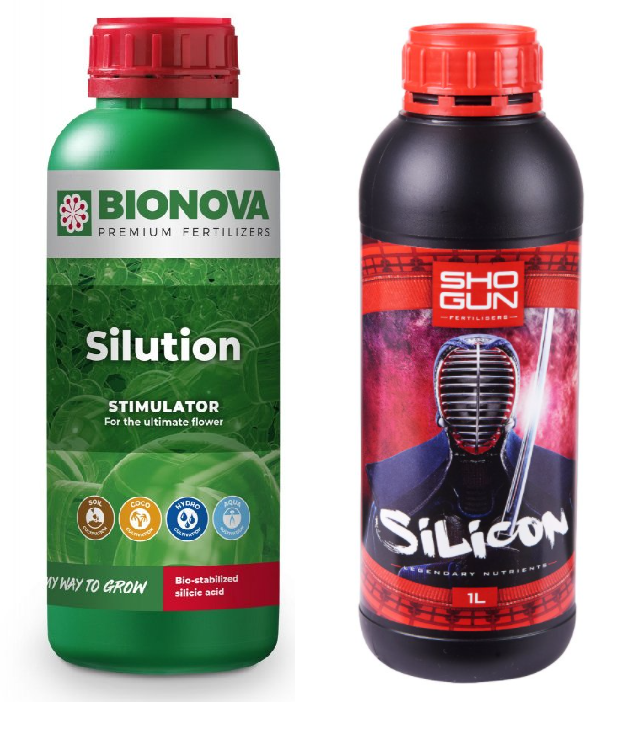
Unlike the ideal microclimate inside a grow tent, natural conditions cannot be influenced. It is therefore important to start protecting plants already when choosing the place where they will grow. Of course, it should be sufficiently sunny, but at the same time it should not accumulate overly humid or hot air. It should also be protected in some way from strong wind. In the unequal battle with possible strong wind, especially for larger plant species and shrubs, bamboo canes and support nets can help you win, as they not only prevent stems from breaking, but also ensure straight plant growth. Continuous and rather gentle air movement is what plants will reward you for. With regard to the natural conditions when growing plants outdoors, which can often expose them to stress and thus negatively affect their development, we recommend a separate article: Stress also harms plants, or abiotic plant stress. Before we know it, the spring sun will be replaced by intense summer sun, which can be accompanied by heat and drought. These factors already represent considerable stress for plants. In addition to regular watering, it is therefore advisable to give plants products that can significantly revive and revitalise plants weakened by the effects of these abiotic stress factors. Among other things, they contain silicon, which helps plants with their overall revitalisation.
Our customers particularly praise the following products:
- BioNova Silution
- Shogun Silicon
- T.A. Silicate (G.H. Mineral Magic)
- Biotabs Silicium Flash
- Atami B’cuzz Silic Boost
- Grotek Pro-Silicate
- Mills Vitalise
Effective prevention is also related to the protection of plants grown outdoors, and it can literally mean the difference between a successful and unsuccessful season. Therefore, never underestimate it when outdoor gardening. You need to start with the basics:
- clean substrate free of harmful germs
- healthy seedlings
- regular monitoring of the growing environment
You can monitor the presence of insects in the growing environment with sticky arrows.
Prevention and bio protection of plants is always much better than chemical solutions in the form of insecticides or fungicides. We therefore recommend to every outdoor grower Canna CURE pest spray. Excellent results in protecting against chewing insects and easy to use! In addition, it has no negative effect on harvest quality. The same can be said of other products on a purely natural basis, such as BioBizz LeafCoat, Terra Aquatica Protect, Atami B’cuzz Bio-Defence or the Czech product AGRO CS Rock Effect.

Do not hesitate to ask us anything you would like to know about outdoor plant cultivation. We will also be happy to advise you on the selection of specific products. We believe that after reading this article you have plenty of inspiration for outdoor gardening, not only for the coming season. We look forward to your questions at the well-known email address info@higarden.eu.
We also recommend these products:
- Garden tools and accessories
- Shogun fertilisers
- Vermiculite - substrate additive
What to read next:
- What is vermiculite and how to use it?
- SHOGUN: the best British fertilisers with an emphasis on research
- Indoor vs. Outdoor – is it better to garden at home or outdoors?
Outdoor Growing - Tips for Getting Started
Are you planning to grow plants outdoors? Let us answer a few key questions together and take the first steps towards creating a plan for establishing a crop.
With a good plan, on a small scale
If you plan things well, growing outdoors can pay off in many ways and it can also be enjoyable. First, it would be a good idea to obtain the equipment you will need for your growing project.
Then answer the following questions:
- What plants do you want to grow? You will need to obtain seeds or cuttings of the given species – you can obtain these materials for establishing a crop from specialist shops or order them online.
- Will you grow in open ground (in a field, etc.) or in pots? Both methods have their advantages and disadvantages. However, it is essential to answer this question as early as possible. The growing method determines the needs and tools you will require for cultivating the crop. For example, if you are growing plants from seed, it is advisable to let the seeds germinate first in a box intended for this purpose, and then transplant the seedlings into larger pots until they are ready to leave the comfort of home (indoor spaces) and move outdoors (bed, etc.).
- Do you have suitable soil conditions? If there is no quality soil at your chosen location, or none at all, then it is ideal to secure your own substrate. If you plan to visit the plants often and enrich the substrate with fertilisers, a lightly pre-fertilised substrate will be enough. For example, BioNova SoilMix. For those who do not have the opportunity to fertilise regularly, heavily pre-fertilised substrates are ideal, as they will release nutrients for your plants for up to 6 weeks. For example, Plagron Royalmix.
- Do you already know where you will plant the plants? For growing in open ground, the location is crucial – later it will no longer be possible to move the plants without damage. When growing in pots, you will not have to deal with this problem. On the other hand, the limited space of a pot also limits the plant’s maximum growth. The place for establishing the crop should have good access to sunlight, at least 6 hours a day.
- When growing in a pot, it will also be essential to protect the plants (at least in the early stages) against strong wind. A natural windbreak of shrubs or other vegetation nearby is ideal. The situation changes at the end of the flowering phase, when the wind helps prevent mould from forming on the fruits of the cultivated plant.
- Will you have time to fertilise? Not everyone has the time to devote themselves fully to plants and fertilise them regularly. For these cases, there are several solutions. One of them, organic and gradually releasing, are tablets from the manufacturer BioTabs. One tablet is enough for 5L of substrate. For volumes greater than 40L, one tablet per 10L is sufficient. You can read more about BioTabs in our article HERE.
Would you like to ask us something? We are here for you at the well-known e-mail address info@higarden.eu. We will be happy to advise you, for example, on choosing suitable products and accessories.
We also recommend these products:
- Pure Pot fabric pot with handles, 26L
- Guanokalong granules - bat guano
- Organics Nutrients MYKORIZA premium
What to read next:
Spring Work in the Garden
It is a joy to watch nature in bloom. Did you know that it is in April that the changes in the garden are most visible? At this time, the spring garden really changes practically every day and calls for the intensive attention of gardeners, who are kept busy, whether it concerns beds or the lawn. That is why, during this period, we have focused on practical advice for effective spring gardening.
Preparing the garden after winter
Most gardeners plan the garden clean-up for the turn of February and March, but if you have not yet found time for it in this hectic period, better late than never. After all, it is your garden, so no stress. You can still catch up without any problem. For example, rake up fallen leaves and branches, as well as other plant waste that is left over in the garden after the long winter. If you have a compost heap or vermicompost in the garden, then you know where and why to put all this bio-waste. If you have not started composting yet, we recommend our Guide to composting.
An equally important part of preparation is checking your gardening arsenal. Working in the garden should above all be a pleasure, so there is no point in struggling, for example, with old garden shears or pliers.
Quality garden tools and comfortable gloves with a non-slip finish will make your preparations and later also other work in the garden much easier and faster. So what tasks should you continue with once your spring clean-up is done?
Care for beds and lawn
A straight spade will help you renew and straighten the edges between the beds and the lawn.
Weeds thrive in spring. Remove them together with moss using a spade or a sturdy trowel, because April is exactly the month when thorough and repeated weeding pays off most in the garden. This is because frequent hoeing of weeds during the period when they are going through the first two growth stages will significantly weaken them. Before you know it, summer will be here and the reward will be a clean garden, where you will only encounter weeds sporadically. This will be the first step in preventing pest infestations, which weeds in beds naturally suit very well.
With moss, it is necessary to take into account the possibility of spreading to other corners of the garden, so remove all its patches uncompromisingly not only from the beds, but also from walls, stones or surrounding paths. These actions will also save you money on products against moss and weeds (see below).
Mow the old grass at least once a week, either by hand with a well-sharpened scythe or with a mower, which will help it thicken. Keep in mind that sharp blades not only make the work easier, but also prevent unwanted pulling out of the grass with the roots.
Around the middle of April is also the ideal time for sowing grass seed. If there are bare patches on your lawn, also known as thin spots, overseed them with grass seed. For this purpose, a grass mixture designed directly for overseeding lawns or other grassy areas will serve you well.
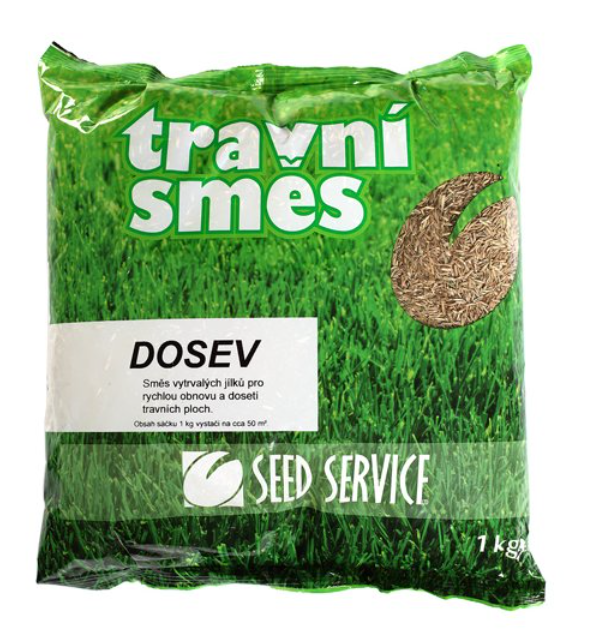
In general, lawns do less well in the sunniest parts of gardens. It is practical to dig up such areas and turn them into a flowering spring meadow sown with a bee-friendly grass mixture. In addition to the aesthetic aspect and greater diversity in your garden, you will attract pollinators and other beneficial insects.
You can use these proven products to care for a beautifully green and dense lawn:
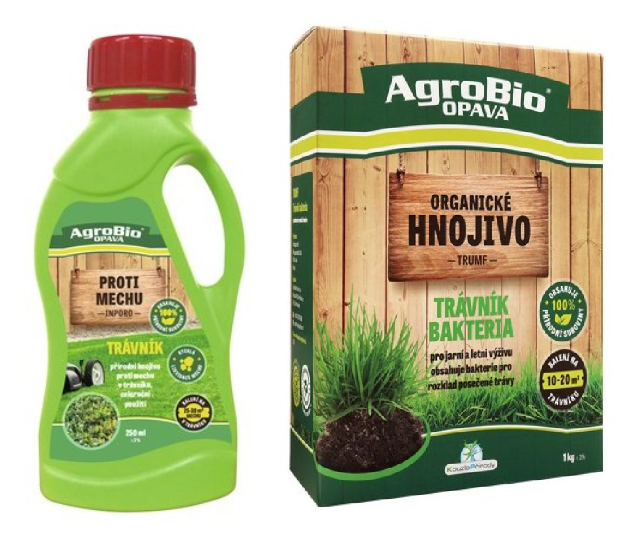
- The Czech product AgroBio INPORO against moss in lawns is a purely natural fertiliser for lawns that visibly suppresses moss within one or two days.
- AgroBio Healthy Lawn - for a beautiful lawn without weeds
- AgroBio TRUMF is also a popular organic fertiliser intended for lawn nutrition.
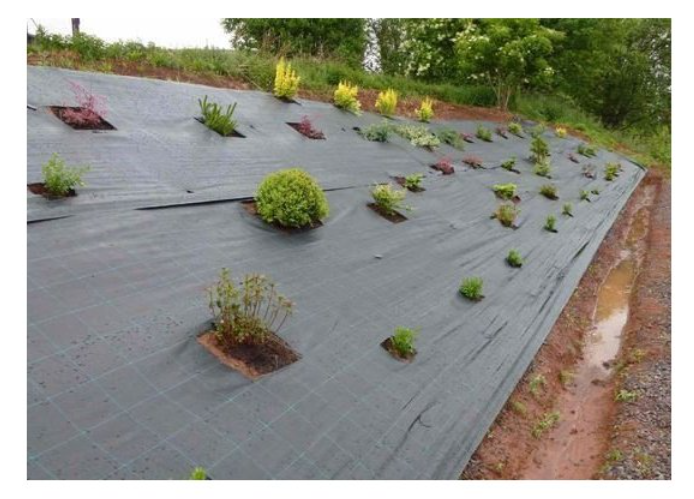
Among gardeners and farmers alike, mulching the lawn is often mentioned as the cheapest method of lawn maintenance. However, you can also mulch vegetable beds or, for example, shrubs and trees. Rainy spring weather favours this activity, as the soil is sufficiently moist. Conversely, never mulch dry soil. Mulch means a covering of the soil surface with organic material, typically finely cut grass, straw or mulch bark. As you can see in the picture, mulching also uses a sturdy woven mulching fabric, which will last you for several years and whose use also brings other benefits:
- Suppression of weed growth in beds.
- Reduction of soil drying out.
- The black colour reflects sunlight, thereby supporting fruit ripening.
Spring planting and fertilising in beds
Although nature sometimes helps us water the garden in the spring months, do not rely on rain alone, because especially freshly sown seeds or newly planted seedlings require sufficient irrigation. Therefore, water thoroughly loosened soil generously not only after sowing, but also before it. The fact that seedlings have taken root does not mean that they are no longer very sensitive to drought. Therefore, never allow the soil to dry out.
Our TIPS for irrigation:
- If you are already tired of physically and time-consuming hand watering, put aside the watering can for plants and replace it with drip irrigation, or DRIP.
- The automatic solar irrigation system Irrigatia is a great investment that will give you the freedom to travel not only later in spring, but also during the summer, while providing your plants in the garden or lawn with regular watering without using electrical energy. Solar irrigation systems are becoming increasingly popular among outdoor growers and gardeners. In addition to better economy in the use of self-watering systems, they also support much-needed sustainability.
Provide beds with enough nutrients in spring
Moist spring soil absorbs fertilisers well down to the roots of plants, and so naturally invites their application.
These days, it is necessary to provide plenty of nutrients, among other things, to beds with small fruit. A typical example is strawberry beds. At this time, however, abundant nutrition is also extremely important for fruit shrubs and trees.
In Czech gardens, we usually find shrubs such as raspberry, gooseberry or currant, which need to be carefully shortened in spring to a length of approximately 130 cm. Raspberry is characterised by short shoots that are removed right at ground level.
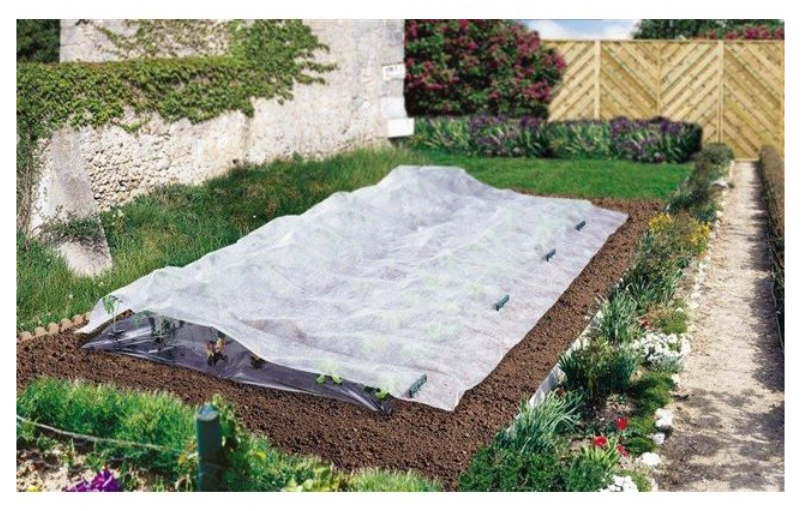
Whether it is sowing or planting, April nights can still bring frosts, against which protection in the form of non-woven fabric is suitable, as illustrated in the picture below.
When should spring vegetable planting begin?
- Pre-grown or purchased seedlings should wait for their time in optimal indoor conditions until the soil outside is sufficiently warmed to at least 6 or 7 °C. After that, you can safely begin planting the following vegetable species:
- Lettuces
- Beetroot
- Radishes
- Spring onions
- Spinach
- Leeks
- And more...
- By keeping approximately 10 cm gaps when planting vegetables, you will avoid having to thin them later.
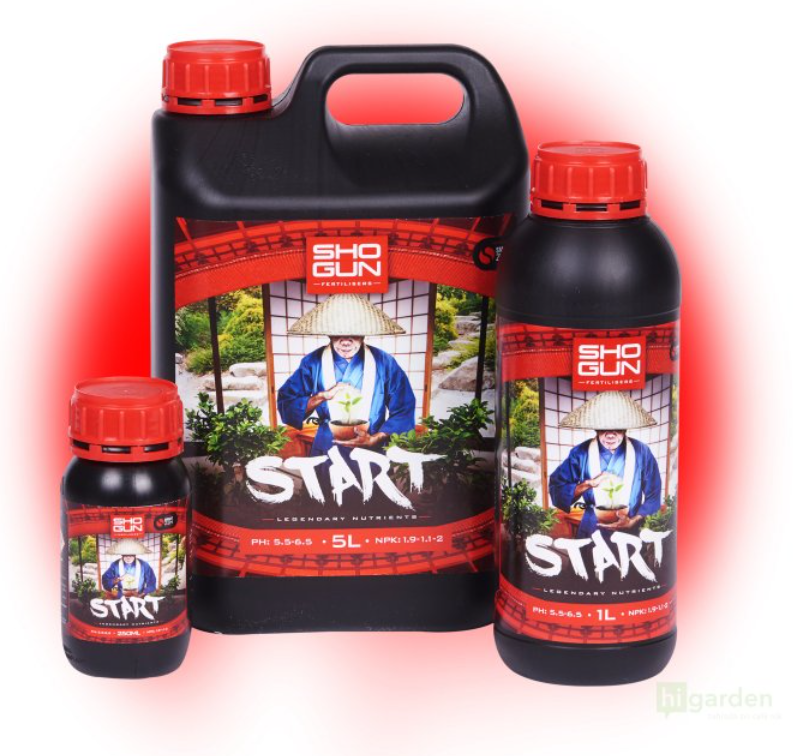
- From the early growth stages, you can strengthen young plants and give them a successful start in life, for which they will soon repay you with stable growth, exceptional vitality and the overall quality of flowers or fruit. During the growth phase of cuttings and seedlings, try, for example, the British number one Shogun Start.
Our TIP: Try the comfortable NICE planting trowel with a light but exceptionally durable plastic construction reinforced with fibreglass.
Further practical tips for the spring garden:
- Turn the chirping birds in your garden into helpers who will assist you with insect pests. Thoroughly cleaning and clearing the feeders will encourage them to find food on their own.
- Spring provides enough rainfall for you to obtain a suitable container as a reservoir for rainwater. Rainwater is free and has been used for watering gardens since time immemorial. If you do not have one at home or in the shed, use the practical foldable textile rainwater tanks FlexiTank.
- More useful advice awaits you in a separate article: How to grow outdoor?

We hope that this article has brought you inspiration and that this year’s spring in the garden will be the most successful for you. All it takes is to make use of April weather in combination with quality nutrition, represented by basic and supplementary fertilisers. We will be happy to advise you on their selection. Do not hesitate to ask us anything via the well-known e-mail address info@higarden.eu. We are here for you!
We also recommend these products:
- Shogun fertilisers
- Vermiculite - substrate additive
- HERCULES aerated pots
What to read next:
- SHOGUN: the best British fertilisers with an emphasis on research
- BioNova Boost Pack for luxurious flowers and fruit
- Organics Nutrients: a natural way to big yields
When to plant individual types of herbs, fruit and vegetables?
The gardening season is in full swing, so today we have prepared a practical article for all gardeners and outdoor growers, which will show you when the ideal time is for sowing and planting popular plant species and agricultural crops. Take a look at tips on what to plant and when until the end of the year.
May
With the beginning of May, which has May right in its name, you have ideal timing for sowing cucumbers or field lettuces, for example. Pre-grown tomatoes or peppers are also looking forward to being transplanted into a prepared bed. Another typically May crop, which has its irreplaceable place in many recipes, is courgette. However, we recommend waiting until roughly mid-May, until the ground frosts have definitely passed. In mid-May, you can also confidently start sowing tomatoes and peppers if you have not already pre-grown them. Also be sure to reach for seeds of beans, sweetcorn, and we must not forget aubergine or even watermelon.
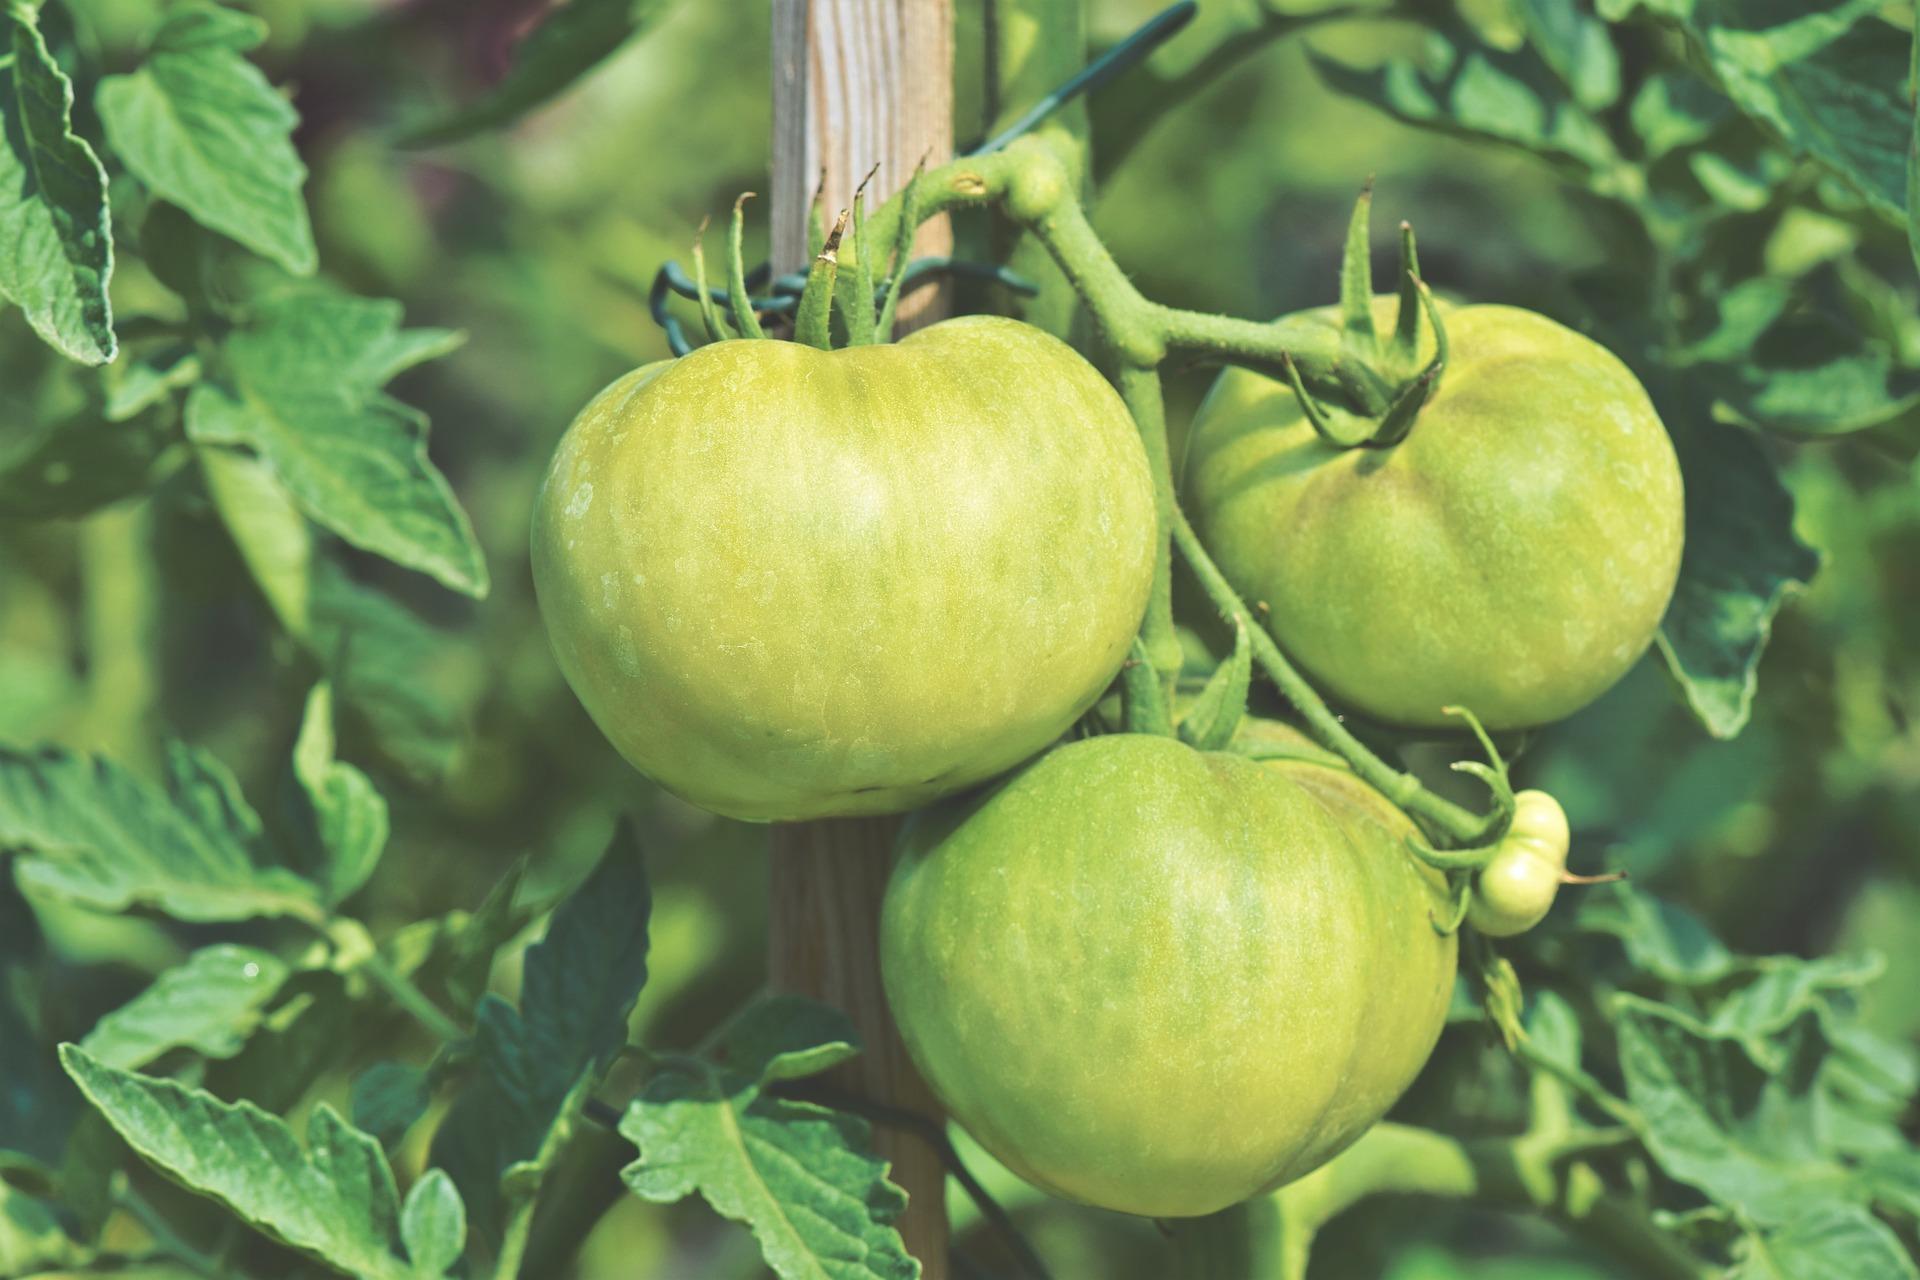
The second half of May is also associated with ornamental window boxes, which can be placed outside in the fresh air and spring sunshine. You still have time to plant an ornamental garden using purchased seedlings. In places that receive plenty of sunlight, geraniums, petunias, lobelias or purslane are an excellent choice. Shadier spots are best used by planting mint and begonias.
You can also sow biennials, which will amaze you with their beauty only in the following year. If you plant nasturtium, which boasts edible flowers, you can consume them for health from August until autumn. Among similar annuals that can be planted in May, we also include calendula. And if your garden is decorated with a garden pond, May offers the ideal time to plant water lilies.
June
In the first summer month, you can sow more healthy vegetables into the beds in the garden or in the field. Here are our tips: kohlrabi, carrots, cabbage, leeks, Brussels sprouts, and if you decide to sow lettuces as well, you will ensure a continuous harvest for the next period.
During June, it is also the ideal time to take cuttings of ornamental shrubs. By dividing clumps, you can propagate and transplant perennials growing in spring, ideally by mid-month.
June is also dedicated to sowing these beautiful biennials: pansies, forget-me-nots, daisies and carnations. However, before your pansies emerge, they will benefit from shading.
July
In summer, after returning from a swim, you can devote yourself to sowing other types of vegetables. Carrot varieties with a shorter root will still take hold without any problem. Chinese cabbage or spinach are also popular. The sunshine again favours the cultivation of various types of lettuce.
In July, it is also worth paying attention to planting new strawberry seedlings. This is a period when woody plants such as thuja, junipers, cypresses or yews can be easily propagated vegetatively.
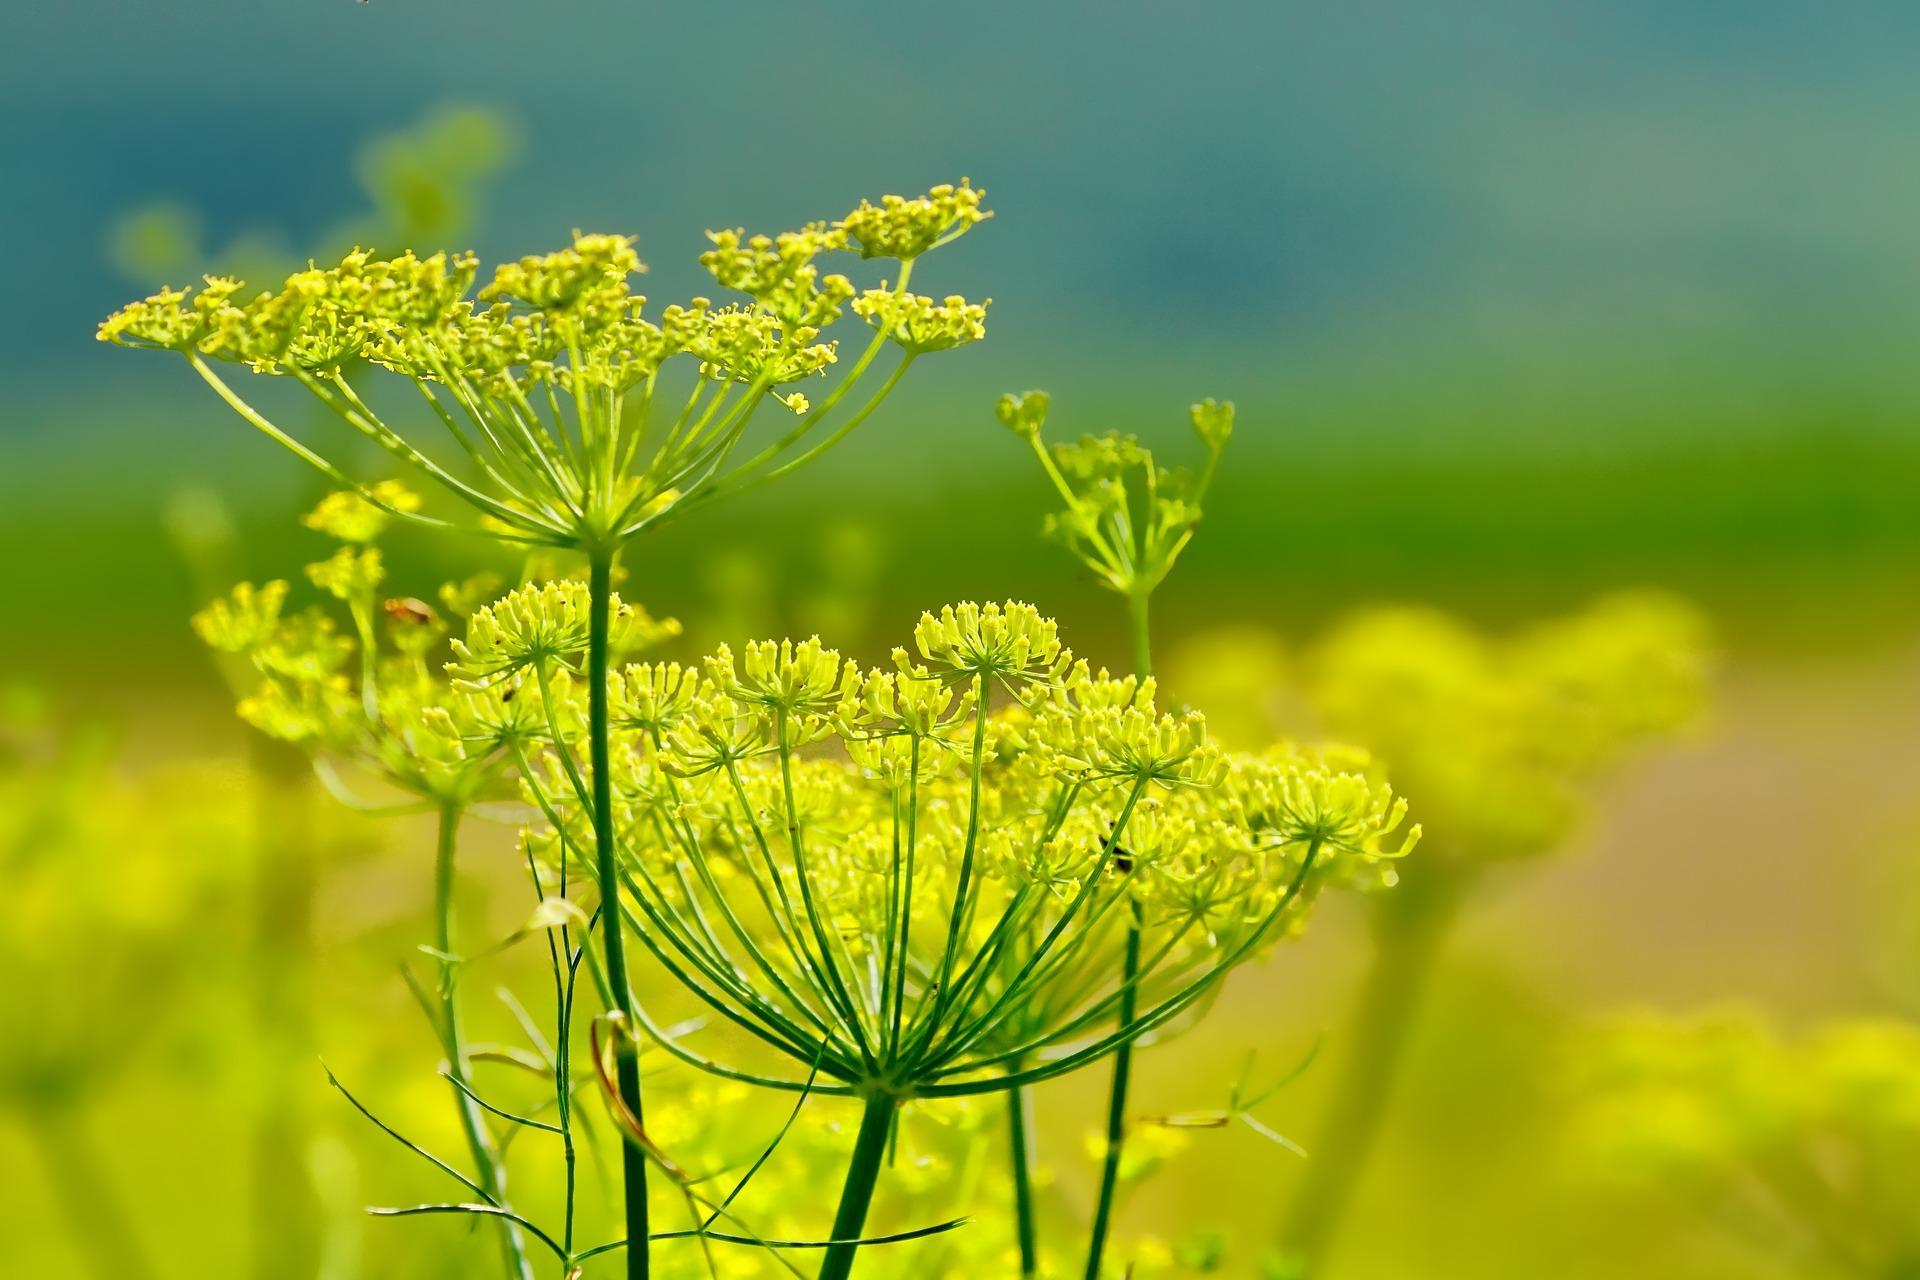
Let us now have a quick botanical quiz, do not look at the next paragraph. July is inseparably associated with the planting of a medicinal perennial plant grown as a biennial. Can you guess which one it is?
One more small clue before your eyes slide to the answer. This medicinal plant grows most in our climate conditions in South Moravia. And its name is common fennel (Foeniculum vulgare), which you can see below in the picture. Dried fennel is, of course, especially popular in the kitchen in the form of a spice. In the human body, it has beneficial effects, among other things, against intestinal cramps and bloating.
August
If you sow lamb's lettuce in August, you will secure a tasty harvest until the first frosts. Do not forget that you will enjoy a favourite part of meals best in BIO quality. In August, you still have room to plant spinach or lettuces intended for the autumn harvest.
For beauty and health, do not forget radishes or white radish, again using purely organic fertilisers. Growers and gardeners here regularly begin planting kale, black salsify and winter onions in August, which they will harvest the following year.
September
If you want to harvest vegetables in the same year, this is also possible at the beginning of autumn, especially in the case of early radishes, early lettuce and rocket.
If you want to start planting and harvest in spring, plant parsley, spinach or chervil, but in the second half of September it is usually too late, so it is better to rely on the first weeks.
As for ornamental flowers, September is clearly the month for planting bulbs. This group of plants includes, for example, daffodils, hyacinths or tulips.
October
The month of October is a clear answer to the common question of when to plant garlic other than in spring, so go ahead! We only recommend choosing lighter, non-waterlogged soil for autumn planting of this natural antibiotic, as in heavy and wet soil garlic planting material is often attacked by diseases that help prevent it from overwintering. This powerful perennial herb is commonly grown by planting individual cloves of separated garlic directly into the beds. If you grow garlic in proper bio quality, in addition to its fantastic aroma in garlic soup or other dishes, you will also feel its beneficial effects on the body. It is rich in vitamins A, B and C, selenium, calcium and iodine.

November
There are also winter varieties of garlic that you can safely sow in November. And onions as well.
While we are on the subject of how to plant, do not forget to get quality seeds. Your acquaintances often advise you best based on experience from the previous season or even many years of experience, and if you have no one to ask, we are here for you and will be happy to advise you. Call or write to the well-known address info@higarden.eu.
- Garden tools
- Sowing substrate
- 100% organic fertilisers - a complete range
Listing controls
10 items total