
Step-by-step growing, Page 4
- Growth phase
- Flowering and Harvest
- Processing and storage
- Hydroponic growing
- Seedlings and propagation
- Speciality Crops
- Outdoor Growing
- Seeds and Germination
List of articles
6 Most Common Mistakes When Taking Cuttings and How to Avoid Them
Cuttings are a great way to propagate your favourite plants quickly and efficiently. Although it is a common cultivation method, many growers make mistakes that reduce the success rate of rooting clones. Do you want healthy and strong plants? Take a look at the six most common mistakes when taking cuttings and find out how to avoid them.
Successful propagation by cuttings requires not only the right technique, but also suitable conditions and careful handling. An unsuitable choice of mother plant, poor hygiene habits, poor acclimatisation or unsuitable humidity or lighting will reliably lead to failure. In this article, we will show you the most common mistakes made by growers and advise you on how to increase the chance of successful rooting of your clones.
You may also be interested in: Cuttings: Plant cloning step by step
1. Unsuitable choice of mother plant
It is important that mother plants intended for taking clones are in perfect health. Cuttings from plants that are affected by pests, mould or nutrient deficiencies will have a low chance of rooting. There is also a high risk of transferring infection and pests from the mother plant to the offspring.
How can you avoid the mistake? For cloning purposes, always choose healthy mother plants with no signs of pest infestation, disease or mould. Plants in the peak stage of vegetative growth are ideal.
2. Poor cutting technique
 When taking cuttings, make sure you follow the correct procedure and use sharp tools. An improperly made cut reduces the cutting’s ability to form roots. If the cut is made with a blunt tool, the stem may be crushed, which prevents it from absorbing water. When cloning, it is important to work quickly so that air bubbles do not begin to form at the ends of the stems.
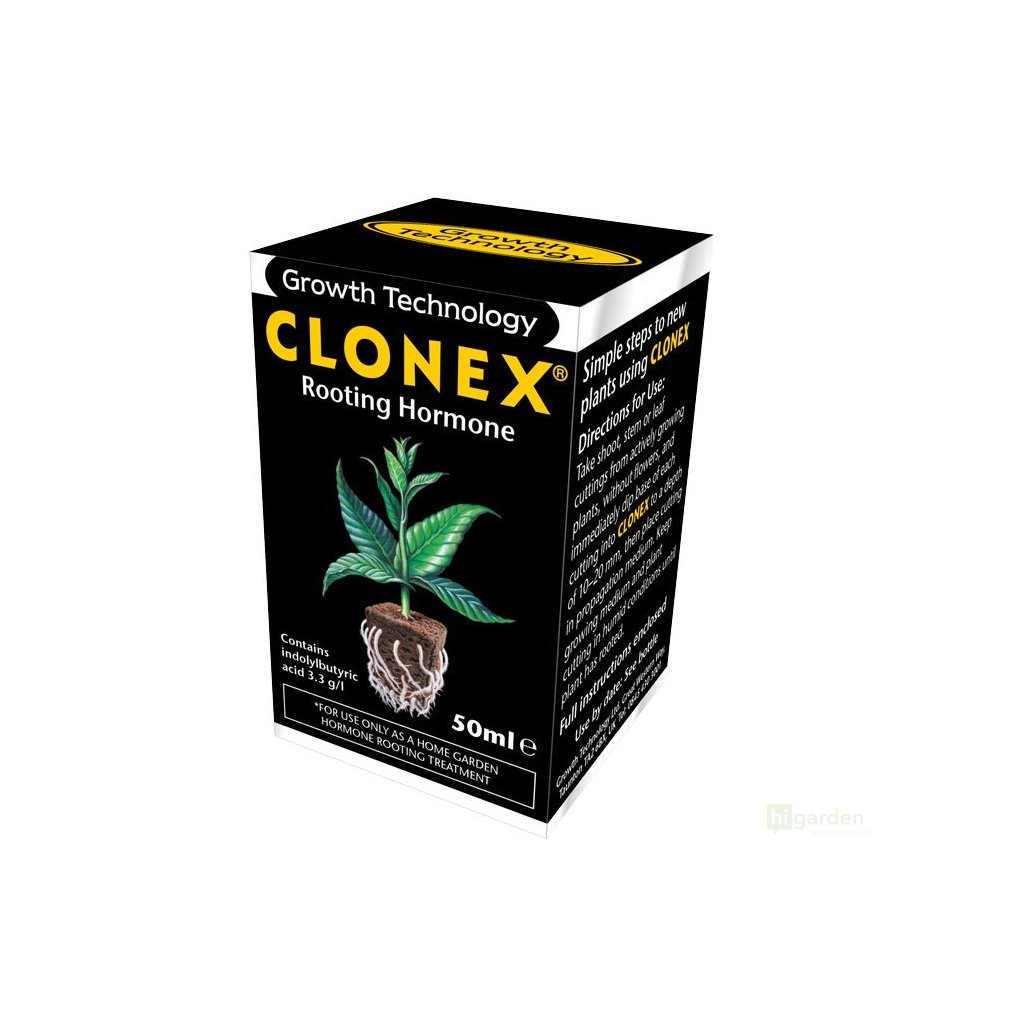
How can you avoid the mistake? When taking cuttings from plants, first cut branches 10-15 cm long and immediately place them in water. Then trim the ends of the stems to the same length at a 45° angle. Immediately dip the clones prepared in this way into rooting gel and insert them into the growing medium.
3. Insufficient hygiene
Mould, pests or viruses are easily transferred from one plant to another during propagation and can destroy your entire future crop. Therefore, follow basic hygiene rules and always work with clean and sterile tools. Do not smoke while taking cuttings and wear disposable gloves.
How can you avoid the mistake? Work in a clean environment, use gloves and disposable scalpels, and sterilise them again before each cut on a new plant. Suitable sterilising agents are ethyl alcohol or Purolyt.
4. Unsuitable humidity and temperature
 Fresh clones need humid air so that they do not wilt, but excessively high humidity slows rooting and increases the risk of mould spreading. A sufficiently high temperature is also important.
How can you avoid the mistake? Monitor temperature and humidity using a thermometer with a hygrometer. Root cuttings in a plastic greenhouse (propagator), where you should maintain humidity between 75-85% and a temperature in the range of 24-27 °C.
5. Incorrect light conditions
Cuttings need light for proper development, but lighting that is too intense or an unsuitable light spectrum can slow rooting and stress the plants. Direct and overly strong light increases water evaporation from the leaves, which then wilt. Conversely, if there is too little light, the stems of the young plants will stretch upwards.
How can you avoid the mistake? For rooting cuttings, use medium-intensity light (100–200 µmol/m²/s) with a blue-white spectrum. Special LED panels or low-energy fluorescent lamps are ideal. Once the first roots appear, you can increase the light intensity so that the clones acclimatise more quickly to stronger lighting.
6. Mistakes during acclimatisation
One common mistake is transplanting cuttings too early and not acclimatising them sufficiently to the new environment. If you plant cuttings with an underdeveloped root system into the growing medium, they will probably wilt. Likewise, a sudden change in conditions, especially a drop in air humidity, can stress the plants.
How can you avoid the mistake? Before transplanting the cuttings, wait until the roots have grown through the plug or cylinder. This should take one to two weeks. During rooting, gradually open the ventilation openings in the propagator so that the plants get used to lower air humidity.
Would you like to learn more about indoor growing and modern gardening trends? Do not hesitate to visit our Higraden blog.
Growing Year Plan: Prepare for the Outdoor Season
Anyone growing outdoors must take the vagaries of the weather into account and adapt their cultivation to nature. A conscientious gardener is not caught off guard and plans planting and the work schedule months in advance. We will guide you through the key periods of the entire outdoor season, and you will learn when and how to plant each crop so that you can look forward to a truly abundant harvest.
January and February: Preparing for the season
Winter is a time for planning and preparing for spring. Start by thinking about what you want to grow in the coming season. Explore new varieties that could enrich your garden or be better suited to the given site. Did you encounter pests or moulds in the previous season? Now is the right time to consider whether to plant more resistant cultivars or even a different plant species. Create a bed plan so that you use the growing area as efficiently as possible.
Tool care: Check the condition of your tools and repair or replace damaged pieces. Invest in quality gardening supplies for professional gardeners, which will save you time and money. Think about everything that might come in handy in the next season. Do not forget sprayers, watering cans, gloves, tying wire, geotextile, plant labels and pruning shears.
Soil maintenance: If the weather allows, add quality compost or vermicompost to the beds to supply the soil with nutrients. Try not to underestimate this step; organic fertilisers need some time to break down in the soil. Mulching is an excellent way to protect the soil from erosion and keep it ready for spring planting throughout the winter.
Are you wondering which fertilisers to use when growing outdoors? Read the article Organic vs. synthetic fertilisers: Which is better for your plants?
March: First sowing and soil care
In March, nature begins to wake up, and it is time for the first outdoor sowing and soil preparation. If you grow plants that need a long ripening period (for example chilli peppers), you can start raising seedlings at home under artificial lighting. You can find out how to raise chilli peppers here.
Preparing the beds: Loosen the beds thoroughly and remove weeds. Add compost or quality growing medium to improve the soil structure and supply it with nutrients. If you are growing using the “no-till” method, where sowing is done directly into unworked soil, skip this step.
Sowing hardy crops: Radishes, carrots, parsley or peas can be sown directly into the beds. For peas, keep a distance of about 10 cm between seeds and 40–60 cm between rows. You can also start raising onions from sets or garlic.
Cold frames and greenhouses: If you have a cold frame or greenhouse, you can start raising tomatoes, peppers and other fruiting vegetables. Do not forget sufficient light and the correct temperature, and you can also try tube heaters for greenhouses.
April: The season gets underway
April is a month full of busy work for outdoor growers. The soil begins to warm up and allows the sowing of less hardy plant species.
Planting potatoes: If you plan to grow potatoes, April is the ideal month to plant them. Plant the tubers in rows 60 cm apart, at a depth of about 10–15 cm.
Sowing leafy and root vegetables: Spinach, beetroot, kohlrabi and chicory can be sown directly into the beds. Also prepare a place for herbs such as coriander, parsley or chives.
Fruiting vegetables: Start raising tomatoes, peppers and cucumbers at home or in the greenhouse. These plants need a longer growing season and will only be moved to outdoor beds in May.
May: Peak planting time
In May, your garden will begin to fill with life. As the saying goes, after the “ice saints”, that is after 14 May, you should start planting heat-loving crops directly into the beds.
Planting tomatoes and peppers: Transplant the raised tomato and pepper seedlings into sunny beds. Keep sufficient spacing between plants so that they have enough room to grow.
Sowing courgettes and pumpkins: These crops need plenty of space, ideally at least 80 cm between plants. Sow them directly into the beds as soon as the soil is sufficiently warm.
Care for young plants: Monitor the weather forecast and protect plants from any night frosts. Use non-woven fabric or film covers.
June and July: Garden care and harvesting
Summer is a time of intensive work for gardeners, but it is also when we can enjoy the first summer harvest. This period is also the peak of activity for many pests. Check the plants in the garden regularly so that you can intervene in time. An overview and detailed information on how to fight insect pests and moulds can be found on our blog.
Watering and mulching: During dry periods, do not forget to water regularly. The modern grower has a range of tools at their disposal, including automatic irrigation systems, which take care of most of the hard work for you.
Pest control: Monitor plants for aphids, slugs or other pests. Try to use ecological methods of protection against pests and diseases, such as predatory beetles or natural insecticides.
Harvesting fast-growing crops: Radishes, spinach and lettuce are ready to harvest within a few weeks of sowing. Sow these crops throughout the season so that you can harvest them gradually.
August and September: Harvest and preparation for autumn
The end of summer and the beginning of autumn are a time of abundance and preparation for the end of the season. Proper care of the garden in these months will ensure not only a flawless harvest without mould, but also a healthy start to the next year.
Harvesting: Tomatoes, peppers, courgettes, potatoes and other crops are ripening. Harvest gradually so that the plants can continue to bear fruit.
Sowing autumn vegetables: Sow winter leeks, Brussels sprouts or autumn spinach so that they have time to grow sufficiently before the frosts arrive.
October and November: The garden rests
With the coming winter, nature begins to prepare for winter rest. Spend time cleaning and caring for the soil. Remove plant residues to prevent the spread of pests and moulds.
Garden clean-up: Remove plant residues that could harbour pests or diseases. Take out the tubers of flowering plants, such as dahlias, and store them in a dry place.
Fertilising and composting: If you have not already done so, add organic fertilisers and compost to the soil so that the soil has enough nutrients for the next season. If the soil needs liming, now is the right time.
Protecting perennials: Cover delicate plants with conifer branches or non-woven fabric to protect them from frost.
By now, you should be perfectly prepared for the coming season. Finally, we add a clear table of popular crops with the months of planting, which will help you plan sowing more effectively. You can find more useful tips for growing at home and outdoors on our Higarden blog.
Extracts Easily and Quickly
The extraction of plant extracts is both a science and an art, allowing you to obtain the best from plants – from valuable terpenes to active compounds – while removing unwanted components such as waxes, fats and plant material. Whether you choose methods that use solvents or take the safer solventless route, the key is selecting the right process. Join us as we delve into the fascinating world of extraction, where traditional methods meet the latest technologies, and discover how each of them can affect the final product.
The aim of extraction is to separate the active components (terpenes, active compounds) from unwanted ones such as fats, waxes or plant material. The various techniques used to achieve this are divided into two basic categories according to whether solvents are required during extraction or not.
Extraction using solvents: These extraction methods use organic solvents (butane, alcohol, isopropyl alcohol, dimethyl ether, CO₂) that separate trichomes (resin) from the organic material. This is followed by a separation process, during which the resulting extract is heated, mixed or otherwise treated to create a concentrated product.
Solventless extraction: Solventless extraction methods include a wide range of techniques, from traditional ones such as sieving to modern water separation or pressing. In these techniques, trichomes are separated from the plant material mechanically, using agitation, pressure, heat or cold.
Each of the extraction methods mentioned above has its advantages and disadvantages. The main differences between the individual techniques are yield and the quality of the final product. The types of extracts obtained differ in appearance, structure, consistency, active compound content and purity, depending on the quality of the raw materials and the extraction processes used.
Solventless extraction methods
 The main advantages of solventless extraction are safety and a relatively low purchase price for the equipment. These techniques give growers the assurance that the final product will be non-toxic. In addition, there is no risk of poisoning or injury during production, as is the case when using flammable solvents.
Sieving
Sieving (dry sift) is one of the oldest methods of resin extraction, used by growers around the world for centuries. In this technique, dry plant material (flowers, leaves, trim) is processed and sifted through fine screens with tiny openings through which only trichomes pass. The resin is released from the dried material thanks to mechanical movement and takes the form of a sticky powder that can then be pressed, cleaned or otherwise processed.
- Hand-held dry sift screens are suitable for home growers and for those who want maximum control over the extraction process. Thanks to several screen grades, you can capture different trichome sizes, giving you the option to decide on the quality of the final product.
- Automatic pollinators work on the same principle as hand-held screens, but are equipped with a motor that sifts the material, speeding up the work.
Water extraction
Ice water extraction is based on sieving and consists of immersing the plant material in a mixture of ice and water, followed by stirring and straining through bags with a mesh bottom. Cold water makes it easier to release the trichomes, making it possible to obtain a cleaner product than with dry sieving.
- Extraction bags for pollen separation with screens of different grades are an essential tool for water extraction. To begin with, you will need a basic set of three bags (220.73,25 microns), with the screen with the largest openings (220 µm) catching impurities and plant material, the middle screen (73 µm) catching the heads of the largest trichomes, and the bottom screen (25 µm) catching the remaining resin.
- Pollen separation washers make mixing and the subsequent draining of water through the screens easier. Thanks to gentle yet thorough mixing, it is possible to achieve a higher yield and a cleaner final product than with manual processing.
Hot pressing
Pressing is one of the modern extraction methods, in which plant material or resin obtained by sieving or water separation is pressed and heated so that excess waxes and oils are separated from the product. The result is a very clean product with a high content of terpenes and active compounds. The advantage of hot pressing is the high quality of the extract obtained and the absence of solvents. This method requires a special hydraulic press with heating plates.
- Manual presses are suitable for home growers and those who want to try this method in practice for the first time.
- Automatic resin extraction presses are slightly more expensive than manual ones, but they can achieve better results.
Extraction using solvents
 The main advantages of extraction methods using solvents are yield and low cost, especially in industrial processing. However, in home conditions it is always necessary to bear in mind that most of these substances are highly flammable or may be toxic. The following lines serve only as a general introduction to some extraction methods. If you decide to use these techniques, first familiarise yourself thoroughly with the procedure and the risks, and observe all safety precautions.
Extraction with ethanol/isopropyl alcohol
Ethanol or isopropyl alcohol are the most common solvents used in resin extraction with solvents. The extraction process with these substances can be carried out in various ways, but the basic procedure always consists of soaking the plant material in the solvent and then evaporating it. The disadvantage is that polar solvents (ethanol) easily bind water-soluble compounds such as waxes or fats, which is undesirable and reduces product quality. These impurities can be removed from the product by chilling (winterisation), pressing or other methods.
Hydrocarbon extraction
One of the most popular and at the same time most effective solvent-based extraction methods is hydrocarbon extraction. These techniques use light hydrocarbons such as butane or dimethyl ether, which, thanks to their low boiling point, allow extraction and separation at low temperatures. The result is a very clean product with a high content of terpenes and active compounds. Hydrocarbon extraction allows significantly higher yields than other methods.
- Addipure extractors for extraction with dimethyl ether and N-butane are made from high-quality materials and facilitate safe hydrocarbon extraction.
Carbon dioxide extraction (CO₂)
Extraction using CO₂ is considered one of the cleanest and most environmentally friendly ways of obtaining plant extracts. In this method, carbon dioxide is heated and compressed into a supercritical state, where it behaves as both a gas and a liquid at the same time. CO₂ in a supercritical state easily penetrates the plant material and separates active compounds, terpenes and other compounds. After extraction, the CO₂ simply evaporates and is reused, making this a non-toxic process with no residual solvents. CO₂ extraction cannot be carried out without expensive laboratory equipment, which is usually not available to home growers.
Would you like to learn more news from the world of growing and get useful guides? Do not hesitate to visit our blog.
Indoor Germination from A to Z
Whether you decide to start indoor germination of herbs, vegetables, microgreens, or ornamental and medicinal plant species, your success will depend on the environmental conditions you provide to the seeds. The undeniable advantage of indoor growing is that you have absolute control. We will show you how to use this and achieve 100%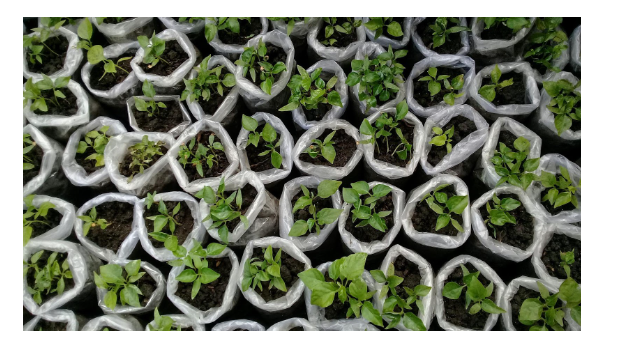 success in the following lines.
Unlike sowing seeds outdoors directly into the soil, where nature decides the outcome, with indoor growing you are in control of the weather. Thanks to grow tents (or propagators), you can keep germinating seeds in optimal conditions. By indoor germination we mean:
- germination in a plastic propagator on a windowsill (suitable for less demanding species)
- germination in a plastic propagator in a grow tent under artificial lighting (suitable for most species)
- germination directly in a grow tent or propagator under artificial lighting and without using a plastic propagator (suitable for most species, with the need to use a humidifier to maintain humidity)
OUR TIP: Would you like to start indoor germination, raising seedlings, or growing microgreens, and are you unsure when choosing equipment? Take a look at our complete sets for indoor raising of seedlings and propagation of plants.
Factors affecting germination
- Temperature is one of the most important environmental factors affecting seed germination. Most seeds of plants intended for indoor growing have a specific temperature range at which they will germinate, and these values differ from species to species; however, the vast majority germinate best at temperatures between 15-30 °C (more precise information can be found on the seed packaging).
- Water is another indispensable resource for seeds, without which they cannot germinate. As soon as the seeds enter a moist environment, they swell, the outer shell softens and bursts to make room for the sprout. Water is also important for activating enzymes inside the seed and releasing stored nutrients, from which the plants draw nourishment in the first days, when they are not yet able to photosynthesise.
- Light is an important environmental factor whose importance varies from species to species. Some seeds need light to germinate, while others require complete darkness. However, all seeds need light as soon as they germinate.
How to germinate indoors: A detailed guide
1) Choose a growing medium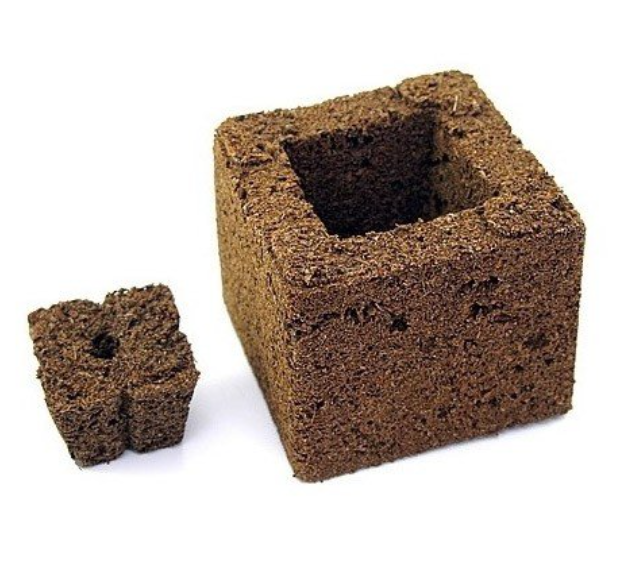
Choosing the right medium for seed germination depends mainly on your growing technique. In general, growing media made from organic materials (soil, peat, coco) are more suitable for cultivating plants in the traditional way, that is, in soil or coco substrate. In hydroponics or growing in inert substrates (rockwool, perlite, vermiculite, expanded clay), it is better to germinate in sterile media or in water.
- Soil-based sowing substrates are suitable for growing in soil mixes or coco substrates.
- Coco substrates combine the advantages of organic soil blends and hydroponic substrates. They are suitable for germinating seeds of plants grown in soil, coco and hydroponics.
- Propagation cubes and Jiffy made from peat, coco and other organic materials are designed to fit comfortably into propagators, saving both work and space. You can use them when growing in soil, coco and hydroponics.
- Propagation cubes made of mineral wool (rockwool) in various sizes and shapes are most suitable for cultivating plants in hydroponics and inert substrates, but they can also be used for seed germination for growing in soil mixes.
- Perlite and vermiculite are sterile media made from expanded rock, used as an additive to soil, but also suitable for seed germination, especially in hydroponic growing.
2) Moisten the growing substrate
When germinating in soil mixes and coco, the substrate must first be sufficiently moistened. You can easily test the moisture of soil or coco substrate by firmly squeezing a small amount in your palm. If only a few drops of water run between your fingers, the moisture is just right.
Coco propagation cubes (Jiffy), perlite, vermiculite and mineral wool cubes only need to be soaked in water before use. If you want the germination process to take place in as sterile an environment as possible, you can use a weak (0.5%) solution of hydrogen peroxide instead of water. This will prevent damping-off and stem rot caused by parasitic fungi.
You can also use compost teas containing beneficial microorganisms that protect plants against harmful moulds while also speeding up nutrient uptake and supporting plant vitality. For inoculation, simply soak the seeds in the prepared compost tea before placing them into the substrate. Note that treating the medium with a hydrogen peroxide solution and soaking seeds in compost tea cannot be combined, because the chemical will reliably kill the beneficial microorganisms.
OUR TIP: As an alternative to hydrogen peroxide, you can use Purolyt.
3) Fill the growing container with substrate
When germinating seeds in soil or coco substrate, use small pots. If you want to make transplanting easier, you can choose pots made from biodegradable materials. First fill the container to one third and lightly tap it with the bottom on the table so the substrate settles. Finally, heap the substrate up to the rim of the container and lightly press it down by hand.
Coco propagation cubes and mineral wool cubes are best arranged in a propagation tray. Again, you can choose practical propagation trays made from biodegradable materials. If you place them loosely on a tray or in a propagator, the seedlings will topple over after germination and the stems may break.
4) Plant the seeds into the growing medium
You can now begin planting. Different plant species have different germination requirements. Some seeds may require a cold period before germination (stratification) or longer soaking. Unless stated otherwise, plant the seeds to a depth equal to two to three times their length.
If you are growing several species or cultivars at once, it is a good idea to label the seeds clearly when planting. Hard plastic labelling tags are practical for this purpose.
5) Maintain the correct humidity and temperature
Once you have planted the seeds into a moist substrate, the germination process begins. It is now important to maintain the correct temperature, humidity and light intensity in the growing area. These factors differ for each species, but in general it can be said that most species grown indoors need temperatures between 15-30 °C and high air humidity to germinate.
OUR TIP: Heating mats are a great helper when growing species that need high temperatures to germinate.
The easiest way to maintain the right microclimate is in a small plastic propagator in which you keep the germinating seeds. You can then place it in a grow box, on a windowsill or in another suitable location. Alternatively, you can increase the humidity in the entire growing area with a humidifier, which is especially suitable when germinating a large number of seeds at once (for example when growing microgreens)
Check the substrate moisture every day, and if it seems too dry, moisten it with clean water from a spray bottle. It is not a good idea to water germinating seeds directly, as they could be washed to the surface. Seeds should germinate according to the species, with newer seed germinating faster than old or poorly stored seed, which may not germinate at all.
6) Provide the plants with light
Plants need light to live, and this also applies to germinating and freshly germinated seedlings. Many growers germinate seeds in a plastic propagator on a windowsill, which is a good solution for less demanding species or plants intended for outdoor planting. However, for indoor growing it is better to start straight under artificial lighting. This ensures that the plants receive enough light from the first days, speeds up their growth and prevents stems from stretching.
Grow lights for germination and seedling lighting have lower output and emit a light spectrum suitable for the growth stage. The choice of the correct shape and size depends mainly on the number of plants you plan to grow.
The hanging height of grow lights for germination and young seedlings depends on the intensity of the emitted light. Approximate hanging heights for grow lights for germination and seedlings according to output are:
- for lights intended for germination and seedlings up to 120 W - 10-40 centimetres above the tops of the plants
- for LED grow lights with an output of 120 W to 1,000 W – 60-90 centimetres above the tops of the plants
Photoperiod (the number of hours of uninterrupted light during 24 hours) depends on the species grown, but for most plants it is between 12-16 hours a day. Switching the lights on and off is easiest to control with adjustable timers.
7) Prepare seedlings for the growth stage
The germination stage ends as soon as the first two small cotyledons appear above the surface of the substrate. If you germinated in pots, your newly emerged plants should have enough root space for the first few days to weeks (depending on the species), and there is no need to transplant them immediately. If you germinated in Jiffy or propagation cubes, it is necessary to transplant the plants within a few days of germination.
Indoor germination can sometimes be a challenge, but we believe that with our advice you are ready for the task. Do not forget that no one is born knowing everything, and if you run into a problem with choosing equipment or need any other advice, do not hesitate to contact us. For more useful tips, visit our Higarden blog.
The End of Summering. Move Houseplants Back Indoors
Summer is ending, and with it the period when some popular houseplants could be moved outdoors for the season. Outside, they safely gathered life-giving energy through fresh air, natural sunlight and gentle summer rain. During September, however, it is time to move houseplants back indoors. How can you do this so that they survive the return to the interior in the best possible condition?
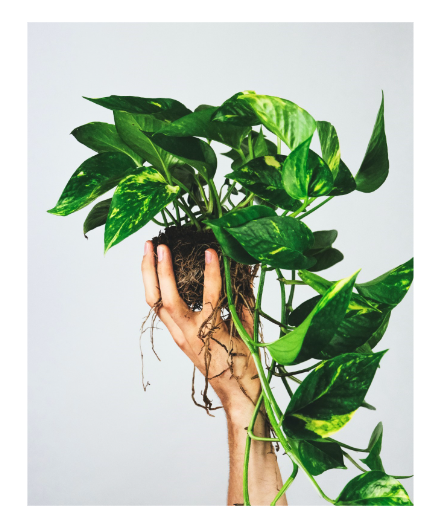
Well-known houseplants that particularly benefit from the above-mentioned summer outdoors include cacti and succulents. Ficus, hibiscus, spider plants and yuccas are also among them. If you left them outside over the summer, they will have gained plenty of new strength, which will allow them to bring you even more joy during the long winter months. However, if you do not manage to move them home sensitively before the heating season begins, an unhappy scenario may occur in which the leaves start to lose colour or even fall off. And as is well known, weakened plants also become much more susceptible to attack by various pests (see separate article: How to deal with pests?).
However, returning indoors is not a simple matter for a plant. On the contrary, it can be quite a shock. A different temperature, light intensity or air humidity – these are all factors, or rather significant changes, that are often forgotten, despite the fact that some houseplant species are highly sensitive to the changes mentioned. That is precisely why we should make this “move” easier for houseplants. The best approach is to do it gradually (see below).
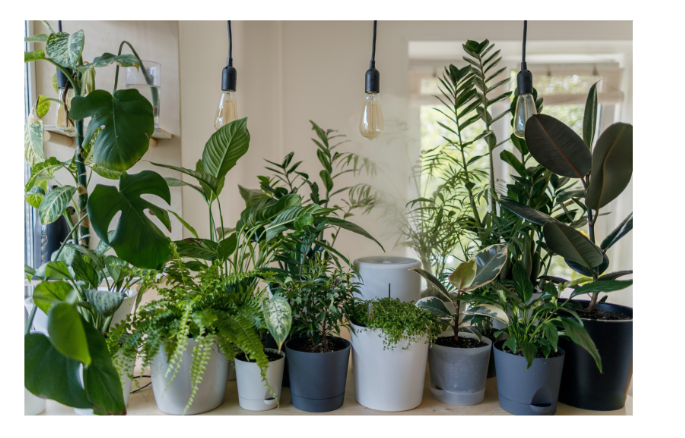
- First of all, all houseplants that have been outside over the summer need to be thoroughly checked and any pests identified. If one of your plants is infested, you will usually notice it by looking at the underside of its leaves, where pests that attack houseplants are most commonly found.
Our TIP: AgroBio INPORO is a natural product that protects green houseplants during the occurrence of pests or fungal diseases.
- A reliable signal that it is time to bring houseplants into the warmth of the home is given by night-time temperatures. Once they fall below 10 °C, it is high time to put the houseplants somewhere safe, and if they are tropical species, move them indoors even earlier just to be safe!
- Do not be too hasty, though! A proven approach is to change the outdoor position before moving houseplants into the flat. First, simply move the plants from a sunny spot to somewhere shaded.
- Wait a few days, and then you can safely move the houseplants to a cooler room. Avoid the common mistake of moving them straight onto a windowsill or a short distance from the heater.
- Now it is necessary to set the right regime for the houseplants. You do this mainly by reducing watering to the absolute minimum. In winter, houseplants receive much less light and the plants enter a period of vegetative rest. They therefore need less water and fertiliser. If you notice yellowing leaves or roots rotting more easily, you are probably overwatering unnecessarily.
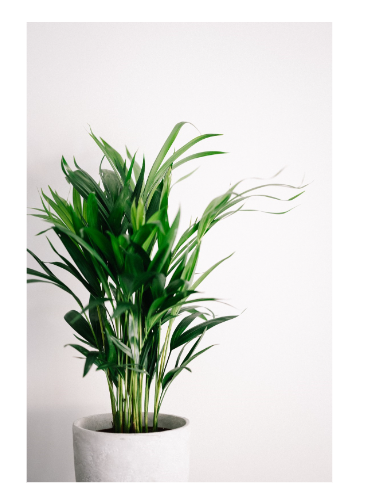
It is sometimes truly remarkable how much houseplants benefit from spending the summer outdoors in fresh air, and they quite literally come into their own before your eyes. In addition to becoming hardier and generally more resilient, they also develop much firmer leaves and, in some cases, larger and more beautiful flowers. And as they grow more beautiful, their original flowerpot may no longer be enough. In such cases, they will survive the winter better if you do not wait until spring, the usual time for repotting plants, to move them into a larger flowerpot. Inspiration for choosing a new flowerpot can be found in the following separate articles:
Our TIP: If you are looking for a fertiliser for palms, dracaenas or other types of green houseplants, try the mineral fertiliser FANTAZIE from the traditional Czech brand AgroBio. Thanks to its content of humic, stimulating and anti-stress substances, it is very beneficial for these houseplant species.
We also recommend these products:
- Smart flowerpot Cobble or Smart flowerpot Cobble Trio
- KP Flowering Houseplants 100 ml
- AgroBio INPORO Green Houseplants
What to read next:
How to Grow in a Greenhouse?
Greenhouses are often associated with harvesting fresh home-grown tomatoes, peppers or cucumbers. However, successful cultivation of a wide range of vegetables, fruit and herbs in a greenhouse has its time-tested principles, which experienced growers follow so that they can enjoy a rich harvest once or even twice a year. Read about the advantages and pitfalls of greenhouse growing.
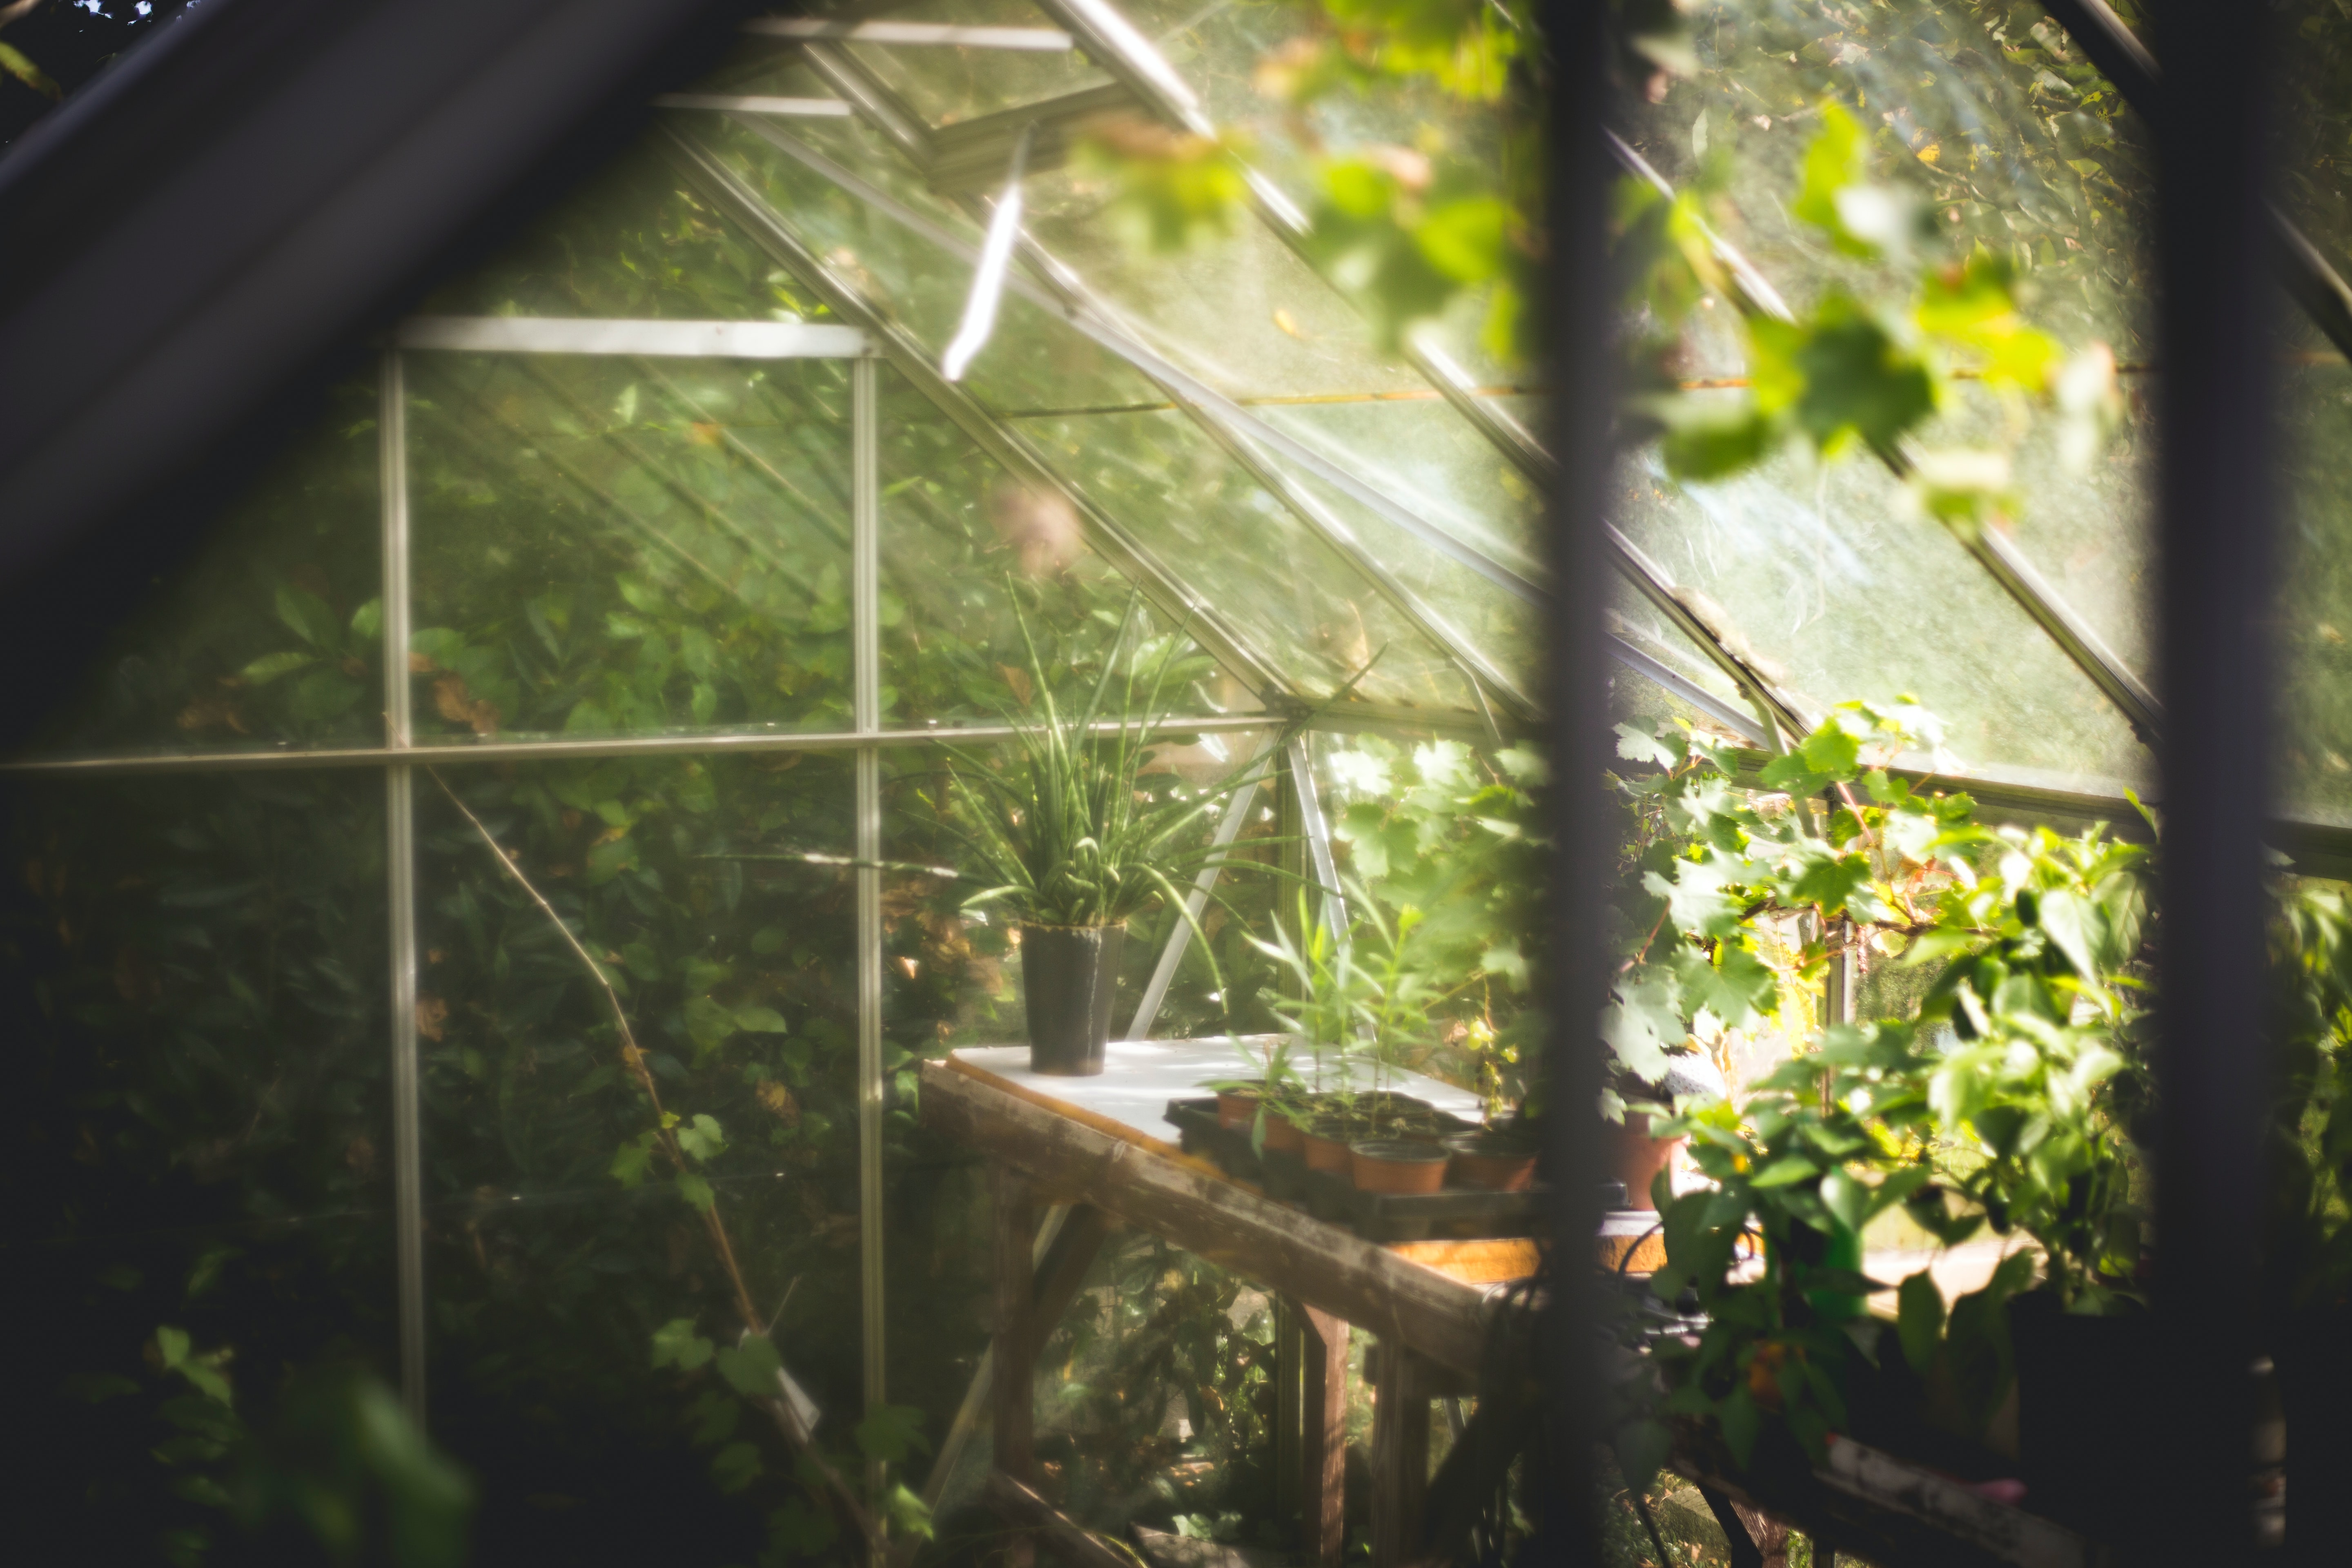
Advantages of growing in a greenhouse
What is the main advantage of greenhouses compared with growing on uncovered beds in the garden or in a field? The answer is: optimal growing conditions, to which some popular plant species are very sensitive. Unlike purely outdoor growing, a greenhouse makes it possible to maintain a constant temperature and humidity. Greenhouses also protect plants from adverse weather in the form of strong winds or heavy rain. (Below the article you will find a link to a separate article devoted to various stress factors that harm plants.) Greenhouses therefore allow plants to grow faster and crops to ripen more quickly. Growers make the greatest use of this especially when growing seasonal vegetables. Some vegetable varieties cannot really be grown without a greenhouse. If you have a greenhouse in your garden, you have much greater scope in terms of which varieties to grow.
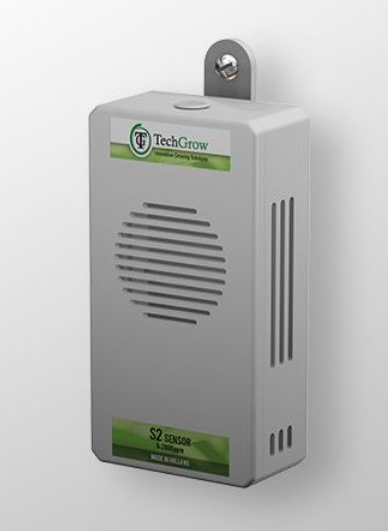
Our TIP: A Dutch high-tech innovation also helps growers achieve optimal conditions in greenhouses: the intelligent TechGrow S-2 CO2 sensor. We also warmly recommend other unique devices from this manufacturer! For example, modern timers for your irrigation systems.
Another advantage of growing in a greenhouse is, of course, energy savings, because as far as plant lighting is concerned, you do not need an artificial light source and you use the sun, which shines on plants for free and whose light is intensified by clean glass (see below).
Another advantage of greenhouse growing lies in the head start. What do we mean by that? As mentioned at the beginning, harvesting can take place even twice a year. This is because while in open outdoor beds we usually plant tomatoes or peppers only during May, when the weather is sufficiently warm, a greenhouse gives growers up to a two-month head start, so more hardy vegetable species are commonly planted as early as March.
Ventilate, ventilate, ventilate
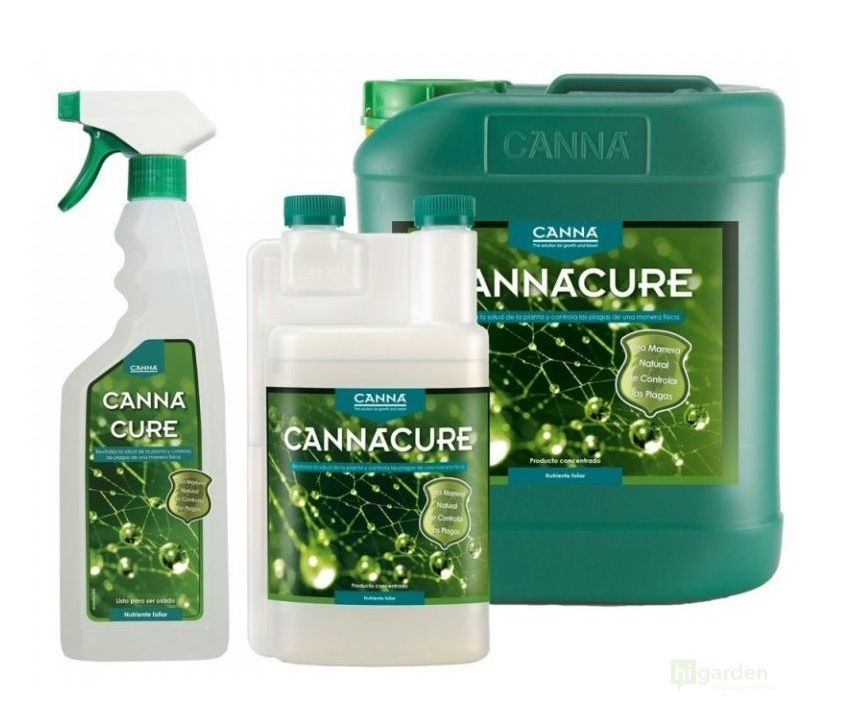
Ventilation, ventilation, and plants will be protected from mould... Not only for this reason should regular air exchange be a matter of course when growing in a greenhouse. If it is not, an environment is automatically created in which plants, put simply, struggle to breathe. Excessive humidity forms inside the growing space, which increases the risk of plants being affected by mould or other fungal diseases. A common mistake is also to rely on just one ventilation opening. You should always open at least two windows to ensure sufficient air circulation inside the greenhouse. On warmer days, opening the doors is an option, but bear in mind that the larger the ventilation opening, the easier it is for pests to get inside. After all, a greenhouse is not a grow box, so you should definitely think about effective prevention. Also read the article: How to deal with pests? A great helper is especially the popular Canna CURE spray. On the other hand, by opening ventilation openings including the doors, we give useful flying insects, namely pollinators, the opportunity to look into the greenhouse, and they thus fulfil their role given by nature inside the greenhouse and help us achieve a wonderful harvest. To summarise:
- Ventilate thoroughly in combination with effective prevention.
- Opening at least two ventilation openings on opposite sides of the greenhouse ensures that air circulates naturally in the growing space.
- In spring, ventilate only during the day, when outdoor temperatures reach their maximum, and do not forget to close the ventilation openings at night so that night-time temperature fluctuations do not endanger the development of your plants; greenhouse heating can also help protect them from these fluctuations (see below).
Make the most of the space
Efficient use of space in a greenhouse makes it possible to multiply the amount of tasty produce or fragrant herbs you will be able to harvest. For this purpose, greenhouse shelving or window ledges are purchased for greenhouses. Handy DIY enthusiasts can also make them themselves. The material is not as important as stability, because damp soil has considerable weight. They are perfect, among other things, for pre-growing seedlings in pots. Some shelves are foldable, others are not. The advantage of foldable shelves is that they do not later get in the way of larger plants. Under fixed shelves you can grow lower vegetables and set up another level on shelves where you place window boxes with basil and other heat-loving plant species. Ideally, the shelves should have various openings through which the flowing air can also reach the lower level.
Tips for pots for a healthy root system and higher yields
Fabric pots are made with sustainability in mind. After harvest, you can simply wash them and use them again for the next growing cycle. Unlike plastic pots, there is no risk of the growing container degrading, and you ensure perfect drainage of the substrate as well as its aeration, meaning an above-standard supply of oxygen to the roots. Read the article: When should fabric pots be preferred over plastic ones? From plastic pots, we recommend aerated HERCULES pots for excellent root development. The picture clearly shows how well plant roots thrive in them.
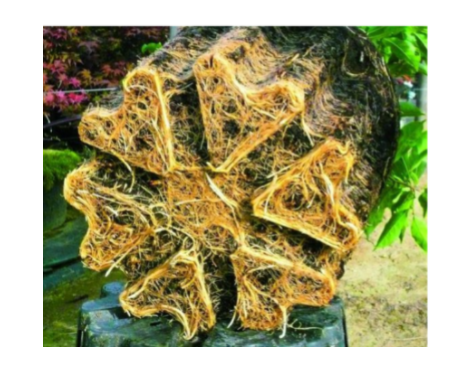
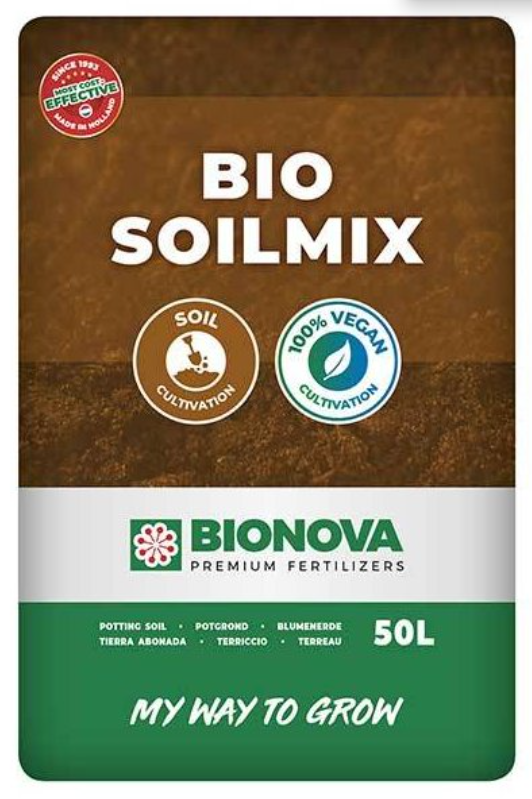
Some growers prefer beds in the greenhouse, supplemented by hanging pots for maximum use of the growing space. If you decide to give preference to cultivating plants in beds inside the greenhouse, do not forget to get quality soil substrate and replace it regularly, or revitalise it. Substrate revitalisation is the subject of the article: How and why should substrate be revitalisedsubstrate? Regular revitalisation and replacement of spent substrate in greenhouse beds is part of important prevention against mould and plant pest infestations. If your priority is to harvest tasty crops in organic quality, we recommend, for example, BioNova Bio Soilmix.
Advantages and pitfalls of the greenhouse effect
This process, which we already know from school, allows plants to grow faster and produce fruit that also ripens more quickly. Fruiting vegetables are therefore usually the number one topic in greenhouses. Short-wave radiation enters the greenhouse through the glass, creating heat that is retained very well inside. Growers and gardeners use this every year as early as spring for pre-growing seedlings. The greenhouse effect is beneficial in most situations, but it is said that too much of a good thing can be harmful. This also applies to too much sun, whose rays are intensified by the glass. During the hot summer months, care must be taken to ensure that extreme temperatures do not develop inside the greenhouse. In our e-shop, you can choose from a wide range of devices for measuring temperature and humidity.
Heating the greenhouse
Protect your plants in the greenhouse from sudden drops in temperature or low night-time temperatures and provide them with a stable environment using special heating.
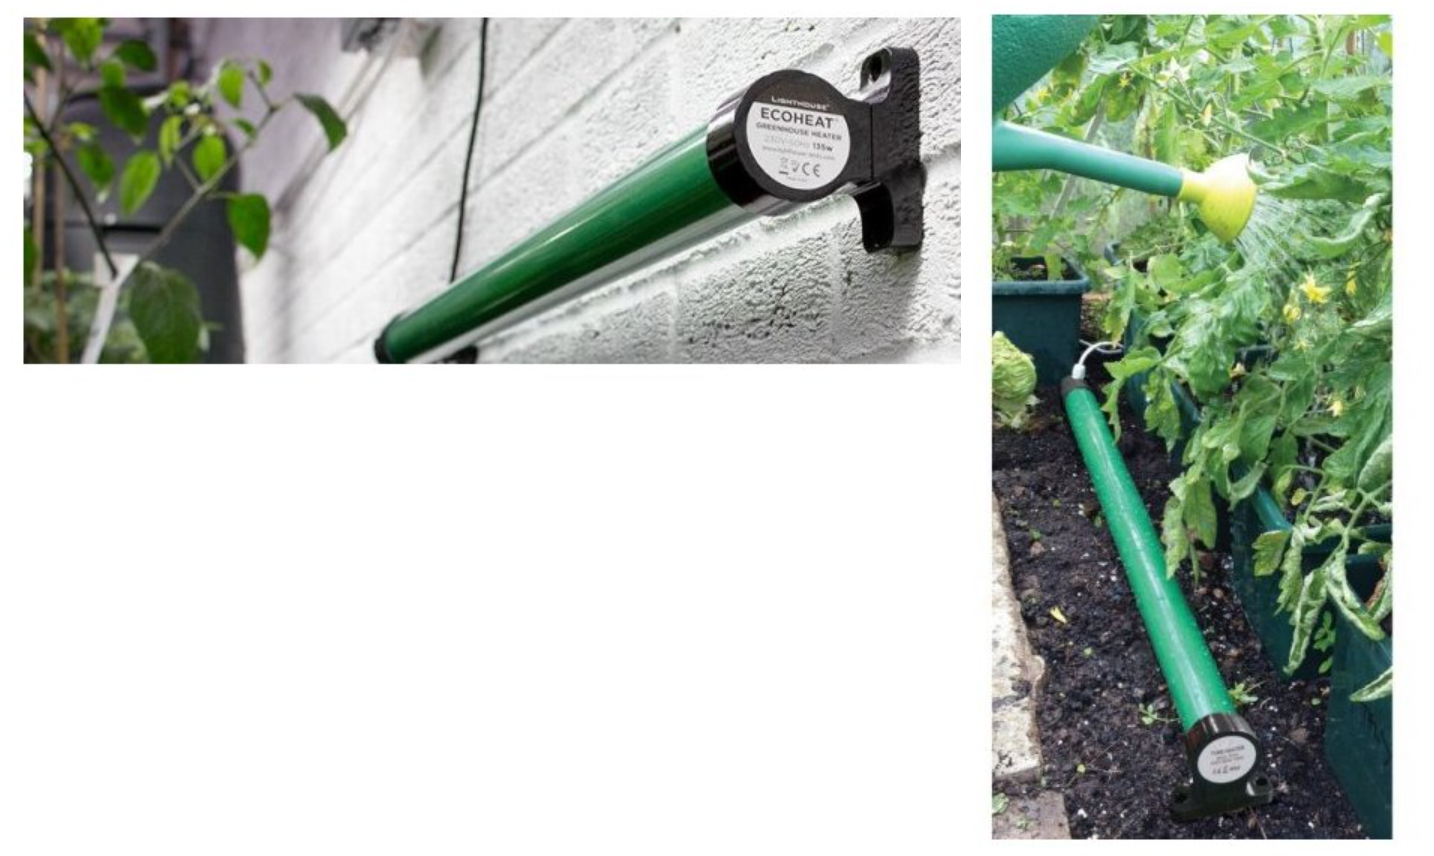
We recommend the reliable tubular heating elements LightHouse ECOHEAT, made directly for greenhouse growing purposes in four variants. Simply choose the required output to (45 W, 80 W, 135 W or 240 W) according to the size of the greenhouse.
You can easily attach the practical heating elements to the greenhouse wall, but you can also place them directly next to the plants without any problem, as they are resistant to sprayers and water splashes. You can see both options in the picture.
Greenhouse heating will certainly also come in handy for safely overwintering portable plants.
Heating the greenhouse is certainly a suitable support for plant development during the colder months, but do not forget that if you want to grow plants in a greenhouse in winter, in addition to heating the greenhouse you must also obtain sufficiently powerful artificial lighting. And heating a large space with artificial lighting is already a fairly costly matter. Year-round growing of any plant species under artificial lighting is also made possible by grow tents of various sizes, thanks to which you can harvest in the comfort of your home from spring to winter.
Clean glass and birds
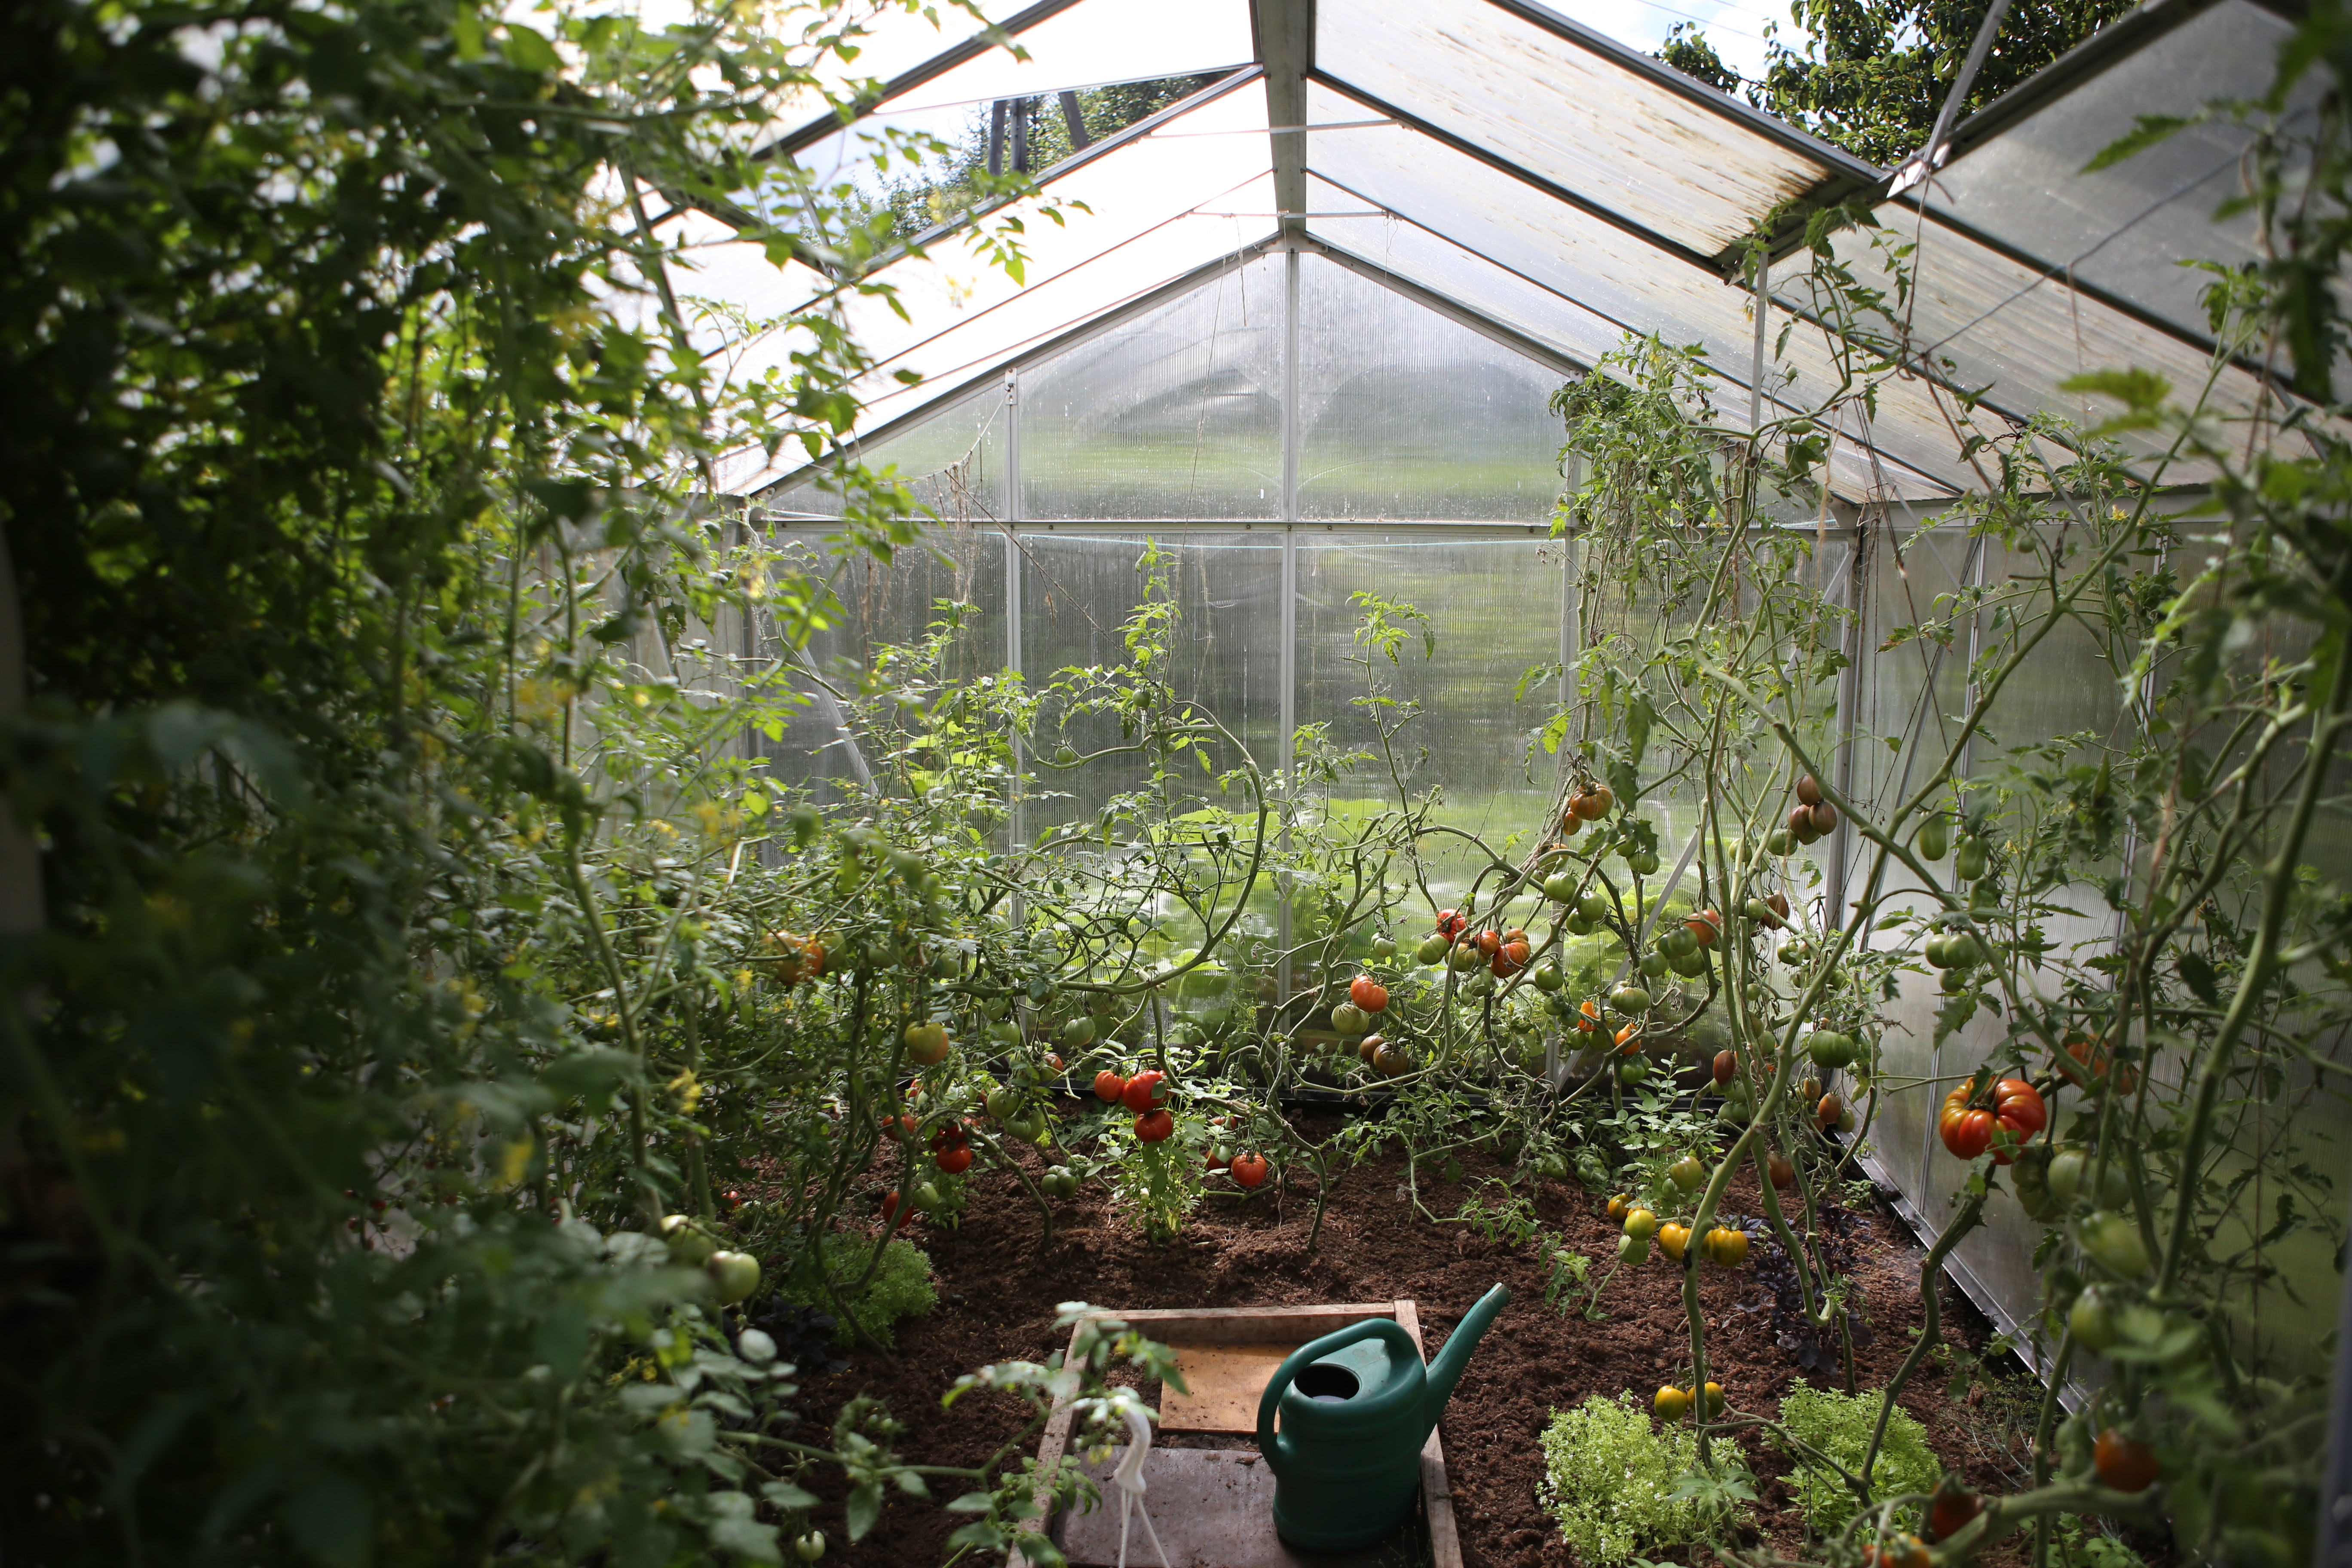
If you keep the glass permanently perfectly clean, you maximise the effectiveness of the sun's rays that pass through the glass and fall on photosynthesising plants. In other words, it would certainly be a shame if your efforts were slowed down by a layer of dust or other dirt from the surrounding environment. For example, lettuces typically, as a result of a layer of dust on the greenhouse, do not absorb light rays with sufficient intensity and tend to accumulate nitrates in themselves.
However, too much of anything is harmful, and therefore, when it comes to the pitfalls associated with growing plants in a greenhouse, caution is especially necessary in summer. We have already mentioned the greenhouse effect. The accumulating heat inside the greenhouse could damage plants, so it is worth using proven methods, such as coating the greenhouse surface with a protective lime wash, which can be removed quite easily after the season with water and vinegar. These coatings are usually inexpensive, and you do not need to worry about damaging the glass in any way.
As for the clear glass, it is also important not to underestimate speed and not to overestimate the perception of birds flying over the property on which your greenhouse stands. A little translucent paint or UV stickers on the glass will protect the lives of birds and at the same time prevent damage.
If you have any questions about greenhouse growing, we will be happy to advise you at the well-known e-mail address info@higarden.eu. This also applies, of course, to choosing suitable products that will make your work in the greenhouse considerably easier and increase yields. We are here for you!
We also recommend these products:
What to read next:
How to Grow Mother Plants and How to Care for Them?
Mother plant, or simply a mother. In this post, you will find out what this term means, and we will also focus on the practical side of the matter.
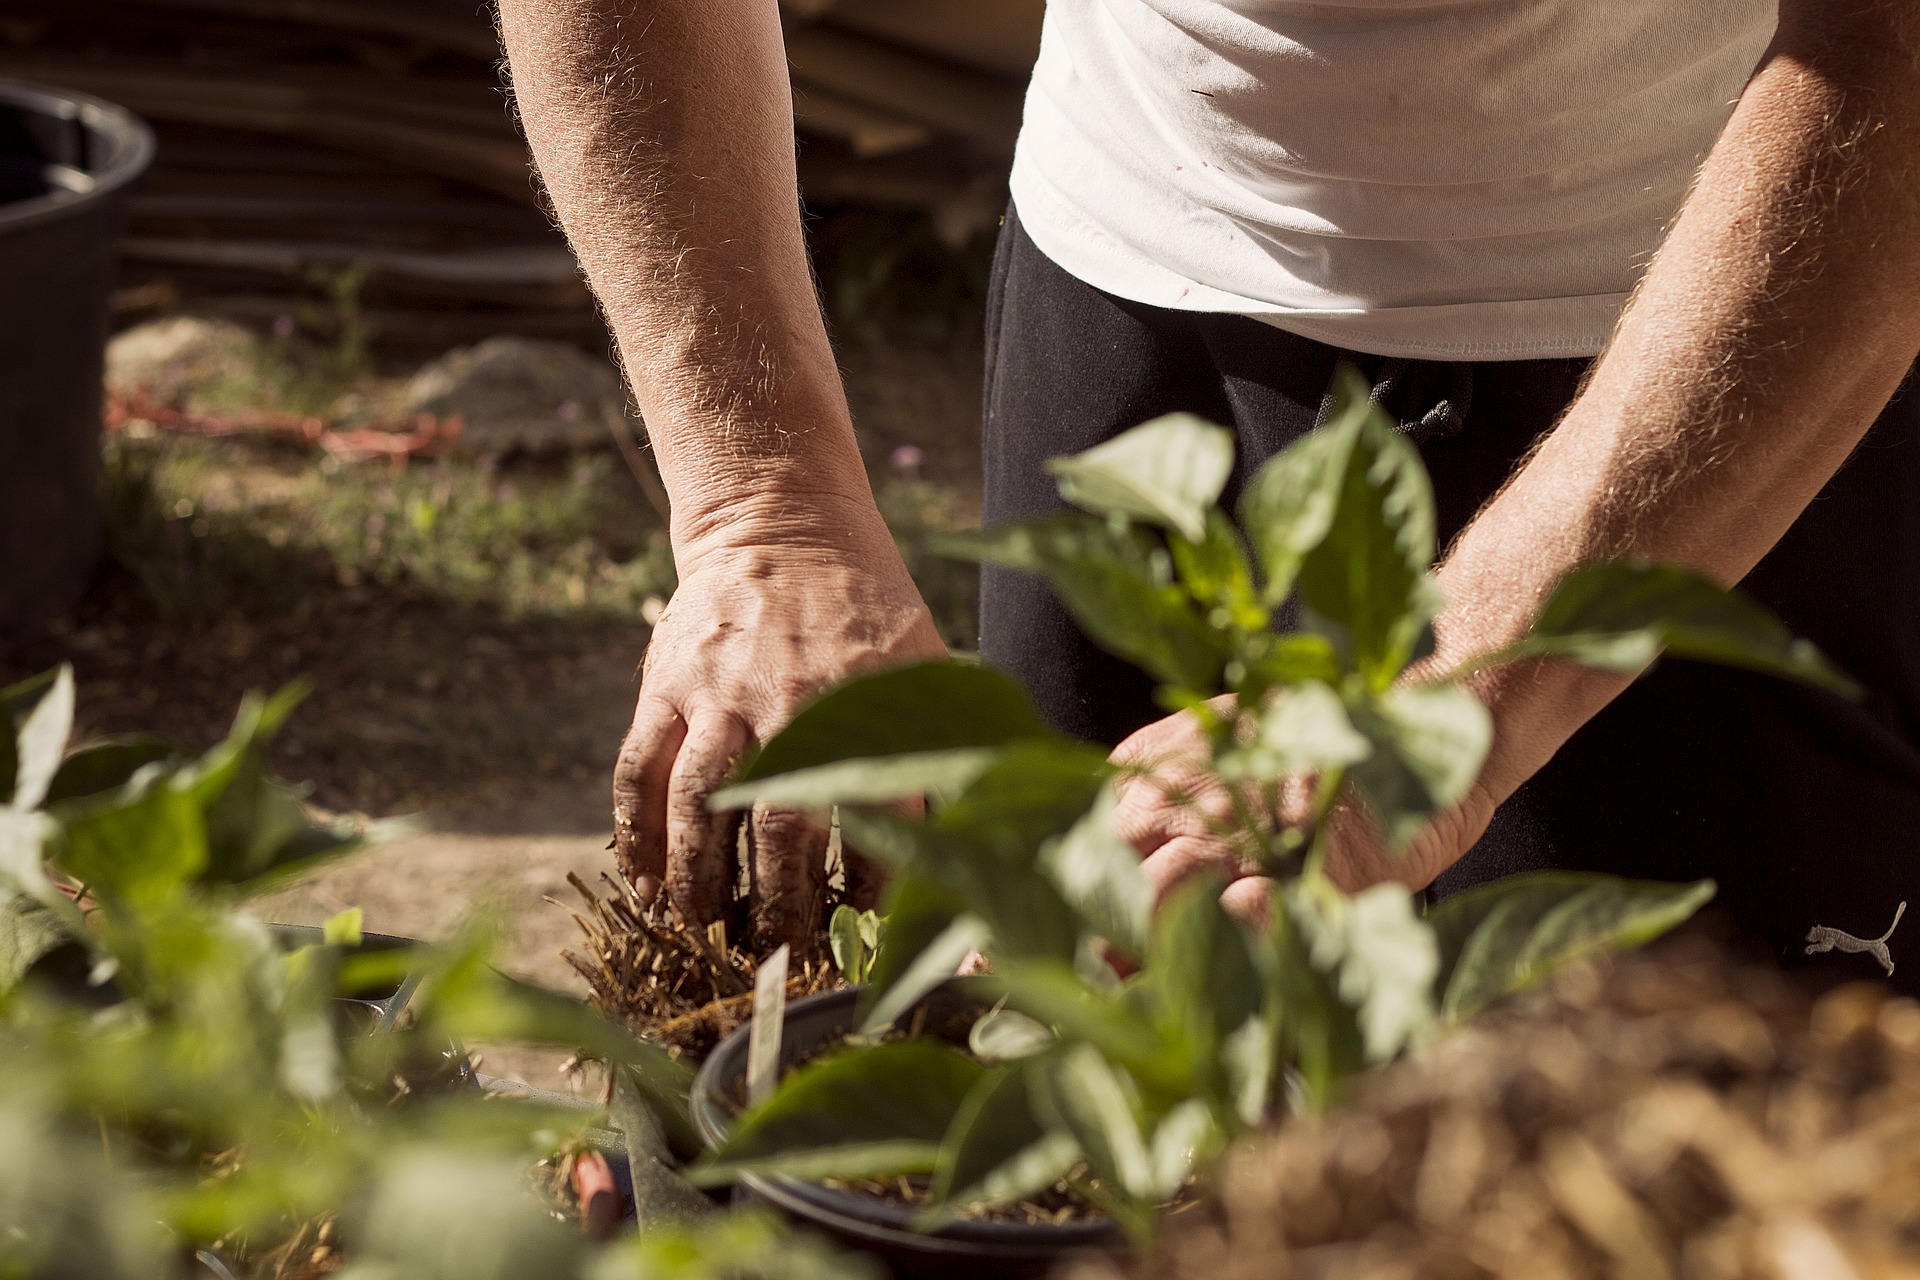
- A strong, vital plant of the preferred variety is carefully selected and then used as a mother plant. It is then kept in the vegetative stage for a long time in order to provide cuttings (clones).
- The proven “functional” period for using a mother plant for successful propagation by cuttings is approximately one year, although an average mother plant lasts longer and the most resilient ones can easily survive for several years.
- We care for a mother plant practically the same way as for plants in the growth stage, whether it concerns fertilisers, prevention, or lighting, where we choose discharge lamps with grow light, or, in the better case, full-spectrum LED lamps, which perfectly imitate sunlight for the mother plant. High-quality TLED grow lighting can also be used for a single mother plant.
- Mother plants need only a lower light intensity. What is important is the growth light cycle, that is, 18 hours of light and 6 hours of darkness.
- For the cultivation of mother plants, we recommend hydroponic systems, with which you no longer have to repeatedly deal with complications associated with exhausted substrate or soil.
- For growing mother plants, choose larger round pots.
- Mother plants do not form flowers, so you do not need to worry about mould infestation.
- The ideal growing environment for mother plants is characterised by slightly increased air humidity.
- The dosing of irrigation should be just as precise as in the case of watering classic plants in the growth stage.
- Moderation is required when fertilising, as mother plants will remain in the growing medium for a very long time, and therefore careful dosing of growth fertilisers is suitable to eliminate the risk of soil salinisation.
- At least once every quarter, it is advisable to replace the substrate by carefully removing the mother plant from the pot, while carefully removing the outer layer of exhausted substrate (1-2 cm) from each side around the root ball with a sterilised knife. Fill the remaining space in the pot with fresh substrate. If the mother plant was not sufficiently vital, careful repotting should give it new energy. If even replacing the substrate is not enough, it is time to let one of the cuttings grow into a new mother plant, which you will again maintain with a suitable light source, light cycle and nutrition in the vegetative phase.
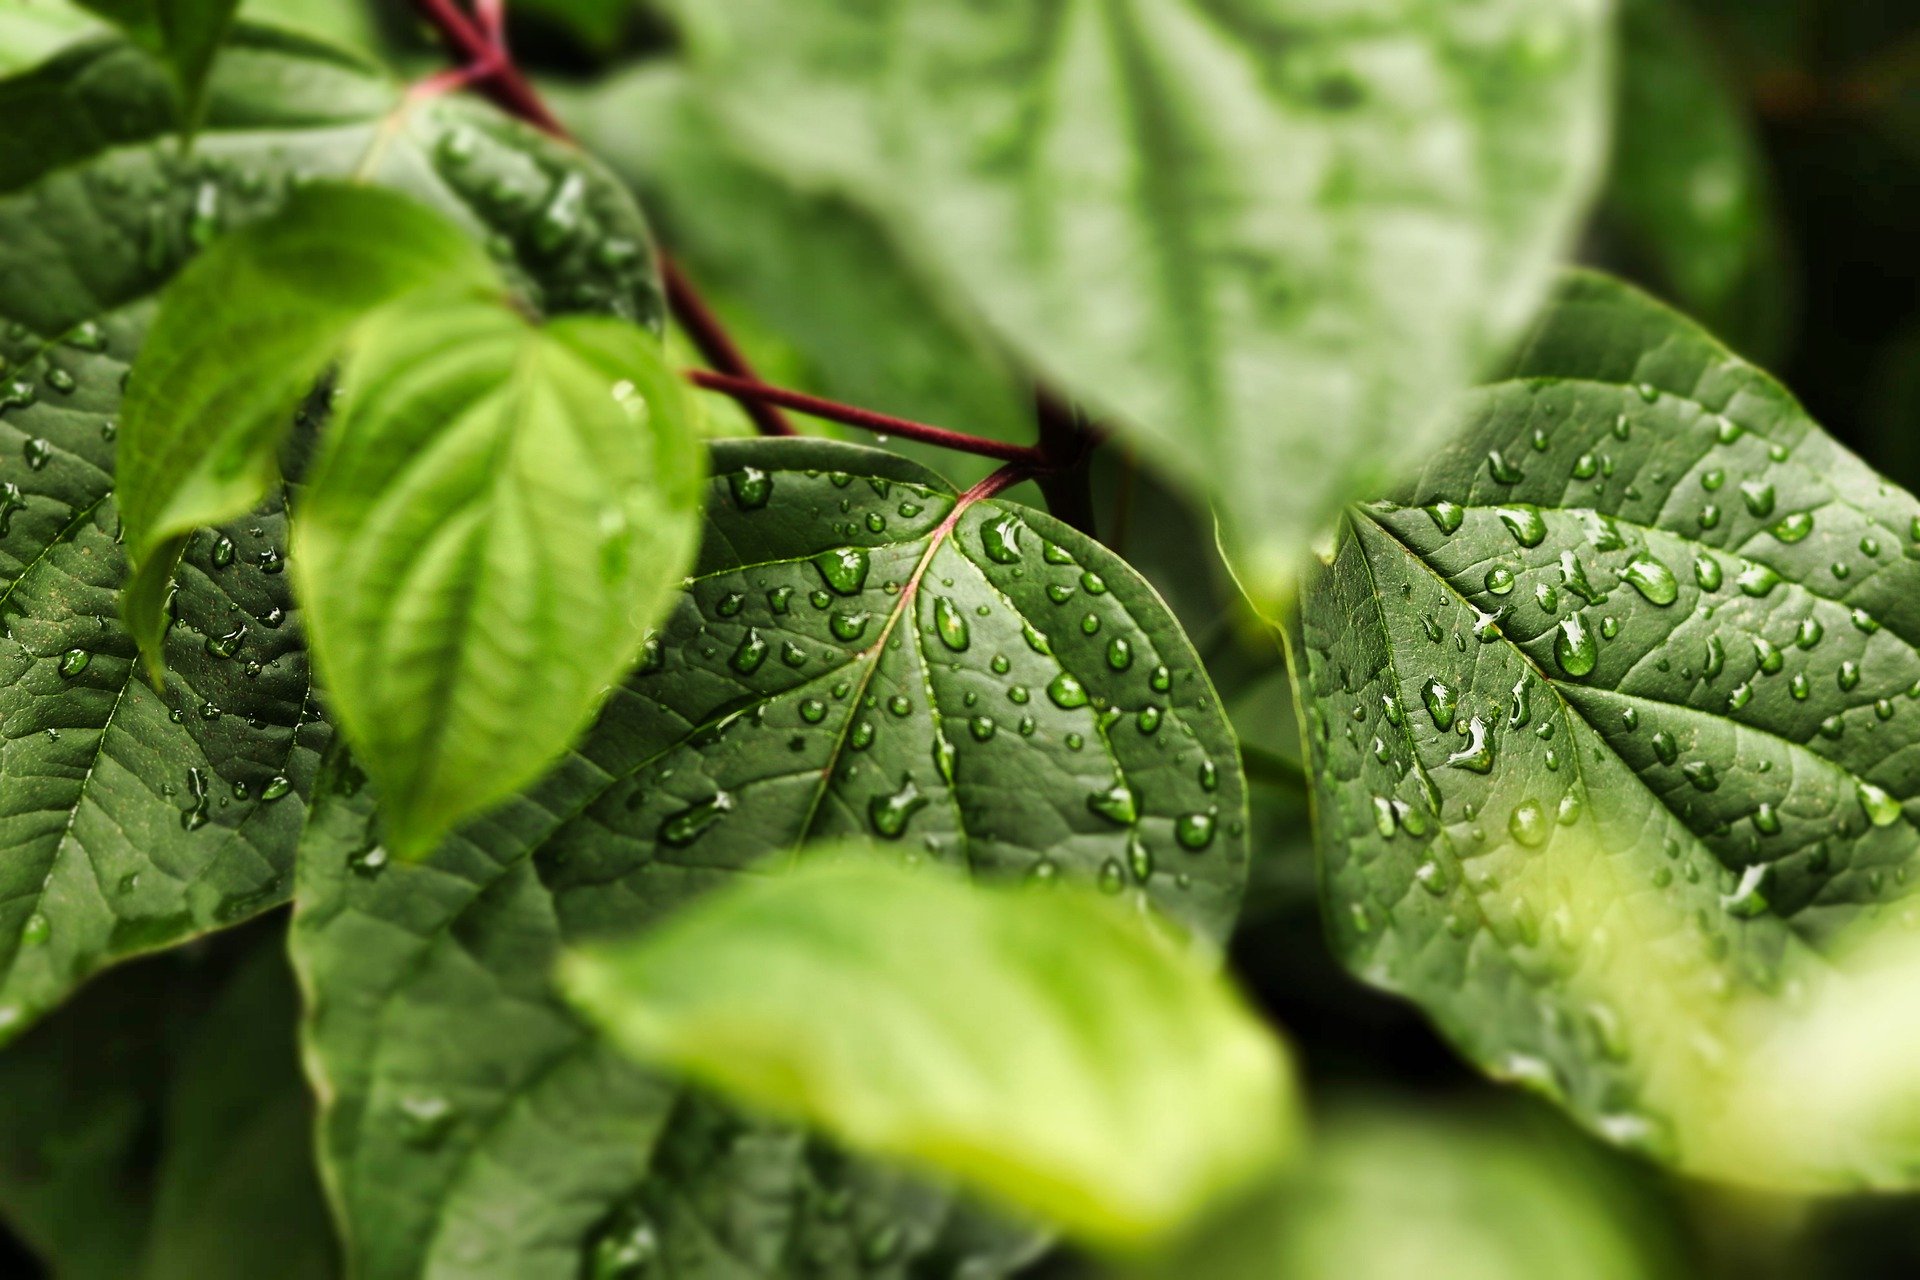
- It is necessary to make sure that you do not overwater mother plants. If automatic growing systems are not taking care of irrigation for you, we recommend watering mothers only when the substrate is practically dry, but the plants have not yet started to wilt, which would of course not be desirable at all.
- Hydroponic systems offer growers a clear advantage during the cultivation of mother plants in that, unlike hand watering, which in practice requires, for example, when leaving for a few days, someone with a sense for precision and regularity, they allow long-term and independent growing with optimal irrigation without the risks associated with a deficiency of water and nutrients or, conversely, overwatering.
That is all regarding the care of mother plants themselves, about which you have been asking us frequently lately. We discuss taking and rooting cuttings in a separate article. If you would like to ask us anything, we look forward to your questions at the well-known address info@higarden.eu.
We recommend these products:
- BioNova Bio Soilmix 50L (279 Kč)
- BioNova Veganics Grow (from 269 Kč)
- HERCULES aerated pot - round 20L (89 Kč)
- Hydroponic systems (from 2 599 Kč)
What to read next?
How to Grow Microgreens
Fully grown sprouts that we harvest and consume before they reach the stage of young plants are a long-standing trend in healthy nutrition. Growing them is also extra easy. Read on to find out how!
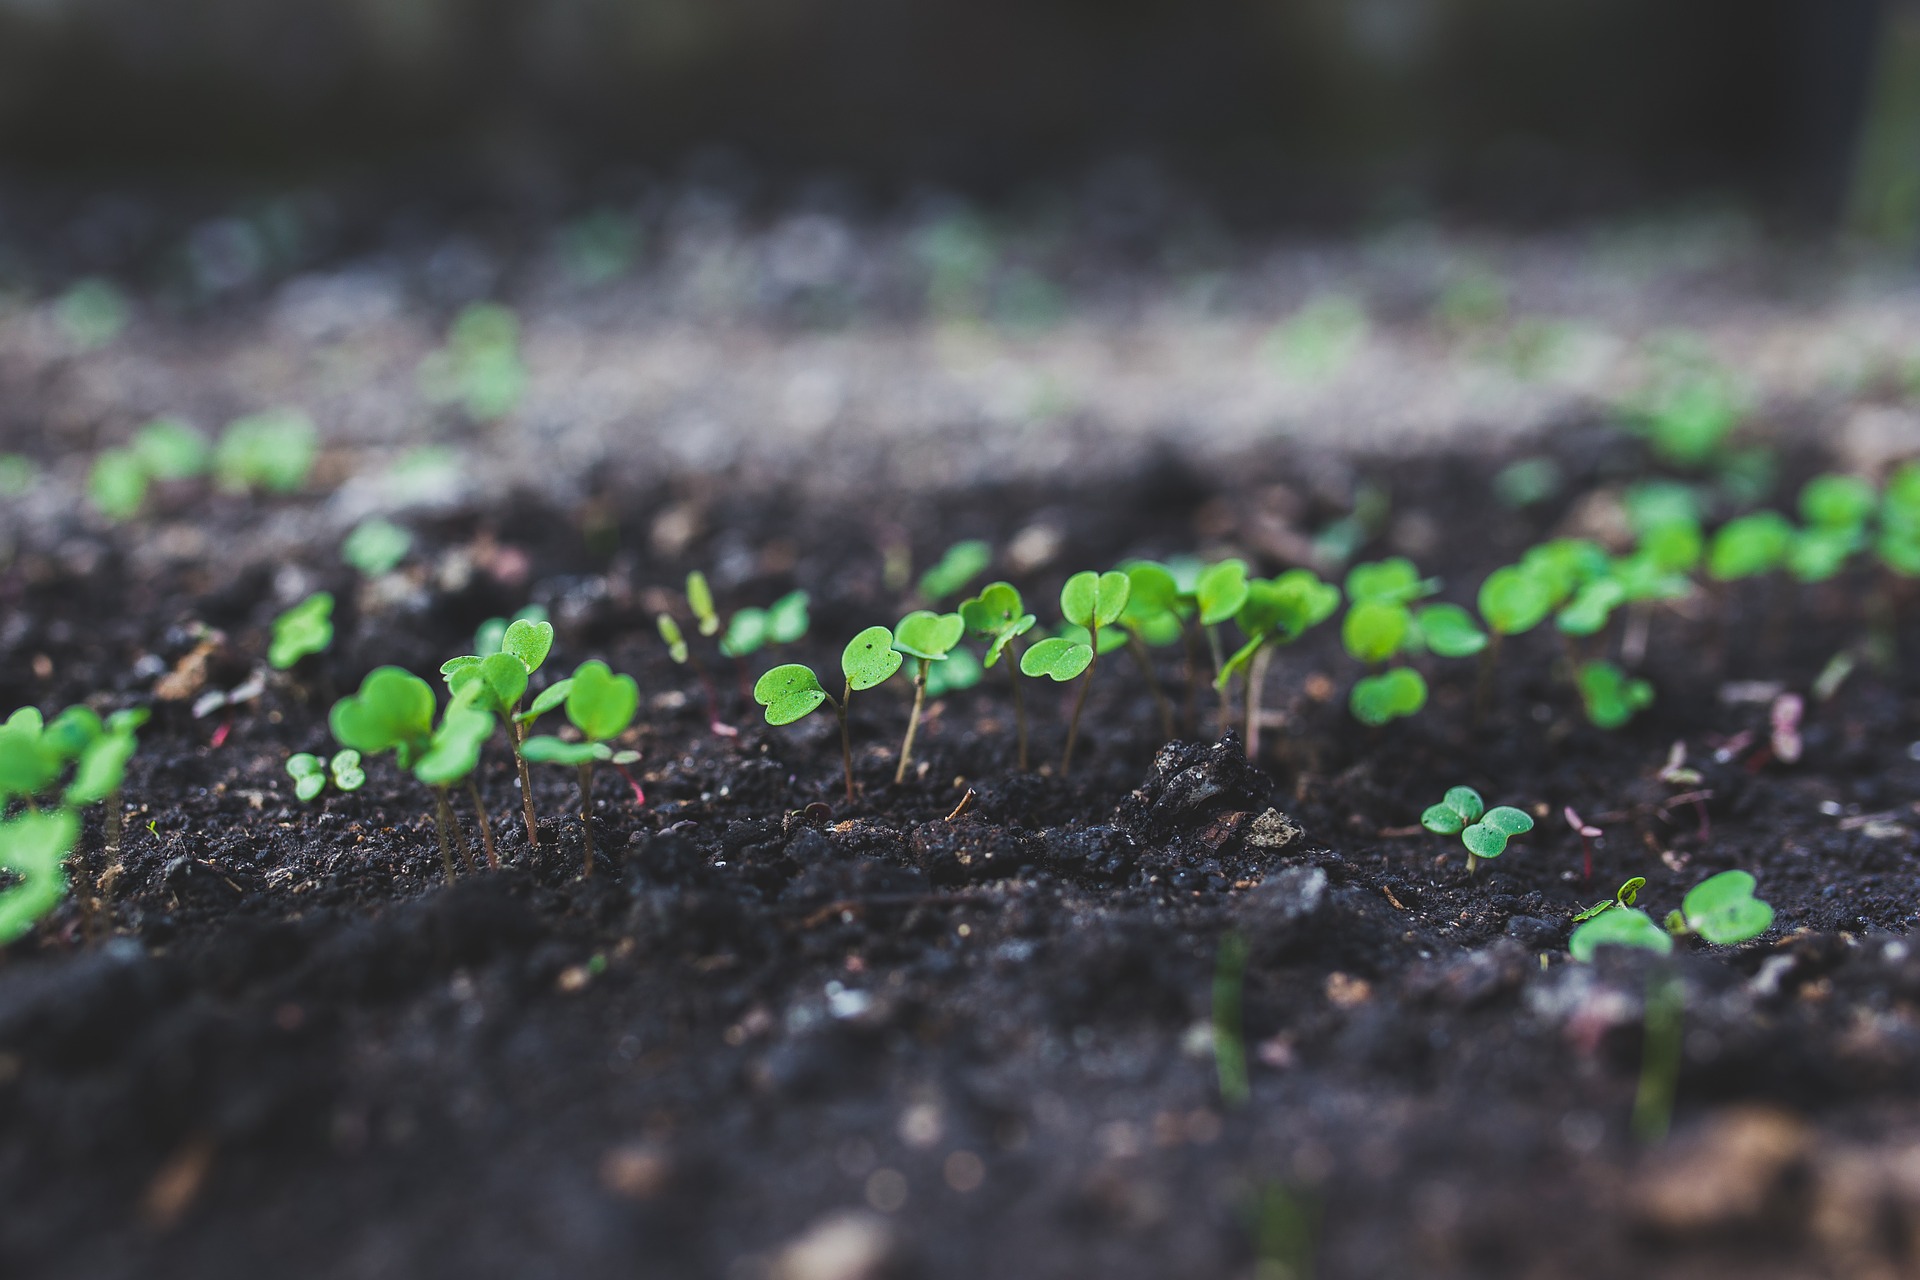
First of all, it is worth keeping in mind that microgreens also need a quality foundation in order to thrive and benefit your health. However, the very fact that growing MICROGREENS is “easy” often leads in practice to reduced care for the sprouts and, as a result, poorer growth or final quality. And that is certainly a pity, because this is a real vitamin bomb.
The quality of the substrate matters
The most common mistake when it comes to growing microgreens is poor soil. This can cause unnecessary problems when growing “microherbs”. We mean mould, uneven growth or even a complete stop in growth.
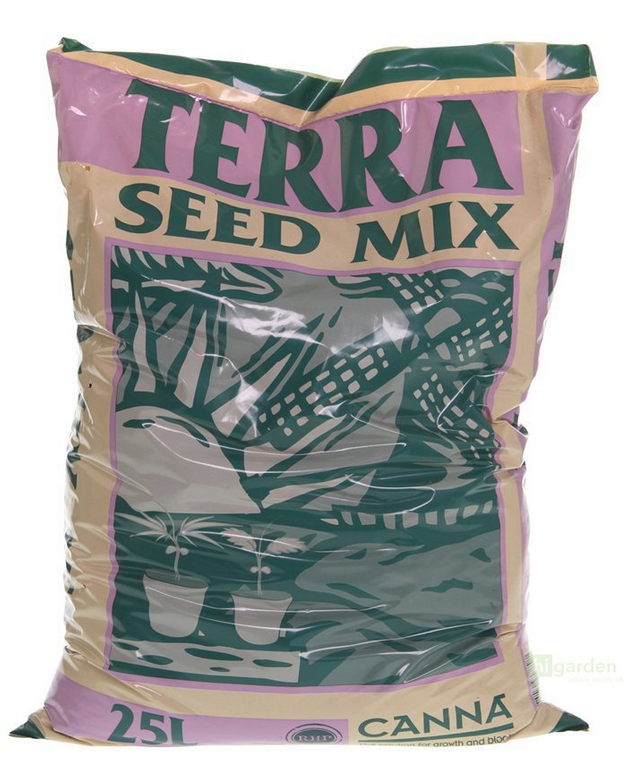
Also remember that with microgreens you consume practically everything the soil contains. A 100% organic substrate composition without added artificial fertilisers is a given here. And which substrate is suitable for cultivating microgreens? For this purpose, we can recommend for example Canna Terra Seed Mix.
How much substrate?
When planting microgreens, growers most often ask how much substrate to use in a pot or planter box. Although the seeds are packed with nutrients needed for successful germination and rooting, from the moment the sprout touches the soil and its roots begin to branch out, the young plant starts absorbing nutrients from the soil substrate. The answer therefore depends mainly on the herb variety you choose:
- Some varieties have large seeds and grow very intensively. These include peas, maise or sunflower. In such a case, the rule is: the more substrate, the better. Even a 6 cm layer is not too much.
- Varieties with smaller seeds are fine with a substrate layer about 3–4 cm thick; there is no need to overdo it. Typical examples include mustard or broccoli.
How do you plant microgreens?
Most of us gradually find our own way of planting microgreens. But you cannot go wrong if you take inspiration from the following points:
- Think through which microgreens variety will suit you. Do you already know what you will plant? Some seeds need to be soaked for half a day, for example pea, mustard or beet seeds. Depending on whether the chosen variety prefers a lit space, you may or may not cover it with a thin layer of soil.
- Use only seeds with no trace of chemical treatment for planting.
- Prepare everything you need for the job: quality substrate (planting medium), growing containers, seeds, water, etc.
- Pour the appropriate amount of substrate (see above) into the pot. Then moisten and compact the soil. A proven tool is a pressure sprayer (atomiser).
- This will give you a clearly defined and precisely prepared area intended for sowing seeds. It should be as smooth and as level as possible. Likewise, the sowing of seeds should be as even as possible. Excessive seed density in the substrate will mean that, although MICROgreens are MICRO, they will not have enough space for healthy growth. As a result, the risk of mould will also increase. If you spread the seed in the growing container only sparsely, you cannot expect microgreens.
- Next it is time to water the seeds, again as evenly as possible. For successful germination, moisture is more than enough; avoid wet substrate.
- The seed is covered at the beginning and it is also advisable to weigh it down with something. In addition to sufficient moisture, germination mainly requires darkness.
- Most microgreens appreciate being covered for just under a week. In the meantime, they will already have stretched nicely and, once uncovered, will green up quickly.
- Do not forget regular checks of the sown seeds! Remember that they must not dry out. Keep the substrate suitably moist throughout the entire germination process.
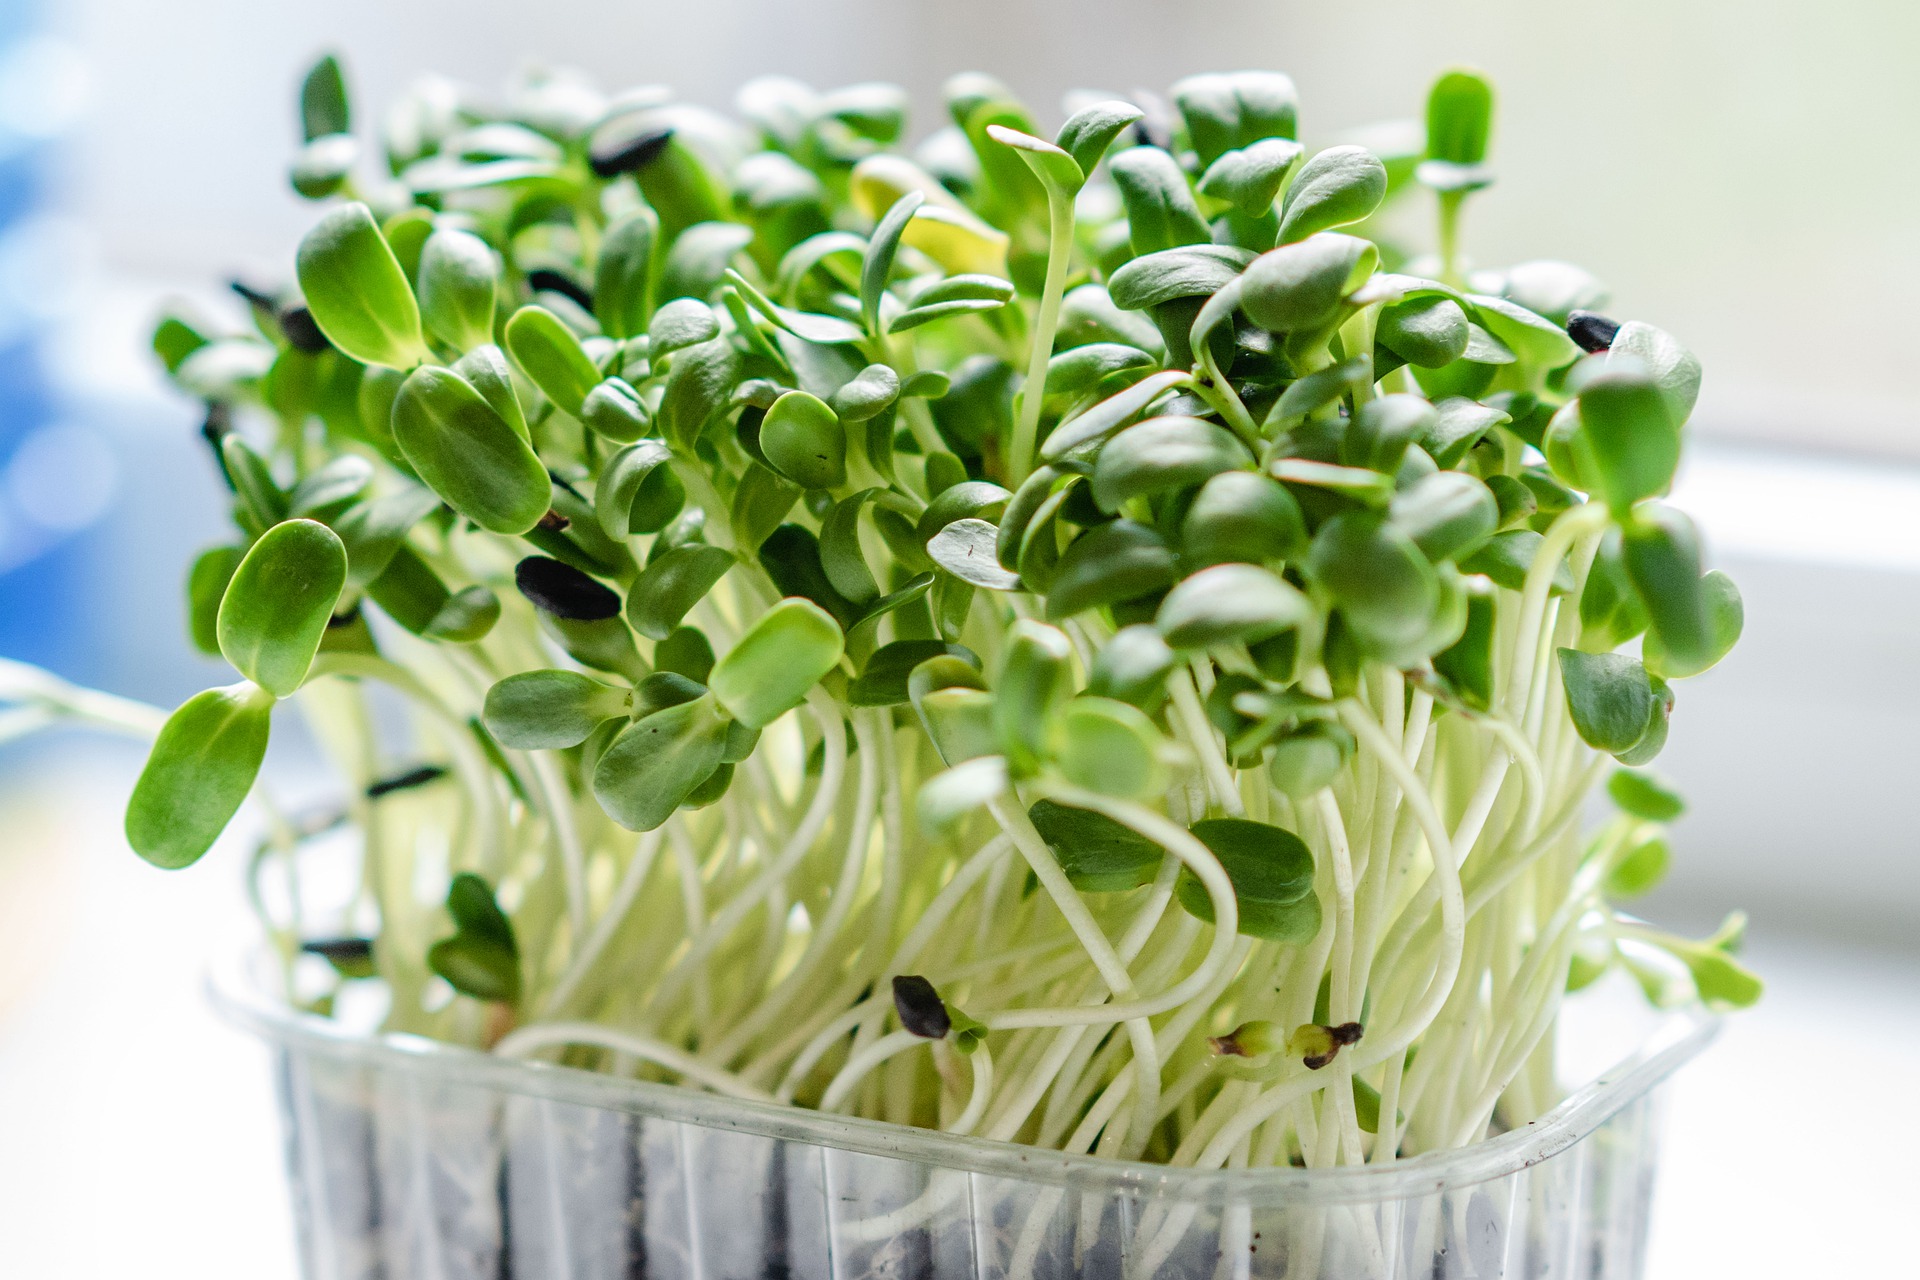
- As soon as the young plants are exposed to light, they will turn a rich green, or take on a healthy colour (red, yellow, purple or a combination thereof depending on the specific variety) as a sign of maturity.
How do you water microgreens?
While the plants are still only sprouts, from which the first roots are just emerging, water them in the usual way from above. Once they reach the bottom of the pot and at the same time the overall vegetation in the growing container becomes denser and denser, start watering from below.
Our TIP: Do not forget that when viewed from above, the substrate may appear dry, while the roots have enough moisture and further watering has already caused undesirable overwatering.
If you have any questions on the topic of MICROGREENS, we will be happy to answer them at the well-known address info@higarden.eu.
We also recommend these products:
- Canna Terra Seed Mix 25l (299 Kč)
- BioNova Bio Soilmix 50L (279 Kč)
- Pressure Sprayer PROPUMP, 2 l (249 Kč)
- Everything for growing microgreens
What should you read next?
- Expanded clay as a growing medium
- Indoor cultivation of plants and the savings associated with it
- How to grow mother plants and how to care for them?
Autumn Gardening
The garden has its own charm in autumn. Moreover, both at the end of September and during October, keen growers still have a whole range of opportunities for action. In addition to harvesting crops from the garden or orchard, it is the ideal time to take care of the lawn and roses. We will also advise you on what to plant in autumn.
What can you still manage in SEPTEMBER?
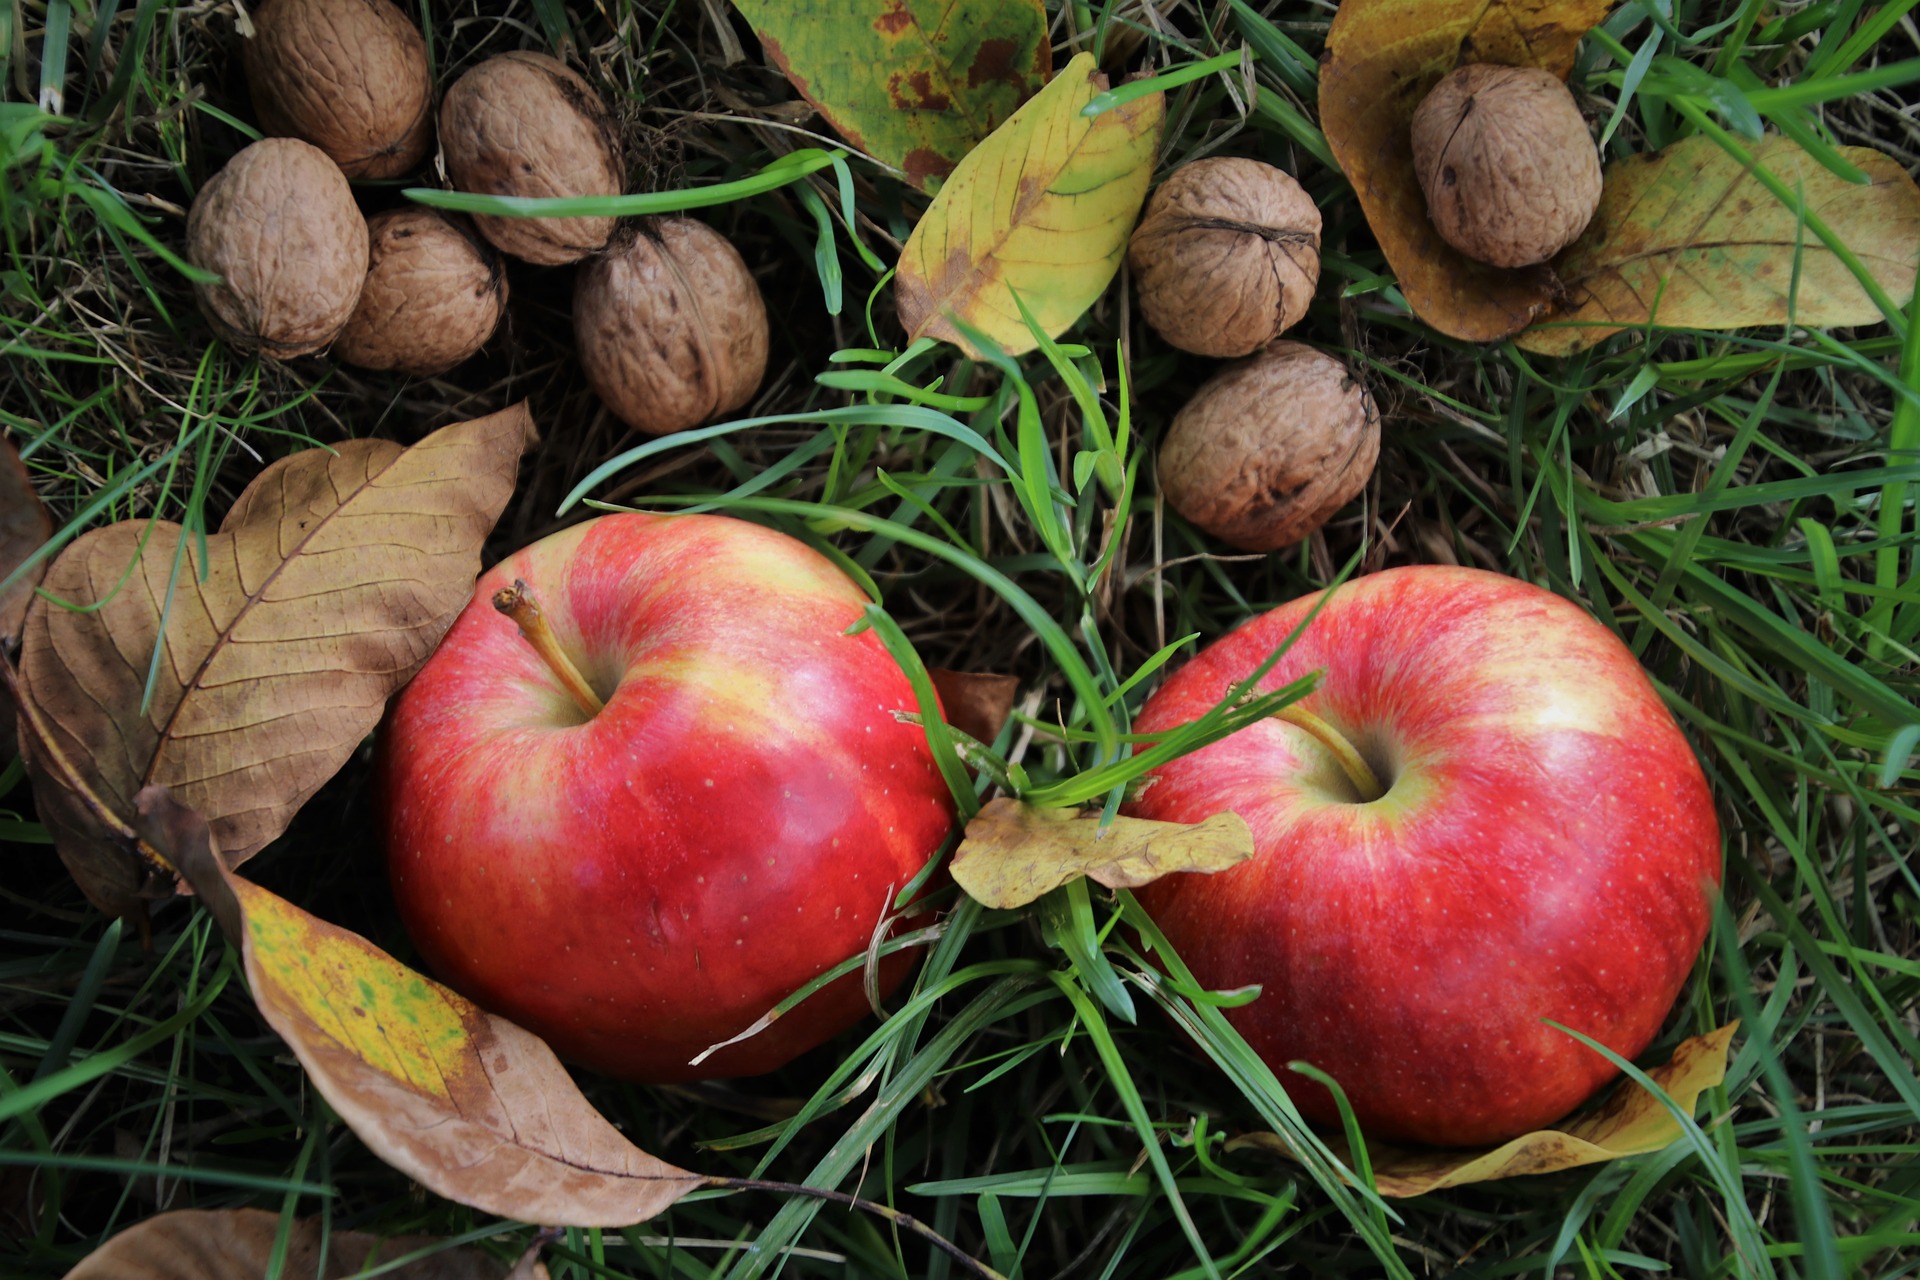
- Lettuce
- Radishes
- Onions
- Spinach, which you will still manage to harvest in two months.
- Bulbs, whose flowers will delight you in spring. These include, for example, snowdrops, snowflakes, irises, crocuses, hyacinths, daffodils and the popular tulips.
What to plant in OCTOBER?
- Garlic, whose cloves should be planted in the soil to a depth of approximately 6 cm.
- Kale, although there is no point exposing it to frost. However, before frosts arrive, it can safely be left outside. With the arrival of frosts, it is enough to transplant it into a flowerpot and grow it on in a cooler room.
- Ornamental woody plants and fruit trees – in this case, it applies that some species establish better than in spring, as they only need to root well and gain a head start before the spring days arrive. From mid-October until the first frosts, you can safely plant apple trees, plum trees, cherry trees, sour cherry trees, pear trees and walnut trees.
- Sea buckthorn
- Cranberries
- Blueberries
- Grapes
Herbs in autumn
- Experienced herb growers cultivate herbs not only in spring, but also in autumn, using mulch bark and moderate irrigation.
- Delicate herb species are protected from the effects of low temperatures by non-woven fabric.
- Among the most commonly grown herbs in the cold months are sage, chives, rosemary, thyme and mint.
Rose care
- The care you devote to roses during the autumn months, so that they can peacefully survive the coming winter period, will be richly rewarded in spring by beautiful flowers, whatever variety you grow.
- First of all, try to avoid black spot (Diplocarpon rosae), which is typically caused in roses by fluctuations between daytime and night-time temperatures. You will recognise this problem by brown or black spots on the leaves when viewed from above.
- Before you notice these signs, it is of course better to use a quality biological preventive spray, which effectively strengthens the defence of roses.
- If it is already too late for prevention, cut back the roses so that you remove all leaves affected by black spot.
- Quality scissors for trimming not only roses and other garden tools can be found HERE.
- Apart from rock roses, you will not be trimming roses only in the event of spotting, but also as part of proper shaping for their further growth and beauty.
- Among the tried-and-tested tips from gardeners is trimming roses 2 cm above the point where the fifth to eighth branch with leaflets begins.
- The ideal time to trim roses is at the end of October.
- Even before that, right with the arrival of autumn, it is also the ideal time to plant new plants, as roses thrive in soil that is naturally settled. All the more so if you enrich it with compost or quality phosphate fertiliser.
- Trim new roses back to the strong part, soak them in water (2 hours) and you can plant them.
- If you know that you are growing a more delicate variety, geotextile will benefit your roses.

Lawn care
- In summer, it is possible to leave mown grass for a while, but in autumn we definitely recommend removing the cut grass immediately for the health of the soil.
- If, after raking up leaves and cut grass, you discover “bare” patches, do not forget local overseeding.
We hope that the above recommendations will allow you to enjoy the gardener’s autumn to the full. And if you have so far devoted yourself to plant cultivation only in the garden, perhaps before winter is the right time to get your first grow box with accessories at a discounted price and discover the charm of indoor growing as well. Below, for inspiration, we also include links to articles on this topic, and if you would like to ask us anything, we are here for you at the well-known address info@higarden.eu.
We also recommend these products:
- Geotextile (from 59 Kč)
- Scissors and garden tools (from 29 Kč)
- Canna CURE (from 349 Kč)
What to read next?
What Can Be Grown Using Hydroponics?
The answer to this common question is simple: almost anything that grows! Today’s article highlights, for inspiration, plants that are suitable for cultivation using individual hydroponic systems and that are also long-time favourites among growers focused on hydroponics.
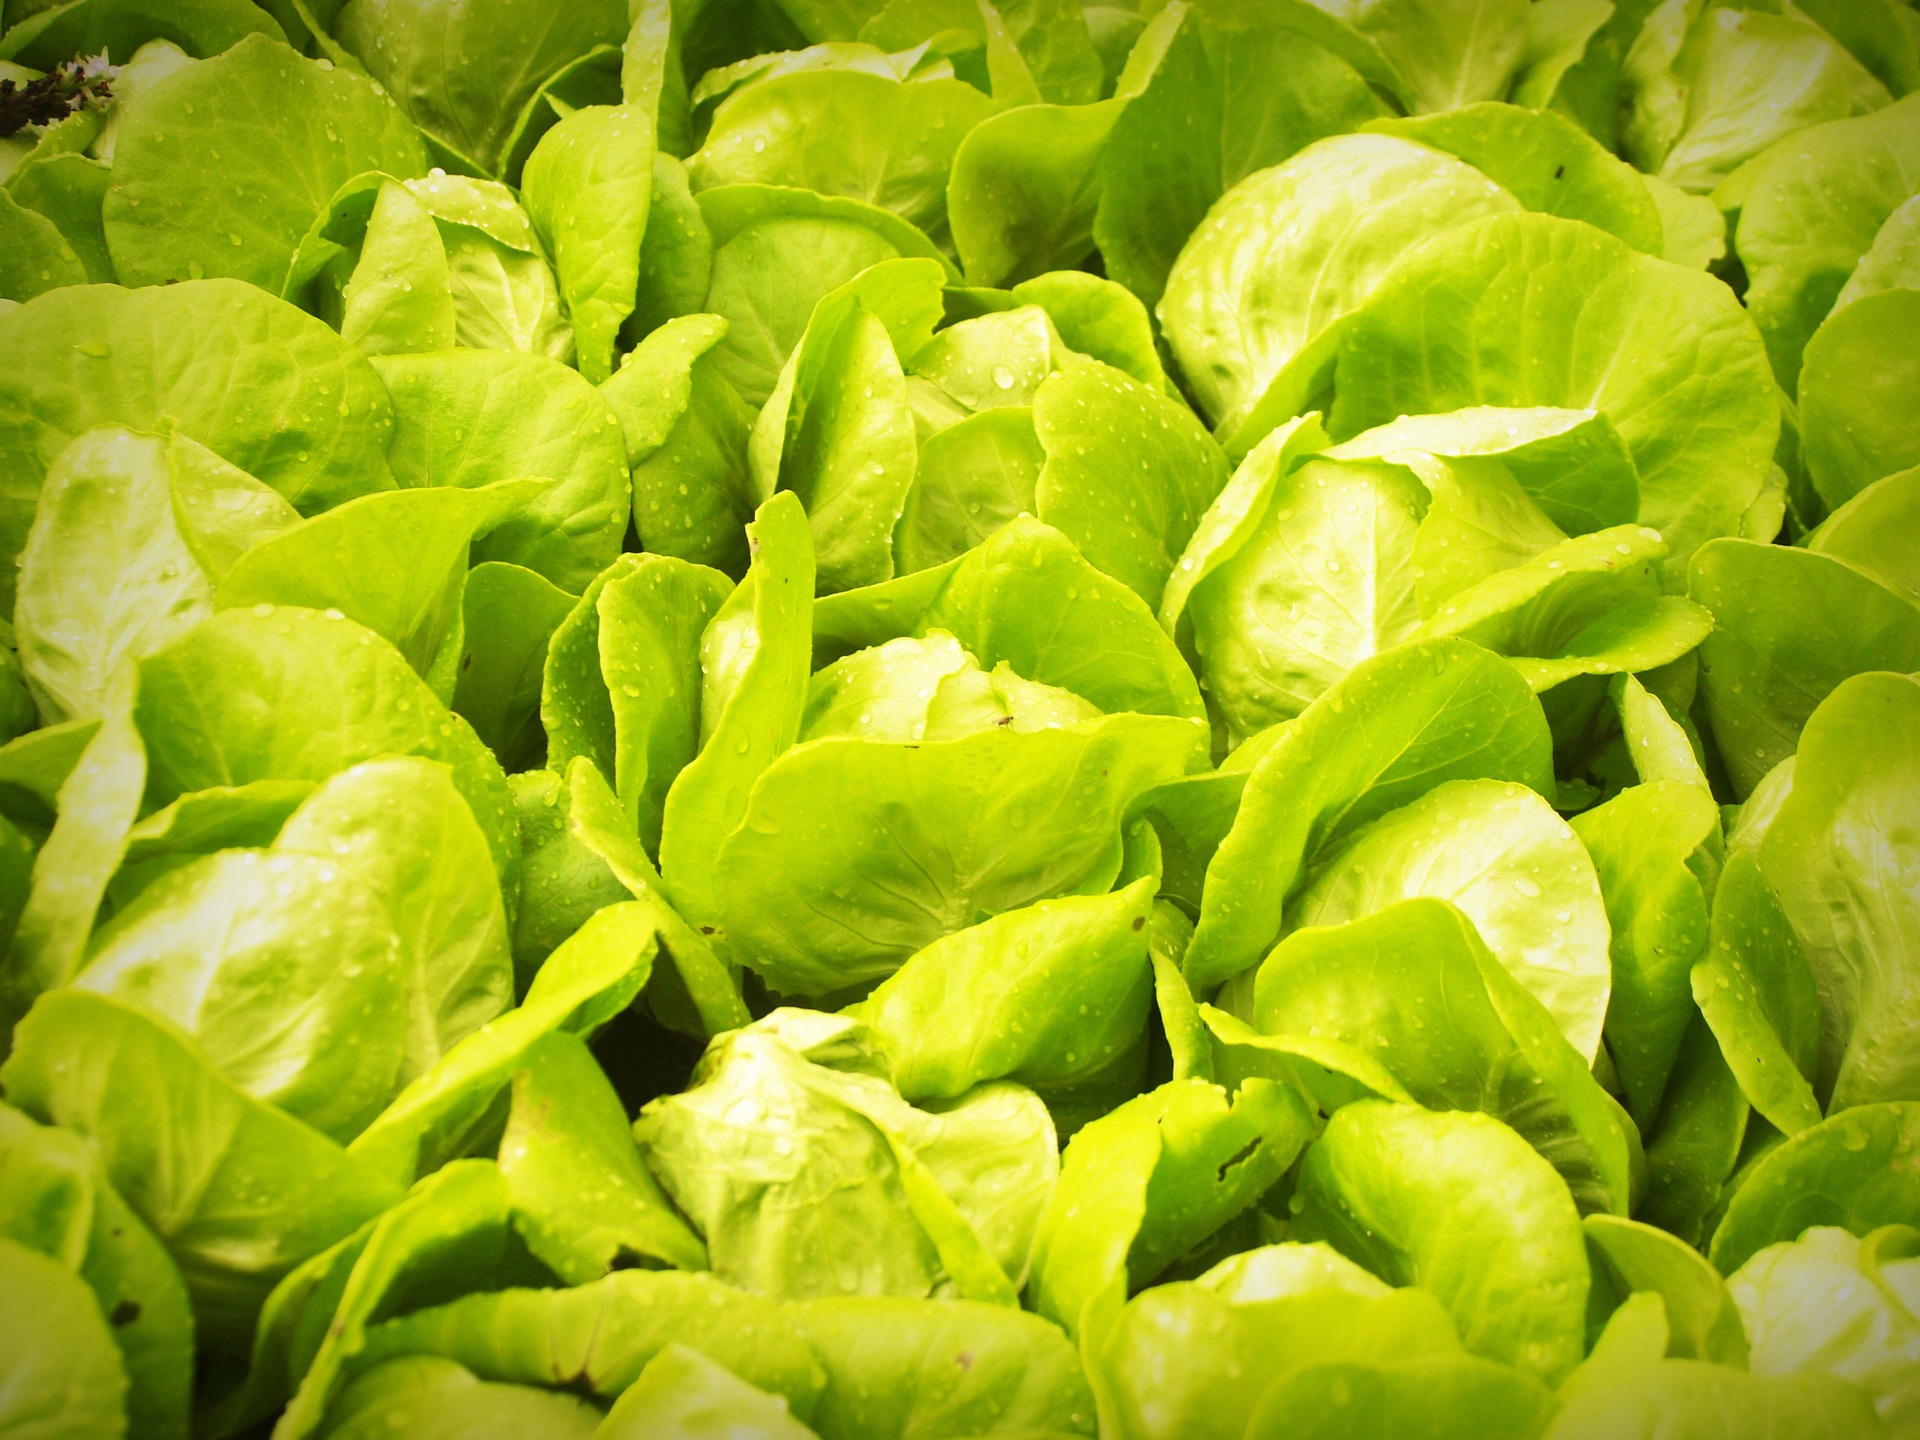
Indoor gardening and hydroponics is a powerful combination, thanks to which it does not matter that it is cold outside.
- Hydroponic growing makes it easier to cultivate many types of vegetables, which will then delight you at harvest time with larger and tastier produce, whether it is tomatoes, peppers, chilli peppers, lettuces or other leafy vegetables.
- Investing in one of the hydroponic systems allows you to secure a year-round supply of top-quality vitamins without having to battle mould, pests or other commonly widespread plant diseases. Are you interested in which hydroponic system to choose according to the type of vegetable you plan to grow most?
- Juicy, flavourful tomatoes, as well as classic peppers or chilli peppers, can certainly be grown successfully, for example, with the help of the popular hydro systems Atami Wilma, which are available in many variants, so everyone can choose according to their own needs, and they also allow versatile use for growing other plants. You will not go wrong with the Flo Gro system either, or do not hesitate to use a quality bubbler.
- Classic NFT systems or vertical NFT systems are ideal for growing lettuces and leafy vegetables.
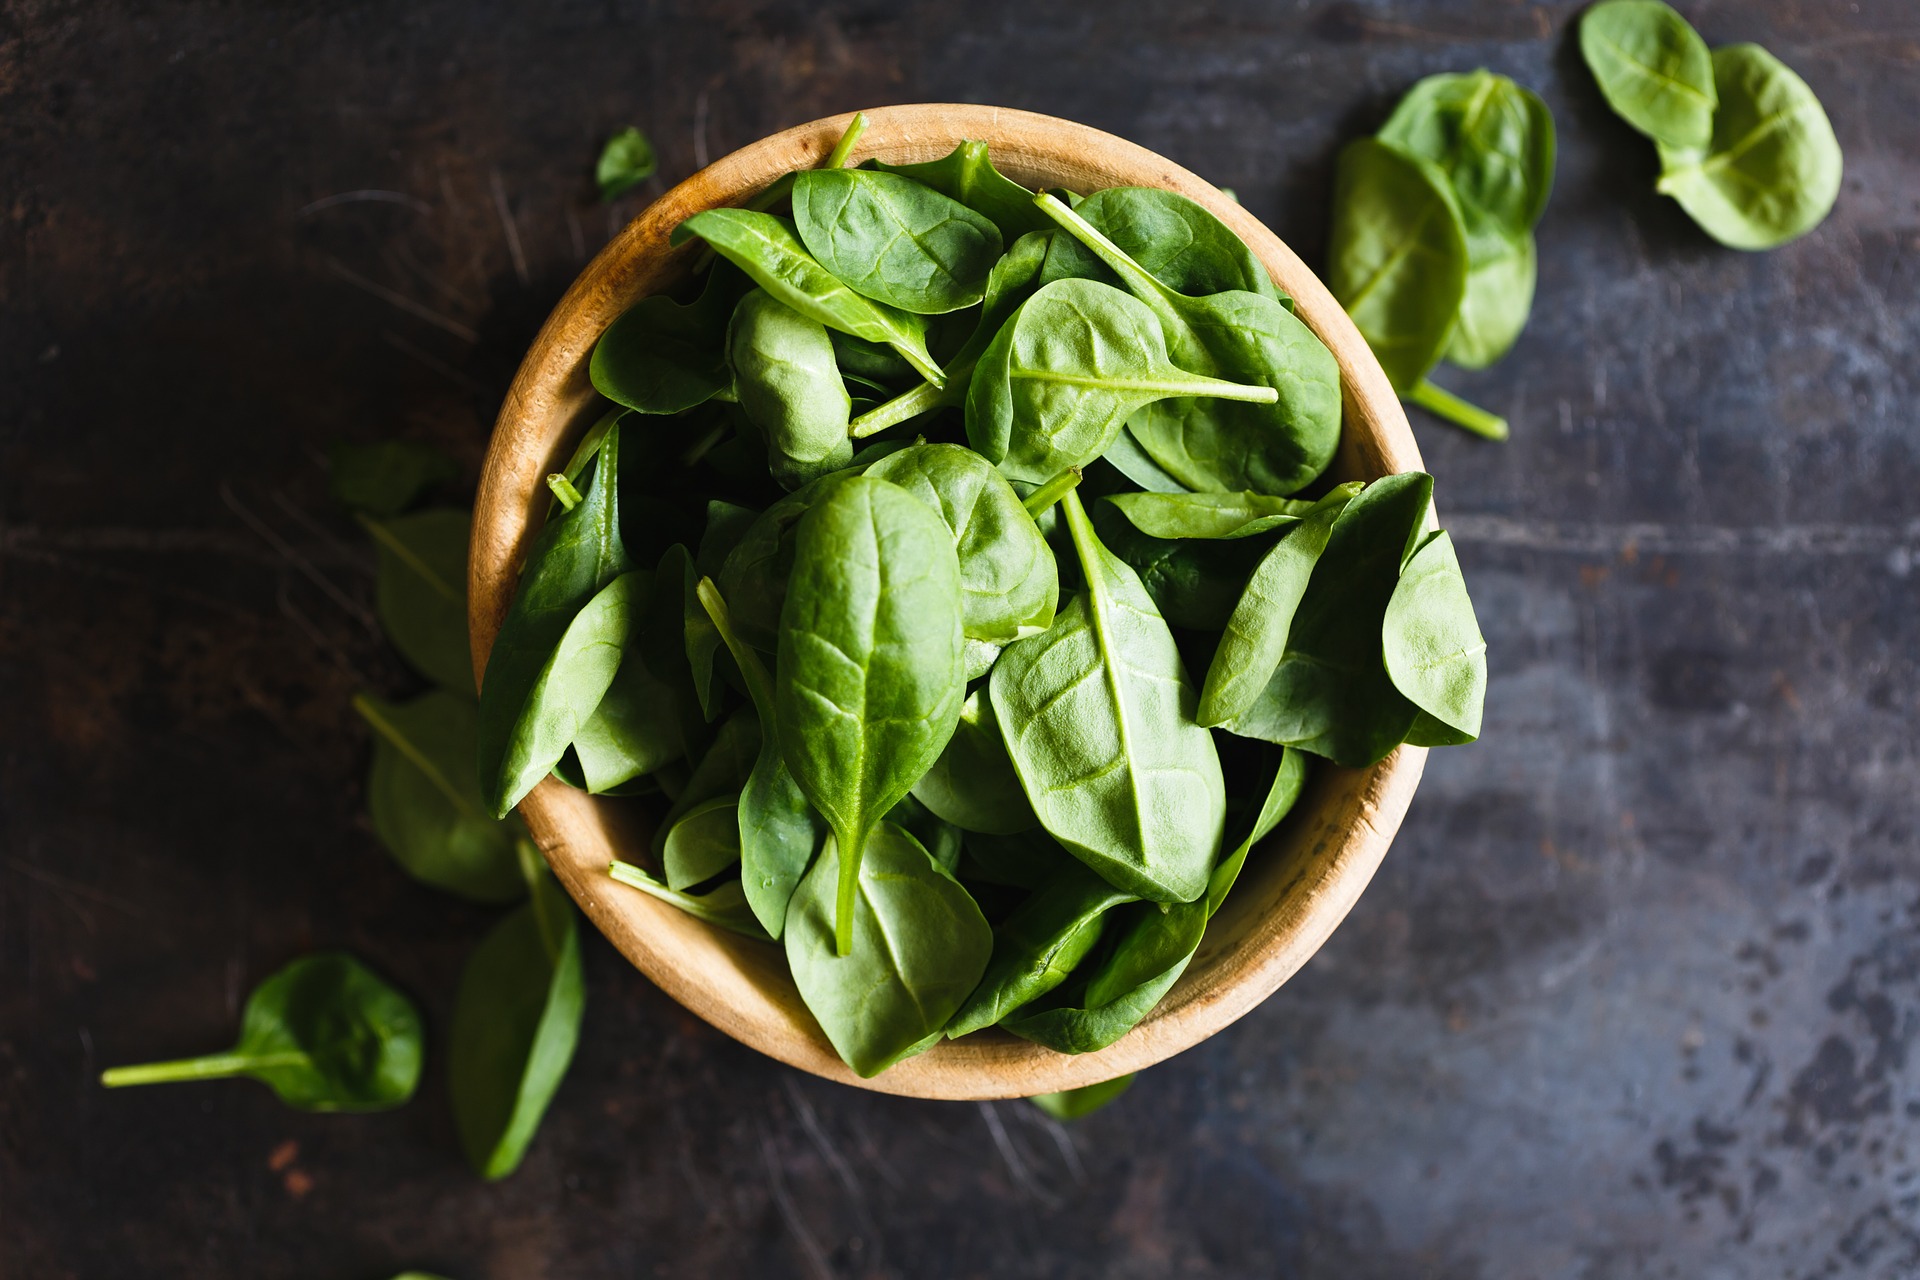
- Indoor growers devoted to hydroponics, and of course their friends or customers too, most often enjoy the intense aroma and the composition rich in health-beneficial substances also in the case of herbs such as mint, basil, thyme, sage and many others.
OUR TIP: The light-coloured, design grow tents Homebox Ambient are so elegant that they will become a decoration even directly in your kitchen, so you can always have fragrant herbs close at hand while cooking throughout the year. You can read more in a separate article HERE.
- When growing herbs or microgreens in the kitchen, growers and homemakers who value fresh ingredients often encounter small pests that can spoil both the joy and the results of herb growing. Thanks to hydroponics, you can forget about them again. Products Nutriculture X-Stream are very useful for cultivating various types of herbs for home use.
- If we move away from everything that is part of a varied diet to other types of plants, hydroponics opens the door, for example, to the effective cultivation of ornamental plants, including dracaena, also known as dragon tree, as well as dumb cane (diefenbachie), monstera, fig tree or ivy. Among flowering species, you can start for example with African violets, and in hydroponics we very often also encounter tulips, daffodils and other bulb plants or, for example, various types of orchids.
- For the ornamental and flowering plants mentioned above, the hydroponic systems Atami Wilma, Flo Gro or bubblers will again serve you very well.

If you have any questions in the field of hydroponics, or if you need advice on choosing a hydroponic system, or perhaps a grow tent, our specialists are at your disposal at the well-known address info@higarden.eu.
We also recommend these products:
- Neptune DWC POT-bubbler 25L (1 299 Kč)
- Atami WILMA Small - 4x11L, 60x60x20cm (2 599 Kč)
- Vertical NFT systems (from 9 990 Kč)
What to read next?
- How to recognise quality seeds?
- How to grow microgreens
- Design grow tents HOMEbox Ambient combine the pleasant with the useful