
Substrates
List of articles
Guide to Growing Substrates
Growing media are essential for successful plant cultivation, whether in the home environment or in professional agriculture. From traditional soil-based mixes to modern coconut substrates or mineral wool – each type of growing medium has its specific properties and uses. Explore with us the advantages and disadvantages of individual growing substrates and find the most suitable one for your plants.
By growing substrate we mean a material or mixture intended for plant cultivation, which serves as a medium retaining water, air and nutrients absorbed by plant roots. A growing substrate may consist of organic materials such as soil, coconut fibres, clay pellets (expanded clay) or inert materials such as perlite, vermiculite or mineral wool (rockwool).
Coconut substrates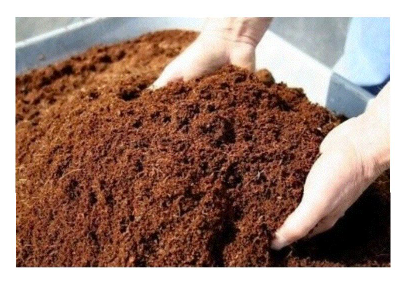
Coconut growing substrates are made from finely crushed coconut fibres and coconut husks. The added value of this growing medium is that it combines the advantages of soilless and soil-based substrates, which makes it highly versatile. Coconut growing substrates can be used for growing in pots with manual watering as well as irrigation systems, outdoors in beds and in greenhouses.
If you choose coconut as your growing medium, you will need water-soluble fertilisers for preparing a hydroponic nutrient solution. Pure coconut substrate does not contain any nutrients on its own and serves only to anchor the roots, which you must supply with water and nutrition. Coconut substrates retain water very well while also protecting plants from overwatering, so they are a suitable growing medium even for beginners. The only thing you must watch out for is not letting the coconut substrate dry out completely, as it will lose its ability to retain water.
Advantages: neutral pH, supports the growth of beneficial bacteria and fungi, excellent retention properties, versatile use
Disadvantages: zero nutrient content, poor-quality mixes may contain a high salt content, some coconut substrates need to be buffered before use
Rockwool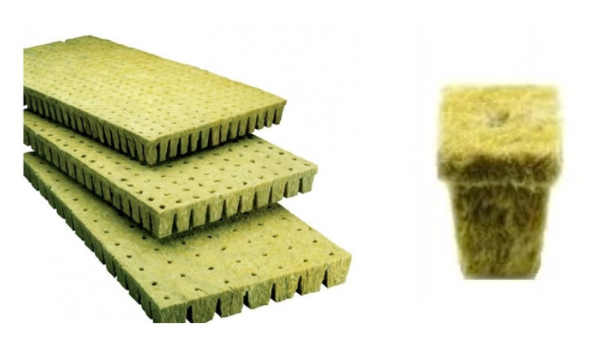
Rockwool is mineral wool made from molten basalt rock, which is then formed into cubes or mats. The result is an inert medium that retains water and air exceptionally well and is ideal for hydroponic growing, seed germination and cuttings. Standard rockwool is manufactured so that 18% of its volume is reserved for air, even when fully saturated. At the same time, mineral wool dries evenly, so plant roots have constant access to water.
As with other soilless substrates, mineral wool contains no nutrients and plants must be fed with hydroponic fertilisers. Rockwool itself has a high pH, so the cubes or mats must first be soaked in an acidic solution with a pH of 5.5 before use. First adjust the pH of standing water to the required value using acid for lowering pH and then rinse the medium thoroughly. From this point on, the pH of the nutrient solution should not exceed 6.1, so that the alkalinity of the mineral wool is balanced.
Advantages: inert and sterile substrate, high ability to retain water and air, reusable
Disadvantages: may irritate skin and eyes if handled carelessly, pH adjustment required, contains no carbon for microbial life
Expanded clay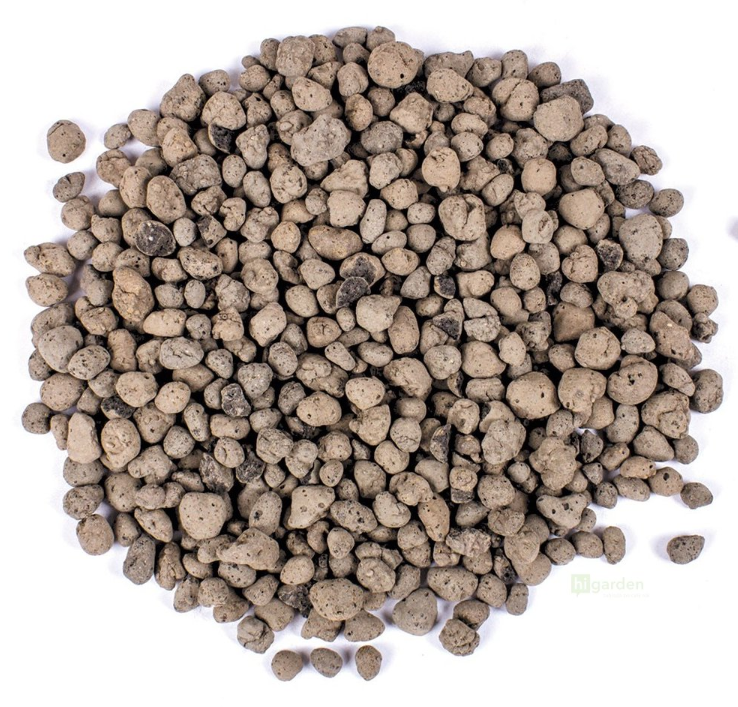
Expanded clay, also known as LECA, is a porous material created by heating clay to a high temperature. It resembles small lightweight pebbles that can be used as an additive to soil in various types of hydroponic systems (run-to-waste, DWC, NFT, ebb and flow, drip irrigation) or as a medium for anchoring plants in aeroponic growing.
If you use expanded clay as a standalone growing medium, you must supply all nutrients to the plants in the irrigation water in the form of water-soluble fertilisers. In addition, as with rockwool, you must first rinse the growing substrate and carefully monitor the pH of the nutrient solution throughout the entire growing cycle.
Advantages: does not decompose, neutral pH, retains water and nutrients, good aeration of the root zone
Disadvantages: must be rinsed before use, dries out quickly, difficult to store
Perlite and vermiculite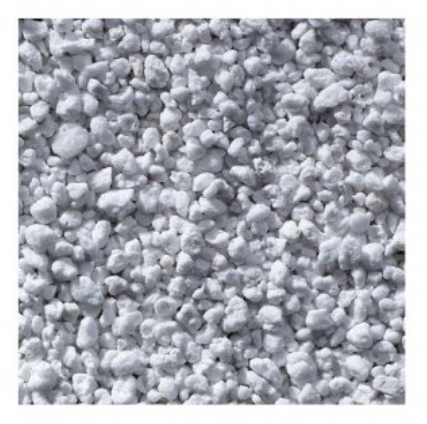
Perlite and vermiculite are created by heating rock to a high temperature. In the case of perlite, the result is a bright white crushed material made from lightweight stone. Vermiculite has a slightly finer structure and an ochre colour. Perlite and vermiculite are used as an additive to horticultural and coconut substrates, for germination and cuttings, or as a medium for hydroponic growing using irrigation systems.
Perlite and vermiculite are inert substrates, so all nutrition must be supplied to plants in the form of hydroponic nutrient solution. Vermiculite differs from perlite in that it has a greater ability to retain water and nutrients and breaks down over time, which may slightly increase the pH around the root zone. Perlite is more durable and does not decompose or affect the pH of the root zone, but on the other hand it has minimal ability to retain water and nutrients.
Advantages: sterile, almost or completely neutral pH, good access of air to the roots
Disadvantages: non-renewable resource, irritating dust, small particles may clog irrigation systems
Soil-based horticultural substrates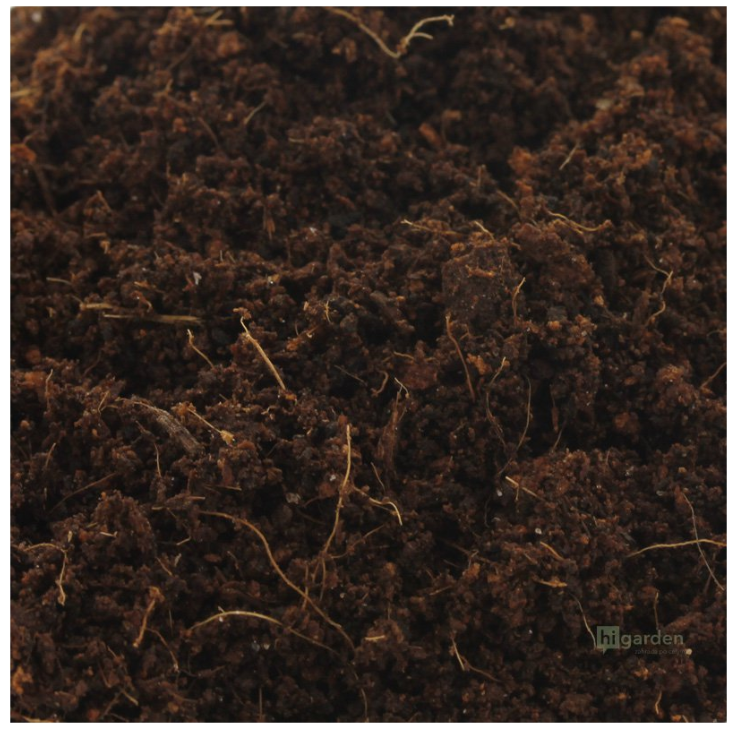
Soil-based horticultural substrates are a traditional growing medium that can take many forms. Sowing substrates for seed germination or cuttings, light substrates for the first weeks of plant life, medium-fertilised and heavily pre-fertilised substrates or soil mixes suitable for organic growing. Horticultural substrates can be used for growing in pots with manual watering as well as irrigation systems, outdoors in beds and in greenhouses.
The main advantage of soil as a growing medium is its natural nutrient content, which the soil provides, or the manufacturer may add fertilisers to the mix that serve as nutrition for plants in the first weeks after planting. When growing in soil-based substrates, you can use fertilisers for growing in soil, including mineral salts in the form of nutrient solution, powder or, for example, slow-release pellets. At the same time, you have the option to grow completely without chemicals using purely organic fertilisers. Thanks to their high buffering capacity, soil mixes can cope with pH fluctuations better than other substrates, and are therefore a suitable choice for beginner growers.
Overview of growing substrates
|
|
Soil and soil mixes |
Coconut substrates |
Mineral wool (rockwool) |
Expanded clay |
Perlite |
Vermiculite |
|
Water retention |
low to high (depending on the mix) |
high |
high |
low |
low |
medium |
|
Porosity (air retention) |
medium to low (depending on the mix) |
medium to high |
medium to high |
high |
high |
high |
|
Nutrient content |
low to high (depending on the mix) |
zero to very low |
zero |
zero |
zero |
zero |
|
Use |
indoor, outdoor, irrigation systems, mineral and organic fertilisers |
indoor, outdoor, irrigation systems, mineral and organic fertilisers |
hydroponics, germination, cuttings |
hydroponics, germination, cuttings, as an additive to soil |
hydroponics, germination, cuttings, as an additive to soil |
hydroponics, germination, cuttings, as an additive to soil |
Master dry back! Controlled substrate drying for beginners and advanced growers
The key to success in indoor growing is balance between light, nutrients and humidity, and regular drying of the substrate is an important balancing factor. The so-called dry back is a technique based on controlled drying of the growing medium between individual waterings. In today’s article, you will learn why dry back is important and how to use this technique effectively in your grow room.
Not only beginner growers often ask themselves how often they should water their plants. Unfortunately, the answer is not as simple as it may seem at first glance. If you have been growing for some time, you have certainly noticed that the frequency and amount of watering significantly affect the way plants develop. If you water too often and the growing medium is constantly saturated with water, the plants are not forced to expand their root system and, in the end, their ability to absorb nutrients is reduced. On the other hand, every time the substrate dries out, the plants create new roots in an effort to obtain water, through which they can then take up even more water and nutrients after watering. Plants regularly exposed to drought are more resilient, show more vigorous growth and, according to some studies, also produce higher amounts of secondary metabolites (terpenes, flavonoids, active substances) than those grown in a constantly moist medium.
How to use dry back
Understanding why regular drying is important is certainly not difficult, but the practical use of the dry back technique can be a challenge even for experienced growers. Firstly, different growing media retain water differently, and secondly, the speed at which the substrate dries out is influenced by environmental factors such as temperature or air humidity. Last but not least, the stage of growth the plant is currently in is also important. A different dry back is suitable for clones, mature or ripening plants.
- Coconut substrates dry out relatively quickly while also holding a large amount of water. It is also important that the coconut fibres do not dry out completely during dry back, because then they lose their retention properties. When growing in coco, we usually water at most once a day, or less often.
- Soil and soil mixes dry out slowly and dry back can take longer than it does with coco or hydroponic media.
- Rockwool dries quickly and can hold a large amount of water, which allows frequent irrigation interrupted by short windows for dry back. In terms of irrigation control, mineral wool makes it possible to influence plant growth better than other growing media.
Would you like to learn more about how the choice of growing medium affects your plants? Read our Guide to Growing Substrates.
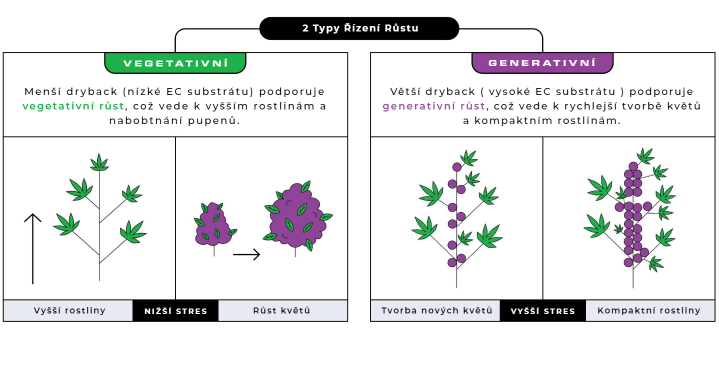 In addition to the growing medium, another important factor affecting dry back is the age of the plants. For vegetative growth, plants need more water than they do during flowering and ripening. Excessive drying during the growth phase stresses the plants and slows their growth. On the other hand, during flowering and ripening, a gradual increase in dry back is desirable. Mild stress encourages plants to flower and supports resin production. However, it is also necessary to take into account the fact that during flowering and ripening we usually maintain lower relative humidity in the growing space than during the growth phase. Air humidity and temperature also affect how quickly plants transpire and absorb water. When you start thinking about how to use dry back in your grow room, do not forget that it is mainly about the balance between overwatering and the stress caused by a lack of water.
Has today’s article caught your interest and would you like to learn more about indoor growing and the latest horticultural techniques for outdoor and urban growing? Do not hesitate to visit our Higarden blog!
Guide to Coconut Substrates
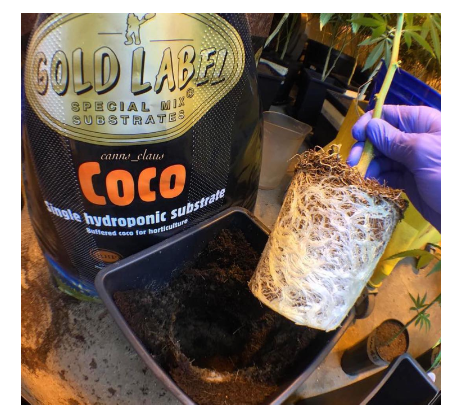 Coconut substrate is a modern growing medium made from fibres and husks of coconut shells, available in many forms and suitable for a wide range of horticultural techniques, from traditional pot growing to hydroponics or large irrigation systems. In this guide, we will help you choose the right type of coconut substrate for your grow room, garden or greenhouse.
Coconut substrates are among the most versatile and easiest growing media you can choose for cultivation. Compared with soil, where it is difficult to keep an exact overview of pH and nutrients in the substrate, in coco it is easy to monitor these two values with EC and pH metres and adjust them using a nutrient solution. At the same time, coconut substrates have sufficient buffering capacity and retain water and nutrients well, so they are not as sensitive to mistakes as fully hydroponic systems. You thus get the best of both worlds: the security of a classic growing medium and the speed and efficiency of hydroponic cultivation.
MAIN ADVANTAGES OF GROWING IN COCO
- pH and nutrient neutral: Coconut fibres contain very few nutrients on their own, which makes precise plant feeding easier. You can easily supply plants with exactly the nutrients they need at any given moment. In addition, it is easy to adjust the pH in the root zone without increasing EC.
- Optimal drainage: Coconut fibres can retain up to ten times their weight in water and, unlike, for example, expanded clay or perlite, which drain water away quickly, they keep the plant root system hydrated for longer, so there is no need to water plants too often. Compared with soil, water drains away faster, so you can water and feed plants much more frequently.
- Healthy root development: Growing in coconut substrate is very beneficial for plant roots, which grow faster and are healthier. This is due to the fibres' ability to retain large amounts of nutrients, water and air. Roots without access to air (for example in overly compact soil or poorly aerated hydroponic solution) tend to be poorly developed and are at risk of fungal attack.
- Fewer pests: Many soil insect pests and pathogens do not thrive in coco. In addition, coconut fibres often contain strains of trichoderma, which protect plant roots from other parasitic microorganisms.
- Eco-friendly and reusable material: Coconut substrates are made from waste materials and can also be reused. This represents a significant reduction in the carbon and environmental footprint of cultivation.
Buffered or unbuffered coco
When choosing a coconut substrate, it is very important to distinguish between buffered and unbuffered coco. Buffering is the process of preparing coconut fibres before use for plant cultivation. Coconut fibres in their raw form contain a high amount of salts and are also poor in calcium and magnesium. During buffering, which consists of soaking and rinsing in water with adjusted pH, potassium and sodium ions bound to the coco are replaced with calcium and magnesium, which plants need.
Most manufacturers of coconut substrates supply already buffered mixes that do not need any adjustment before use; it is enough to soak them in water or nutrient solution. If you want to use coco as an additive to soil that is rich in nutrients and organic matter, it is not necessary to buffer the material in advance, because the substrate will still contain enough calcium and magnesium.
Types of coconut substrates and their use
 Pure coconut substrates
Coconut substrates without additives contain only coconut fibres and chips and are suitable as a basic substrate for indoor and outdoor growing, in the traditional way in pots or hydroponically and with the use of automatic irrigation systems. Coconut substrates contain a minimal amount of nutrients, and these must be supplied to plants in the form of fertilisers for growing in coco. Coconut fibres are also an excellent additive to horticultural substrates, where they improve water and air circulation.
Coconut substrates with perlite/expanded clay
Coconut substrates enriched with perlite or expanded clay have better drainage properties and help prevent overwatering, which is especially useful for growers in pots. The usual ratio of coconut fibre to mineral component in such cases is generally 70% to 30%. Thanks to the faster drying of the growing medium, it will be possible to water plants more often.
Compressed coconut substrates
Compressed coco pressed into solid briquettes or bricks has the advantage of reducing costs as well as storage and transport. This is beneficial not only for retailers, but also for large-scale growers who need large quantities of growing medium. Before use, compressed coconut substrate must be soaked in water or a buffering solution so that the fibres expand. You can then use it on its own or mix it with other additives such as peat, soil or perlite/expanded clay.
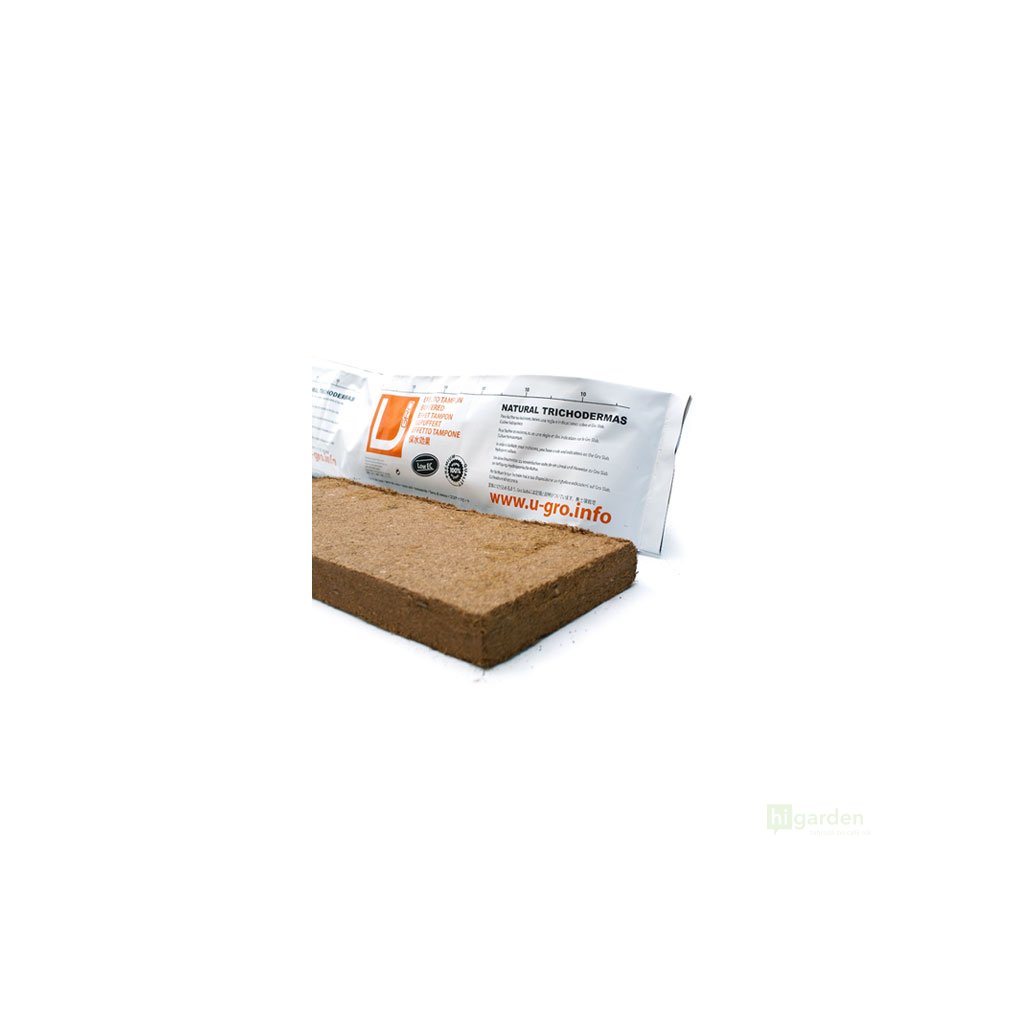 Mats made from coconut substrate
Growing mats with coconut substrate are particularly practical for growers using automatic irrigation systems, where they help save water and fertilisers used, thanks to precise and even watering. Despite their ability to retain large amounts of water, growing mats provide sufficient drainage and access to air, which supports rapid root growth without the risk of pathogens or mould. Growing mats can be reused.
Coconut substrates with trichoderma
Many coconut substrates contain trichoderma, a naturally occurring beneficial fungus that can adapt to almost any environment. Trichoderma produces metabolites that inhibit the growth of other microorganisms, thereby protecting plants from parasitic fungi and other pathogens. Some trichoderma species (T. reesei) produce large amounts of cellulase, others (T. virens) are perfect mycoparasites and can parasitise other fungi, and others (T. harzanium) are demonstrably effective in the fight against nematodes.
Growing bags with coconut substrate
Practical pots with coconut substrate ready to use straight away will be appreciated especially by growers in greenhouses and outdoors. The advantage is easy use without the need to soak or buffer the coconut fibres. The coconut substrate is not compressed in the bags, so it allows good drainage and absorbs water very well. Growing bags can be reused.
As with any growing medium, coco has its pitfalls and requires certain knowledge and practice. Now that you know which type of coconut substrate to choose and how to use it, you are ready to start growing.
Do not be afraid to reuse coconut substrate
A few tips at the start
How do you recycle coconut substrate?
Coconut substrates can be used without major complications for two or even three growing cycles. Let us look at how to do it, step by step.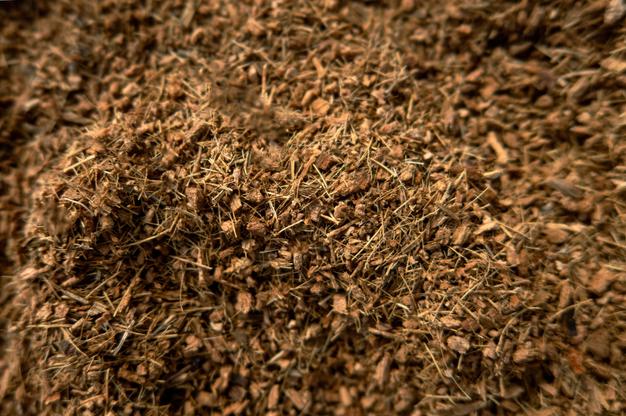
Coconut substrate is very popular among indoor growers because of its specific properties. First and foremost, it retains much more water than soil without losing its airiness. It is also popular because of its sterility - it does not favour pathogens and contains no nutrients, so you know exactly what the plants have available.
By reusing the substrate, you save money and the natural environment. You can plant the plants directly into the used substrate, or you can first mix it with brand-new growing medium. You can use coconut substrate until its fibres begin to break down; then it will lose most of its ability to retain water and will no longer be as capable of supporting plant roots.
A few tips at the start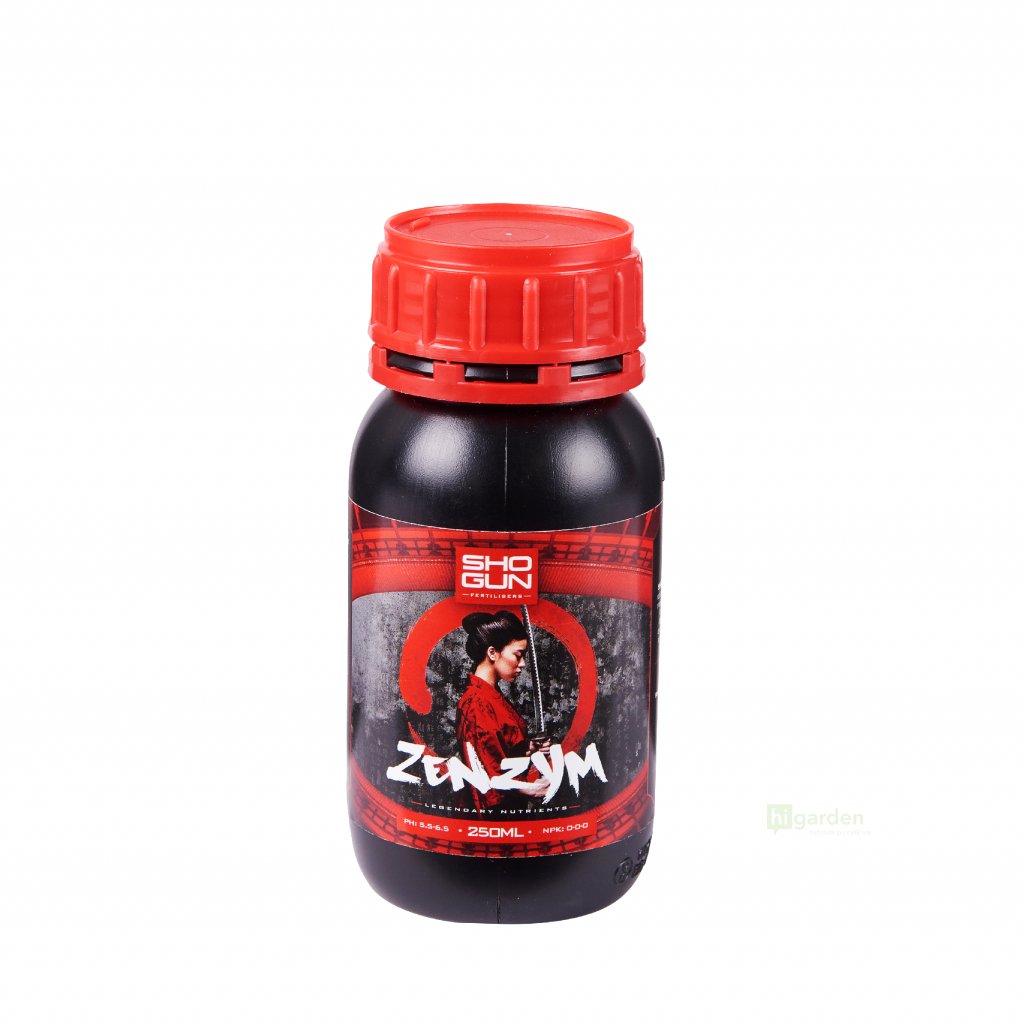
First of all, it is necessary to remove everything left in the coconut from the previous growing cycle. Start by removing plant residues, meaning all leaves, stems and roots. If you want to be absolutely sure that nothing remains in the substrate, we recommend using an enzymatic product that helps break down dead biomass.
After a very successful harvest, there should be no fertilisers left in the substrate. To prevent the plants from being exposed to salt build-up, rinse it thoroughly with water without minerals (other water could only make the problem worse), ideally water from reverse osmosis or distilled water. For good measure, also check the substrate EC and pH.
Even in a closed grow tent, there is a risk of diseases or pests. As a precaution, it is a good idea to disinfect the substrate before the next cycle. We have tested a solution of hydrogen peroxide (2 ml / 1 l of water), into which you simply soak the substrate. Afterwards, the growing medium needs to be rinsed again. Pathogens and pest larvae are also reliably destroyed by high temperatures. In practice, the main methods used are a bath of boiling water and, if you have a forgiving wife, an oven heated to at least 100 °C.
You can use revitalised substrate without any problem for mature, healthy plants. For cuttings and seedlings, place a layer of new coconut around the young roots, but you can safely put the old substrate around the edges of the container. A proven method is to mix the old coconut with the new one before transplanting.
If the coconut is already falling apart in your hands, the fibres are short and it clearly no longer retains as much water, you do not have to throw it away straight away. Even at this stage of decomposition, it still has uses: prepare it according to our instructions and you can use it to improve the properties of soil in an outdoor bed.
How do you recycle coconut substrate?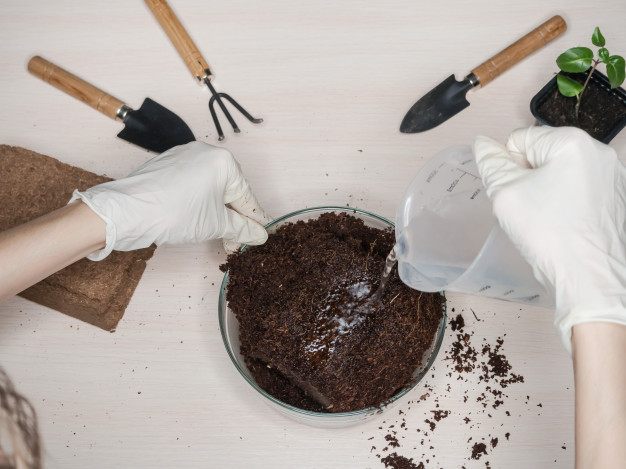
- Remove all plant residues; all old roots must be removed
- Rinse the substrate with water at least three times (preferably RO or distilled); we recommend using 2-3 litres of water per 10 litres of substrate
- Sterilise the substrate with hydrogen peroxide (35% solution, 2 ml / 1 l of water) or boiling water
- If you used peroxide, rinse the substrate once more
What should you watch out for?
- If you had problems with pests or diseases during the last growing cycle, do not reuse the substrate.
- We recommend working in a clean environment. Wash your hands or use clean gloves.
- Sterilisation removes absolutely everything from the substrate - including beneficial microorganisms. Do not skip this step because of that; instead, add trichoderma and other friendly fungi to the substrate afterwards add.
- Peroxide is a corrosive substance; handle it carefully and only in well-ventilated rooms.
- Heat sterilisation may create an unpleasant odour.
- Sterilising the substrate in the oven without agreement with your wife may cause a divorce.
- If you want to mix old substrate with new substrate, we recommend doing so before it dries out completely.
If you have any questions while reading the article, do not hesitate to contact us at info@higarden.eu.
We recommend:
- BioNova Cocomix Plus - premium coconut substrate
- Plangron Purezym - a great source of enzymes
- Plant Success Orca - adds beneficial fungi and bacteria to the substrate
Other articles:
Which Pot to Choose for Outdoor Growing: A Comparison of Plastic, Fabric and Air Pot Containers
Some people focus on fertilisers, others on light – but few pay enough attention to what the plant is actually growing in. Yet a poorly chosen pot can cause serious problems even for an experienced grower. Overheating, waterlogging, roots curled up like a ball of snakes… So: plastic, fabric, or Air Pot? Let us break it down.
Plastic pots – a cheap and proven classic
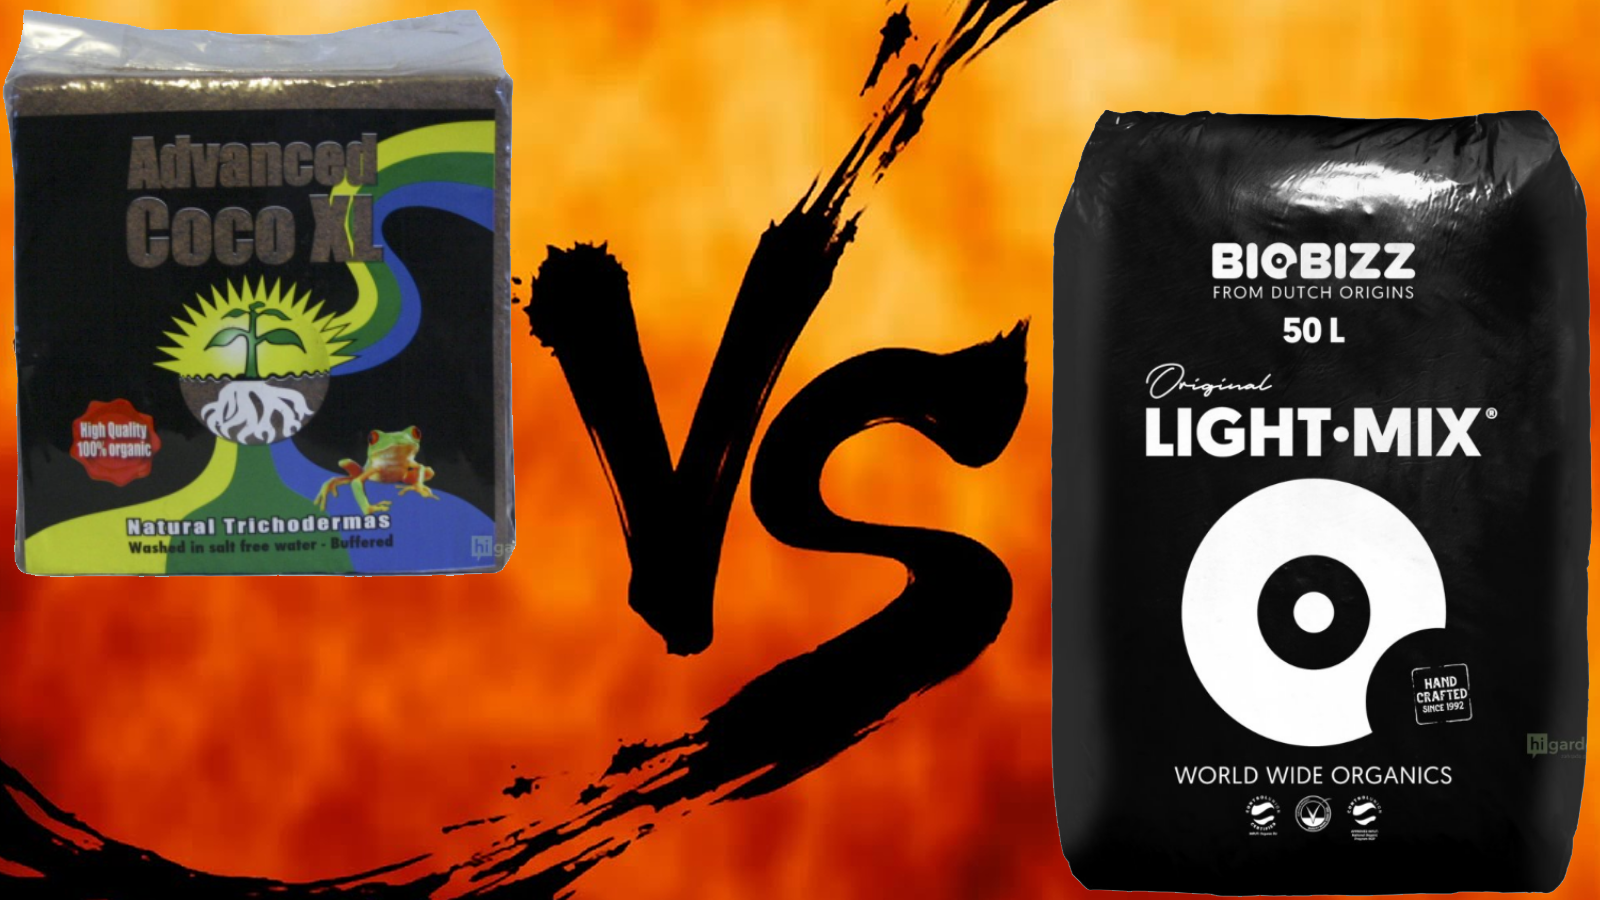
Plastic pots probably do not need a lengthy introduction. Most growers use them, whether on a balcony, in a greenhouse or in the garden. They are inexpensive, lightweight and easily available in any size. For raising seedlings, basic cultivation of herbs, flowers or even vegetables, plastic pots are certainly a functional choice. However, if you plan to grow more demanding species, such as tomatoes, chilli or medicinal plants, plastic pots have certain limitations. The main problem can be insufficient drainage, which is why we recommend using substrates lightened with perlite when growing in plastic pots (for example Plagron Growmix, BioBizz Light Mix). Another problem is overheating of the substrate, especially if the containers are exposed to direct sunlight on a balcony or terrace. Black plastic pots can heat up so much that the plant roots are damaged.
Advantages:
- Low purchase price
- Available in all sizes
- Lightweight, easy to carry
- Long service life with proper handling
Disadvantages:
- Roots become tangled
- In hot weather, the substrate overheats
Fabric pots – lightweight, breathable and ideal for the summer season
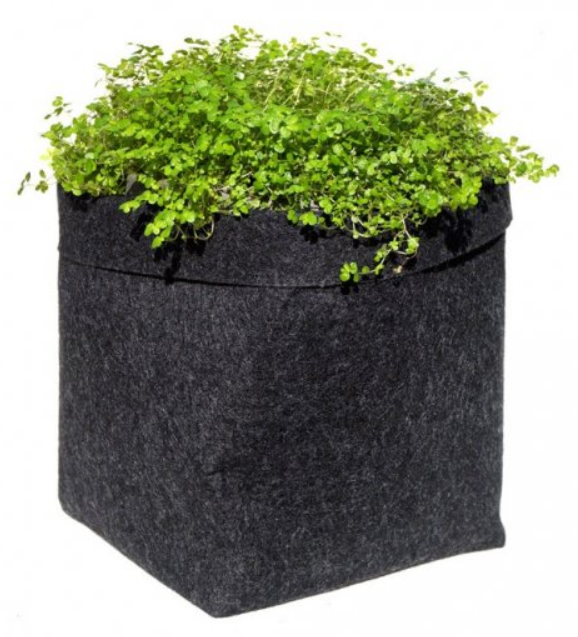 Fabric pots are often a better choice than plastic for outdoor growing. The main advantage of fabric is its breathability. The side walls of the pot are made from strong non-woven fabric, which allows better access of air to the roots and prevents them from tangling. This phenomenon is known as “air pruning” and naturally stimulates the growth of new fine roots and supports the development of a healthy root system in plants.
Fabric pots are ideal for outdoor growing because they easily drain excess water and the substrate does not overheat in them. They are also very compact, and smaller fabric pots are easy to carry, so they are also suitable for a balcony, terrace or places where you need to handle containers frequently. A small disadvantage of fabric pots is that plants need to be watered more often, because the substrate dries out faster.
Advantages:
- Air pruning
- Excellent drainage
- Lightweight and compact
- The substrate does not overheat even in direct sunlight
Disadvantages:
- Faster drying. They require more frequent watering
- Service life of approx. 2–4 seasons depending on material quality
- Larger fabric pots are not easy to carry
Air Pot – the choice of professionals
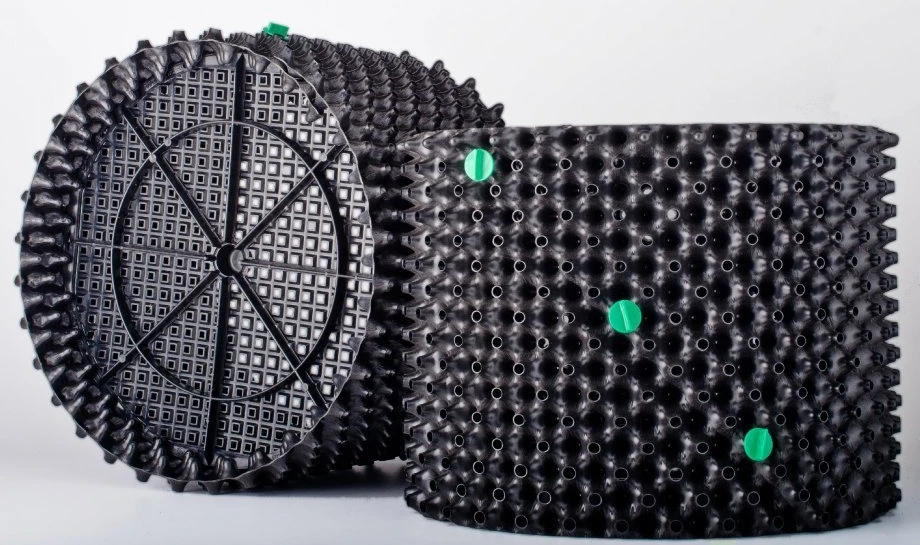 Air Pot pots look unusual at first glance. They have perforated walls and protrusions, which make them look as if they came from a space greenhouse. However, the unusual design has a purpose: to create ideal conditions for root system development. As with fabric pots, air pruning also occurs in Air Pots. The result is a denser and more even root ball than with classic plastic pots. Even with Air Pots, plants therefore need to be watered more often. Air Pots are slightly more expensive than other pots, but they are made from durable plastic and can withstand a lot. They are especially suitable for growers who know exactly what they are doing and want to get the maximum yield from their plants.
Advantages:
- Air pruning
- Excellent air circulation and drainage
- Reusable and very durable
Disadvantages:
- Higher purchase price
- More complicated handling and assembly
- More frequent watering
|
Type of grower |
Recommended pot |
Why this one? |
|
Beginner |
Plastic |
Simple, inexpensive and available |
|
Balcony grower |
Fabric |
Excellent value for money, compact storage |
|
Demanding grower |
Air Pot |
Ideal environment for root development |
|
Summer herbs, salads |
Fabric or plastic |
A less sophisticated solution is sufficient |
|
Tomatoes, chilli, hemp |
Fabric or Air Pot |
They require a healthy and strong root system |
Further useful tips for outdoor growers can be found on our Higarden blog or visit us in store, where we will be happy to advise you in person.
How to Choose a Horticultural Substrate
In our complete guide to choosing the right horticultural substrate, we present the most important information about the composition of horticultural substrates, their correct use, and recommend the best brands and blends for growing plants indoors and outdoors, in pots, in beds or under artificial lighting.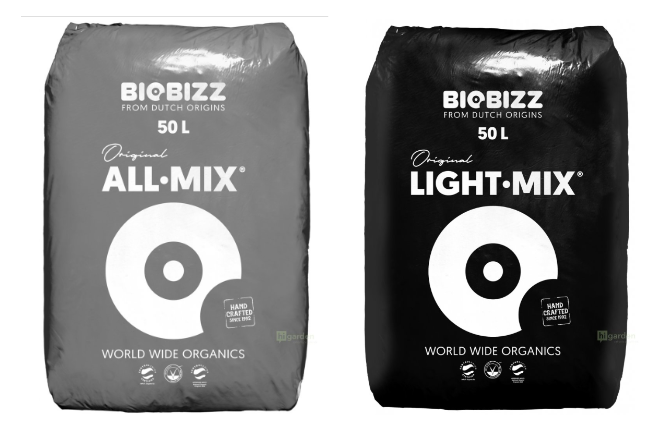
Horticultural substrates are growing media intended for growing plants in the traditional way in soil. Their main use is for growing plants in pots indoors and outdoors, or as soil for beds or greenhouses.
Also read: Guide to growing substrates
What do horticultural substrates contain?
Manufacturers of horticultural substrates adjust their composition so that the resulting blends have different properties in terms of water retention, nutrient content or soil acidity.
The basic component of every horticultural substrate is organic materials of plant or animal origin. Most often these are peat, coconut fibres, composted wood and tree bark, compost, worm humus and other substances that serve as a source of organic nutrients for plants.
Another ingredient is inorganic natural materials, which ensure aeration of the substrate, improve drainage and retain moisture. These include perlite, vermiculite, expanded clay, sand and others.
Many horticultural substrates are enriched with fertilisers, whether mineral ones with gradual release or organic soil amendments such as bat guano, bone or blood meal, alfalfa or seaweed extracts.
Other additives, for example lime and substances for pH balancing, beneficial microorganisms (trichoderma, mycorrhizal fungi) or admixtures further modify the specific properties of the substrate.
How to choose a horticultural substrate?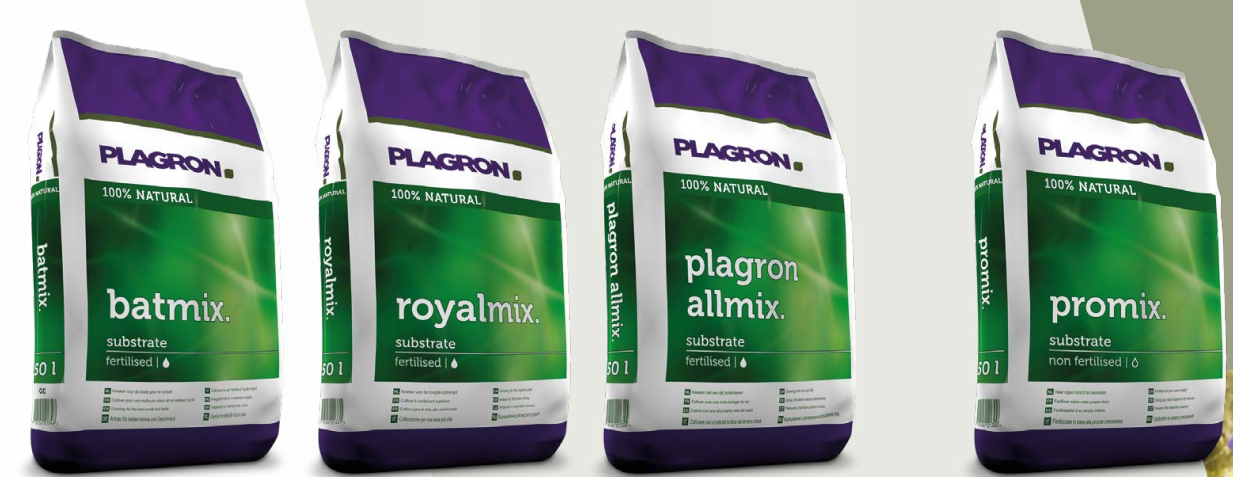
The choice of horticultural substrate depends primarily on the age of the plants and your growing method. In general, for seedlings and young plants indoors and outdoors, unfertilised or lightly pre-fertilised blends are most suitable. Horticultural mixes with a higher fertiliser content are suitable as a medium for nutrient-demanding plants, indoor growing, or as soil for beds or greenhouses. For some growers, the purely natural origin of all components of the blend may also be important, for example for organic growing or organic farming.
Unfertilised horticultural substrates consist only of a pure blend of organic and inorganic materials without added fertilisers. They are suitable as a starting medium for germination, cuttings, seedlings or young plants intended for later repotting. When growing in unfertilised horticultural substrates, it is necessary to supply plants with nutrients in the form of fertilisers, whether organic or mineral.
Lightly pre-fertilised horticultural substrates, sometimes referred to as “light-mix”, contain only a minimal amount of nutrients in the form of mineral or organic fertilisers. They are suitable either as soil for young plants intended for later repotting, rooted cuttings or for growers who want to supply plants with nutrients at their own discretion and according to their needs. Lightly pre-fertilised blends can be combined with most commonly available fertilisers and feeding programmes.
Pre-fertilised horticultural substrates are balanced blends with a medium amount of nutrients that will last plants for the first few weeks to months of life, depending on the species, pot size and growing method. They are suitable as a basic substrate for growing in pots indoors and outdoors; however, in later stages of life, plants need nutrients supplied in the form of mineral or organic fertilisers.
Heavily pre-fertilised substrates contain a high dose of nutrients in mineral or organic form and are not suitable for seedlings, cuttings or young plants, because the high nutrient content in the soil can cause leaf and root “burn”. Heavily pre-fertilised mixes are suitable for nutrient-demanding plants, as soil for beds or greenhouses, and as a medium for indoor growing under highly intensive artificial lighting.
Substrates intended for organic growing contain only materials of natural origin and are often certified for growing plants in organic quality without the use of mineral fertilisers and chemical pesticides. These substrates may be pre-fertilised or unfertilised and are suitable for cultivating plants in pots indoors and outdoors or as soil for beds or greenhouses.
- Canna BIO Terra Plus
- Atami Bio Growmix
- Terra Aquatica Organic Soil Light-mix
- BioBizz Juju Royal Light Rebel, organic substrate
Vegan substrates are, like substrates for organic growing, composed only of natural materials, with the difference that they contain only substances of plant origin. These blends are suitable for growing in pots indoors and outdoors or as soil for beds or greenhouses.
Substrates for sowing and germination contain a minimal amount of nutrients and have a finer structure to retain more moisture, and you can use them for germination and taking cuttings from plants.
Special substrates are designed to meet the specific requirements of certain plant species. Among them you will find, for example, substrates for citrus, orchids, substrates for roof gardens or herbs.
Answers to the most frequently asked questions about horticultural substrates
Can horticultural substrates be used for several growing cycles in a row?
Used growing substrate can be revitalised and used again; however, if the procedure is incorrect, there is an increased risk of disease, pests or mould. When growing indoors, it is common to replace the growing substrate with a new one after each cycle. When growing outdoors in pots or in beds, the soil can be revitalised before planting by adding compost, worm humus or a heavily pre-fertilised horticultural soil mix.
Do I need special fertilisers when growing in horticultural substrates?
Horticultural substrates may or may not contain a certain amount of fertilisers that serve as nutrients for plants. Especially when growing in pots, plants quickly deplete the nutrients from the soil and after some time it is necessary to replenish them. This is what various types of fertilisers are for, from fast-acting mineral ones to fully organic ones. The choice of the right feeding programme then depends on the plant species and your growing style.
How often should plants grown in horticultural substrates be watered?
The frequency and amount of watering supplied to plants depends on many factors; however, in general, for plants grown in beds, it is time to water the substrate if the soil has dried to a depth of one inch. For plants in pots, we can estimate the amount of water in the growing medium by weighing the growing container.
Also read: Dry or liquid fertilisers, which are better for indoor growing?
BioNova Living Soil: One fertiliser for 12 weeks (and exactly three plants)
It is here! The times when we had to grow in secret are irreversibly coming to an end, and from the new year we will finally get down to proper growing. How can you grow those longed-for three plants simply, without worries and unnecessary work? Try BioNova Living Soil – a soil fertiliser for indoor and outdoor growing.
Living Soil is like instant soup for plants, only without additives, flavour enhancers and a guilty conscience. It is a granular slow-release soil fertiliser containing all the nutrients plants will need over a three-month growing cycle. Which is exactly long enough for terpene-rich “tomatoes” to grow in your little garden.
What makes BioNova Living Soil different from other fertilisers? In addition to nutrients, it contains beneficial microorganisms that break down organic matter in the soil into further food for plants. This creates a natural nutrient cycle in the soil, and you have even less work with fertilising. No complicated tables or dosing like in chemistry lab classes. You simply mix it with the soil, water it, and that is it.
How to use BioNova Living Soil
First of all, let us make it clear that Living Soil is a soil fertiliser, so it is not for growers in hydro, coco or rockwool. Soil microbes need a stable environment and organic matter to feed on. For growing, use your favourite soil mix with one exception – avoid heavily pre-fertilised substrates. Living Soil already contains enough nutrients on its own. The most suitable are mixes intended for organic growing (for example Canna BIO Terra) or light mix substrates.
You may also be interested in: How to choose a horticultural substrate according to the growing method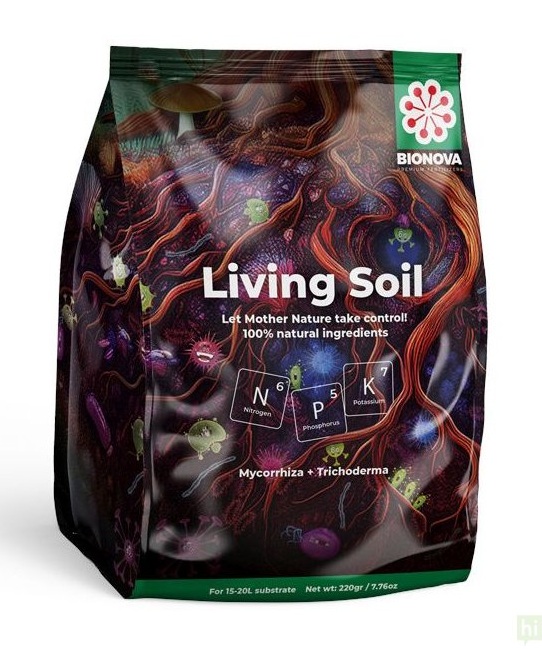
How much Living Soil you will need depends on your growing style. One pack is enough for 15 to 20 litres of substrate. That means two packs of Living Soil are just right for three 5-litre pots, and you will still have some left over. You can also use larger fabric pots, which are excellent for outdoor growing. Do not forget that once you mix Living Soil with the soil, you create a pre-fertilised substrate, and such a substrate is not suitable for germination or clones. Transplant into the pot only seedlings with three to five sets of leaves.
You may also be interested in: How to pre-grow seedlings
After transplanting, care for the plants as you are used to. The fertiliser is already taken care of, so water only with clean water. If you use tap water for watering, let it stand for at least a day. Chlorine kills beneficial soil microorganisms. Chemical pesticides, insecticides and mineral fertilisers are just as harmful to the microbes, so avoid those as well. If you feel the plants are lacking nutrients, reach for a fast-acting organic fertiliser.
Would you like to learn more about how to grow green happiness without effort and unnecessary worries? Follow our Higarden blog, where you will find practical advice for beginner growers as well as experienced cultivators.
Everything You Ever Wanted to Know About Perlite (A Guide for Hydroponics and Soil Growing)
Perlite is a versatile growing medium that can be used both in soil cultivation and in hydroponics. This material stands out for its lightness and porosity and is suitable as an additive to horticultural substrates or as a standalone growing medium in hydroponic systems. In our guide, you will learn how to use perlite in the garden as well as for indoor and hydroponic growing.
Perlite is a naturally occurring volcanic glass that expands to several times its original volume when heated to a temperature of approximately 850-900 °C. The result is a light, porous material resembling crushed popcorn. Perlite is widely used in various fields, especially in plant cultivation, but also in construction, industrial filters and as a carrier for chemicals. Perlite is chemically inert (inactive), sterile, non-toxic and very stable.
Advantages of perlite in soil cultivation
Soil aeration: Perlite is porous and creates air pockets in the soil, allowing roots better access to oxygen. The root system is therefore more abundant, more resilient and healthier, which is reflected in the vitality of the plants.
Better drainage: When mixed into soil, perlite affects its retention properties. The substrate drains better and retains less water, which helps prevent overwatering. This is especially beneficial when growing species prone to root rot.
Preventing soil compaction: When growing in pots or raised beds, the soil becomes compacted over time. Lightened horticultural substrates with perlite retain their retention properties for longer and the soil remains loose for a long time.
How to use perlite in soil cultivation
For aerating soil in outdoor beds: When establishing a new bed or planting, mix perlite with soil, peat or horticultural substrate in a 1:1 ratio.
For growing in pots: Mix horticultural substrate with perlite in a 3:1 ratio. The resulting mixture will have better drainage than the original unlightened substrate.
Germination: Perlite is an excellent medium for seed germination because it retains moisture without becoming waterlogged. You can create a germination and seedling pre-growing mix by combining perlite and peat in a 1:1 ratio. Do not forget that neither perlite nor peat contains available nutrients, and young seedlings will need to be transplanted or fertilised soon.
Perlite in hydroponics
Hydroponics is a method of growing plants without soil, based on nutrient-rich water (nutrient solution) and an inert growing medium. This can be mineral wool, expanded clay, coconut substrate or perlite. Perlite does not retain water and is suitable only for certain types of hydroponic systems, namely drip irrigation, DWC, NFT, wick methods and Dutch bucket or the AutoPot system. As a medium, perlite is not suitable for flood trays or for hand watering or other methods.
Hydroponic systems using perlite as a growing medium
- AutoPot – Unique self-watering systems for indoor and outdoor use that do not require connection to electricity. The ideal substrate for use with an AutoPot pot is a 50% mixture of perlite with soil or coco.
- Atami Wilma – Popular hydroponic systems of various sizes with drip irrigation for indoor growing.
- Terra Aquatica – A top-tier hydroponic system, the spiritual child of hydroponics pioneer Wiliam Texier. The range includes various types of hydroponic systems suitable for indoor and outdoor use, propagation trays and fertilisers.
Perlite has neutral pH and does not react with the nutrient solution in hydroponic systems. Nevertheless, it needs to be replaced regularly, because algae can settle in the pores, which will show as a green colour on the surface. When using perlite in irrigation systems, take care with small particles and dust, which can clog filters and drippers.
Would you like to learn more about hydroponics and indoor growing? Visit our Higarden blog, where we will introduce you to news from the world of growing and useful advice for growers.
Soil or coconut growing substrate? Choose the right one for your garden!
Choosing the right substrate is one of the most important decisions you will make as a grower. Whether you choose soil or coco will affect not only the health of your plants, but also the choice of fertilisers, the method and frequency of watering, and many other aspects of plant care. In the following article, we will introduce you to the advantages of growing in soil-based and coco substrates and advise you on which one to choose.
Soil and coco substrates have much in common, but they also offer unique advantages and challenges. The choice of a suitable growing medium ultimately depends mainly on your needs and those of your plants. It will be easier to decide if you familiarise yourself with the strengths and weaknesses of each growing substrate.
 Soil substrates
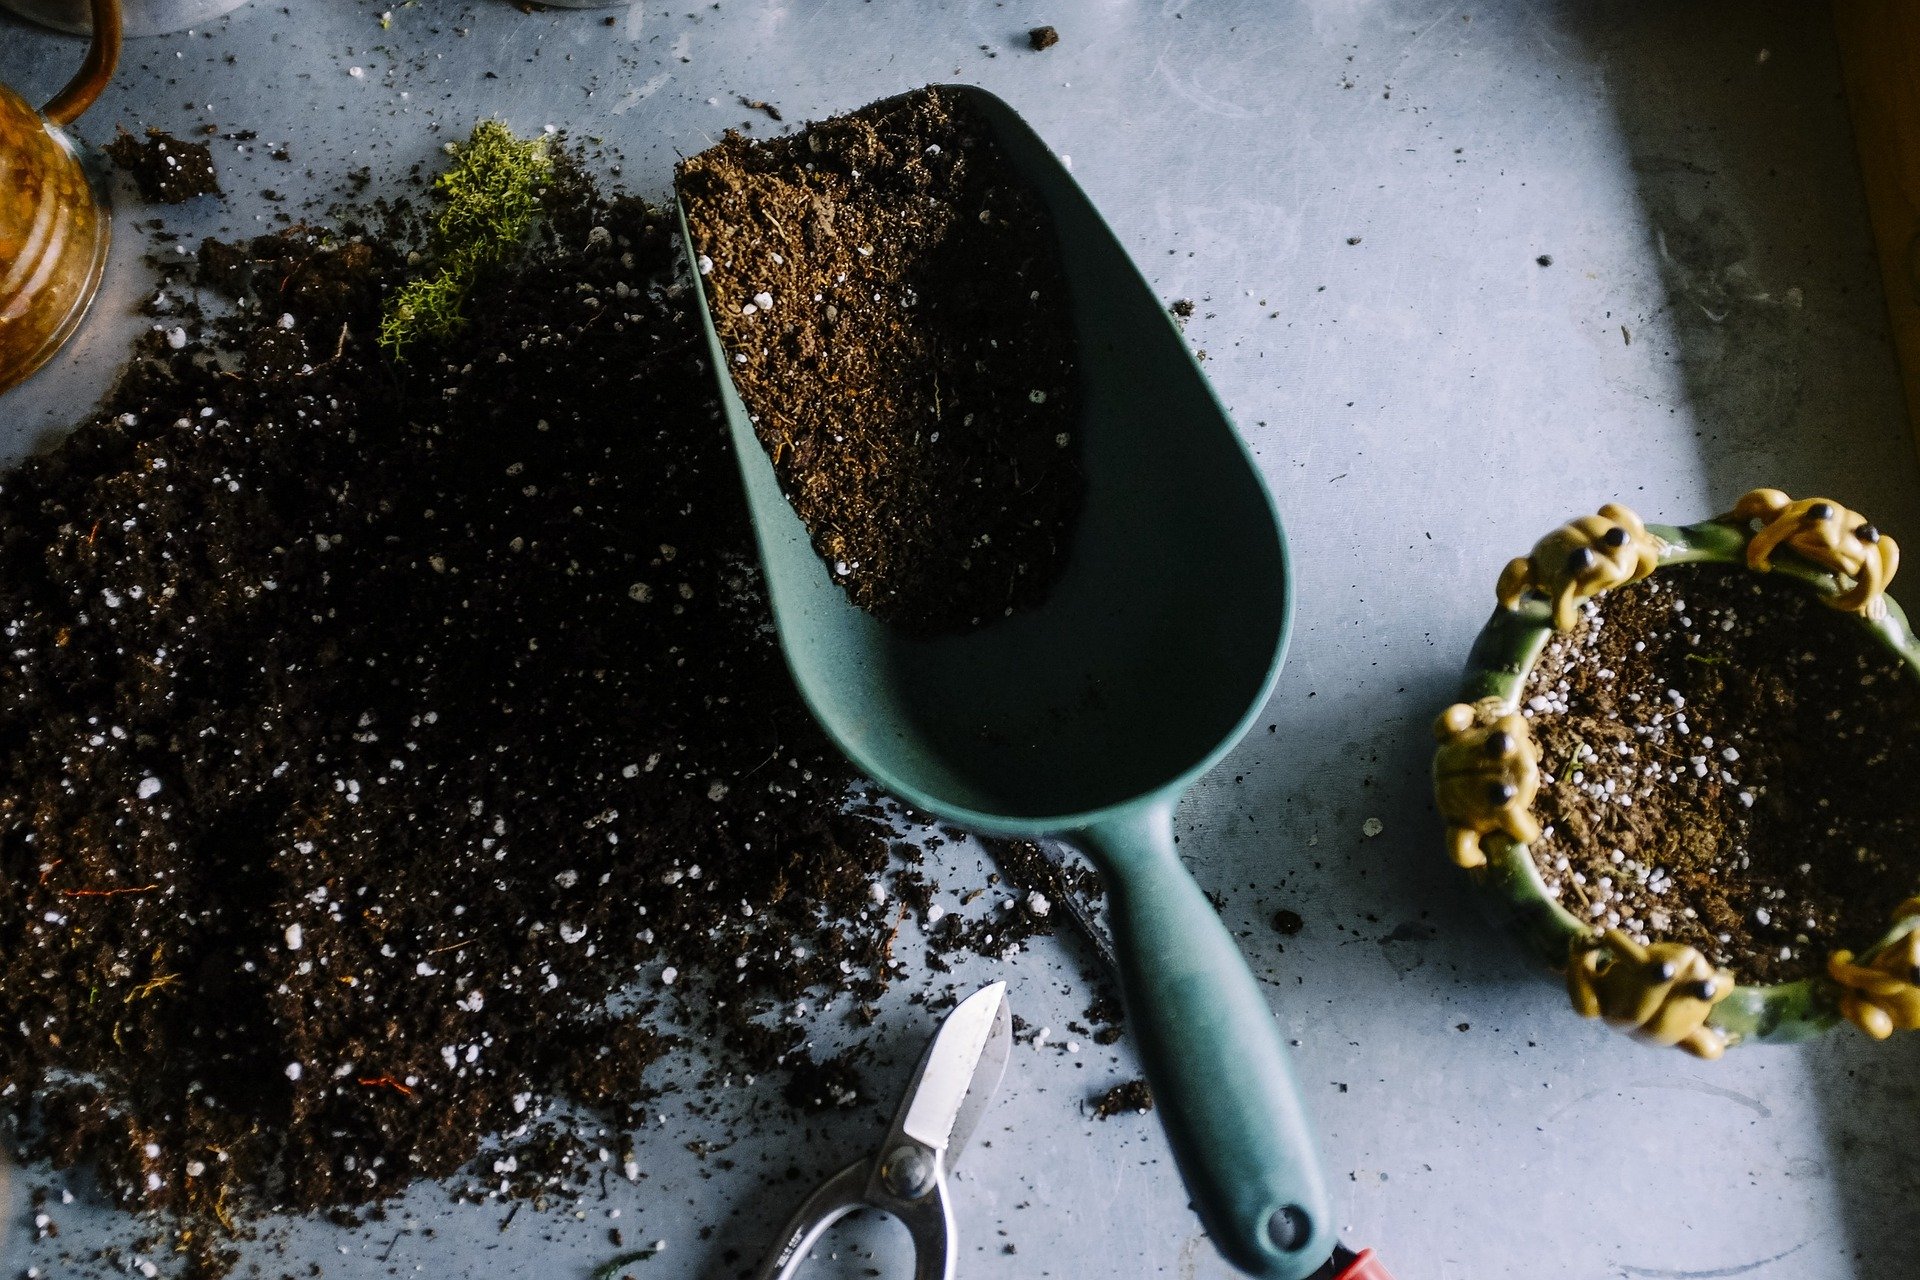
The main component of soil-based (gardening) growing substrates is soil, which may be enriched with other components such as peat, compost, perlite, coconut fibres, fertilisers, and others that further adjust their properties. Different types of soil can suit specific plant needs, and gardening substrates are suitable for a wide range of species, from vegetables and fruit to ornamental flowers and herbs.
Advantages of soil growing substrates
- High nutrient availability
Gardening substrates are rich in the basic NPK nutrient elements (nitrogen, phosphorus, potassium) and trace minerals that occur naturally in soil. The amount and availability of these nutrients are influenced by the composition of the substrate and microbial activity during the growing cycle. In some soil mixes, manufacturers add slow-release fertilisers that increase their fertility.
- Rich microbial life
Soil is a natural environment for a host of beneficial microorganisms, such as bacteria, fungi, protozoa, and others, which play an important role in the decomposition of organic matter, nitrogen fixation, and increasing nutrient availability to plants. Many plants form symbiotic relationships with soil microbes, for example with mycorrhizal fungi, which improve water and nutrient uptake.
- Excellent water retention
Soil retains water very well, which reduces the need for frequent watering. In addition to soil, most gardening substrates also contain other materials that adjust the water-retention properties of the mix according to the gardener’s needs.
- Balanced aeration and structure
Quality soil mixes retain a large amount of water while remaining sufficiently porous to allow oxygen access to the roots. Soil is heavier than other growing media and provides plants with firm support even when grown in pots and in windy locations.
- Naturally stable pH
Soil has natural buffering capacity and helps maintain a stable pH in the substrate, which is essential for nutrient availability and the overall health of plants.
- Price and availability
Soil substrates are widely available and, compared with other growing media, are often cheaper.
You may also be interested in: How to choose a gardening substrate
Coco substrates
Coco substrates are modern growing media made from coconut fibres and are an increasingly popular alternative to classic soil mixes. They come in various forms and are suitable for a wide range of gardening techniques, from pot growing to hydroponics and irrigation systems. Coco substrates have versatile uses and are suitable both for cultivating most plant species and for cloning, germination, and raising seedlings.
Advantages of coco growing substrates
- Nutrient- and pH-neutral
Coconut fibres contain a minimal amount of nutrients, so growers can supply plants through fertilisers with exactly the nutrition they need. This precision helps control plant development and achieve maximum yields. The neutral pH of coco substrates also makes it easy to adjust and maintain pH within the optimal range for nutrient uptake.
- Resistance to pests and diseases
In coco substrates, pests and pathogens commonly found in soil are encountered less often. This significantly reduces the risk of infestation, which is especially useful in enclosed grow rooms and grow boxes. At the same time, many coco substrates contain beneficial fungi of the Trichoderma genus, which protect plants against harmful microorganisms.
- Excellent retention properties
Coconut fibres can hold up to ten times their weight in water, while also effectively draining away excess irrigation. This provides the roots with constant moisture and prevents root rot and other problems associated with overwatering. This balance allows growers to water and feed plants more frequently.
- Excellent aeration
Coco substrates have a porous structure that ensures excellent aeration, leading to rapid development of the root system. The combination of good water retention and high aeration supports vigorous growth.
- Buffering capacity
Compared with hydroponic systems and media, coco substrates have good buffering capacity and help stabilise pH fluctuations, which can stress plants and create problems with nutrient uptake. They therefore allow the grower a small margin for error in fertilising and watering.
- Easy storage and handling
Coco substrates are lightweight and can be compressed into compact blocks, which makes transport and storage easier.
You may also be interested in: Guide to coco substrates
 Comparison of coco and soil substrates
When comparing coco and soil substrates, we can notice several differences. While soil naturally contains a wide range of nutrients available to plants, coco substrates are “empty” in this respect. On the other hand, coco substrates offer better retention properties and aeration than soil mixes. Working with soil can be more demanding than with clean and lightweight coconut fibres. When deciding which growing substrate to choose, take three main factors into account: the environment, the growing method, and plant nutrition.
- Growing environment
Soil: Suitable for outdoor and indoor growing under artificial lighting, especially for plants that can benefit from microbial activity and a high nutrient content, such as tomatoes, peppers, and others.
Coco: Suitable for outdoor and indoor growing under artificial lighting, in hydroponic systems, especially for plants that require a well-aerated substrate, such as herbs and ornamental flowers.
- Nutrition
Soil: When cultivating plants in soil mixes, you can use mineral and organic fertilisers with slow or fast release, as well as nutrient supplements. Gardening substrates are also suitable for organic and permaculture growing and the “living soil” method.
Coco: When growing in coco substrates, you can use mineral and organic fertilisers with slow or fast release, as well as nutrient supplements. Fertilisers for coco growing usually contain increased amounts of calcium and magnesium, or these nutrients need to be added to the irrigation water in the form of a CalMag additive.
- Growing method and environment
Soil: Soil mixes are a versatile growing medium that you can use for any growing method and are suitable for both indoor and outdoor use. They are also an excellent choice when cultivating plants in large growing containers and fabric pots.
Coco: Due to faster drying, coco substrates are more suitable for indoor growing and as a medium for hydroponic cultivation. When growing outdoors, it is important to water plants regularly so that the fibres do not dry out completely and lose their retention properties.
Would you like to learn more about the different types of growing media? Read our Guide to growing substrates
How and Why to Revitalise Substrate?
With the harvest season comes a number of questions about what to do with spent substrate after harvesting. The topic of today’s article is therefore the revitalisation, or regeneration, of growing substrates.
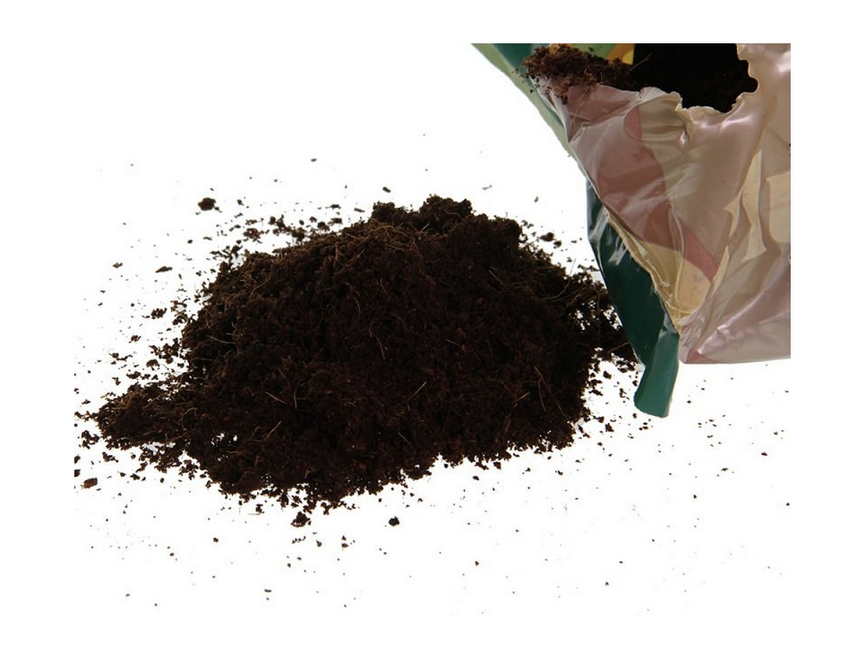
- Of course, you can throw spent substrate into the bin, but there are more environmentally friendly solutions that will also save you money, as you will not have to keep buying brand-new medium for growing containers. On the contrary, quality growing substrates, which we recommend a little further below, can then be used repeatedly.
- The revitalisation process itself depends on whether you use soil or coco as the growing medium.
- In a pot, the plant ideally forms a rich and branched root system, which gradually fills the relevant growing container.
- At the same time, it absorbs nutrients that were supplied to the soil through watering made up of water and fertilisers.
- The chemical composition and properties of the soil are therefore significantly different after harvesting compared with the original state or the state during the growing cycle.
- Spent soil no longer contains a sufficient amount of nutrients and, if mineral-based fertilisers were applied to it, it also contains excess salts and other residual substances, which are highly undesirable for any further use.
- Soil mix naturally loses its ability to retain water after harvesting. It is, or at least should be in the case of successful previous cultivation, practically completely penetrated by the root ball.
- If we planted a new small plant into such spent soil without first revitalising it, the result in the vast majority of cases would be only infection by pathogens from decaying roots and subsequent death.
- Soil in the wild is revitalised naturally without human intervention. However, if we are cultivating plants in growing containers, you must carry out the revitalisation of spent substrate yourself. Here is the procedure:
- Remove all above-ground parts of the plants and any other plant material.
- Rinse the soil with water (ideally water from reverse osmosis, see the separate article) to wash away fertiliser residues and other undesirable substances, with 2 to 3 litres of water per 10 litres of soil being considered an ideal volume. We recommend repeating this process at least three times so that all substances we want to remove from the substrate are truly washed out.
- Sterilise the substrate, especially if the plants were affected by pests or diseases during the previous growing cycle. The simplest method of substrate sterilisation is to rinse it with boiling water. It is advisable to support the sterilisation of the substrate with hand hygiene; alternatively, you can use disposable latex or clean garden gloves.
- The result of these steps is clean soil without nutrients. Before it is used again, these need to be replenished by mixing in a strongly pre-fertilised substrate, or quality compost. Here it is necessary to emphasise the rule that old, revitalised substrate is mixed with a new soil mix or compost only after we spread it out in a dry and sufficiently airy place, where we use a sieve to remove all remnants of the root ball from the previous growing cycle.
- The process of revitalising spent coco substrates largely corresponds to the above steps relating to soil revitalisation.
- Plant and root residues must again be removed.
- Small roots that we are unable to remove manually are helped to break down by enzymatic products, which you can add to the watering during the first weeks of the upcoming growing cycle.
- Sterilisation is carried out with boiling water or a solution of hydrogen peroxide.
- If you use a peroxide solution, do not forget that it is a chemical that must be washed away with a further rinse!
- While revitalised soil is left to dry completely before being mixed with compost or a soil mix with nutrients, revitalised coco substrates can be mixed with fresh coco while still wet.
- By mixing revitalised coco substrate with soil sufficiently rich in nutrients, we obtain a mixture suitable for planting.
If you have any questions related to the possibilities offered to growers by the substrate revitalisation method, do not hesitate to contact us at the well-known address info@higarden.eu.
We also recommend these products:
- Canna Terra Professional Plus 50 l (from 479 CZK)
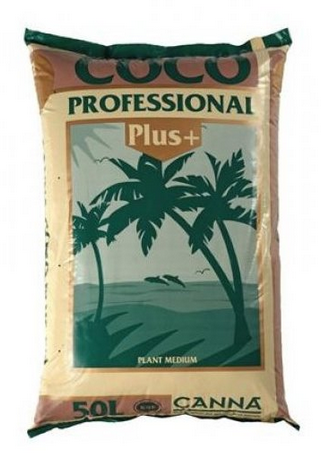
- Canna Coco Professional Plus 50 l (from 389 CZK)
- Canna Cannazym (from 179 CZK)
What to read next?