
Substrates, Page 2
List of articles
Growing in Coco Coir
Are you thinking of trying cultivation in coco? Today we will discuss a popular growing medium that stands out for its unusual versatility and has quickly become synonymous with healthy, strong plant roots. We will look at the properties and types of coco substrates. We will also add tips for their correct use in cultivation practice. Coco substrates are being preferred by more and more growers around the world. So what is their appeal?
An inert coco substrate has truly ideal properties for growing herbs, crops and flowers of almost every kind, and it is used most often in hydroponics. Coco fibres are able to retain a great deal of water while maintaining a high level of airiness. This creates perfect conditions for the development of the plant root system, as the fibre structure holds water with nutrients (nutrient solution), which the roots absorb efficiently and naturally work with...
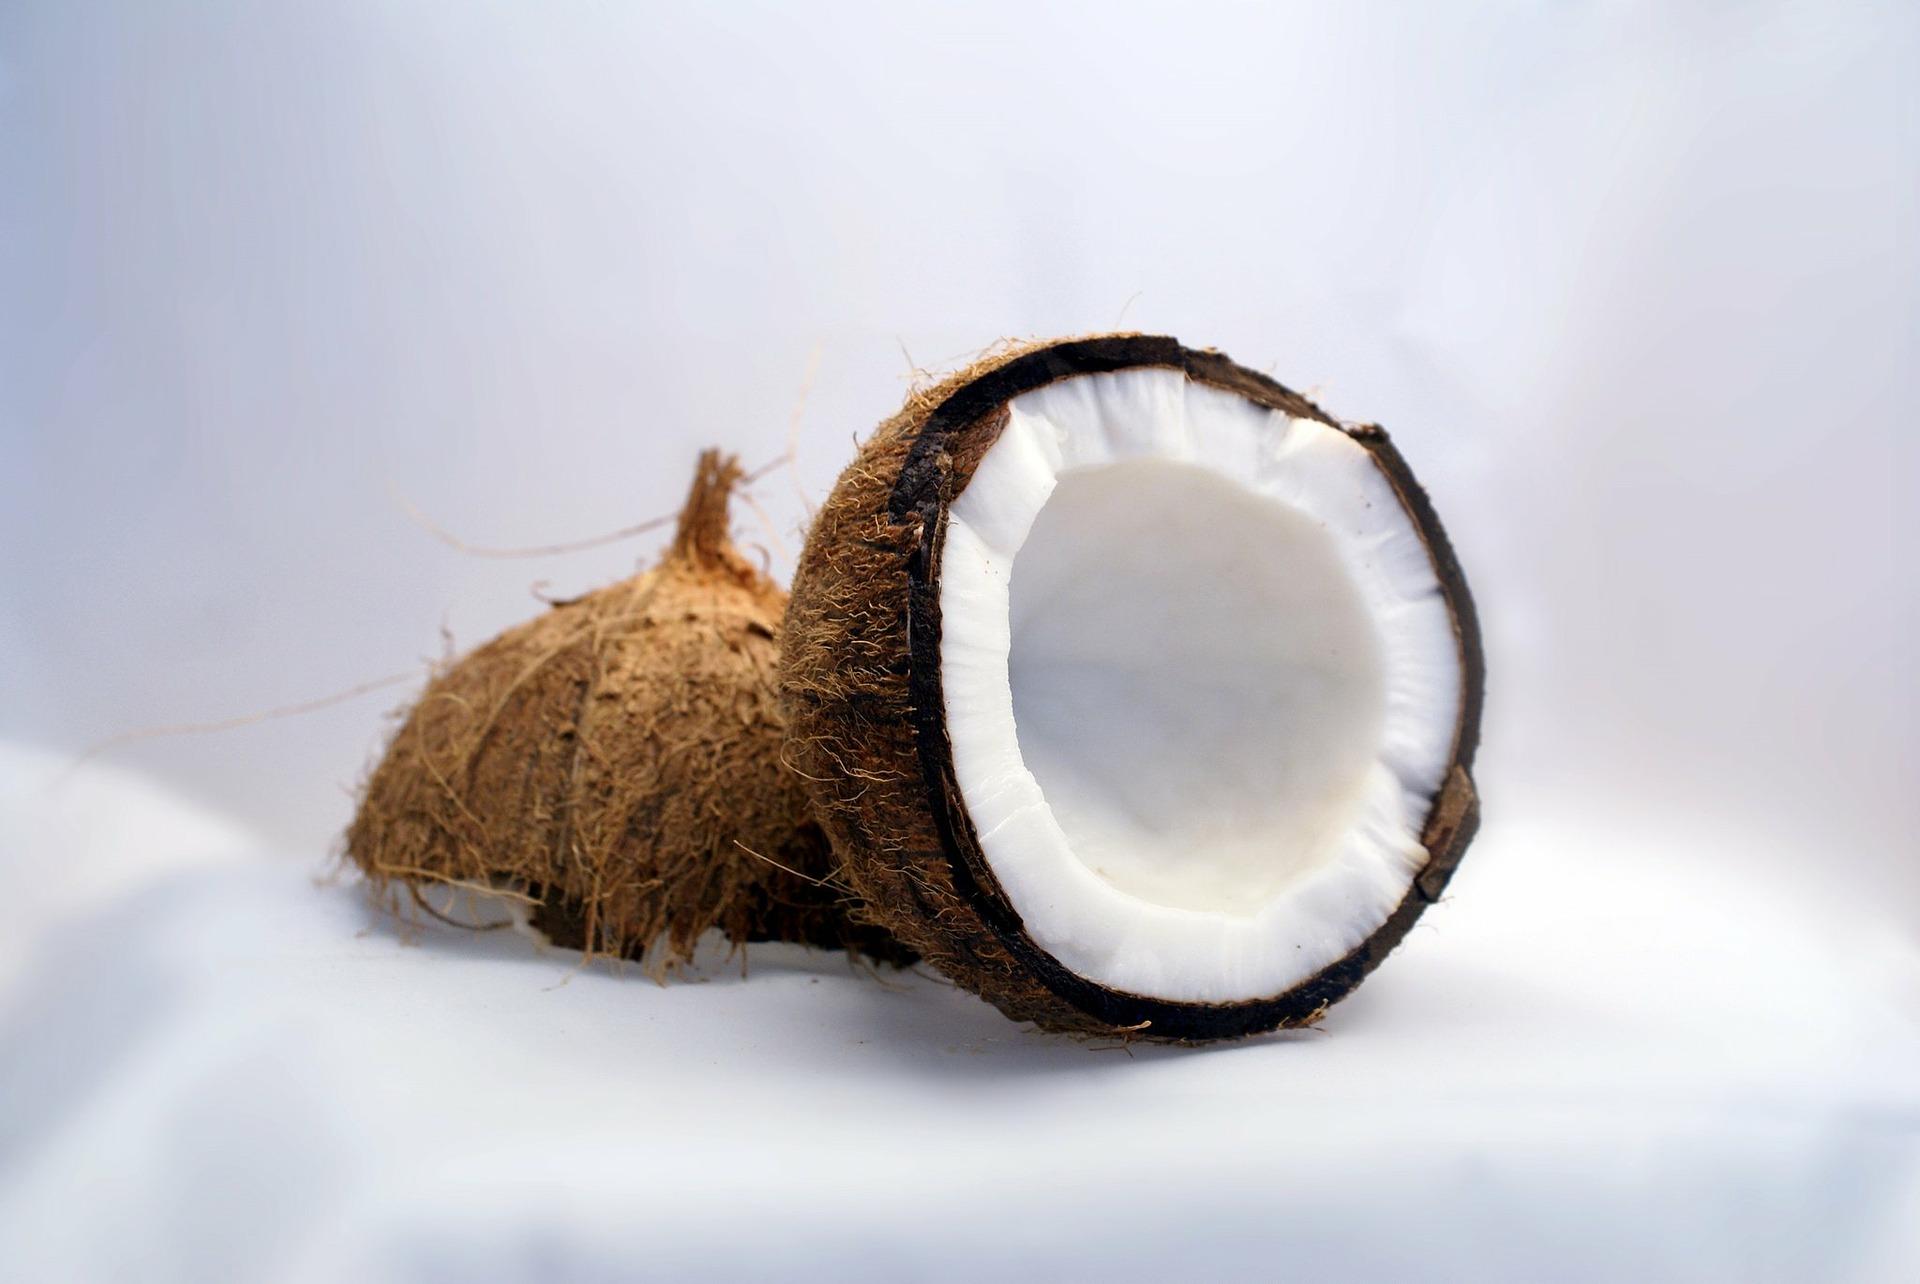
The birth of a universal medium
The production of coco substrates consists of repeated cleaning of crushed and sieved coco fibres from the fruits of palms grown, for example, in Sri Lanka. In addition to sterilising the fibres, the process of buffering is also common.
Parameters of coco substrates and their positive impact on the harvest
Coconuts contain lignins. These compounds are able to stimulate the development of beneficial bacteria, which results in increased resistance to various diseases and pests. The resistance of root systems to attack by pathogenic bacteria and moulds, as well as plant yields, is supported by the presence of the fungus Trichoderma, which is part of most substrates. Symbiotic fungi colonise the surface of the roots, thereby increasing the volume and capacity of the root system, as well as the ability to process absorbed nutrients. Coco substrates are also often supplemented with perlite for even greater aeration of the root zone. Coco mixes with expanded clay are also available on the market. If you are satisfied only with a 100% coco substrate of the highest quality, try our tip from the brand BioNova.
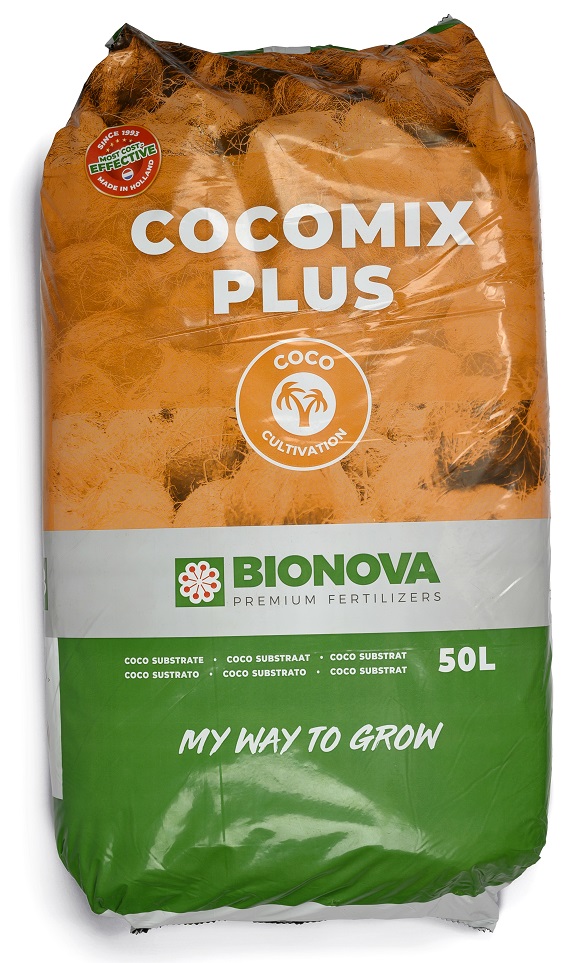 100% coco substrate of the highest quality
Once a plant has a rich root system, it can reliably make use of the nutrients it receives. This is easy to recognise in its above-ground parts, which are vital and have a visibly strong structure. The plant thrives, grows faster and produces beautiful flowers and juicy fruits.
The reasons why coco is an excellent growing medium for both beginners and experienced growers are probably already becoming clear to you. It is time for a brief summary of the main advantages:
- Coco supports the development of the root system for strong and healthy plants.
- Coco fibre is as environmentally friendly as possible; it breaks down easily in nature or compost.
- Coco opens up space for beneficial microorganisms, while relentlessly driving pathogenic ones away.
- Coco substrate is exceptionally airy and ensures enough oxygen in the root zone.
- Coco offers plants an ideal acidity level: pH 6.0 – 6.8.
- Coco fibres contain a significant proportion of natural cellulose, phosphorus and potassium.
- Coco offers a cleaner gardening experience, for example compared with ordinary soil.
- Coco fibre absorbs water easily, so it is suitable for manual watering, but it does not retain it as much as soil, which means it is also suitable for hydroponics. And because coco is inert, it is made for hydroponics.
Recycling
In addition to the generous list above, coco has one more practical advantage, namely the possibility of repeated use. You only need to make sure that before each further growing cycle it is cleared of visible remains of dead vegetation, such as roots or leaves. You can use this medium without any problem for up to three growing cycles!
Two packaging types
Coco substrate is sold in bags as standard (most often 50 l) or in the form of compressed coco. Dehydrated compressed coco bricks allow easy handling and are also suitable for long-term storage. The coco bricks are soaked before use. They then expand to the required size.
Practical tips for growing in coco
At the beginning, we recommend avoiding transplanting. First raise the seedlings using Jiffy and only plant them into coco once roots are visible. Then, especially if you are only just starting to grow in coco, it will definitely be easier for you to begin with manual watering. As with all processes that a beginner grower gradually comes into contact with, working with coco will also need to be learned calmly, and manual watering will give you the necessary peace of mind that you will not overwater the plants unnecessarily and that they will receive, in their growth, the amount of water they are able to use. Once the young plants have developed a sufficiently branched root system, you no longer need to worry, because cultivation in coco can, thanks to the properties described above, withstand more frequent and more intensive watering. After the first two weeks, the watering intensity can be gradually increased until the second week of the flowering phase. If the leaves start to turn yellow or even wilt, you are overdoing it with water. The sign of the correct watering intensity is strong, green leaves. Therefore, always increase water doses gradually and carefully observe the plants' reactions. During the 14 days before harvest, gradually reduce the water doses and, in the final stage, 2-3 days before harvest, let the plants send the remaining strength into the fruit or flowers. Coco should be flushed regularly.
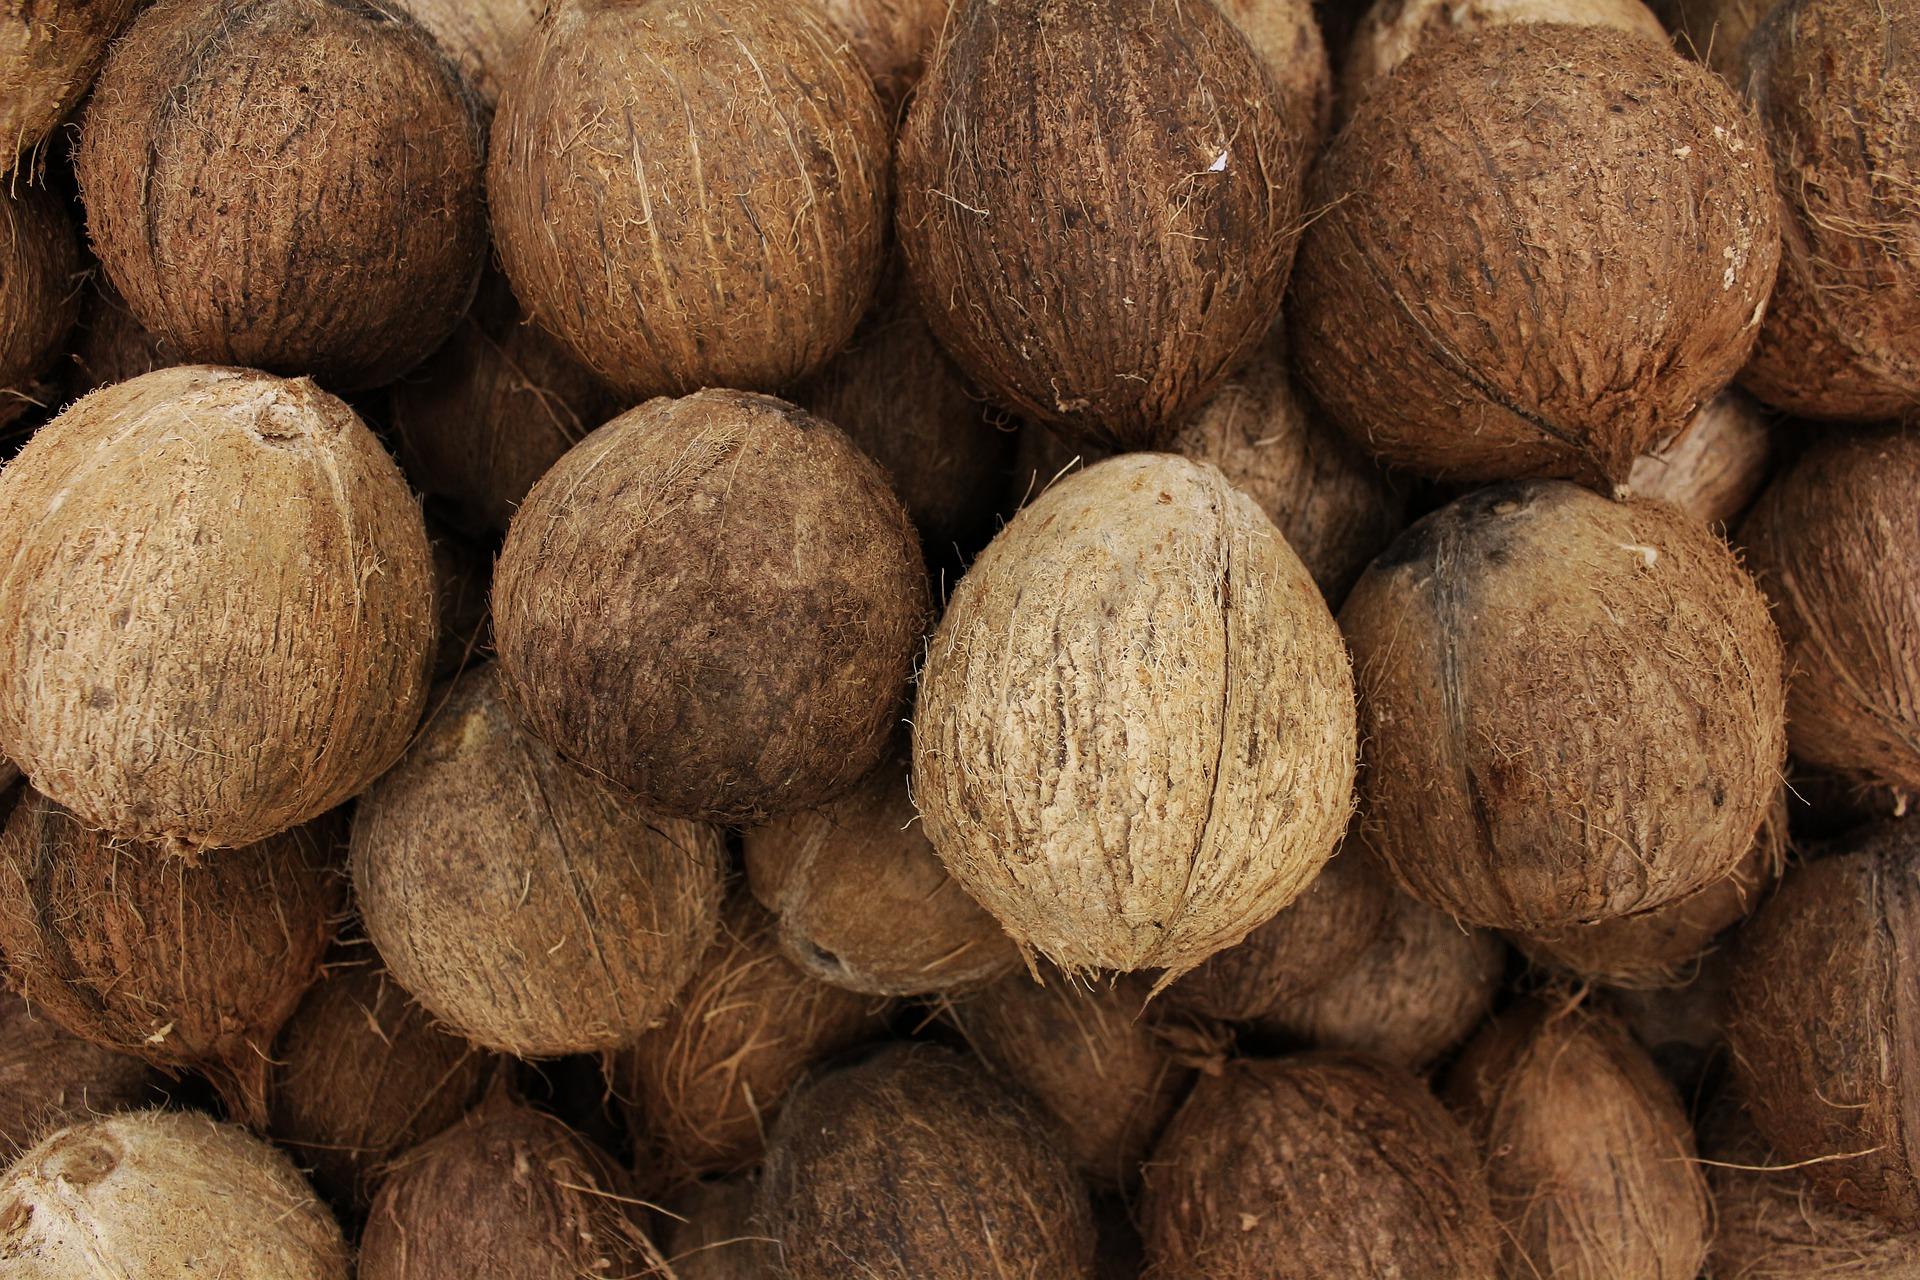
Final advice
Some coco substrates, such as Atami Coco, contain enough nutrients for the first week of the growing cycle. In the opposite case, and from the second week onwards, when growing in coco, always remember to use appropriate nutrition in the form of special fertilisers designed specifically for coco substrate. We will be happy to help you choose a suitable fertiliser, as well as the substrate itself; just call or write to us (info@higarden.eu).
- Compressed coco
- Fertilisers for coco
- BioNova Cocomix Plus (recommended)
Growing in Soil: Advantages and Disadvantages
For more advanced growers, this is an absolute classic and a basic staple, whether it is outdoor soil, soil in the form of a substrate based on peat, or a combination of both. Growing in soil is also completely ideal for beginners, because unlike inert growing media or soilless plant cultivation, it tolerates classic beginner mistakes to a certain extent.
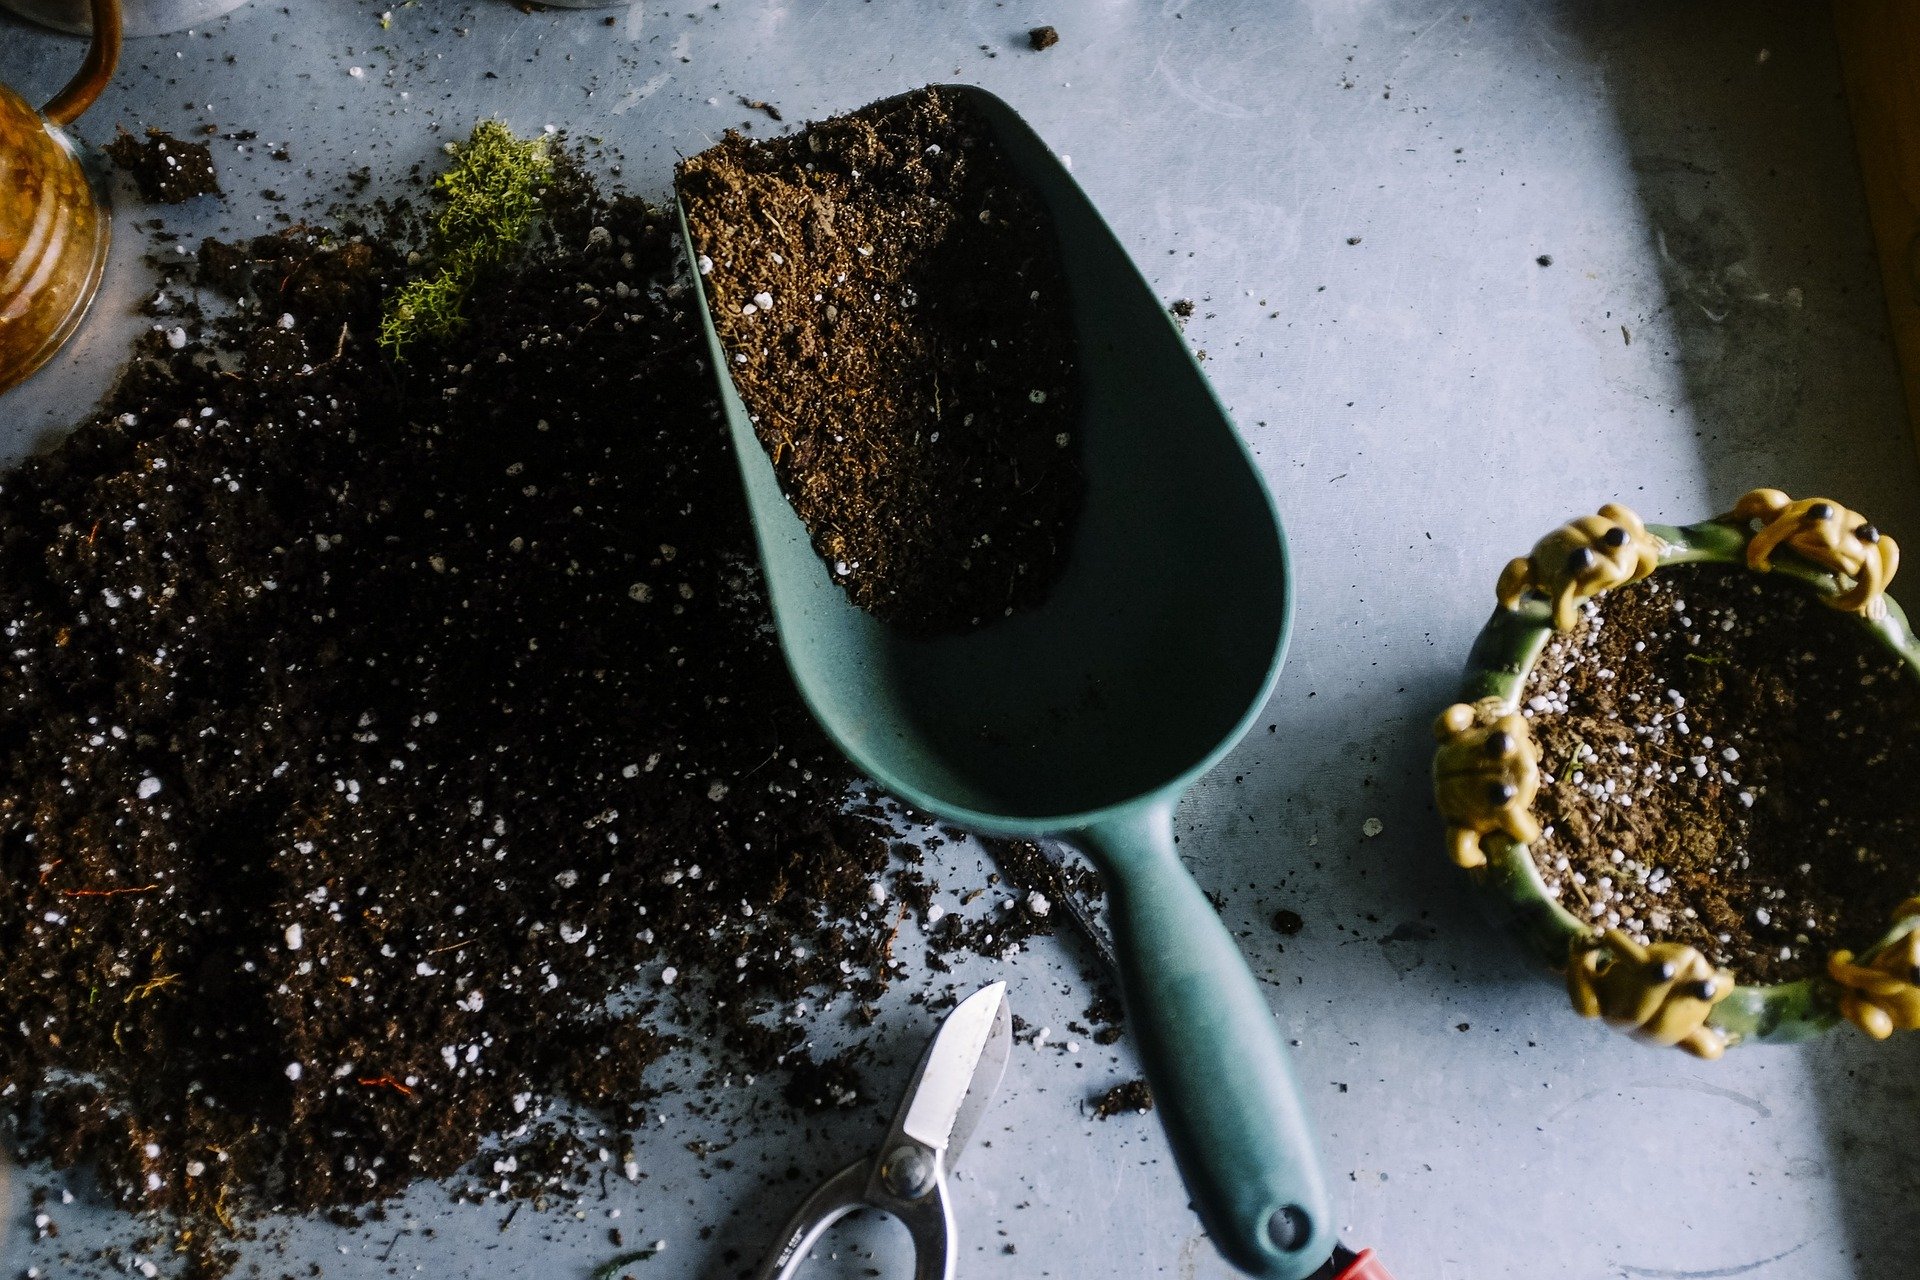
ADVANTAGES OF GROWING IN SOIL
- The main advantage lies in the overall lower demands, which beginners will especially appreciate, as we already indicated in the introduction to the article.
- Compared with hydroponics, which is very popular among growers who are not yet facing one of their first growing cycles, soil does not require constant measurement of precise values of pH, EC, etc.
- Another reason why growing plants in soil may be more advantageous for you is fluctuating temperature or humidity in the growing environment. You cannot allow that in hydroponics.
- Plants grown in soil also withstand drought better, as soil generally retains water well. You will appreciate this advantage when you suddenly have to leave for a few days and you are not yet equipped with an automatic irrigation system. Most plant species grown in soil can survive for quite a long time even without watering. (After all, beginning growers tend to overwater their plants rather than underwater them.) While in hydroponics we water several times a day, and therefore cannot even imagine it without hydroponic systems, soil only needs watering two or three times a week.
- Lower consumption of fertilisers is another significant benefit of growing in soil substrates. These are usually pre-fertilised, which means they already contain the nutrients needed for plant growth in the first weeks of the growing cycle. This saves beginning growers a lot of worries at the start. In hydroponics, plants must be supplied with nutrients in the exact amount from start to finish through a properly mixed nutrient solution, no ifs or buts.
- Outdoor soil also contains a significant amount of basic nutrients on its own, as these are formed, for example, by the decomposition of dead animals, plant parts or animal droppings.
- Soil is also capable, to a reasonable extent, of balancing the content of minerals and trace elements in the growing medium. Again, this is a great advantage at the beginning, when continuously maintaining the required amount of nutrients may be more demanding, because a beginning grower is also still learning many other procedures and keeping everything under control is not easy; on the contrary, one needs to mature into it so that growing is above all a pleasure.
- All you need to do is choose a quality substrate at a reasonable price, pots, and you can begin!
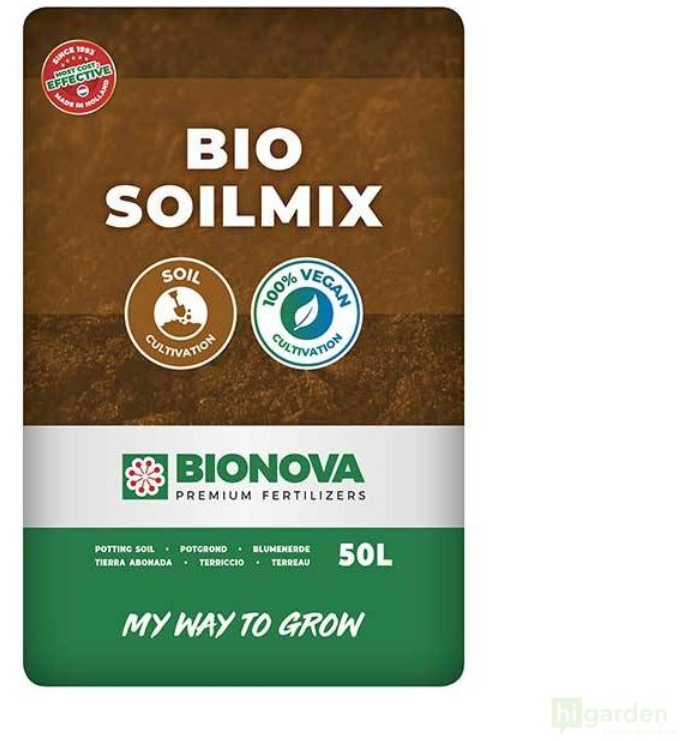
The best-selling soil from the BioNova brand wins hands down on price-to-quality ratio with us and with our customers.
- Soil is also not short of beneficial microorganisms, which support the plant in healthy development and break down organic compounds into more easily absorbable elements.
- If you grow plants in soil, you can use various organic soil improvers to achieve better results, such as BioNova VitaSol.
- An undeniable plus of growing in soil is the possibility of ecological produce in BIO quality using 100% natural fertilisers and additives, such as BioNova Veganics (see the link below to a separate article).
- In soil, there are no sudden chemical changes that a beginning grower would not be able to notice and respond to.
- Finally, it is necessary to highlight the overall lower financial demands.
DISADVANTAGES OF GROWING IN SOIL
- Less control over the process and the results. Growing in soil largely follows natural soil processes, which the grower influences only partly, unlike for example hydroponics or aeroponics, where you have absolute control over all growing processes. However, that also requires experience and resources, which again shifts us more towards the above list of advantages that growing in soil offers beginners.
- It is also difficult to estimate the actual and current state of the nutrients contained in the soil. What nutrients need to be supplemented to the plants at a given moment is often only discovered without experience when a specific deficiency appears directly on the plant. You can study the symptoms of important nutrient deficiencies in a separate article.
- Greater risk of plants being attacked by pests or diseases, and therefore also an increased need for prevention of these problems and higher costs for plant protection. Soil mix for indoor plant cultivation can be sterilised, but outdoor soil can no longer be sterilised.
- You can also use soil as a growing medium repeatedly for several growing cycles only if you take the trouble to revitalise it. Otherwise not.
We hope this article has helped you gain a clearer idea of the advantages and disadvantages of growing in soil or a soil substrate, and if any of your questions remain unanswered after reading this text, please do not hesitate to contact us at the well-known address info@higarden.eu.
We recommend these products:
- BioNova Bio Soilmix 50L (279 Kč) - the most popular soil substrate not only for beginners!
- Plagron Growmix with perlite 50l (2 990 Kč) - perfectly aerated soil of the highest quality enables rapid and healthy development of the root system thanks to the addition of perlite.
- BioNova VitaSol (from 189 Kč) - liquid organic soil improver.
What to read next?
- BioNova Veganics – fertilisers not only for vegans
- Indoor vs. Outdoor, or is it better to garden at home or outside?
- Symptoms of important nutrient deficiencies
UGro produces ecological coconut substrates and protects peat ecosystems
It has been more than 20 years since the UGro brand was founded in Barcelona, with a vision from the outset of producing high-quality coconut substrates with sustainability and the protection of peatlands in mind, which on our planet represent the largest natural carbon store. We have recently added new products from this traditional Spanish manufacturer to our range, led by coconut compressed cubes, ideal for outdoor and indoor plant cultivation, including hydroponics. As you will learn in this article, they are easy to use and you will quickly come to appreciate them as a natural growing medium.
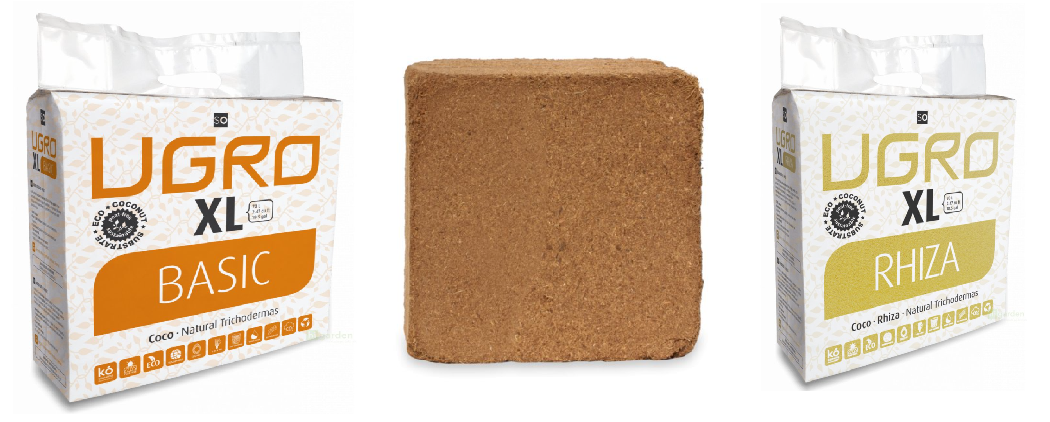
Compressed coconut cubes
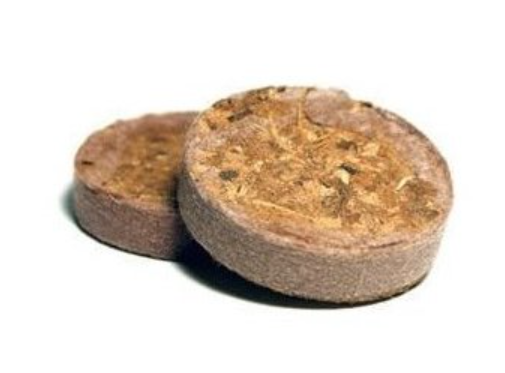
UGRo products, such as an organic coconut substrate for indoor and outdoor use, which you can see in the first image, are made from coconut husks in India. And so, in the field of coconut substrates, the comparison with a rare spice immediately suggests itself. You can rely on all the important parameters of UGRO substrates, which we will mention below, remaining the same from the moment they are packed until you open the packaging yourself. That is, after all, a major practical advantage of dehydrated coconut - long shelf life while preserving the original properties and easy handling or transport. We can also immediately add recycling, or the possibility of repeated use of the growing medium. If you would like more general information about the advantages of coconut substrates and their use not only for hydroponic plant cultivation, read the separate article: Growing in coconut.
However, both types of UGro coconut cubes have a slightly different composition from what we are used to with other coconut brquettes and mats. Whether you choose the UGro BASIC or UGro RHIZA version, the dehydrated and compressed block of premium coconut substrate made from high-quality coconut peat in the form of fine particles contains a low proportion of fibres.
You will also probably have noticed that the left-hand coconut cube for plant cultivation shows the BASIC version, while the packaging on the right looks very similar but bears the RHIZA label. So what is the difference? You will pay a few crowns extra for the second-mentioned version, but the reward will be a composition enriched with endomycorrhiza for better nutrient uptake.
While we are on the subject of which UGro coconut cube will suit you better, it naturally also depends on the scale on which you grow your plants, whether outdoors or in the comfort of your home. In this respect, UGro again offers professional and hobby growers two options:
- UGro Coco XL: a 5 kg block of dehydrated Indian coconut for plant cultivation turns into 70 litres of unique coconut substrate, ready for immediate use, after adding 18 litres of water.
- UGro Coco Small: the smaller and more affordable pack weighs 650 grams. If you add 3 litres of water, you will obtain 11 litres of natural coconut substrate.
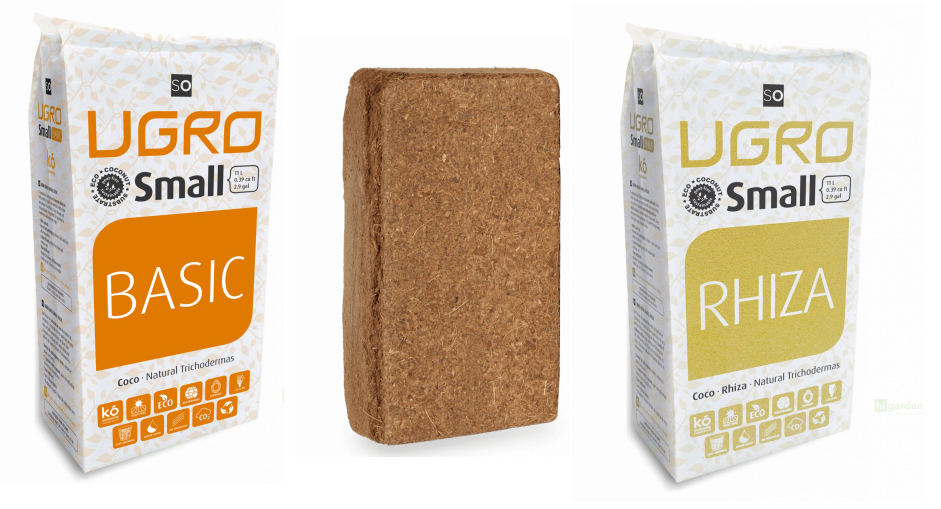
Advantages of the UGro Organics Coco compressed coconut cube
And now back to why you should definitely try these dehydrated compressed coconut substrates:
- Excellent water and air retention properties for a healthy and richly developed root system - the basis of a vital plant and a successful harvest. To be precise, we state a water retention capacity of 910%, both for the BASIC and RHIZA versions.
- Better uptake of nutrients dissolved in water. As a result, fertiliser and water use falls by up to half when using UGro coconut substrates!
- Optimal EC levels (< 0.6 ms/cm ) and pH (5.5 - 6.5).
- A universal natural growing medium for cultivation in a grow box and under open skies.
- Perfectly clean composition without soil pathogens, odours, roots or other impurities.
- Trichoderma and an improved structure for greater plant resistance to stress factors, pest attack, mould, root rot or other plant diseases. If you are not yet familiar with the beneficial effects of symbiotic fungi on the root system of plants, be sure not to forget to read the separate article as well: Trichoderma or the natural way to a rich and healthy harvest.
How do you use UGro compressed coconut substrates?
UGro Small and UGro XL are two different volumes of compressed and dehydrated coconut substrate. Preparing them is really easy in both cases. You only need a sufficiently large container for soaking the substrate and water.
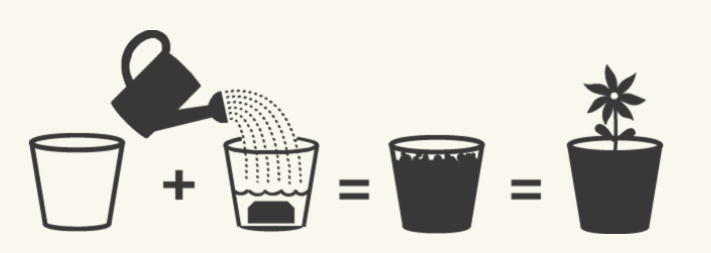
- First prepare a hydration container and fill it with 3 litres of clean water.
- Then remove UGro Small from the packaging and place the compressed coconut into the water.
- After 3 minutes at the latest, the coconut substrate is hydrated and therefore ready for use. You will know this because it will increase in volume (11 litres).
- The preparation procedure for UGro coconut substrate in the case of large coconut cubes is the same, except that you will need a larger container for water, because the substrate will gain its declared volume of 70 litres after soaking.
Try other products from the UGro brand as well
- UGro propagation media: Make use of biodegradable, organic material with a low fibre content for convenient and effective sowing of your favourite plants!

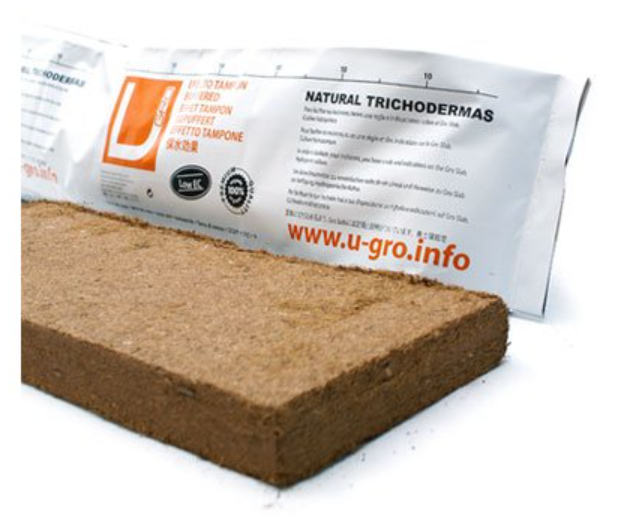
- UGro Slab - compressed mat: Are you growing perennials or long-term crops? Then try this compressed block with the hallmark of UGro quality, which has cleverly pressed openings in the base section to make watering easier while also ensuring the necessary drainage of the substrate. The packaging is adapted with UV stability in mind. And, as we are used to with UGro, it also contains beneficial Trichoderma for healthy “micro-life” and better nutrient management. The U Gro Slab bag weighs 1.6 kg. Just 4 litres of water are enough and you will immediately obtain 15 litres of top-quality substrate.
Ecological corner
Ecology and sustainability linked with the protection of peatlands is the Spanish manufacturer’s number one topic. By protecting peatlands on Earth, it reduces harmful emissions of large amounts of carbon dioxide, which are equivalent to one tenth of global greenhouse gas emissions, the loss of biological diversity (biodiversity) and food resources for the livelihoods of communities, which applies not only in India.

If eco-friendly growing media for home and outdoor plant cultivation from the UGro brand have interested you even half as much as they have us, please ask us anything you would like to know. We will be happy to advise you at the well-known e-mail address info@higarden.eu.
We also recommend these products:
- Shogun Samurai Coco A+B
- BioNova AutoFlower SuperMix
- Integra Boost 62% humidity, Terpene Essentials Limonene
We also recommend these products:
- How do you grow in a greenhouse?
- 100W full-spectrum supplementary Lumatek BAR 2.9 light
- ONA Block: solid odour absorber
What Is Vermiculite and How Do You Use It?
On the market for products for indoor and outdoor gardening, a wide range of substrate enhancers is available, and in such quantities that it is certainly worth introducing a proven helper for easier orientation, which growers of all categories commonly use as an additive to substrates.
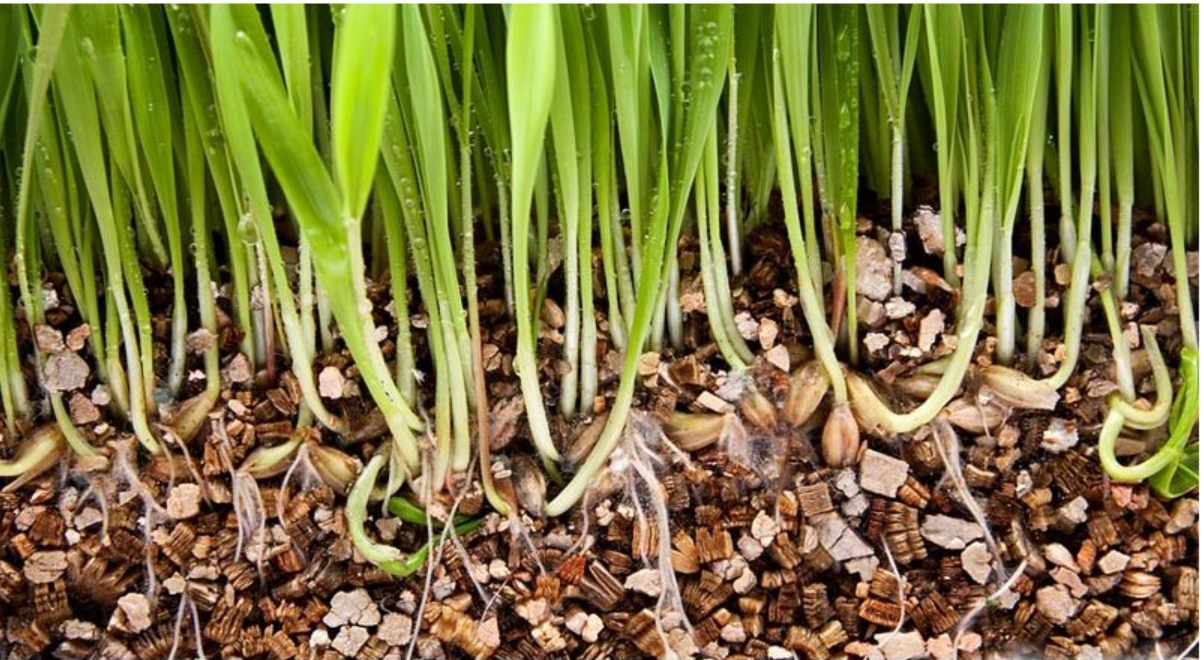
- First, let us answer the basic question from the title of this article: under the term vermiculite there is a natural mineral of mineral character, in other words a rock that is mined all over the world.
- The traditional Czech product from Grena is made of vermiculite originating from South Africa.
- Vermiculite has no odour. It neither smells nor stinks. It is a pure mineral, intended for universal use and effective enrichment of soil, just as it is common to use other additives such as perlite, which it also fully replaces.
- The basic property of vermiculite is its considerable absorption of water, which it then gradually releases to plant roots. After all, it is for this property that this sterile mineral has become popular with gardeners, especially on hot summer days.
- Vermiculite not only retains water excellently, but also gradually releases nutrients that we supply to the soil through fertilisers.
- Once you add vermiculite to the soil, you will ensure better management of fertilisers and lower water costs!
- Another advantage of vermiculite is its high resistance to mould.
- Another property in which vermiculite excels is its ability to multiply its volume depending on the temperature. In other words, it expands when heated. This property is used in the production process, when vermiculite undergoes a process of exfoliation, and thus becomes sterile.
- Unlike similar mineral substances, you will not find any asbestos in vermiculite.
- This rock is very popular in the world of gardening, as in practice it replaces perlite, sand and peat at the same time. Among other things, it enriches plants with magnesium, calcium and a whole range of other trace elements.
- We already mentioned above that vermiculite is especially useful in hot summer months. During this period, it is not only drought and heat that threaten the root system of plants, but we must also not forget the intensity of sunlight. The same applies when growing indoor, for example in a grow tent, when the growing space is filled with radiation generated by a source of artificial lighting with high intensity. Thanks to the fact that vermiculite acts as a natural insulator, adding it to the soil also helps prevent scorching of the plants, or rather their roots, which it helps protect.
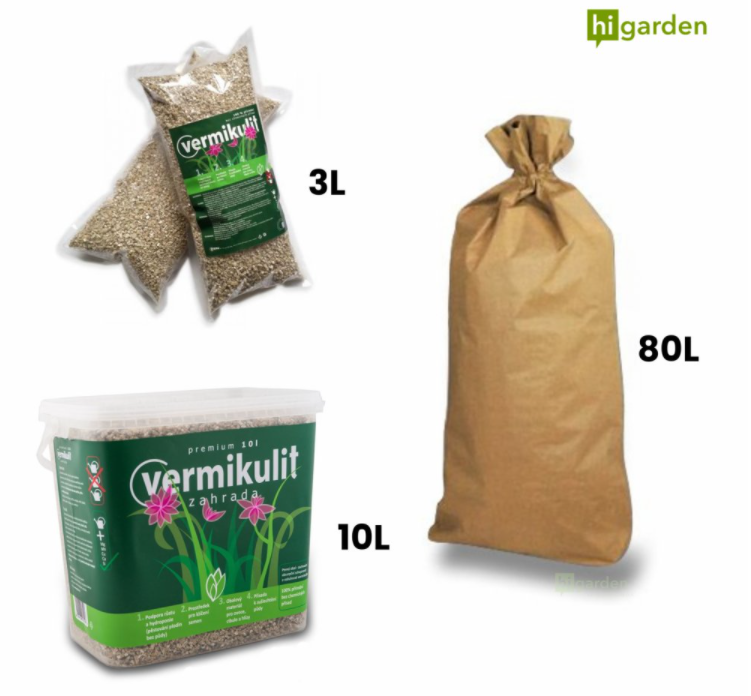
Practical uses of vermiculite:
- Additive for substrates for houseplants. If you grow houseplants, mix vermiculite in a ratio of 30% vermiculite and 70% substrate.
- Seed germination. During germination, vermiculite can be used on its own.
- Cuttings. Vermiculite can be used on its own or as an additive to a substrate intended for cuttings in a 1:1 ratio.
- Hydroponics. Vermiculite can also be used in hydroponics without any problem on its own. Alternatively, it is possible to mix 75% vermiculite and 25% sand or small stones.
- In greenhouses, window boxes or flower beds it is common to mix vermiculite into the appropriate type of soil in a 1:1 ratio.
- Fruit storage. Because vermiculite is natural and sterile, you can apply a 2-5 cm layer of vermiculite under freshly harvested fruit.
- Based on particle size, vermiculite is generally divided into 5 classes. For its use in horticulture, as vermiculite also has its permanent place in construction, the most widespread class is MEDIUM.
- Finally, it certainly does no harm to summarise the key advantages of mixing vermiculite into the substrate:
- Protection of the root system against scorching and diseases
- Lower costs for water and fertilisers
- No chemical additives
- Enrichment of the soil with important substances (Mg, Ca, trace elements)
If you have any questions about the use of vermiculite, or if you need advice on choosing a suitable substrate, our specialists are at your disposal at the well-known address info@higarden.eu.
We also recommend these products:
- Horticultural vermiculite from the Czech company Grena (from 99 Kč)
- BioNova Bio Soilmix 50L (from 279 Kč)
- Aerated HERCULES pots (from 49 Kč)
What to read next?
How to Improve Soil Properties?
How fertile your soil will be depends first and foremost on whether you are cultivating plants in an indoor or outdoor environment. In a grow tent, the choice of growing medium is crucial, whether it is an inert medium or one of the peat mixes. In a garden bed outdoors, you will again be interested in how to significantly improve the natural properties of the soil there for higher yields and truly uncontrollable joy from every harvest. And that is exactly what today’s article is for!
In the first case, you have a whole range of substrates at your disposal, which are slightly or even more pre-fertilised, aerated and generally fine-tuned on the basis of years of experience from manufacturers and growers from all over the world so that they provide your plants in the grow box with the best possible conditions for development. From both our point of view and according to the assessment of most growers, the best price-performance ratio is offered by the best-selling soil mix from the Dutch brand BioNova.
In the second case, if you are growing plants outdoors, the following tips for increasing soil fertility will certainly come in handy. Here they are!
Right from the start, we must not forget the location, which of course largely determines the quality of outdoor soil. However, even if the soil across the whole plot does not seem particularly fertile, do not despair. It is nothing that cannot be fine-tuned again with the help of quality soil, usually made up of several types of top-quality peat.
TIP: Try the unique soil improver VitaSol!
What needs to be monitored to make the soil more fertile?
- Nutrient content - this is what fertilisers are for. If you are growing outdoors, choose organic ones. You will be gentle on the planet and enjoy natural herbs, fruit and vegetables.
- Humus and organic matter content – an important indicator for water retention in the soil and its sufficient oxygenation for the healthy development of the plant root system. You can ensure a sufficient content of these soil components (humus should make up at least 2-4% of the total soil mass) with suitable products or, for example, by adding quality compost.
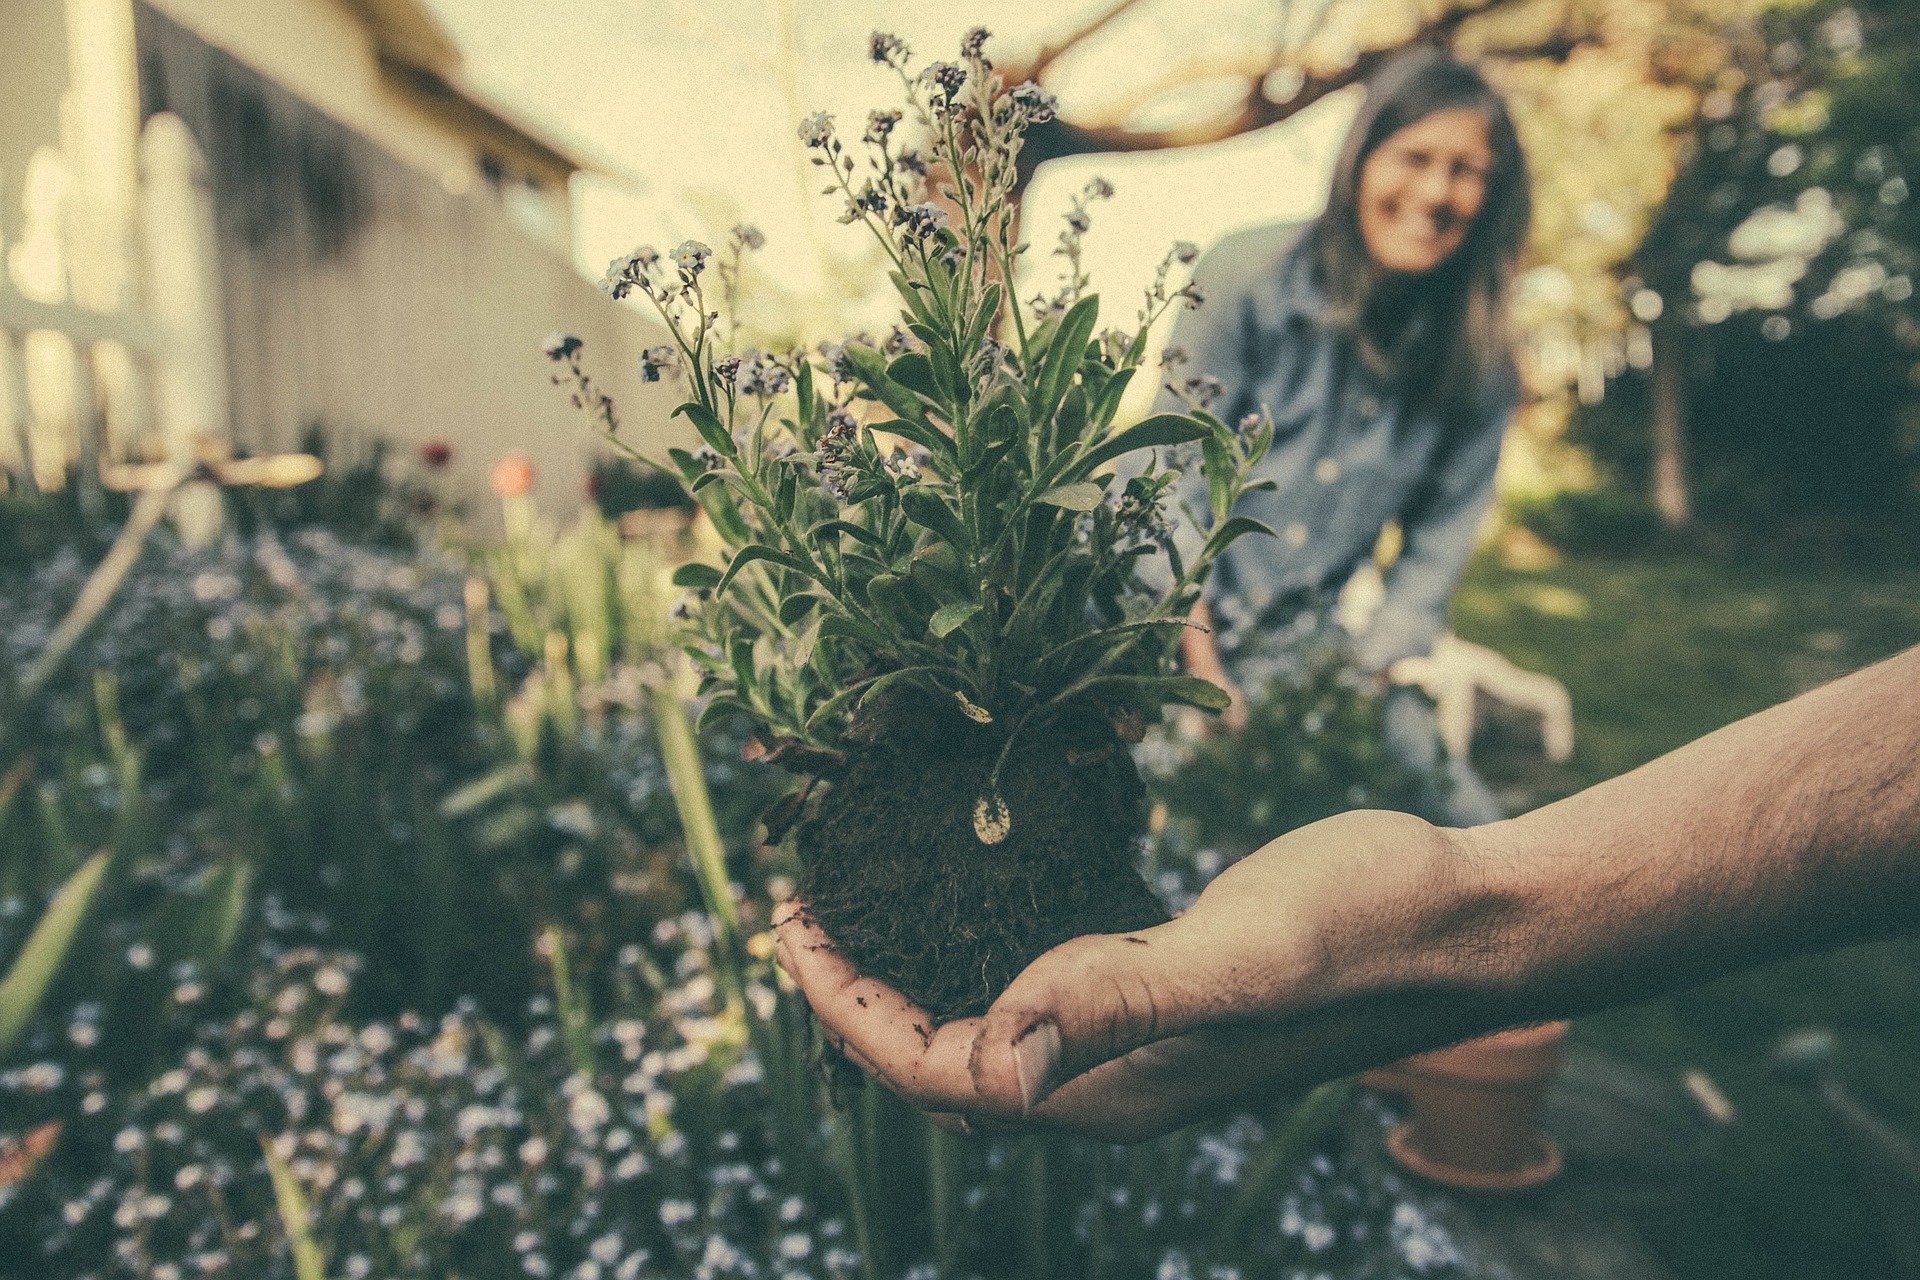
If you are patient and devote some time to the soil before planting the first plants in it, it will reward you for this “preparation time” with higher fertility. In the long term, you will ensure healthy and fertile soil by avoiding the use of chemical preparations and instead opting for purely natural nutrition and plant protection. As soon as it rains, do not wait for it to dry and loosen the soil thoroughly. Drain water away from waterlogged areas. You can also measure pH of your soil. If you find that it is too acidic, we recommend solving this by regular liming. The final tip for more fertile soil is to rotate the types of plants you grow in the garden or on the field.
We hope that our tips for more fertile soil will be useful to you, and if you would like to ask us anything, please do not hesitate to contact us at any time. Write to the well-known address info@higarden.eu. We look forward to your questions!
- Fertilisers for soil
- Soil mixes with nutrients
- Perlite for aerating soil
How to Choose a Flower Pot?
Are practical high-tech flower pots worth it, or will “ordinary” plastic or ceramic ones be enough for you? It depends on the individual. In any case, today we will compare both sides of the coin.
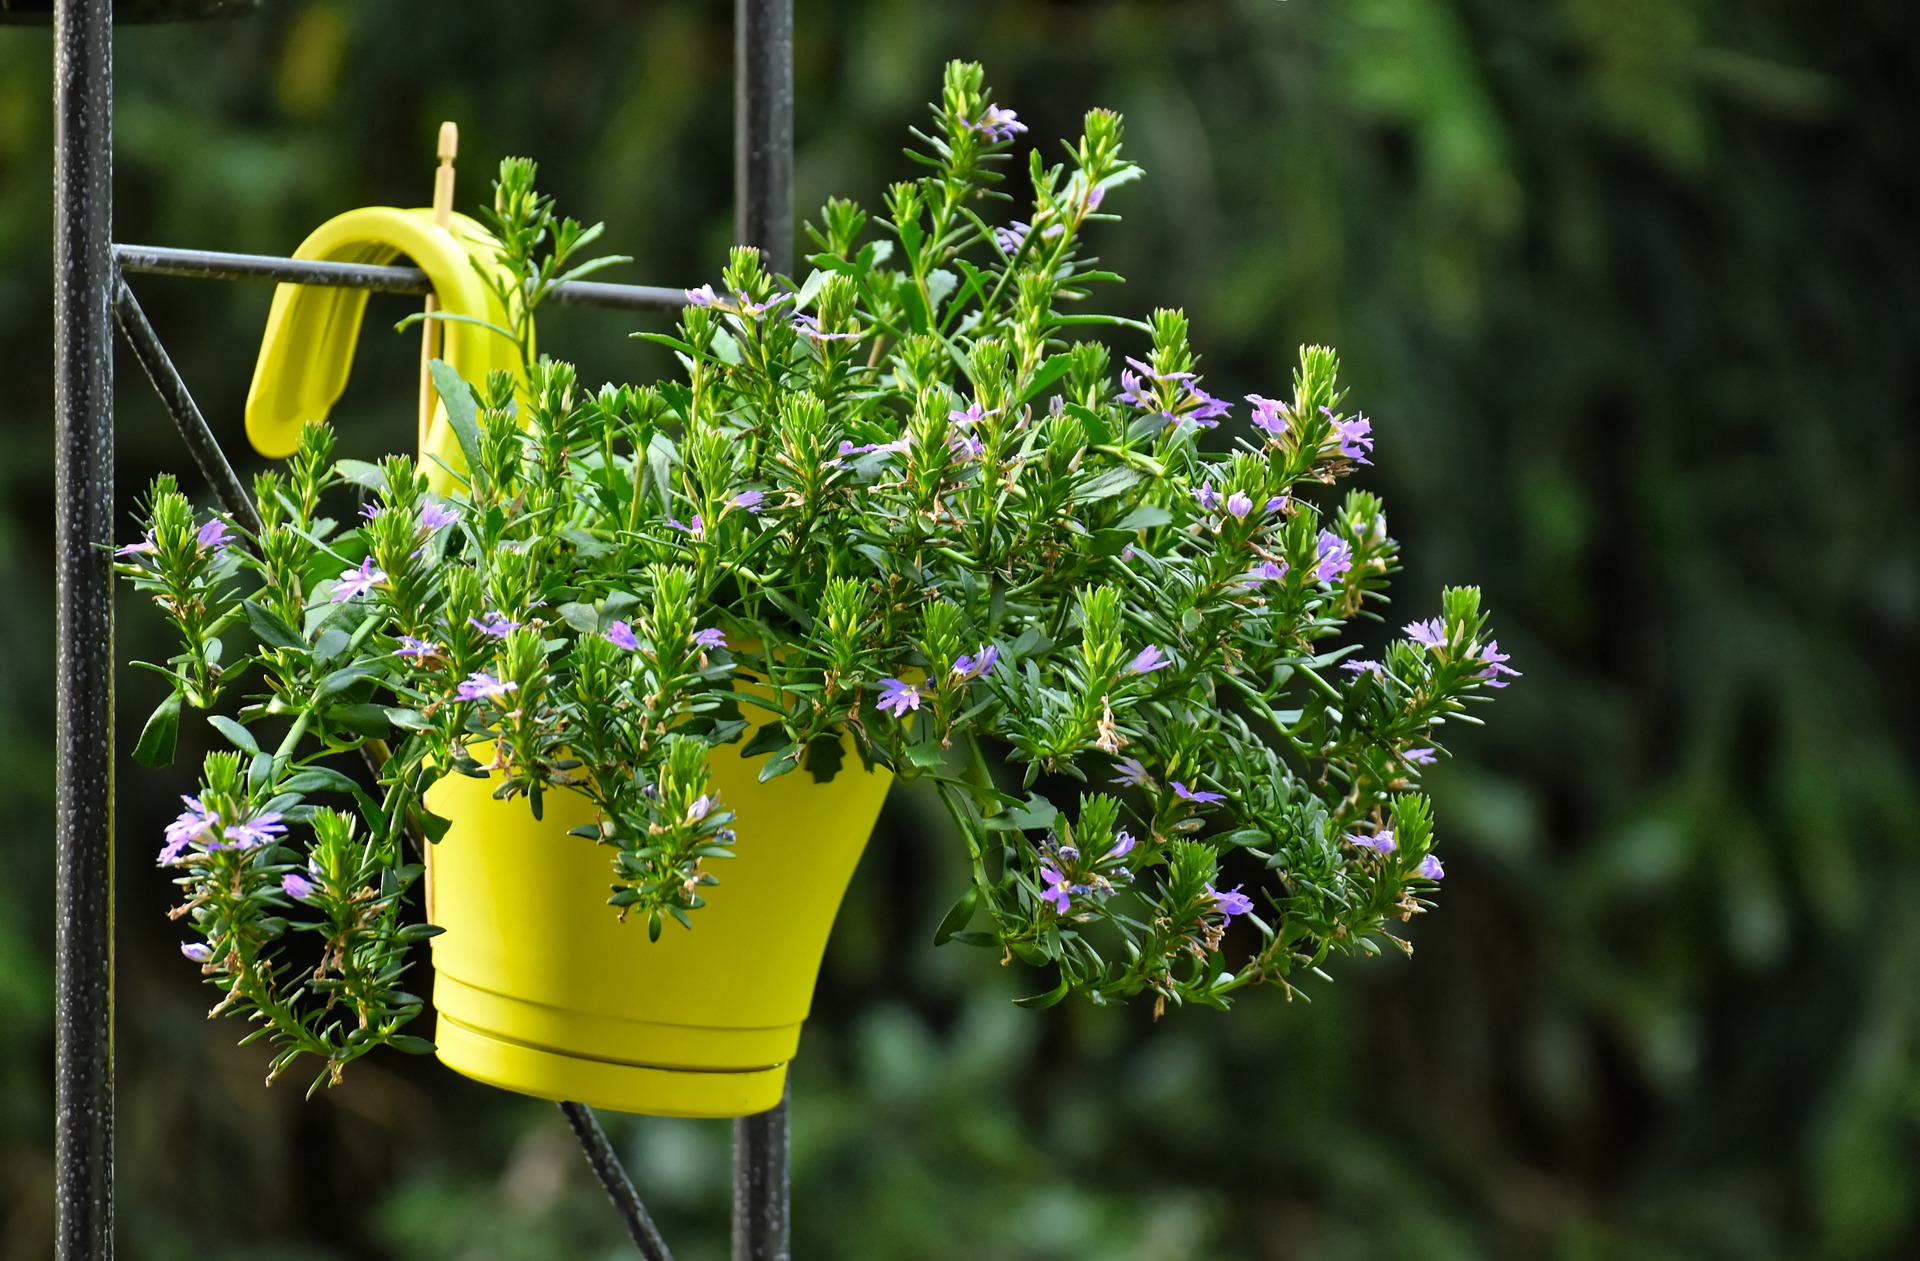
We certainly do not want to claim that with the arrival of modern pieces and innovations in the range of flower pots, there is no longer any point in buying the old good classic, such as a plastic pot, of which there is also an endless number of variants for all kinds of plants, and you can get them for really very little money.
On the other hand, why not pay a few pounds more, but make gardening significantly easier and at the same time greatly support plants in their development, right? This is where the benefits of modern pieces begin. Let us take a closer look at what makes modern flower pots stand out!
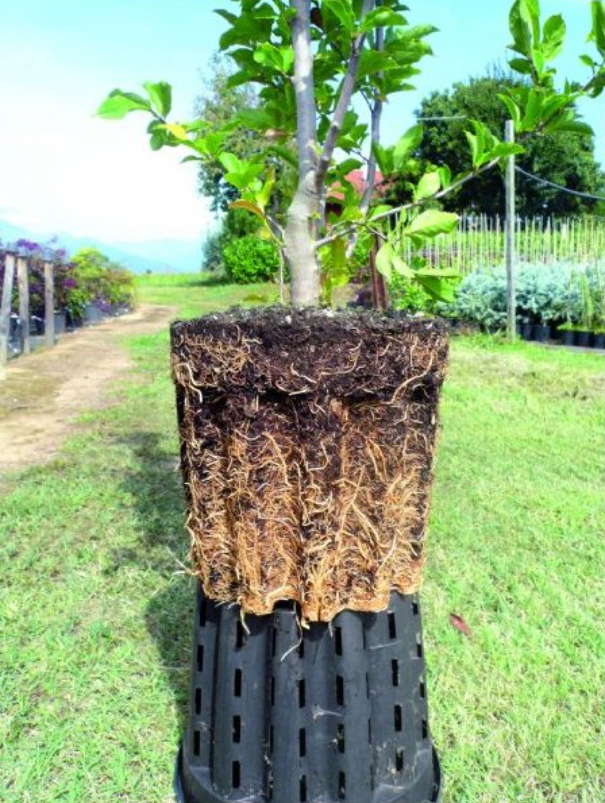
The fact that a pot is plastic does not mean that it cannot be effectively “upgraded” so that your little plants have a root system as strong as the mythical HERCULES. Specifically perforated pots have drainage holes placed all around the circumference, as well as an uneven base with protrusions on the inner side. This combination ensures both the drainage of excess water and the natural expansion of the root mass, so that the roots do not grow out of the pot. As you probably already suspect, HERCULES pots give you the chance to forget once and for all about container degradation! After all, growers who are used to factoring in the degradation of ordinary pots still buy them in larger quantities straight away. The results of cultivation using a Hercules pot are well illustrated by the photo below.
Another representative of elite plastic pots is the Air Pot range. Their construction is the result of 15 years of development, which is why our range already includes the sixth generation of striking pots designed for perfect aeration of the substrate, water drainage and nutrient uptake. AirPot pots benefit from a container-based design that prevents the roots from growing in an undesirable way, namely into a spiral.
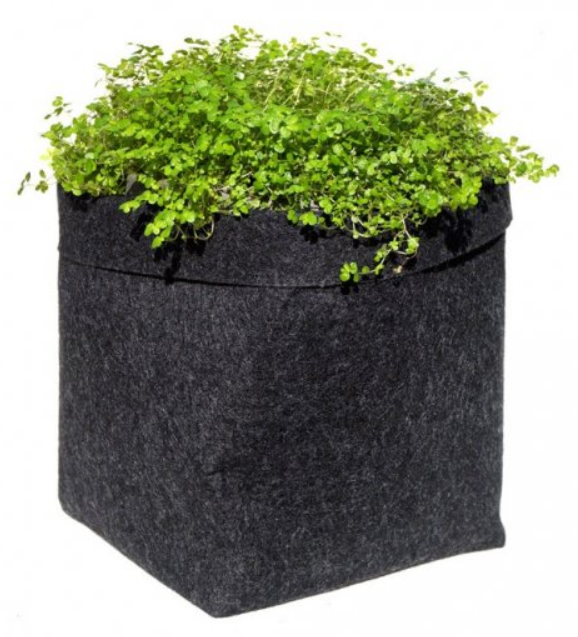
We also have a separate category here that has been trendy recently, namely fabric pots. Progress in the development of gardening supplies has also left its mark on this category. Today, you can easily stack dozens of pots on top of each other, put the folded ones into a bag and off you go, perhaps to the cottage. A fabric pot is an ecological alternative thanks to the recyclable materials it is made from, and it is used both in the home and for outdoor growing in the garden. Among growers, pots made of durable fabric are becoming increasingly popular also because of the possibility that conventional pots definitely do not give you, whether they degrade or not. Fabric pots can simply be washed in the washing machine and used again as good as new!
Since we are already talking about technologically advanced pots, we must not forget sophisticated self-watering pots. These will be appreciated by anyone who finds regular watering difficult or is simply often away.
Now that you know what options you have, let us summarise the answer to the question of which pot will be the right one for you.
The growing container should be the right size. So if you plan to grow, for example, a autoflowering plant in one pot, whether it will be tall or, on the contrary, shorter but spreading widely, remember that you can never go wrong with a larger volume than a smaller one. Allow for a reserve; it pays off.
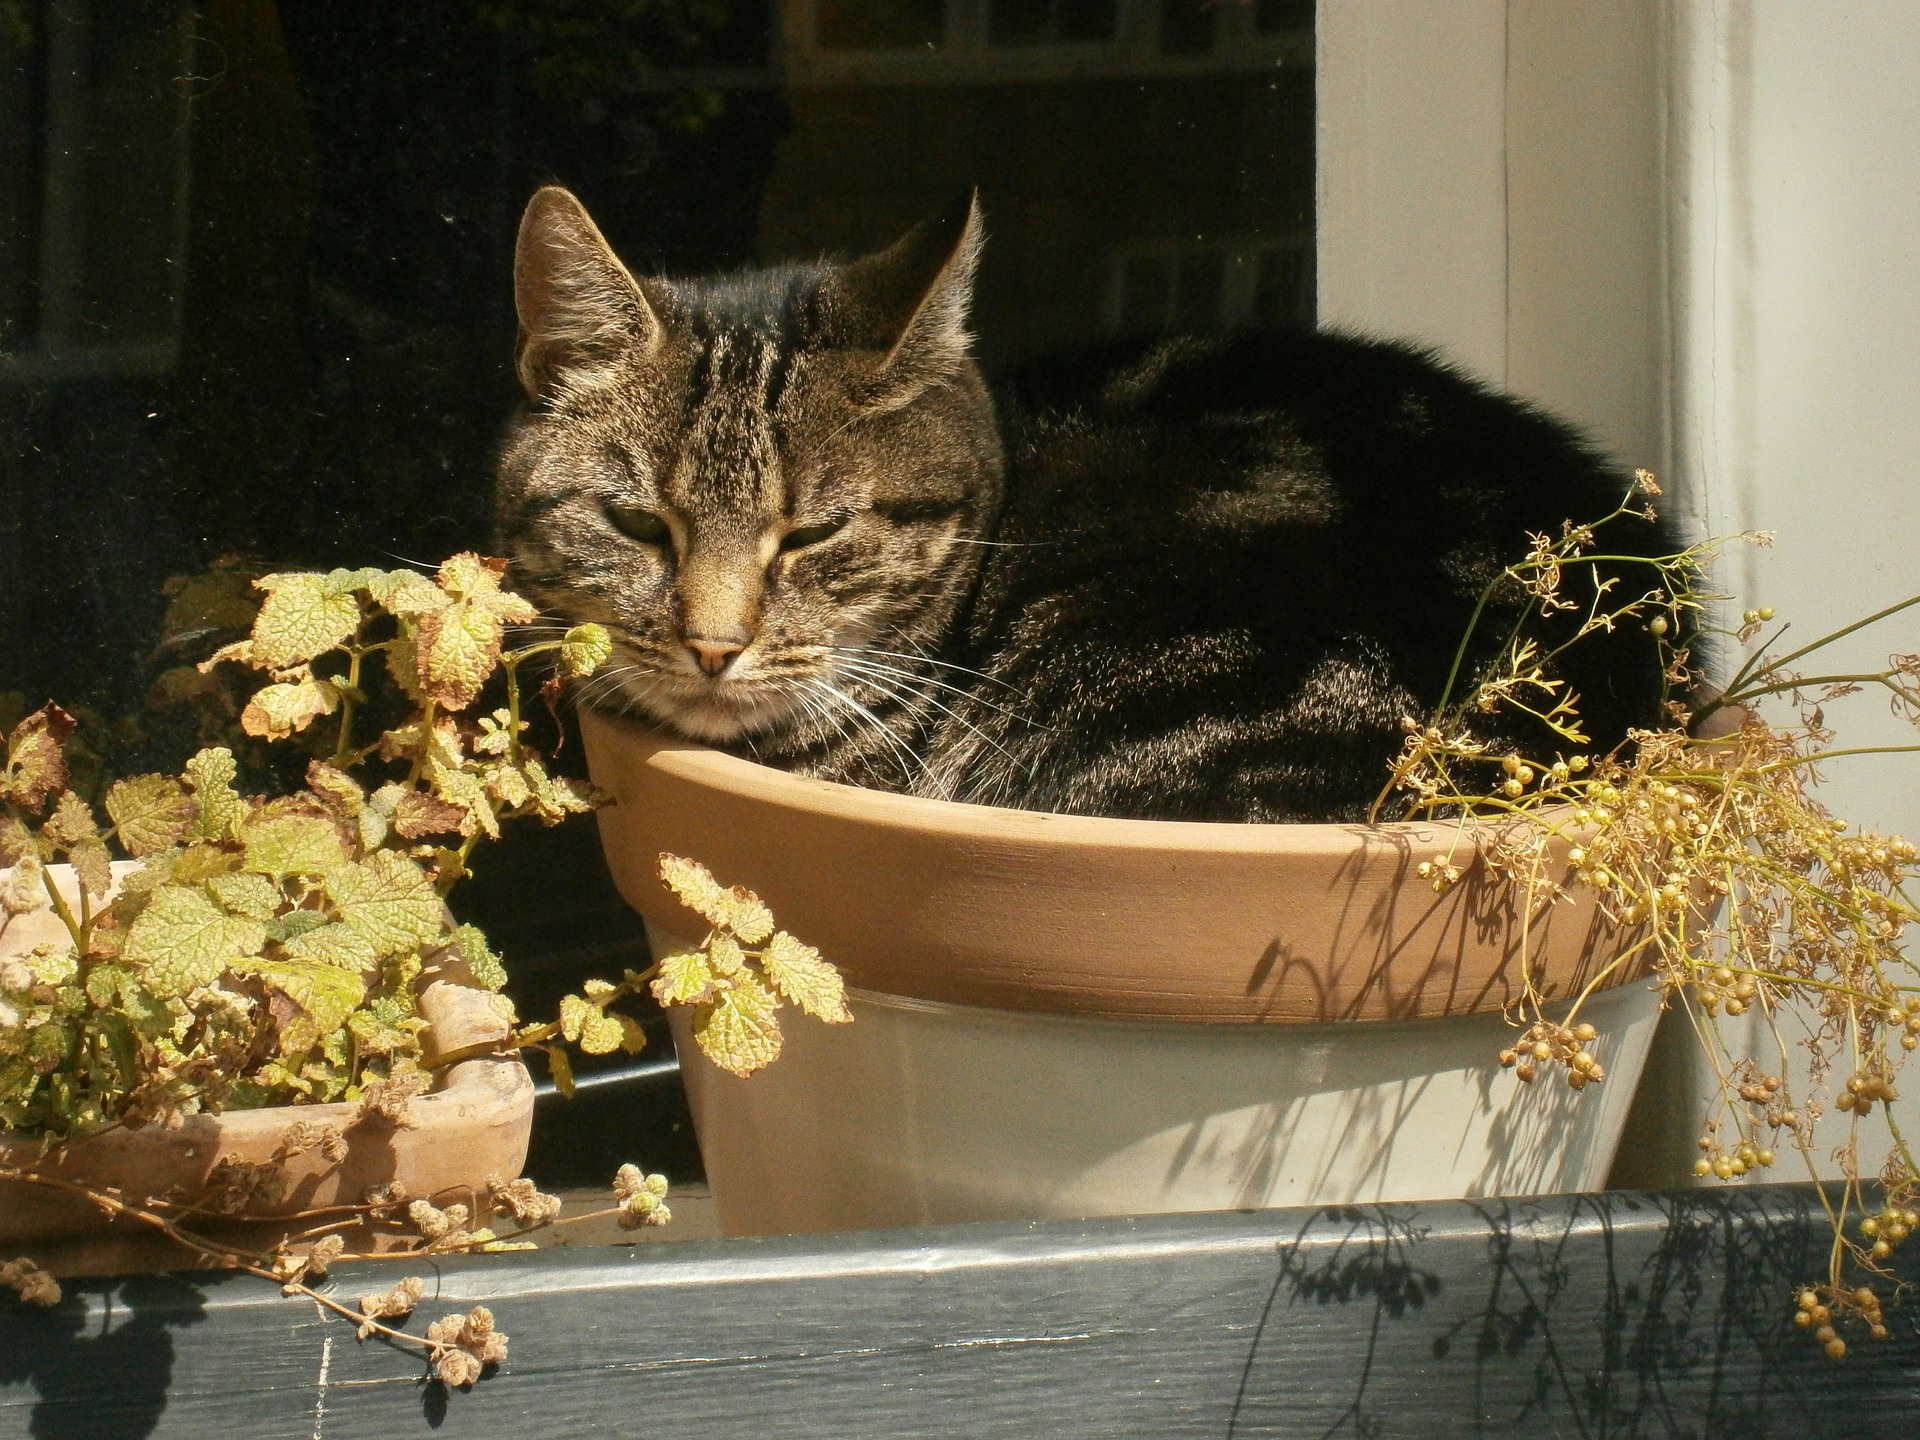
Then there is the age-old dilemma: square pot, or round? Square pots make better use of space with their shape and are ideal for cultivating a larger number of smaller plants in one place. Growing containers with a round base can clearly be recommended for large plants, and most of our customers buy them for this purpose as well. But as can be seen from the picture, the round shape suits not only larger plants...
Choosing pots is not as simple a matter as it may seem at first glance, and especially if you are just starting to grow, do not hesitate to consult us when buying them, so that you can be sure you have chosen the best option for your plans, whether in a grow box, on the balcony or in the garden. Write to us at info@higarden.eu.
- HERCULES
- Air Pot
- Fabric pots
Growing in Fabric Pots
Plastic and clay flower pots are a long-standing staple that most growers reach for. However, plastic ones are not exactly environmentally friendly, and the substrate in them can overheat in the sun. In recent times, textile pots have therefore rightly been gaining their place on the market. How should they be used, and what are their advantages?
 Advantages of growing in textile
In a textile pot, the plant develops a rich root system. It can therefore make efficient use of water and supplied nutrients, which has a major effect on its vitality, size and final yield. If a root reaches the outer wall of the pot, or rather the air, it does not curl its growth downwards, as is the case in ordinary pots, where a dense round mat of roots then forms. Instead, it responds by branching fine root hairs, thereby creating new root tips throughout the entire volume of the pot, through which nutrients are absorbed into the plant. The root system thus makes better use of the pot’s full capacity, and the plant does not need to be repotted as often.
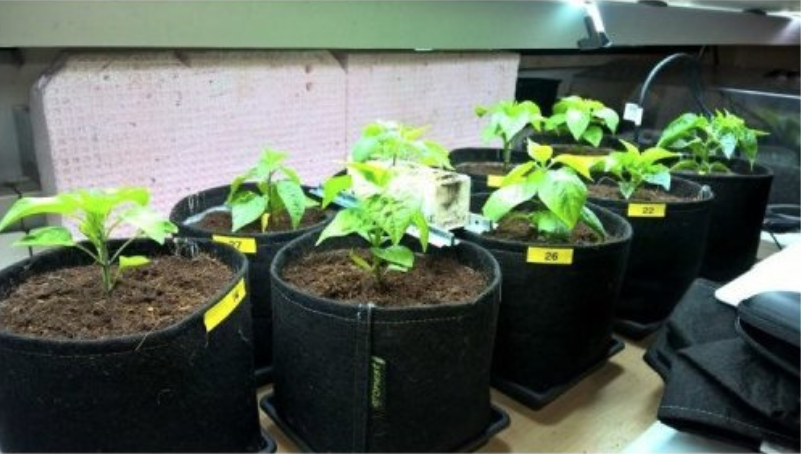
Textile pots are also excellent for growing seasonal crops, because they can be sterilised and reused. Another undeniable advantage is their compact storage, whether they are 4-litre or 50-litre variants. They can be used for both indoor and outdoor growing on a terrace, balcony or in the garden. They have excellent thermoregulatory properties, so the substrate does not overheat in the sun, as it does in plastic pots.
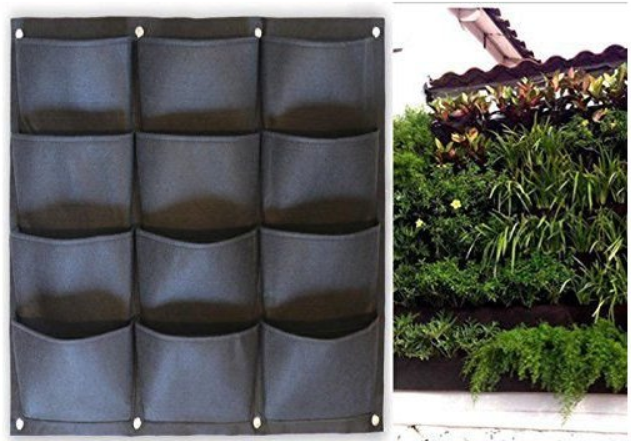
Another variant of the standard square or round textile pot is vertical pots with separate pockets. This is an excellent option for growers who are short of space, whether at home or in the garden.
Plant care - differences in watering
When using textile pots for growing plants, there are two differences to keep in mind. The root system is densely spread throughout the entire volume of the pot, so we must water the entire surface of the substrate, not just the part near the stem, where the water more or less runs straight down to the bottom.
As the textile pot is permeable and “breathes”, plants usually require more frequent watering than in plastic pots. On the other hand, there is a lower risk of overwatering, as the branched roots use more water and any excess remains in the saucer, which we can then pour away if necessary.
Although this is a relatively recent innovation, you do not need to worry about a high initial investment with textile pots; the smallest ones are already sold from 40 Kč.
Guide to Composting
Today we are focusing on a topic that has become a major trend in the world of gardening recently, and we believe it will interest you. Today we will talk about how to easily set up and use compost.
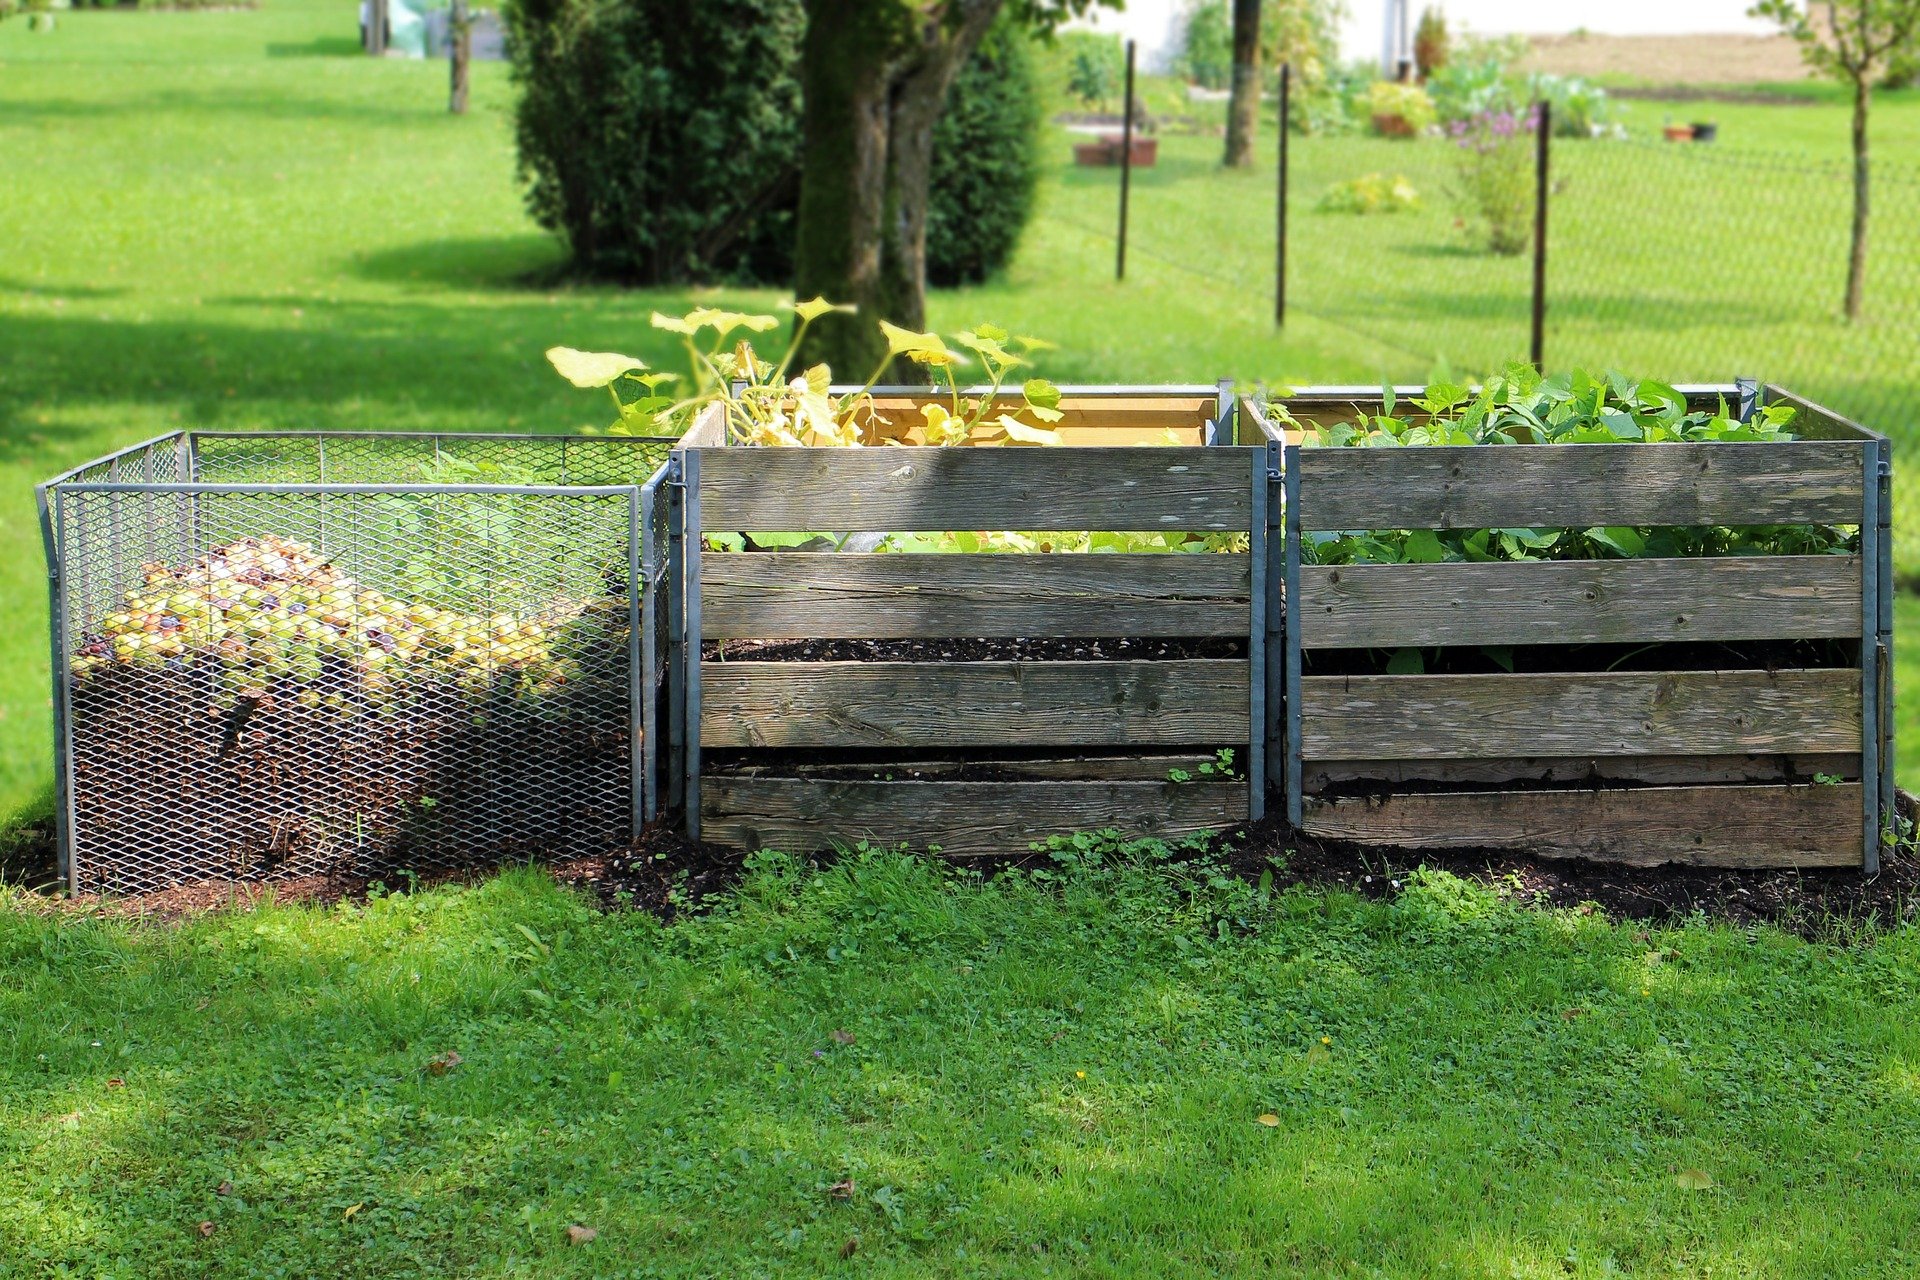
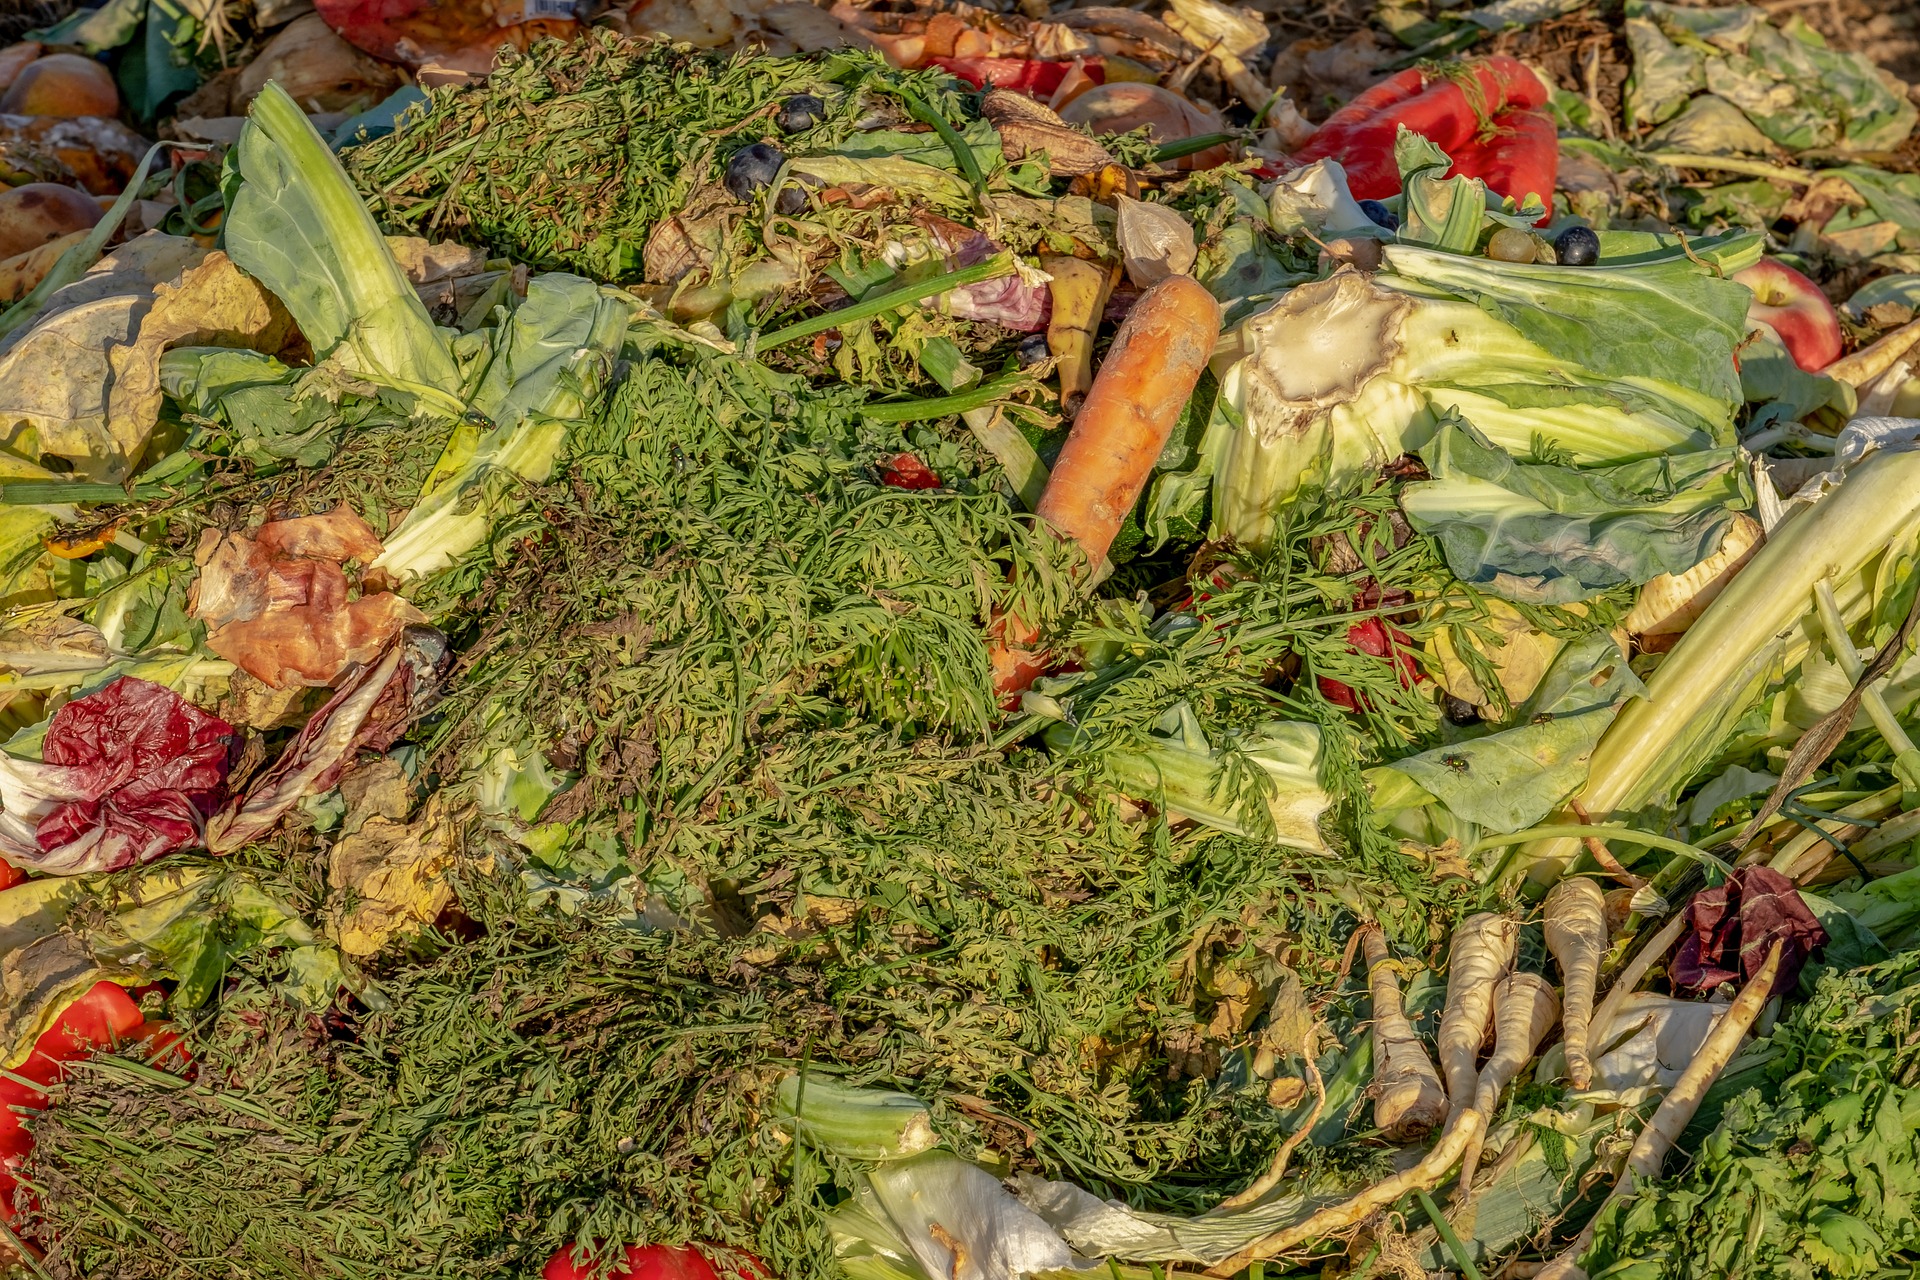
Composting represents a great opportunity for every grower and gardener to turn biological waste in the form of leaves, grass, vegetable scraps or, for example, fallen fruit into something useful, namely your own organic fertiliser!
Experience shows that every garden has a truly abundant amount of biological surplus, and it would be a shame for this valuable material, which after successful composting is capable of serving as a universal bio fertiliser that effectively supports all types of plants, to end up somewhere in landfill, where it is also difficult to burn and is often the reason why landfill sites smell so strongly far into the surrounding area. That is a little about the environmental aspect, and now we can move on to practical tips for your garden.
Is composting worthwhile?
The answer is unequivocally yes! As is well known, fertile soil is characterised by a sufficient amount of high-quality humus, which is created precisely by leaving nature to work for a while in the composter with the biological waste that we gradually fill it with. Humus has a loose structure that retains water in the soil while also aerating the roots; what more could you want? Of course, the whole process can be accelerated with a suitable product, for example in the form of a granulate from the Czech brand AgroBio. It contains the right bacteria that help nature along. In addition to the considerable benefit that composting will bring you in the long term, you can also feel good knowing that you are helping the planet yourself.
How do you do it?
- First, choose a place, ideally rich in humus, where you will set up the compost. It should be somewhere you can easily reach from time to time, even with a wheelbarrow loaded with biological waste. Avoid the common mistake of setting up compost in various hollows and other pits, where there is then insufficient air circulation. Rot does not belong in composting; only the gradual and natural decomposition of organic material, or decay, which is different. You also need a place where the sun will not beat down directly all day long.
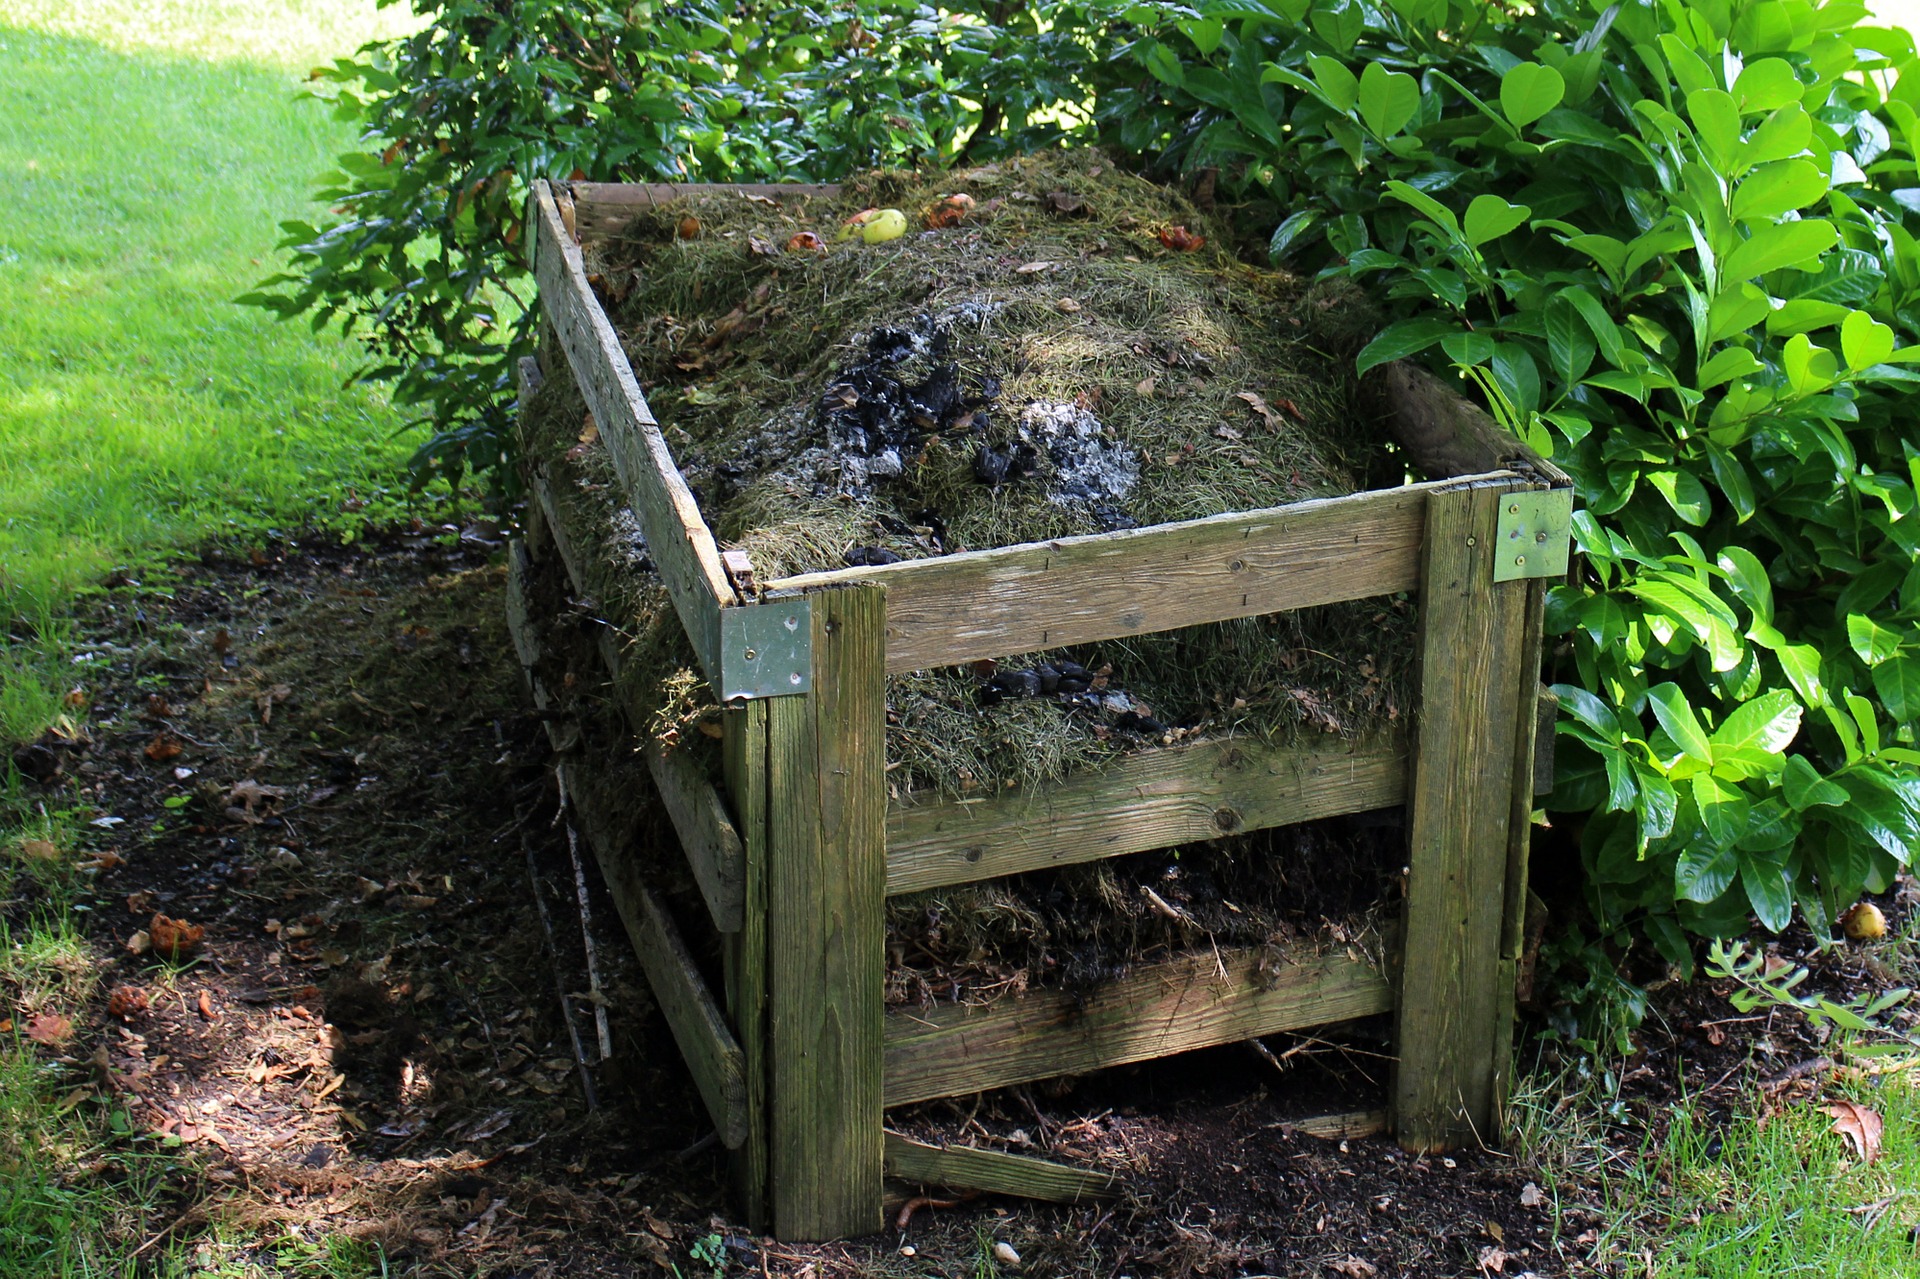
- Get a composter. It can take the form of an ordinary compost heap taking up roughly 1.5 x 1 m of space. You can save space with a composter made of wooden slats, because with a classic compost heap the bio-waste is layered at one end and the transformed material is removed from the other end of the heap. The length can therefore increase. In the case of wooden slats, it is also necessary to choose a type of wood that will not easily succumb to the decay process, ideally larch. Wood can be replaced by iron structures that do not weather. Recently, thermocomposters have been particularly popular, made of plastic and equipped with a practical lid. If you are just about to start composting, this is the easiest choice.
- A reliable recipe for proper composting is layering according to proven rules. The bottom part of a standard compost heap should contain branches or pieces of dead wood as a harder-grained material. This forms a kind of divider between the soil and the other bio-waste, so that oxygen can more easily reach the microorganisms working hard in the composter. We also distinguish between a nitrogen-rich and a carbon-rich layer. This is, let us say, the very basis for the contents of the later fertiliser that we will have available from our own biological surplus. Apply layers about 10 cm thick. Everything green, as well as kitchen waste including eggshells, forms the nitrogen-rich layer. Everything brown, moist and dry forms the carbon-rich layer. This includes straw, leaves, sawdust, etc. If you use an accelerator when setting up the compost (and why not), alternate the layers with soil mixed with the compost accelerator.
- Compost does not require too much maintenance. The heap will gradually compact, which reduces the supply of oxygen, and the compost needs to be mixed and layered again after roughly two months. In rainy weather, keep the compost covered, and if it is dry, it is a good idea to water the heap occasionally.
Compost maturity
In short, 3 stages are generally distinguished, with each phase in which the compost currently is determining the decaying organic matter for a different use:
- Fresh compost is about 3 months old and you can still identify the individual components in it. Even so, in this early stage you can use it to support useful plants such as tomatoes, potatoes or cucumbers.
- Mature compost is characterised by an age of six months to one year. You can recognise it by its dark brown to black colour. The smell resembles forest soil, and apart from eggshells, you can no longer distinguish the original components for the most part. If you sieve it before use, it is suitable as an additive for all grassy and garden areas, beds and, last but not least, as high-quality soil for flower pots of all kinds. Mature compost already contains a truly large amount of basic nutrients and needs to be used broadly and in moderation so that over-fertilisation does not occur.
- Compost soil is usually more than one year old, and the effect, or nutritional value, which is so intense in mature compost, decreases over time, so you can safely use it for all conceivable types of plants, ideally during spring and summer.
Now you know how to set up compost and how to speed up the whole composting process. If you have any questions related to setting up compost, do not hesitate to contact us at the well-known address, and we will be happy to advise you. Write to info@higarden.eu.
Decorative, Hanging and Smart Flower Pots
Read about the trends in growing in pots and planters. You may be surprised by how cleverly designed some growing containers are, and how their design can enliven your interior, balcony or terrace.
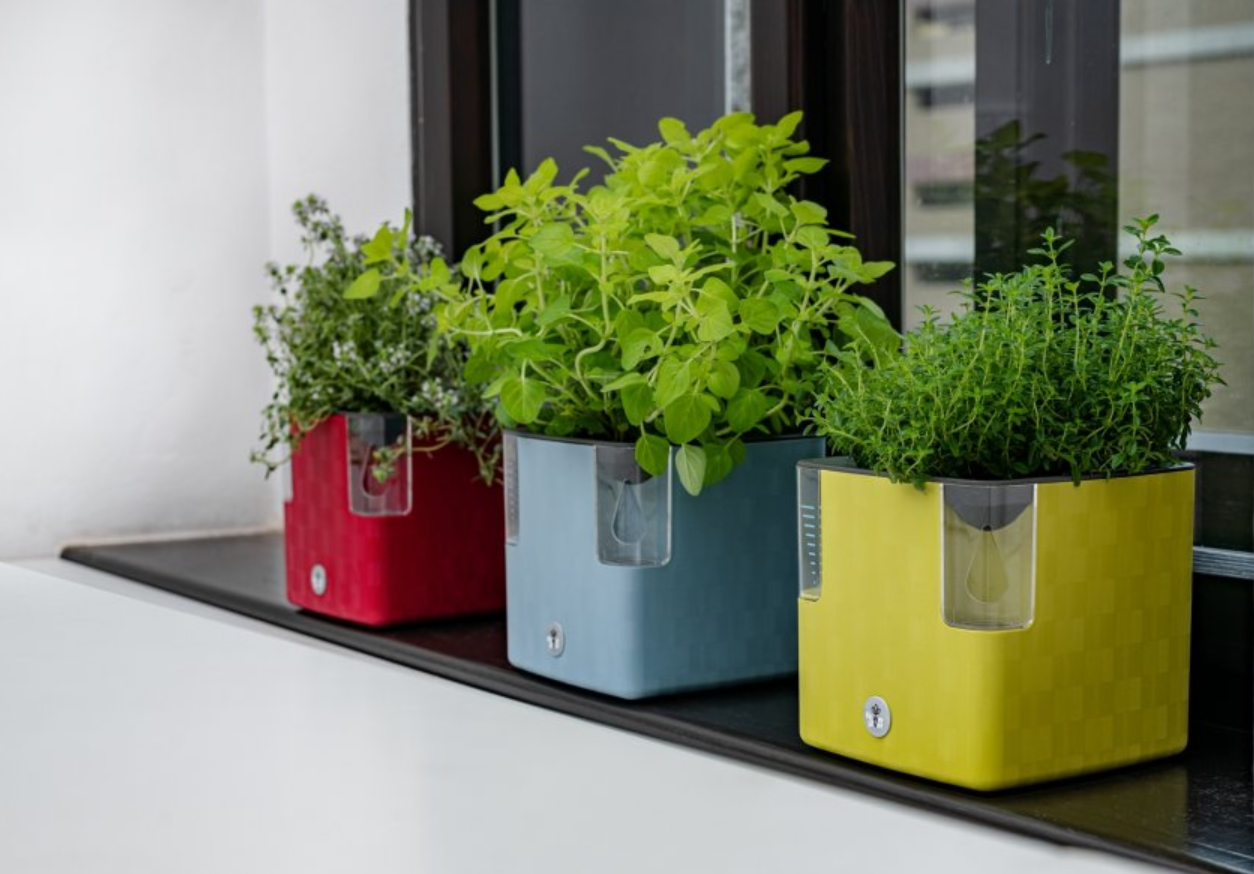
Highlight the charm of cultivated plants thanks to PLASTKON design pieces! Even a purely practical item such as a flower pot can also serve a decorative purpose in every household.
- For home use, we especially recommend the Cobble pots, which balance on the boundary between two categories, namely decorative flower pots and smart pots.
- If you know you will not stop at a single plant, you will appreciate the design of the Cooble Trio.
- As you can see in the picture, these timeless pots immediately attract attention with their modern appearance, and you can choose from four colour variations, from anthracite through ice white or basil green to steel blue.
- At the same time, they are cleverly designed so that the plants take only as much water from them as they actually use. We will say a little more below about how great an advantage this is in practice.
- Outdoors, you can then easily elevate an ordinary fence into a stylish pride of your garden through Fency planters. You can also use Cobble pots; we will soon explain how they are adapted precisely for outdoor use.
- The Fency planter also offers four colour variants, namely anthracite, taupe, pea green or classic white. These planters are available in two sizes, namely 50 cm or 75 cm.
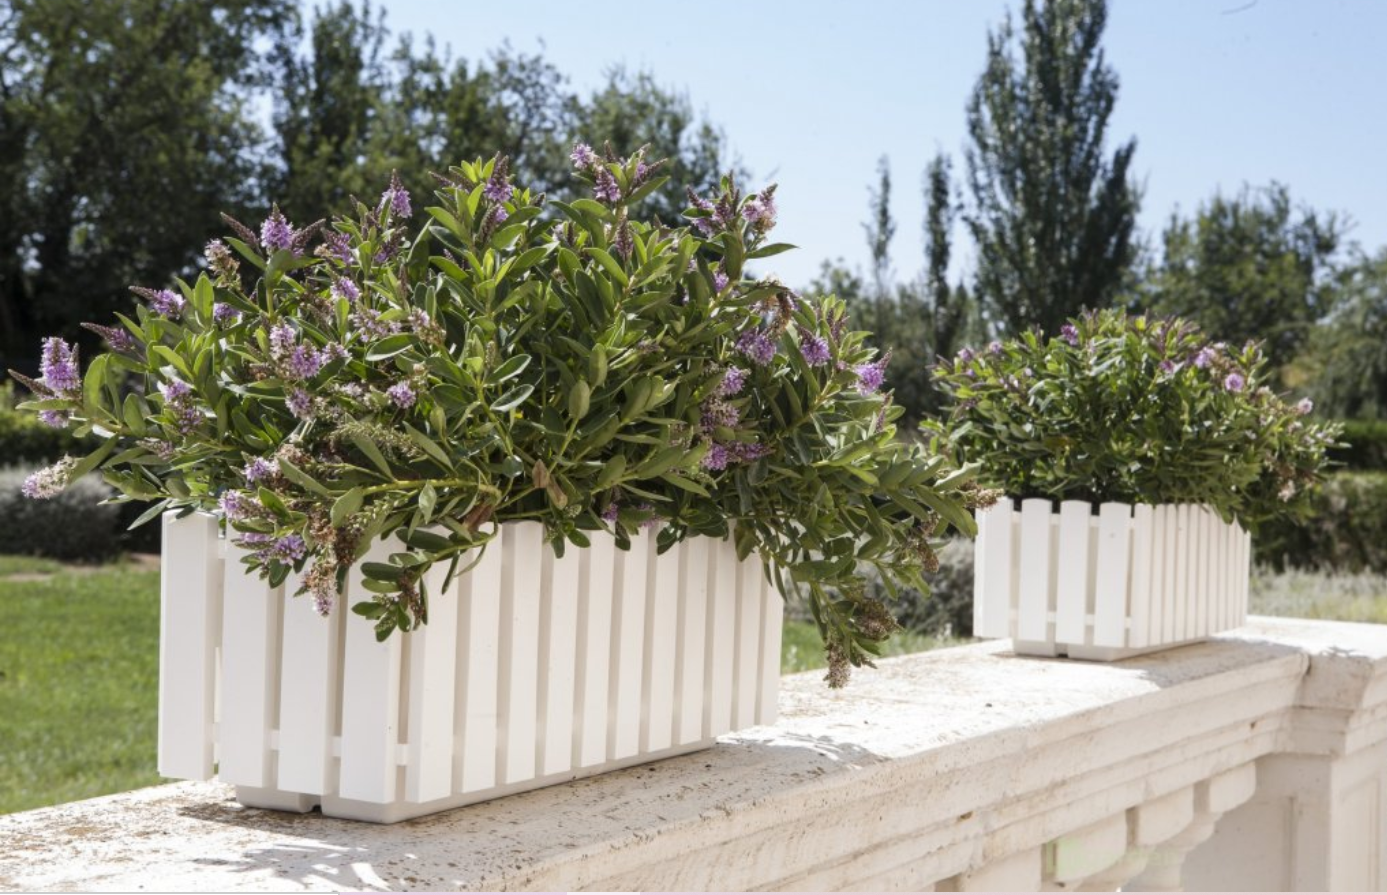
Now that you know there is no need to choose between functionality and design, let us say a little more about the practical advantages of the smart pots Cobble and Cobble Trio:
- Thanks to these pots, herbs, fruit and vegetables always have the certainty of proper watering. The plants can continuously take in water according to their current needs, not a drop more, which helps you avoid overwatering. And of course not a drop less, so your plants will not simply dry out. In short, you can be much more at ease than when growing in ordinary pots with watering into a saucer.
- Thanks to the cleverly placed opening for topping up water, in practice you will also not tend to forget to replenish the supply of water or nutrient solution.
- The practical drainage opening also allows smart pots to be used outdoors, outside your home.
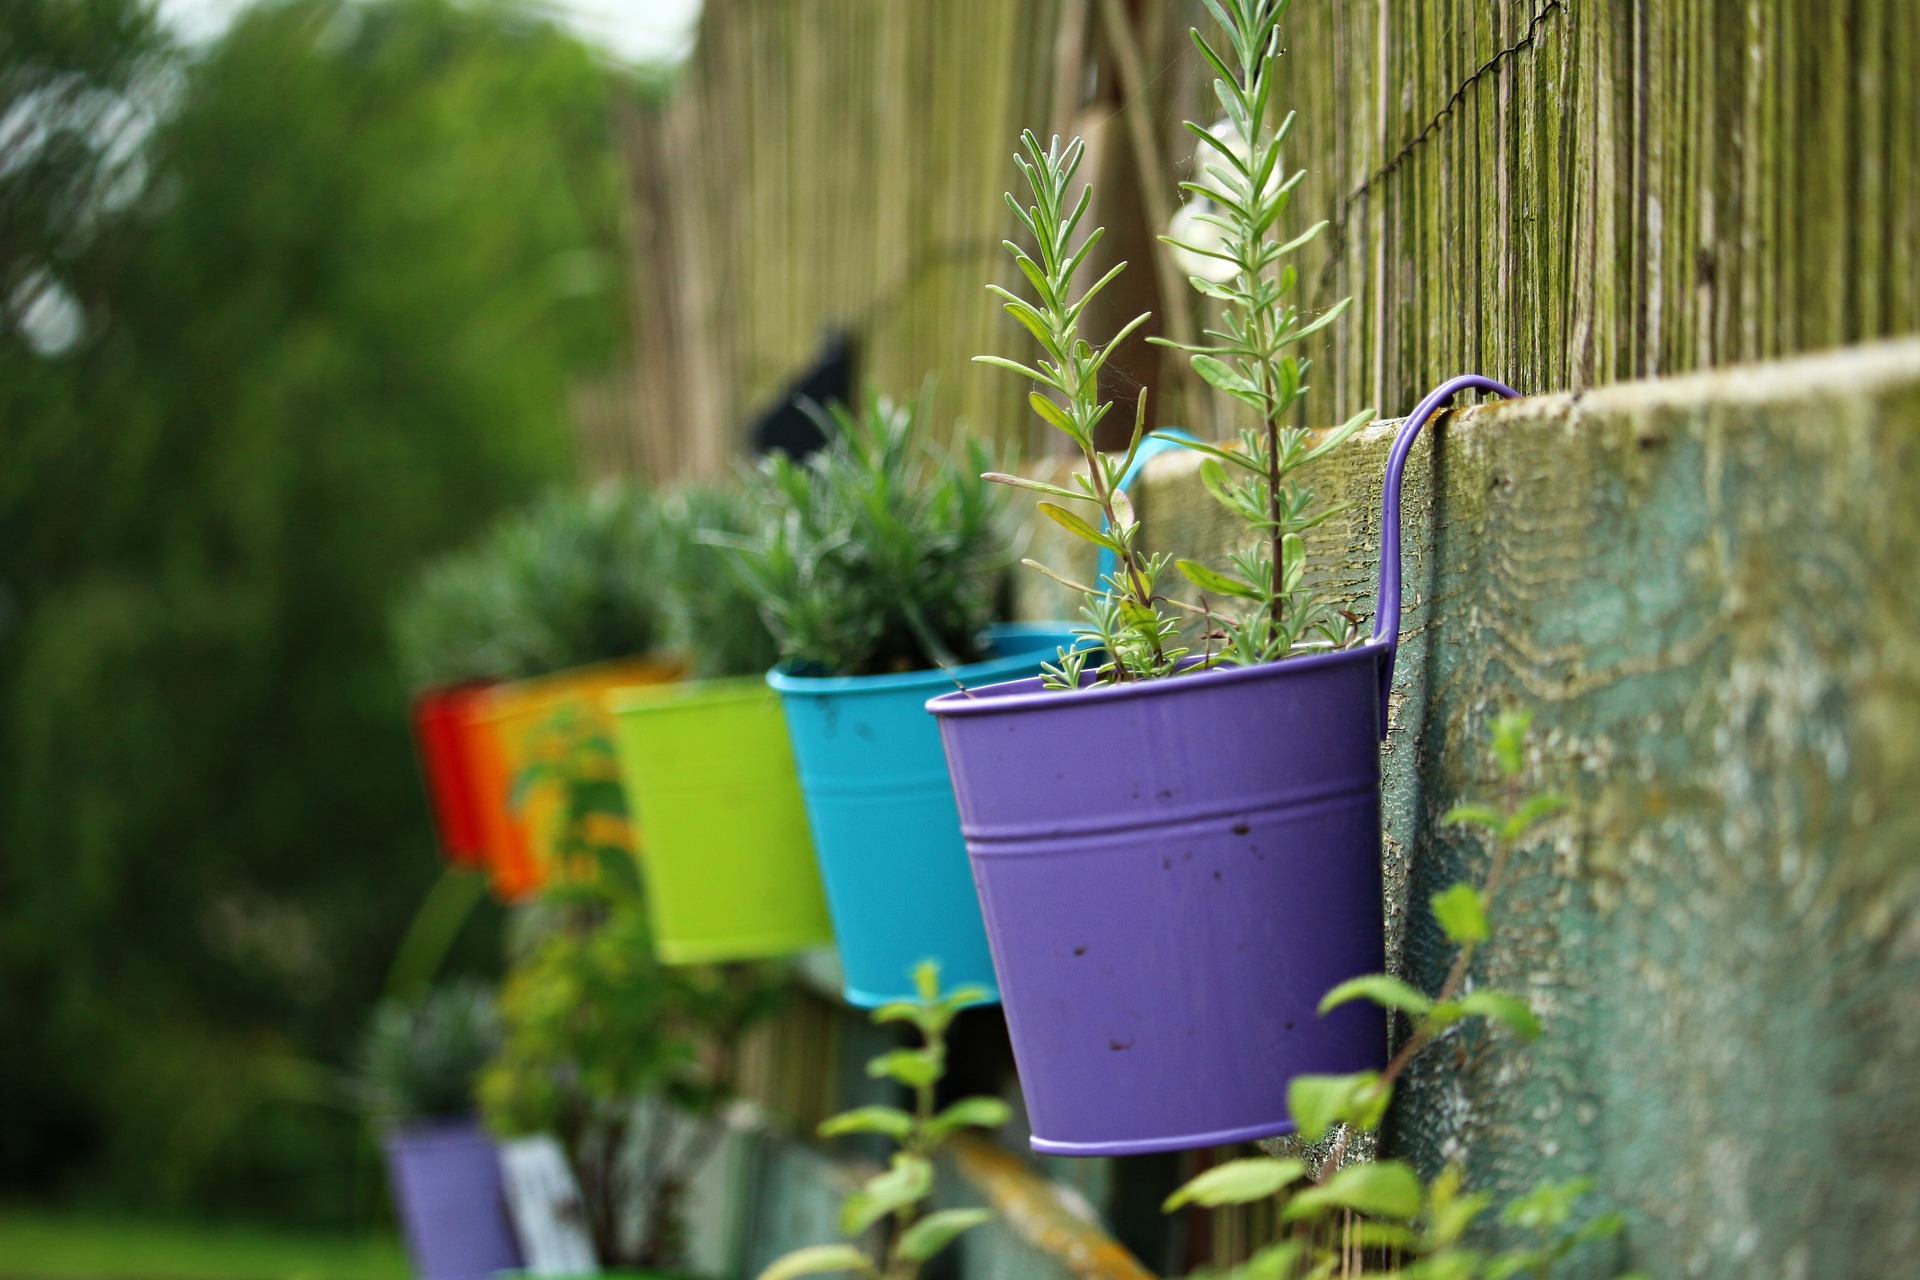
In view of the growing demand, we are currently also preparing a range of hanging pots for you. These allow growers to create a growing space practically anywhere. For example, by hanging one on a tree branch in the garden, you gain a growing space for cultivating strawberries in organic quality. In practice, the pot is hung on a lower branch of the tree and the ripe fruits then hang down from the pot.
We recommend these products:
What to read next?
- BioNova Veganics – fertilisers not only for vegans
- How do you save an overwatered plant?
- How do you choose a substrate?
If you have any questions about decorative and smart pots or would like to ask about the availability of hanging pots, please do not hesitate to contact us at the well-known address info@higarden.eu.
Expanded clay as a Growing Medium
In today’s article, you will learn what expanded clay, also known as hydroton, is and why it has become especially popular among growers involved in hydroponic plant cultivation.
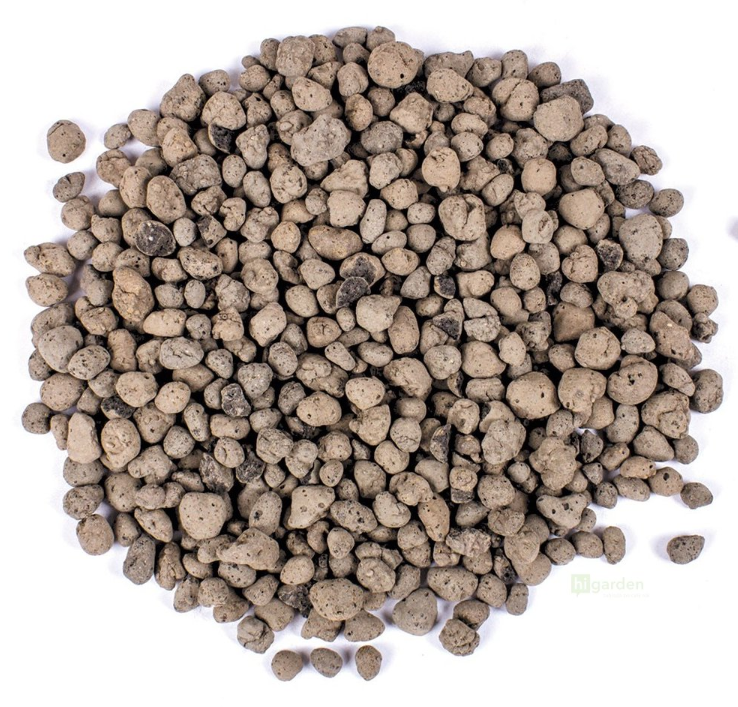
- In growing practice, expanded clay appears in the form of balls or irregularly shaped granules made from expanded clay.
- The main advantage of all these clay balls and granules lies in their inert properties, so they are a growing medium that has no effect on pH or EC.
- You can also reuse really high-quality expanded clay, such as Plagron Euro Pebbles, without any problem, and even for several years! Of course, repeated use depends on regular cleaning of the substrate.
- Among the manufacturers of top-quality clay substrates are, in addition to the mentioned brand Plagron, also VitaLink and Canna (see below).
- VitaLink clay pebbles (pictured below) are characterised, compared with other products in this category, by a lower density while covering a larger area. They are exceptionally porous and retain water better (water retention capacity: 10%).
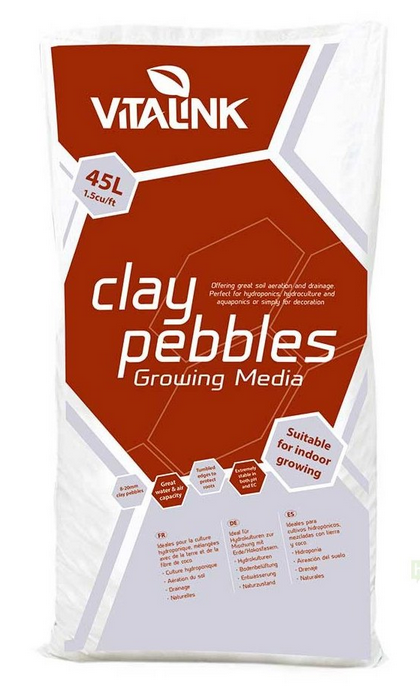
- The Czech manufacturer AGRO CS produces hydroton made from fired ceramic, with the clay first formed into balls and then fired at temperatures of 1,200 °C to obtain a strong and porous structure.
- For hydroponics or, for example, as a top decorative layer in a flowerpot, balls with a diameter of 8 to 16 mm are used.
- Expanded clay (hydroton) is also used as an additive to other substrates, especially soil mixes for self-watering pots from Autopot.
- Overall, expanded clay is excellent as a growing medium for all types of self-watering pots and planters, and you can also use it as a drainage layer if you grow plants in standard flowerpots.
- This inert medium is often used in recirculating hydroponic systems, such as the hydroponic systems Atami WILMA, because the plant takes only as many nutrients as it actually uses, which automatically leads to long-term savings on fertilisers and overall better nutrient management by the plant.
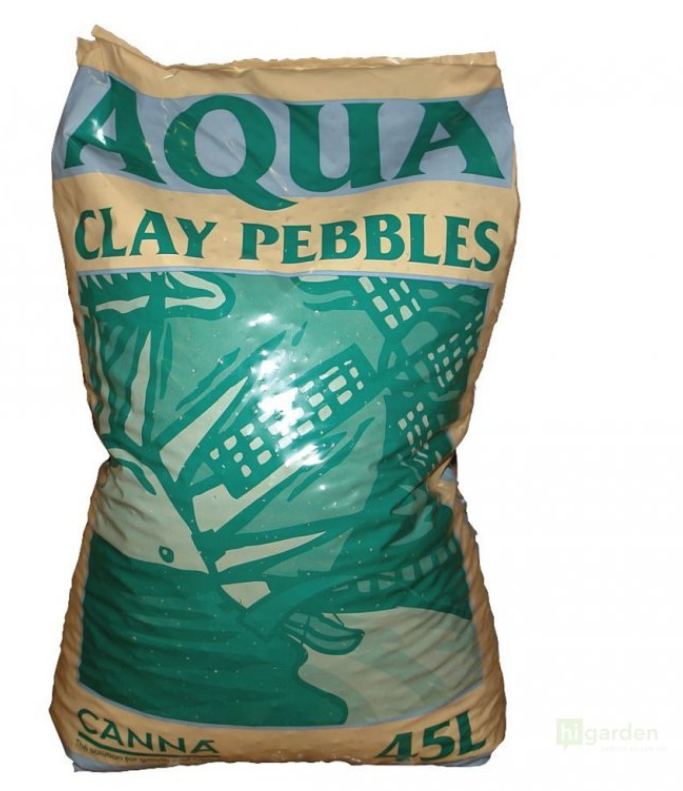
- If you are among experienced growers, you will certainly appreciate CANNA Aqua Clay Pebbles (the pack shown above) most of all among all hydroton packs - lightweight dried clay balls that allow you to influence nutrient application and plant moisture throughout the growing cycle. We recommend them for professional plant cultivation in closed hydroponic systems. There are also other advantages that every grower will appreciate:
- low content of soluble salts
- high permeability and airiness of the substrate
- direct support for the development of the plant root system
- an environment free from mould and diseases
- neutral pH and stable values of solution electrical conductivity (EC)
- It is advisable to rinse CANNA Aqua Clay Pebbles before use.
- We recommend using this substrate in combination with Canna Aqua or Canna Hydro fertilisers.
- You will achieve even better growing results in combination with powerful supplements from the Canna brand. We recommend in particular the unique enzymatic preparation Cannazym, the root stimulator Rhizotonic, the flowering booster Cannaboost, or the supplementary fertiliser PK 13/14.
- Add the base nutrients to the watering solution from the first day, as expanded clay itself contains no nutrients.
Self-watering pots, more and less sophisticated hydroponic systems and ordinary flowerpots. Expanded clay (hydroton) is suitable for home and outdoor gardening, whether as the main growing medium or as practical drainage. If you would like advice on choosing products, simply write to the well-known address info@higarden.eu.
We recommend these products:
- CANNA Aqua Clay Pebbles 45l (479 Kč)
- VitaLink Clay Pebbles (from 209 Kč)
- Plagron Euro Pebbles 45l (489 Kč)
What to read next?