How to choose and assemble grow tent ventilation
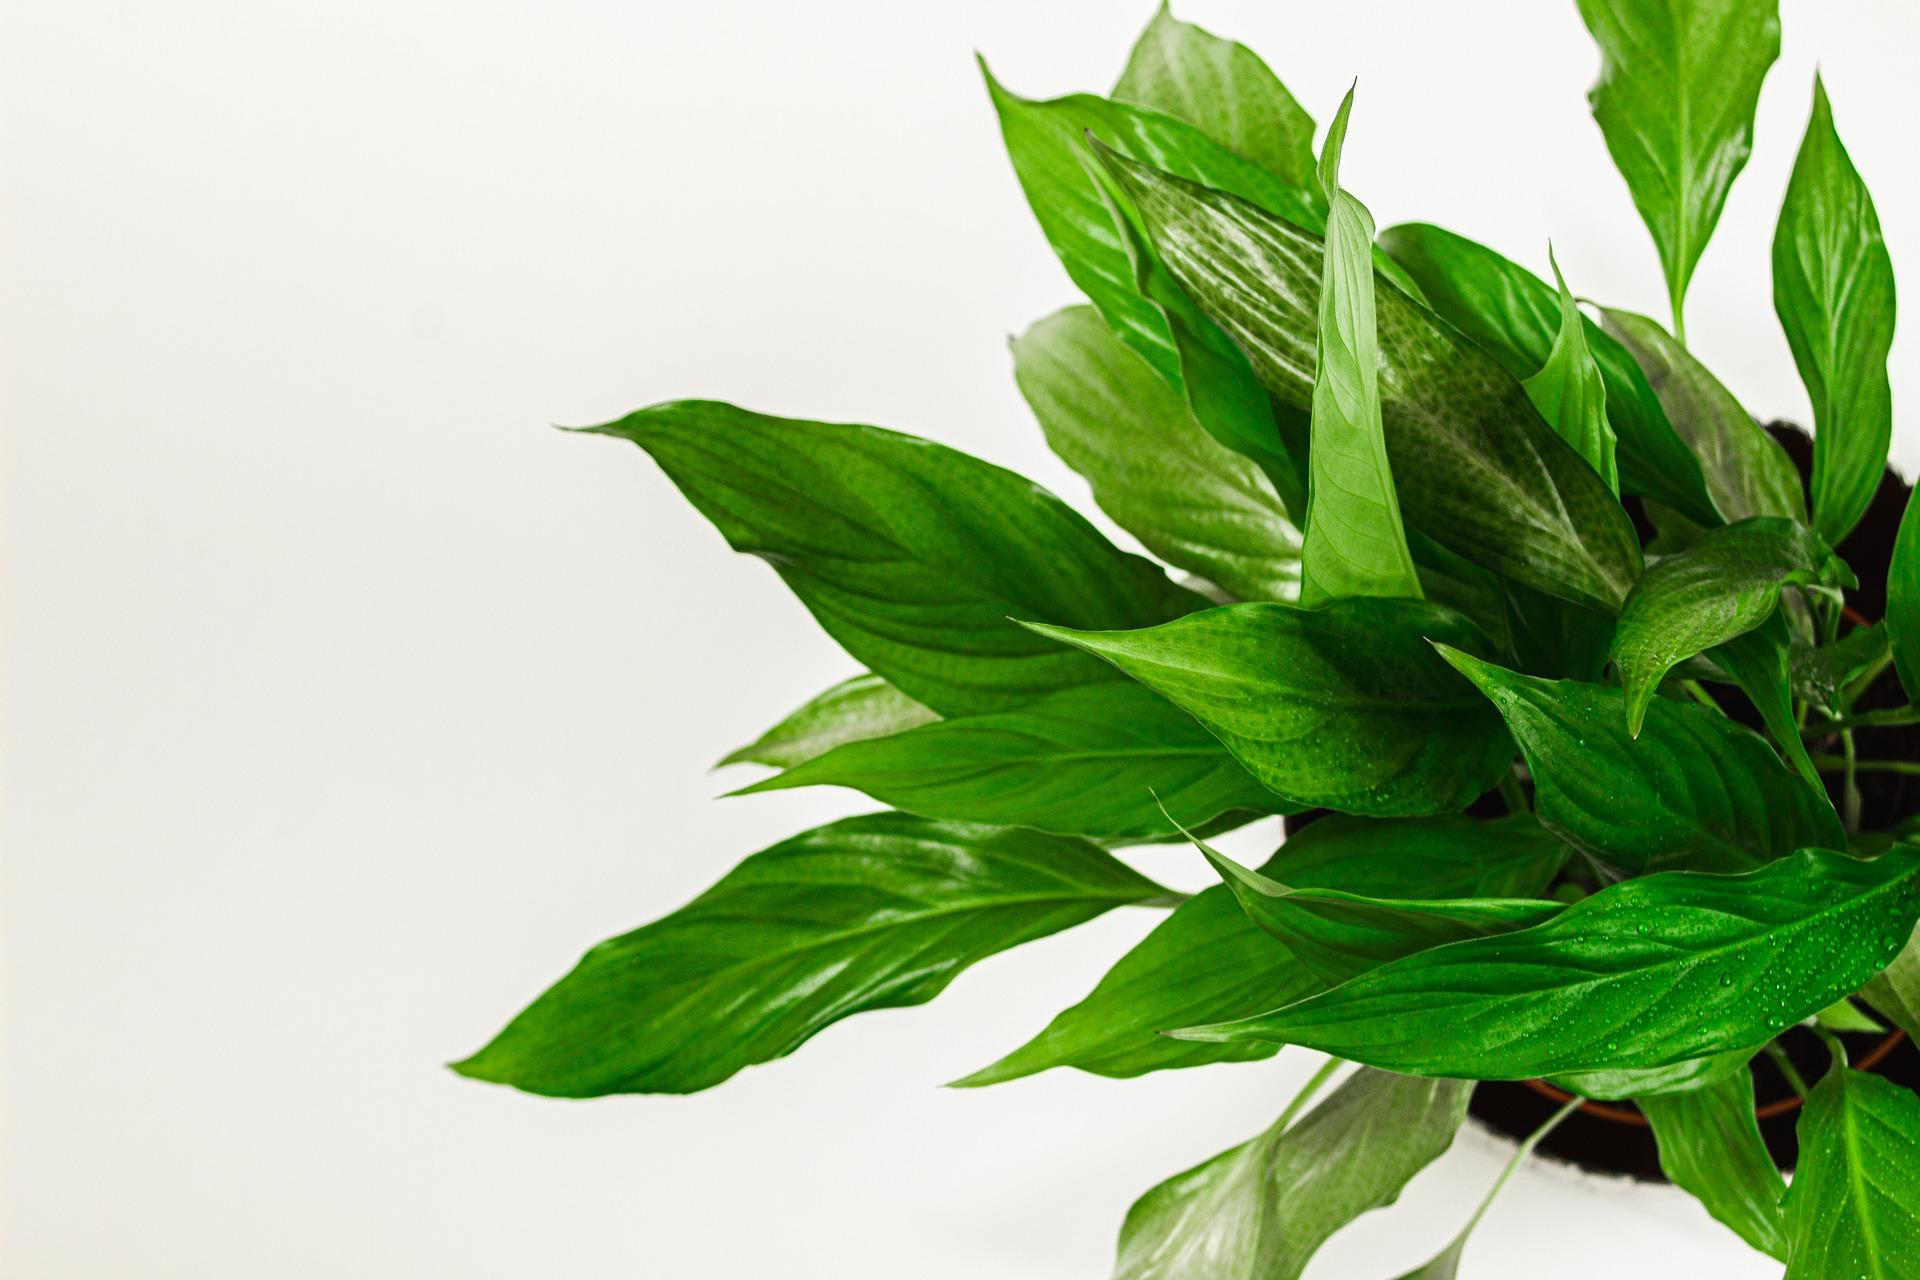
When growing indoor, unlike outdoor growing, you cannot rely on natural air circulation. It is therefore necessary to depend on more or less sophisticated ventilation equipment and ensure a sufficient supply of fresh air for the plants, more precisely oxygen and carbon dioxide. The heat generated by artificial lighting inside the grow box must, on the other hand, be extracted out of the growing space. Read on to find out how to assemble ventilation easily so that your herbs can breathe properly!
We choose ventilation mainly according to the size of the tent or room. The basis is a fan. You will also need an odour (carbon) filter and, of course, flexible ducting.
Experienced growers use smart control of ventilation, which is governed by temperature and air humidity. Automatic control will ultimately save you time and money, and above all help you achieve an excellent harvest with ease.
Let us start with odour filters. You can find out what to look for in a separate article. A common beginner’s mistake is incorrect placement. The following lines will help you extend the filter’s service life and, thanks to correct installation, ensure smooth operation as well. We recommend placing a classic carbon filter always inside the tent and then drawing air through it...
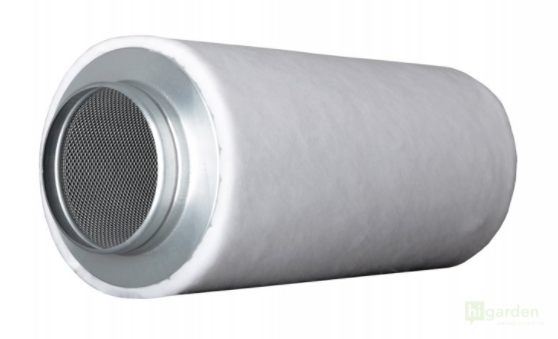
One of the best-selling odour filters on the market from the traditional Prima Klima brand.
The fan can also be inside the box, but it can also be outside; the key is that it should be positioned after the odour filter, as you can see in the picture. This is usually fitted with a pre-filter, which catches larger impurities, while the rest, such as odours or various microscopic impurities, is handled by activated carbon.
The opposite installation method is less common and requires the use of a inline carbon filter.
In general, we recommend ensuring that the filter always has a higher capacity than the fan, because although both components form an inseparable pair together, the carbon filter reduces the fan’s overall efficiency.
Fan
If you are planning to use a carbon filter and run ducting with more than one bend, we recommend a radial fan, whether with integrated control or without it. When it comes to home growing needs, it beats axial fans hands down.
Axial fan should be used rather for simple and short ducting. Filters and bends are obstacles that significantly reduce their performance when moving air.
Speed control, for example according to temperature, will also make the entire growing process much easier, because especially for a beginner it is not easy to set the fan during the growing cycle so that it ensures an optimal microclimate inside the grow box at every stage. And that is the goal, after all!
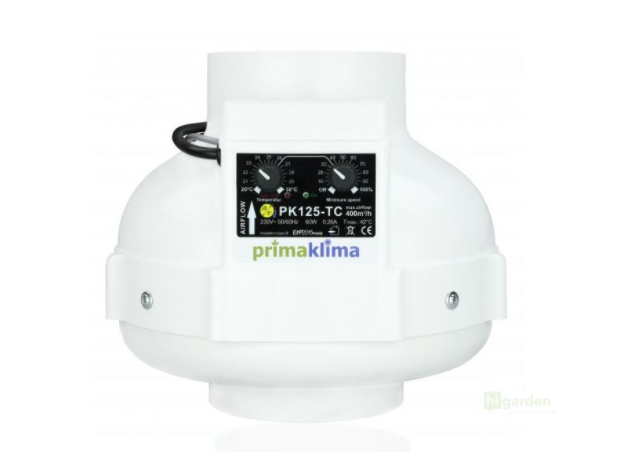
Prima Klima also manufactures first-class radial fans with temperature control.
Simply put, it does not pay to save on a fan at any cost, even at the start. The same certainly applies to fan noise, whether for your own comfort or your neighbour’s household. It is therefore necessary to bear in mind that the quieter you want the ventilation to be, the higher the purchase price will be. In reality, however, you would be hard pressed to find a grower who would regret not buying a noisier model without control, or even an odour filter, at the beginning...
An excellent helper for air circulation in the tent is a circulation fan. With a circulation fan, which ideally complements the main fan, your plants will not only breathe deeply, but will also be more vital and resilient thanks to the simulation of wind in the artificial growing environment. Practical clip-on fans ar