
Very beginning
List of articles
Growmania is joining higarden.cz
Growmania.cz has become part of higarden.eu
Along with this change, the range at the Nádražní 3 store, Prague 5 Smíchov, will be significantly expanded.
Since 1.12.2022, the Kobylisy store - Zdibská 2, Prague 8 has been closed, and we will be happy to serve all its customers at the Higarden branch at K žižkovu 640/9, Prague 9 19000, or at the Prague 5 Smíchov branch.
Are both branches too far away for you? - Call us, write to us, or order goods via the e-shop and we will be happy to send the goods to you anonymously; in the case of Prague and the surrounding area, we can also deliver them with our own transport.
In the near future, it will be possible to collect goods ordered on higarden.eu also at the Prague 5 Smíchov branch - as soon as this is possible, we will inform you.
What to Remember When Making Your First Purchase at a Grow Shop
Legalisation is fast approaching, and more and more of you are asking which grow box to buy and how to equip it. Anyone who has read the guide to their first purchase on the Higarden blog knows that without grow lights, ventilation, substrate and fertilisers, nothing will grow. However, that is only the absolute basics. To avoid unnecessary mistakes and disappointment, it is worth thinking through every detail when making your first purchase. In this article, we will look at equipment that beginners often forget.
Measure twice, cut once
 Remember that your grow tent should last for many years. Therefore, before you decide on one, it is better to think everything through twice. It goes without saying that the grow box should fit into your room, but otherwise the rule is that the bigger, the better. In a larger space, it is easier to maintain the correct microclimate and there are no such fluctuations in temperature and humidity. In a spacious grow box, plants have more room to grow and do not shade one another, so they make better use of the light from grow lights.
- Grow box 60 x 60: The absolute minimum if you want to grow anything other than a few herbs for the kitchen. You will probably not get much out of a small “sixty”, but everything you need will fit inside.
- Grow box 80 x 80 cm to 100 x 100 cm: A skilful grower can make use of every centimetre of space, and you can easily grow three plants in a medium-sized tent.
- Grow box 120 x 120: The gold standard among growers, easily large enough for three nice plants with plenty of room. Suitable for LST or weaving into nets.
- Large grow boxes: The largest grow boxes can resemble a small room and are probably a little too much for growing within the limit. However, if your dream is your own indoor garden, where you will grow enough tomatoes for yourself and a wide circle around you, you will find everything you need at Higarden.
You may also be interested in: My first grow box
Do not forget that you will need accessories to install the equipment in the grow box. To hang lights and fans, you will need several hanging ropes with a hook (rope ratchet). You will also need several metres of ventilation ducting and metal cable ties to tighten the joints. Your basket should also include binders for securing electrical cables and universal textile tape (duct tape). It will easily seal joints and repair small tears in the ducting. For one medium-sized grow box (80x80 to 120x120), you will need approximately:
- 4 x rope ratchet (2 for securing lights, 2 for the extract fan)
- 3 x cable tie
- 3-5 metres of ventilation ducting
You may also be interested in: How to choose ventilation ducting for a grow box
Climate control
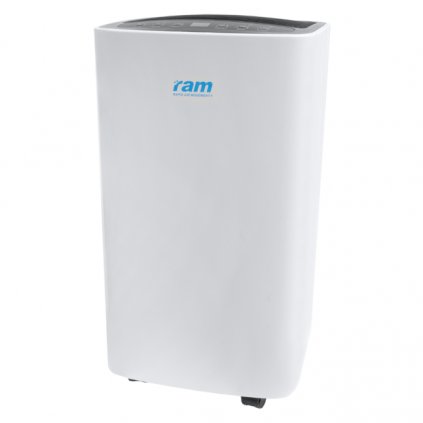 In the advice articles on the Higarden blog, we have repeatedly emphasised the importance of climate control in indoor growing. Many beginner growers underestimate how much water their plants “sweat” through transpiration. This is especially true during the vegetative growth stage, when they can consume several litres of water per day. It is easy for relative humidity to rise too high, even if you ventilate the room with the grow tent regularly. A humid environment then becomes an attraction for mould spores, especially botrytis (Botrytis cinerea), which causes flower rot. The best solution for keeping humidity under control in the growing area is to place an air dehumidifier in the room with the grow box. Set it according to the current growth stage of the plants. Sensors in dehumidifiers are usually reliable, but you should still monitor the humidity in the growing area with a thermometer with a hygrometer.
- 65-75 % for seedlings and cuttings: High air humidity prevents young plants from dehydrating, especially because they cannot rely on well-developed roots for water uptake. It also allows them to focus their energy on developing a strong root system instead of constantly trying to find water.
- 55-65 % during the vegetative growth stage: Plants in the vegetative growth stage grow very quickly and need a high nutrient intake. Therefore, it is recommended to maintain a higher temperature and humidity in the growing area, which speeds up photosynthesis and nutrient uptake without encouraging mould development.
- 40–55 % during flowering and before harvest: During flowering, keep humidity around 55%, and as harvest approaches, reduce the humidity in the growing area to the lower limit. This will prevent mould formation and support resin production.
Most indoor growers have more trouble with excessively high humidity than with dry air, but that can happen too. If the relative humidity in the growing area is below 40% for a long time, plants will evaporate water faster than the roots can absorb it. This will force them to close their stomata and slow down photosynthesis, which will show itself in slow growth, small flowers and nutrient deficiencies. In such a case, the humidity in the growing area can be increased with a humidifier.
You may also be interested in: What are the ideal conditions for indoor growing?
Measuring instruments
When growing indoors, you cannot do without fertilisers, and most of them require precise dosing. In theory, you can follow the dosing table, but without an EC metre you will never know exactly how concentrated the nutrient solution you are giving your plants is. In the best case, they will suffer; in the worst, you will over-fertilise them and they will die. The exception is organic fertilisers, which do not require EC measurement and forgive inaccurate dosing.
You may also be interested in: Mineral or organic fertilisers?
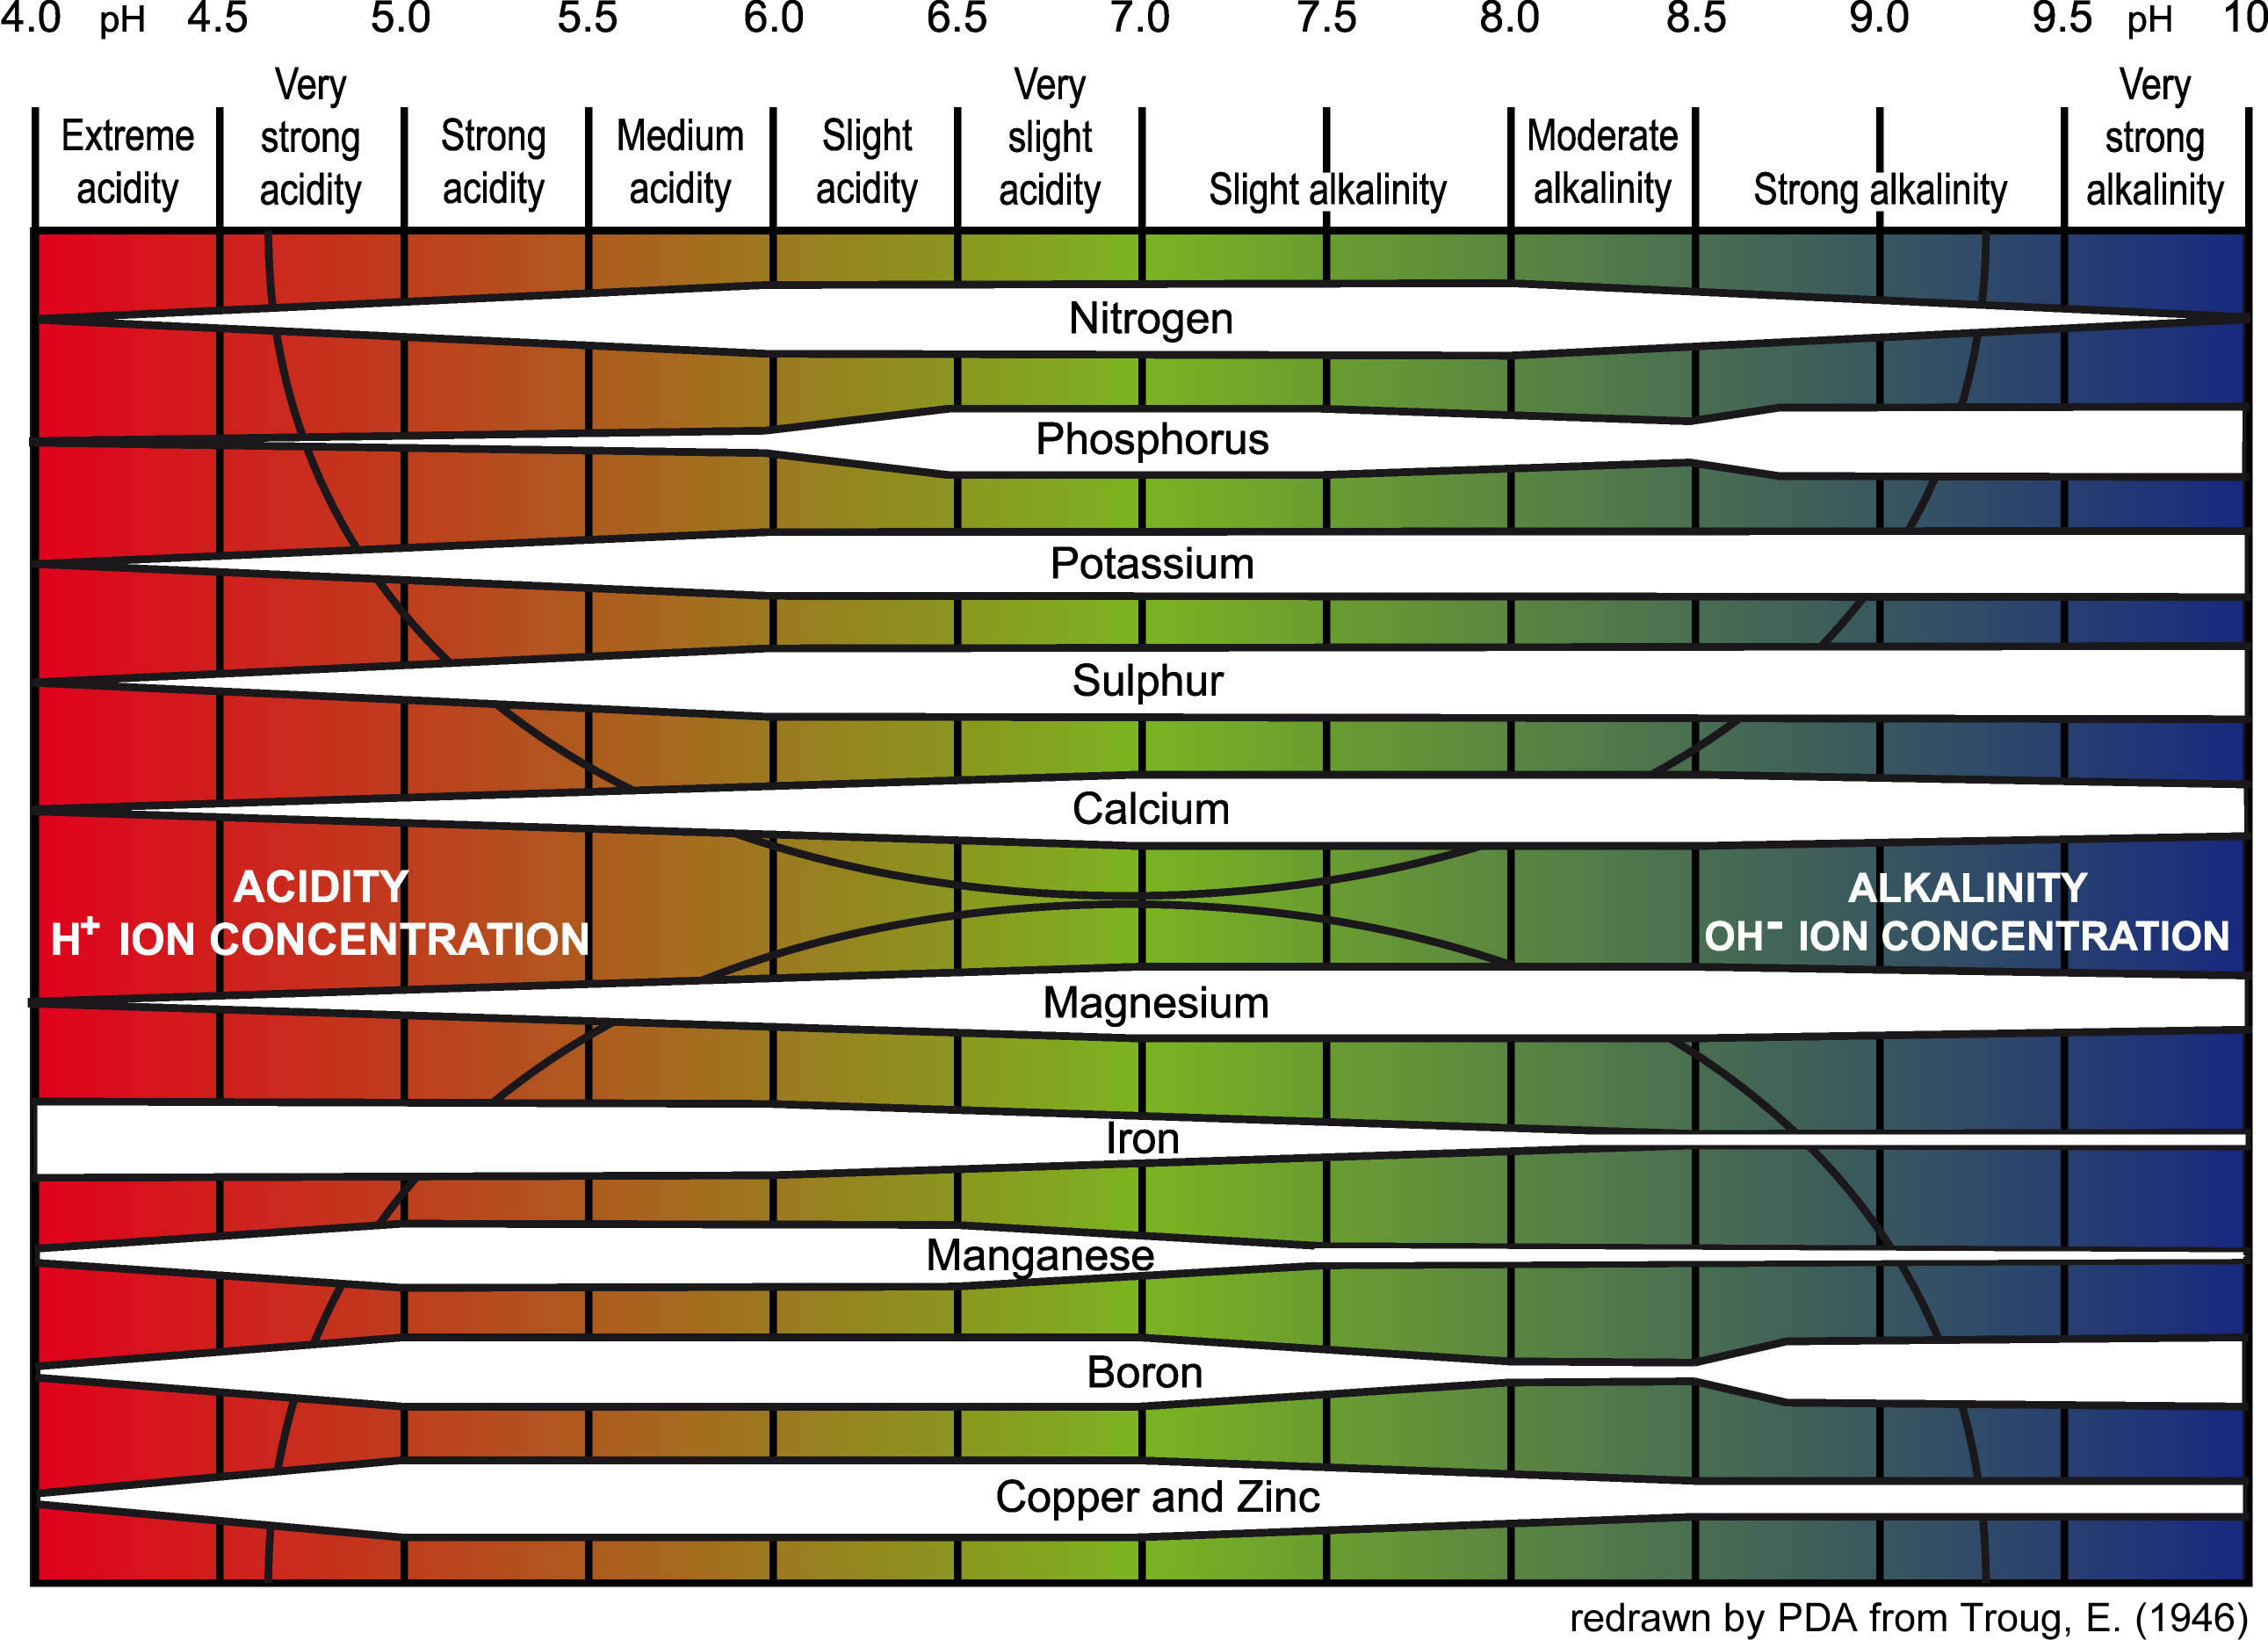
Whether you choose synthetic or organic fertilisers, you should always monitor and adjust the acidity of the irrigation water with a pH metre. If the pH of the substrate is too low or too high, some nutrients cannot be taken up by the plants or are absorbed only in small amounts. The optimal pH range for growing in soil is 6.2 to 7.0, in coco substrates 5.7 to 6.3, and in hydroponics 5.5 to 6.3. When growing in soil, it is usual for the water to have a pH above 7 after fertilisers are added, which affects nutrient uptake from the substrate. To lower the pH of the irrigation water, use any pH regulator.
You may also be interested in: How to adjust the pH of the nutrient solution
You can find more detailed guides, practical tips and experience on the Higarden blog, where we regularly add articles for both beginner and advanced growers.
The Most Common Mistakes in Indoor Growing (and How to Avoid Them)
If you have been growing for some time but still are not succeeding, the problem may not be poor genetics, substrate or fertilisers, but something you are doing wrong. Many growers do not realise that they keep repeating the same basic mistakes over and over again. Today we will look at the three most common mistakes, and above all at how to solve them.
Overwatering
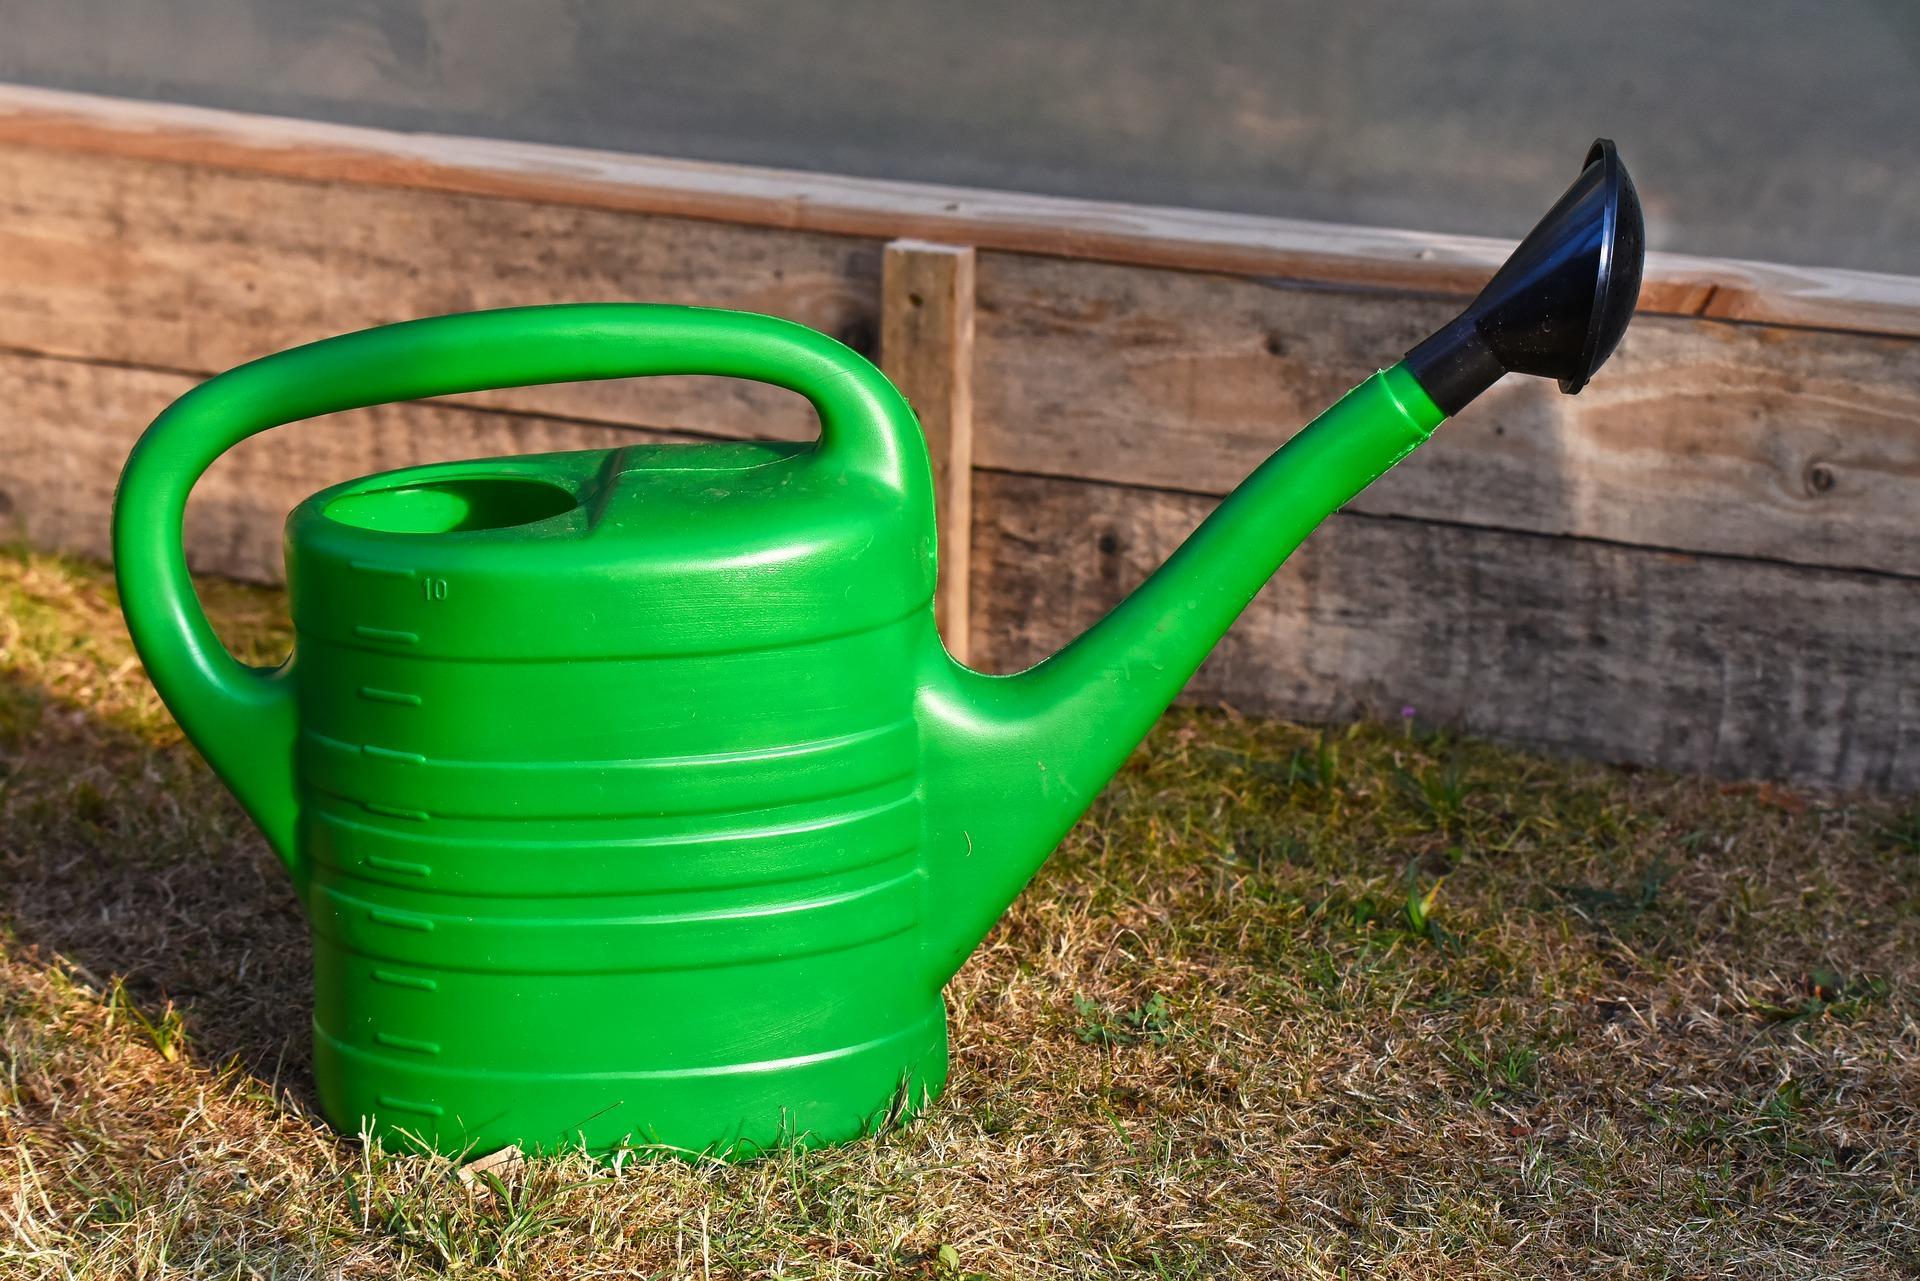 One of the most common mistakes made not only by beginners, but also by many experienced growers. Plants do need water, but that does not mean the roots must be constantly submerged in an overwatered substrate. In such a medium, oxygen cannot reach them, and the roots and the whole plant will grow significantly more slowly. By contrast, regular drying out stimulates plants to form new roots.
You may also be interested in: We debunk myths about growing – watering plants
The exact amount of watering and watering frequency depend on the age of the plants, the type and amount of substrate, and the surrounding conditions. For very small plants, one basic rule applies – it is better to start carefully. If you immediately drench the whole pot with water after transplanting a seedling or a germinated seed, the substrate will stay wet for a long time and the roots will not want to spread out.
You may also be interested in: Dry back – how to manage controlled drying of the substrate
For larger plants, it is advisable for each watering to be thorough and for a little water to drain out. This is especially important if you use mineral fertilisers and need to monitor the pH and EC of the nutrient solution. Thorough watering evens out the EC and pH of the substrate and helps prevent fluctuations. If you grow in soil or coco, allow the substrate to dry out sufficiently between each watering. How often you water your plants depends on many factors, but in general it is better to water more often than less often. When watering by hand, it is advisable for the substrate to have time to dry out sufficiently at least twice a week.
Typical signs of overwatering
- wilted leaves even with enough water
- slow growth
- yellowing of the lower leaves
Incorrect climate in the growing space
 In addition to water, nutrients and light, plants also need the right environment; otherwise they cannot make use of these resources. If, for example, it is too cold and humid in the grow room, plants transpire less water and grow more slowly. Heat and dryness also have negative effects. For indoor growing to be effective, conditions must be as close to ideal as possible. Plants can survive even in suboptimal conditions, but this will negatively affect their health, growth and yield.
Among the most common climate-related mistakes are insufficient or excessively high temperatures. Many growers underestimate how strongly even a few degrees of temperature difference affect plants. The ideal temperature during the lights-on period is approximately 21–28 °C, with slightly lower temperatures possible during the night. Plants do not respond well to sudden temperature swings or a day-night difference greater than 7 °C. If it is too cold in your grow room, greenhouse heaters are an excellent solution. Excessively high temperatures in the grow box can be solved with better ventilation, air conditioning or, in extreme cases, by reducing the power of the lights.
You may also be interested in: How to solve heat or cold in the grow box
The second pillar of climate is appropriate humidity. Excessively high or low humidity in the growing space is an invitation for mould and pests. Cuttings, germinated seeds and young seedlings need high relative humidity of 80–90%. During vegetative growth, gradually reduce it and keep it in the range of 50 to 70%. During flowering, keep relative humidity at 50–60%, and in the last two weeks before harvest reduce it a little further to a final 40-50%.
The easiest way to keep the climate in the grow box under control is with a dehumidifier/humidifier. Problems with excessively high humidity are more common than dryness, but the latter is not unusual either. Always monitor humidity and temperature in the growing space with a thermometer with a hygrometer.
You may also be interested in: Advanced climate control – VPD and transpiration
Ideal climate for indoor growing
- Temperature: 23 to 28 °C
- Humidity: Seedlings and cuttings 80-90%/Vegetative growth 50-70%/Flowering 50-60% /Ripening 40-50%
Poor fertilising
 If you think that the more fertiliser you give plants, the better, let us disabuse you of that notion. Especially with effective mineral fertilisers, it is very easy to overfertilise the substrate and literally burn the plants. In general, it is better for a plant to have a slight deficiency than an excess of nutrients. That is why you should always start with lower fertiliser doses and only increase them once you see how the plant responds. If you use mineral fertilisers, always check the EC and pH of the nutrient solution and regularly monitor the EC of the substrate.
You may also be interested in: How to use EC metres in hydroponics and soilless substrates
When growing indoors, you can choose from two types of fertilisers – organic and mineral. The main difference is that organic fertilisers need soil microbes to function, while mineral fertilisers work even in inert substrates, coco or hydroponics. In practice, it may be easier for beginners to grow in soil with organic fertilisers than to jump straight into nutrition that requires precise EC measurement.
You may also be interested in: Organic vs. mineral fertilisers – a guide for beginners
Typical signs of overfertilising plants
- burnt leaf tips
- dark green or twisted leaves
- wilted plants even after watering
You may also be interested in: Complete guide to choosing fertilisers
Most problems in indoor growing do not arise from complicated mistakes, but from repeating the basic ones. Remember that indoor growing is about balance, and the one who succeeds is the one who does not try to rush everything. You can find more useful tips and articles about indoor and outdoor growing on the Higarden blog.
Indoor or outdoor: Which cultivation method is right for you?
Is it better to grow plants indoors or outdoors? Each method has its advantages and disadvantages. While indoor growing allows year-round harvests and control over the environment, outdoor growing is cheaper and does not require technical knowledge. We will compare both methods and help you find the ideal option for your plants.
Indoor Growing: Year-Round Cultivation and Control over Conditions
 Indoor growing means that you grow plants in an enclosed space – in a grow box or an adapted room under artificial lighting, which replaces sunlight. In such an environment, plants can be grown both in traditional ways in pots or raised beds filled with soil, as well as hydroponically, in coconut substrate or inert growing media. Plants grown indoors usually require regular fertilisation, whether with mineral or organic fertilisers.
You may also be interested in: Buying a grow box from A to Z
Advantages of indoor growing:
- Full control over conditions – In an indoor garden, you are the master of the weather and can control temperature, humidity, light and air circulation with a simple turn of a knob.
- Year-round growing – You can grow and harvest in any season in the comfort of your own home.
- Discretion – If you do not want to, nobody needs to know about your indoor garden.
- Protection against pests and adverse weather – Plants grown indoors are exposed to less pressure from pests and pathogens than those outdoors.
- Exotic species – Some species (cacti, tropical plants, medicinal species, herbs, mushrooms) require a specific environment and would not have a chance to survive outdoors.
Disadvantages of indoor growing:
- Higher initial costs – Although it has long not been true that indoor growing is a financially demanding hobby, at the beginning you will still need to invest at least a few thousand crowns in your garden.
- Higher running costs – Sunlight and rain are free, but with indoor growing you must account for ongoing electricity costs.
- Dependence on technology – Faults in technical equipment at the wrong time can jeopardise your entire harvest.
Plants suitable for indoor growing:
- Herbs (basil, mint, coriander, thyme)
- Exotic plants (orchids, citrus plants, banana plants)
- Leafy vegetables (lettuce, rocket, spinach)
- Houseplants (ficuses, monsteras, succulents)
- Medicinal plants
- Tomatoes
- Chilli peppers
Outdoor Growing: Natural Light and Low Costs
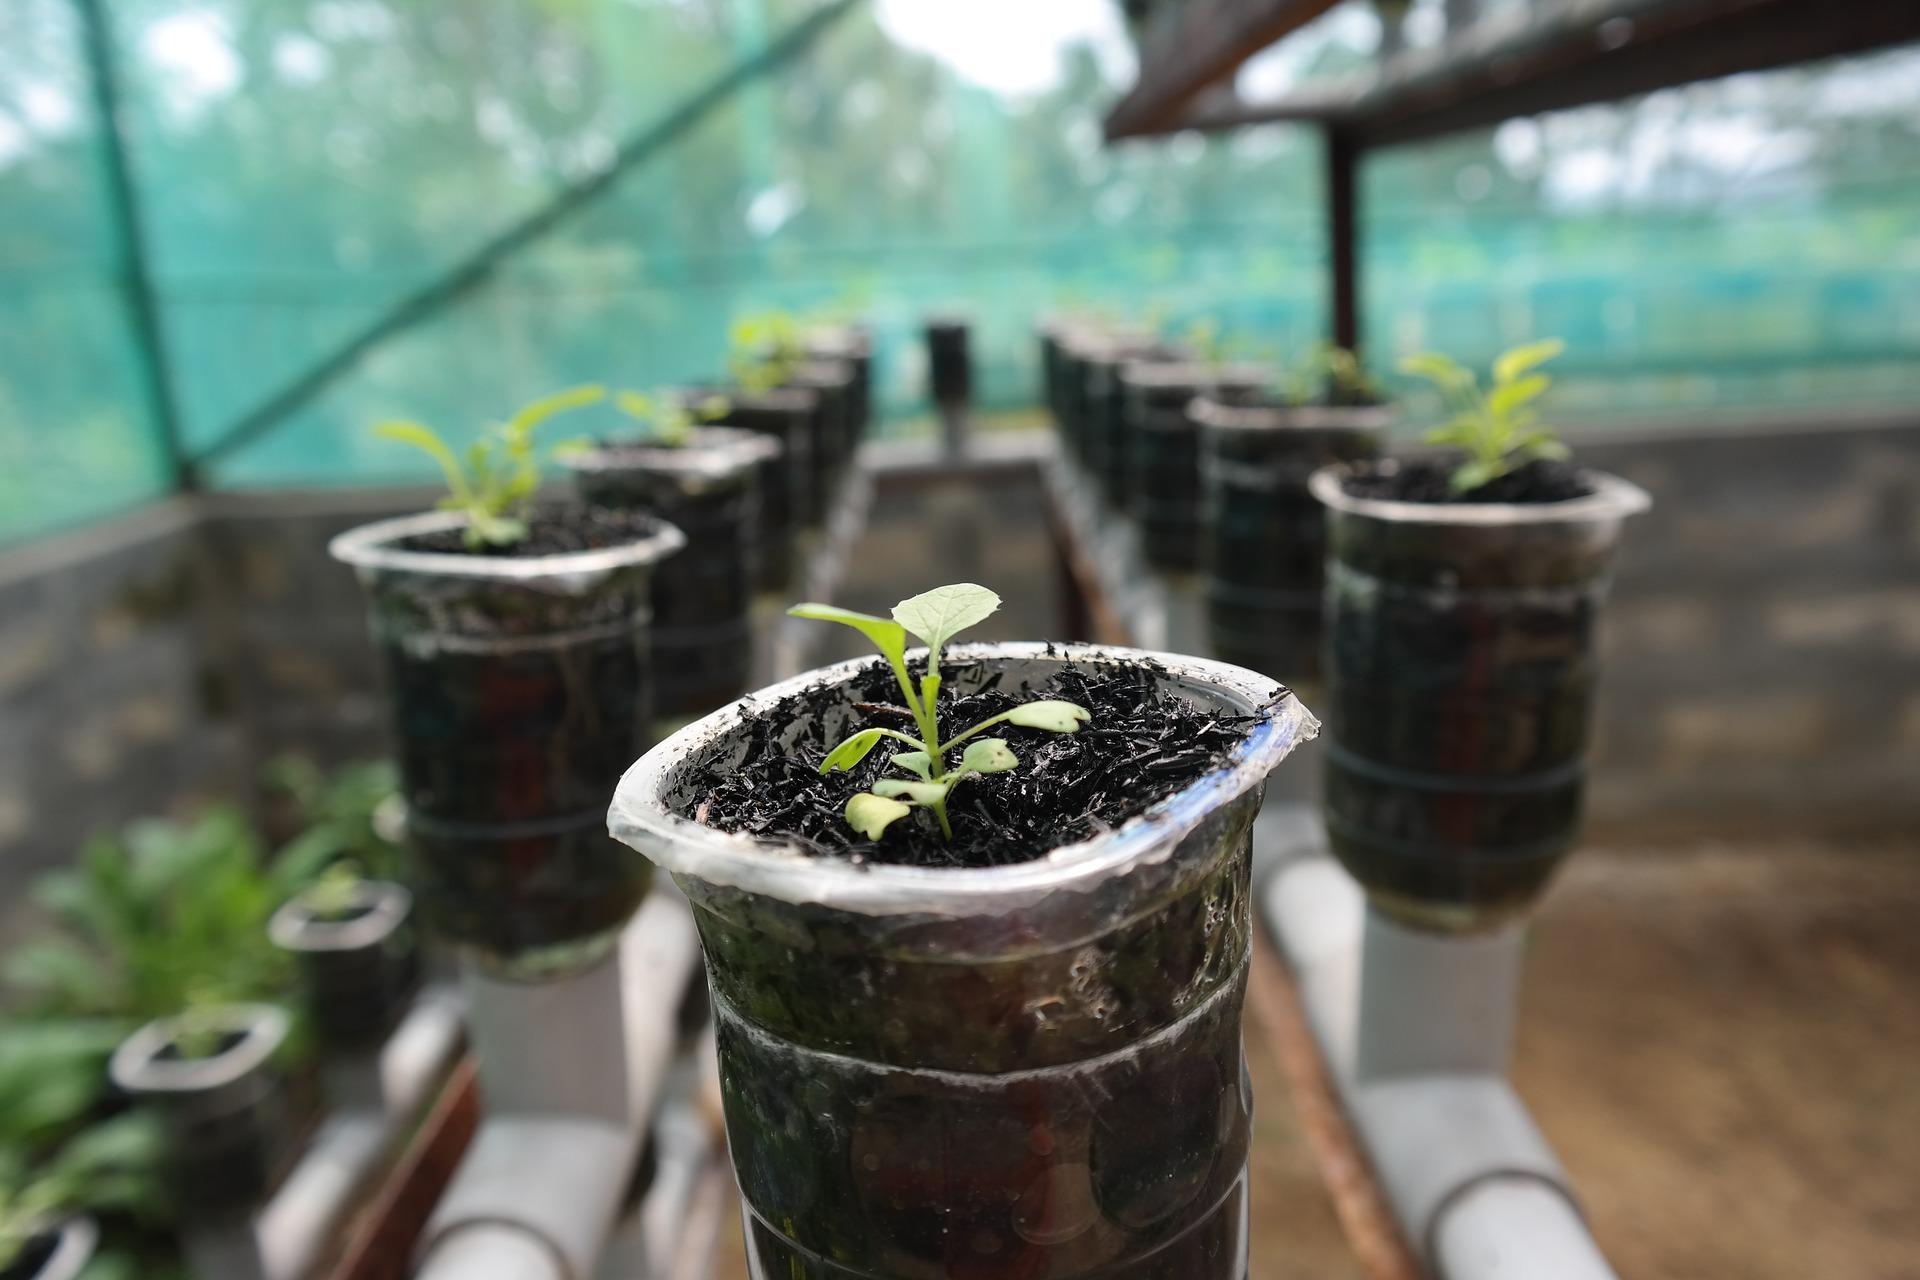 Outdoor growing means that you grow plants under the open sky, where they use natural sunlight and rainfall. This includes cultivating plants in open ground in beds, pots, raised beds or possibly in greenhouses. To make work easier and gain greater control when growing outdoors, you can use various types of irrigation systems.
You may also be interested in: Growing year plan: Prepare for the outdoor season
Advantages of outdoor growing:
- Sunlight – Although modern LED grow lighting surpasses outdated sodium discharge lamps in many respects, plants in the sun have access to a more complete light spectrum than those grown indoors.
- More space – Plants grown outdoors in open ground have more space for their roots and tend to be taller and bushier than those indoors.
- Lower costs – Unlike indoor growing, outdoors you can grow almost for free, and it is up to you how much you want to invest in your garden.
- Less fertiliser – Thanks to the natural cycle of nutrients in nature, plants grown in open ground do not require such frequent fertilisation.
Disadvantages of outdoor growing:
- Dependence on weather – Extreme temperatures, strong wind, hail or excessive rainfall can damage your harvest.
- Seasonality – Whether you want to grow vegetables, herbs or medicinal plants, the season ends for you in autumn and you will have to put the garden to bed for winter.
- Risk of pests and mould – Plants grown outdoors are exposed to insects and pests and wind-borne pathogens such as mould.
Plants suitable for outdoor growing
- Root vegetables (carrots, beetroot, radishes)
- Fruit vegetables (tomatoes, peppers, courgettes, cucumbers)
- Fruit trees and bushes (cherries, apple trees, currants, raspberries)
- Traditional herbs (lavender, sage, rosemary, lemon balm)
- Field crops (sunflowers, maise, potatoes)
- Legumes (beans, peas)
- Medicinal plants
It goes without saying that the decision whether to grow indoors or outdoors depends primarily on your options and priorities. If your main concern is having maximum control over the environment and you want to grow year-round and discreetly, choose indoor growing. If low costs are your priority, use the power of the sun and grow outdoors.
Also consider the type of plants you want to grow. Exotic or heat-loving species do not do very well in our latitudes. You can also combine both methods. For example, you can pre-grow chilli peppers indoors and move them outside for the summer season. As soon as it starts to cool down outdoors in autumn, you let the fruits ripen under artificial lighting. Similarly, indoor and outdoor growing can be combined in the form of lit or darkened greenhouses.
Are you looking for useful tips for growers, cultivators and enthusiastic gardeners? You will find all this and much more on our Higarden blog, where we regularly bring news for indoor and o
Even with a smaller budget, great results can be achieved!
“LOW BUDGET”... that is how today’s article devoted to plant cultivation could be briefly described. Our main aim is to show enthusiastic beginners that there is no need to pour huge sums into home growing of herbs, fruit or vegetables right from the start.
As the title itself suggests, it is exactly the opposite, and nowadays there are indeed options for starting cultivation in a growbox, in the garden or in a greenhouse that are accessible to everyone and make growing in indoor and outdoor environments an increasingly popular hobby across age groups, and above all a real pleasure.
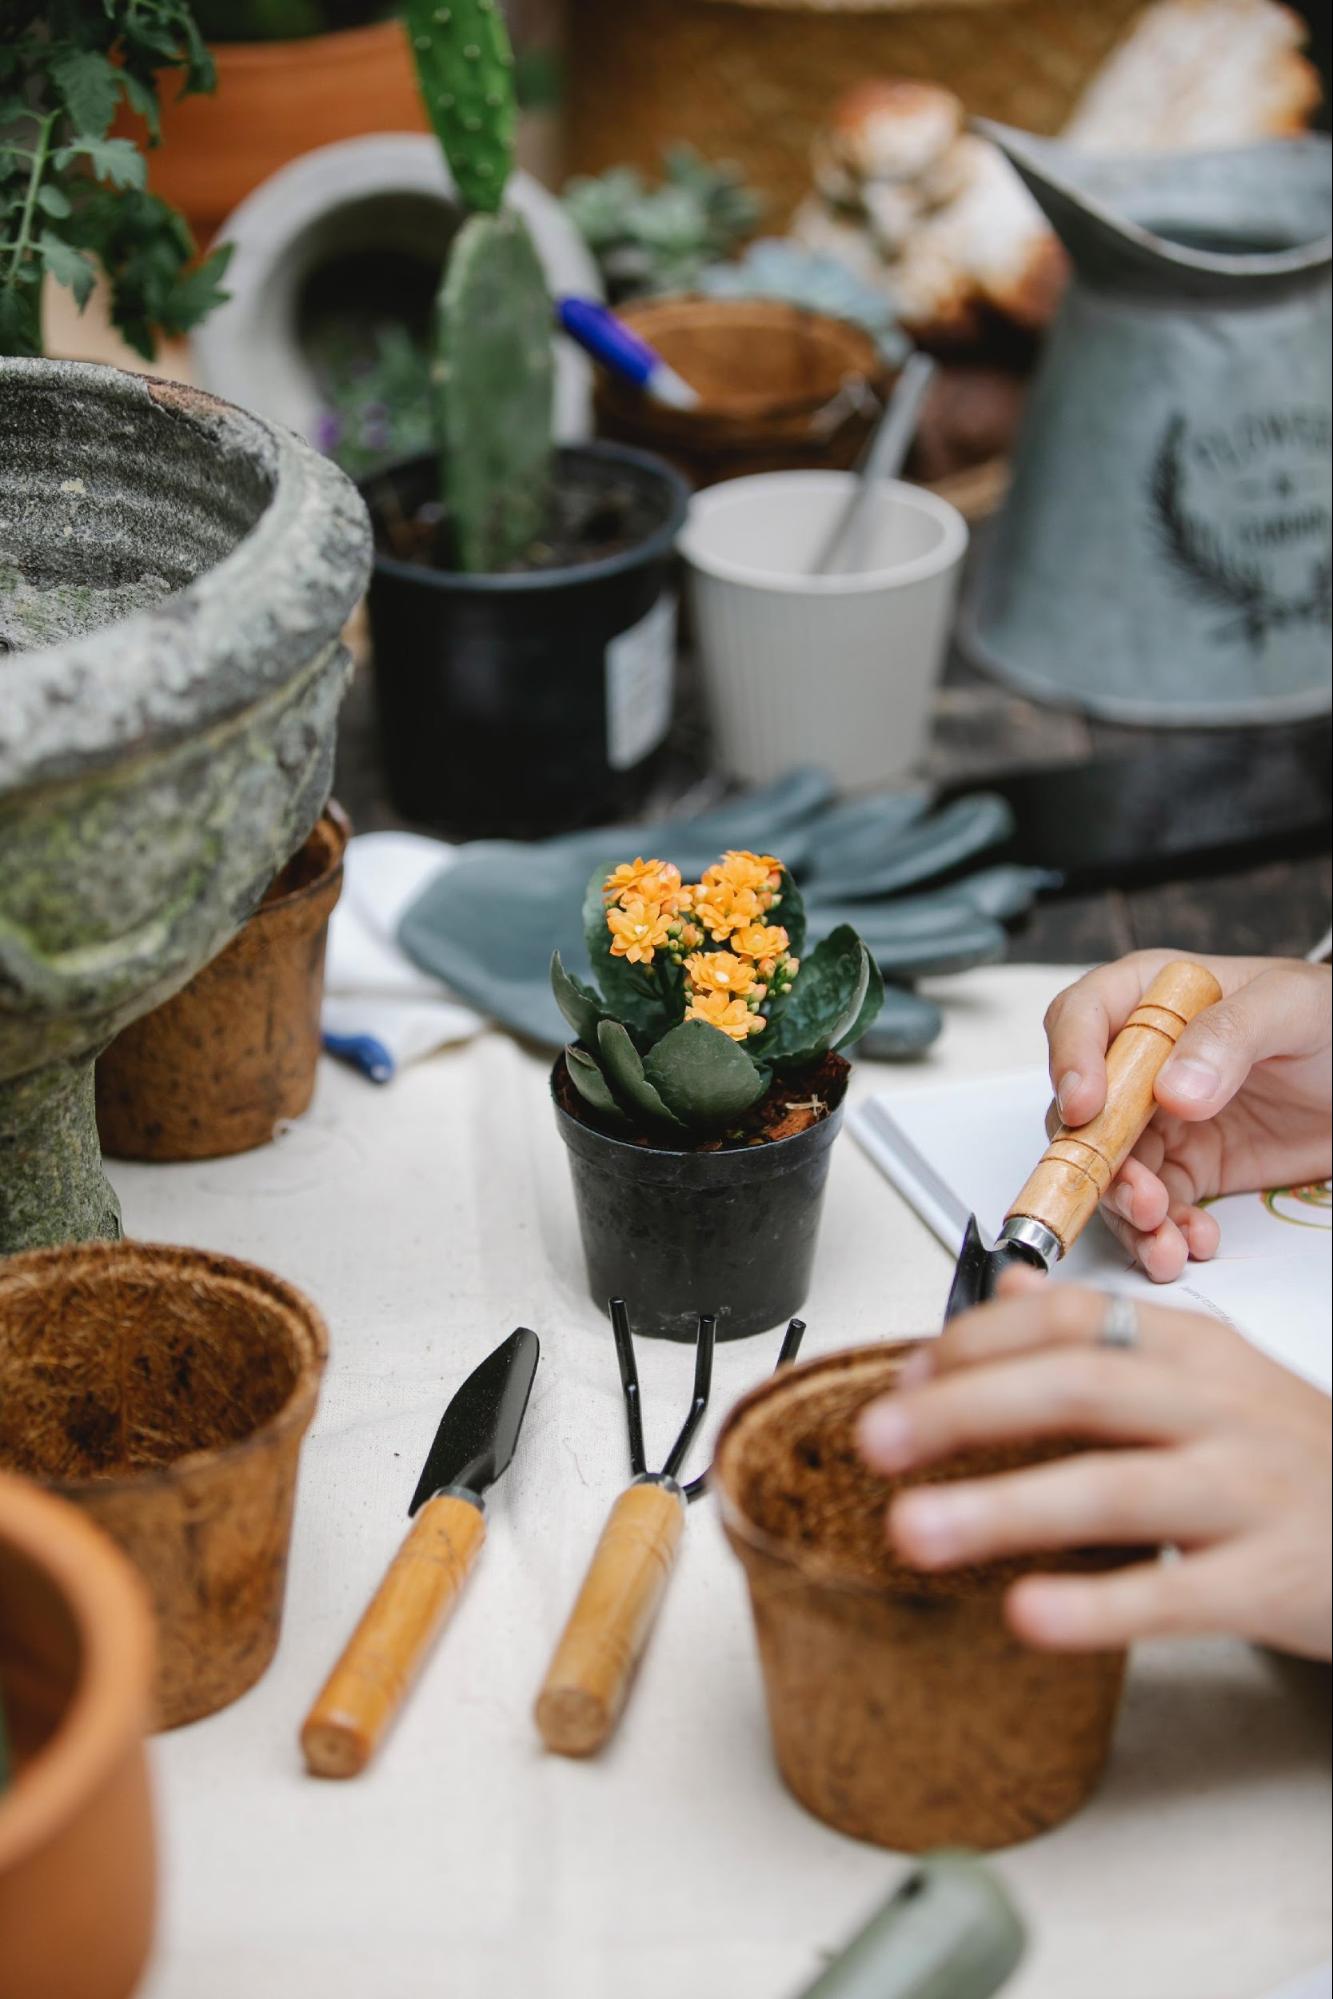
For example, there is no need to invest immediately in automatic growing systems, but every beginner grower can first get to know and understand plant needs on just a few plants, watered by hand and planted in pots, of which there is also a wide selection today, from fabric and perforated models to the cheapest plastic pots.
Cheap mini greenhouses and propagators, often also referred to as propagators, which greatly simplify the beginnings in the form of germinating and rooting seeds and cuttings, can now also be purchased for a few pennies.
The basics with everything included
An excellent and proven way to start growing any herbs or agricultural crops at home is a выгодný set of a grow tent with accessories. Here, indoor plant growing becomes accessible to everyone, immediately. You only need a little over five thousand crowns for a basic set (growbox + accessories) and you can already grow plants wherever you like, even in a block of flats, without any major botanical knowledge or experience.
For the smallest possible amount, everything you need to get started will suddenly arrive at your home, while you can also be completely calm that everything will work exactly as it should from the beginning to the end of the growing cycle, and you will achieve a beautiful first harvest without much effort!
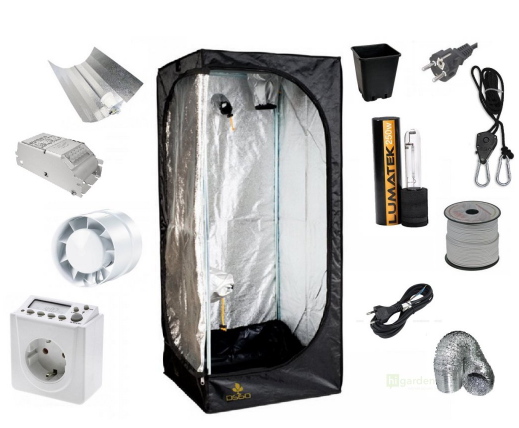
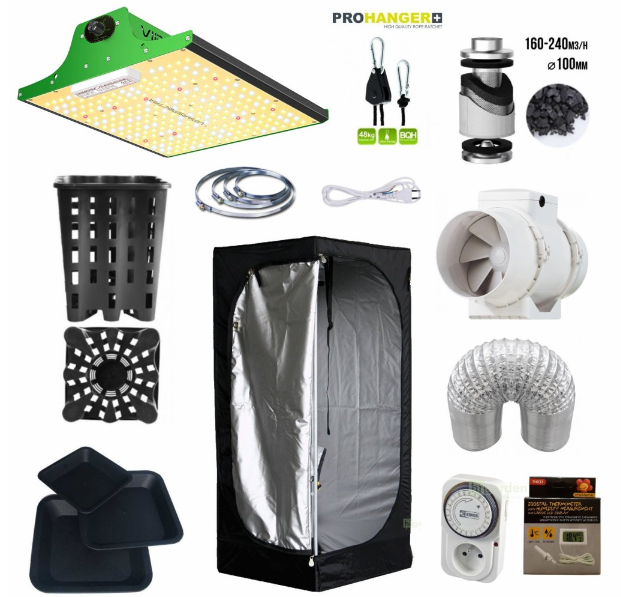
The image above shows what such a BASIC GROWBOX KOMPLET contains: from the grow tent itself, through pots, lighting and flexible ducting to a reliable fan. Another option is to pay a little extra for a set equipped with an odour filter, especially if you live in an apartment building and appreciate discreet operation.
Soil as the ideal and inexpensive start
Soil mixes can be considered the ideal growing medium for the beginning. Growing in soil provides the greatest tolerance for certain beginner mistakes and is the cheapest option. This does not change the fact that nothing prevents you from growing your own herbs, fruit or vegetables cheaply and easily in TOP quality thanks to affordable yet high-quality substrates and nutrition.
Gradually expand your equipment and your harvest
If, with the coming new season, only your budget stands between you and planting your first seeds, but you do not lack enthusiasm and the desire to grow, do not delay unnecessarily and enjoy the gardener’s year, at least in a small way! You can start very minimally, whether you use the cheapest grow tent or a growing kit including accessories at a favourable price, or the cheapest option for your garden or greenhouse.
We will be happy to advise you on choosing products so that, with regard to your individual possibilities, you can grow whatever you feel like and whatever brings you joy. Share your plans with us, and if you wish, also your budget, and we will be happy to help you choose the ideal equipment to start with, so that your first season will be unforgettable. We are here for you at the well-known address info@higarden.eu.
- Propagators
- Grow tent with accessories - basic set
- Cheap and quality substrate
- Plastic pots
Indoor plant cultivation and the savings associated with it
The financial demands of indoor growing are a common myth that unnecessarily discourages beginner growers from making full use of the advantages of grow tents and harvesting a luxurious crop several times a year, all in the comfort of home. This article aims to dispel the myth that indoor growing is financially demanding and, instead, highlight the savings and other benefits it brings to growers.
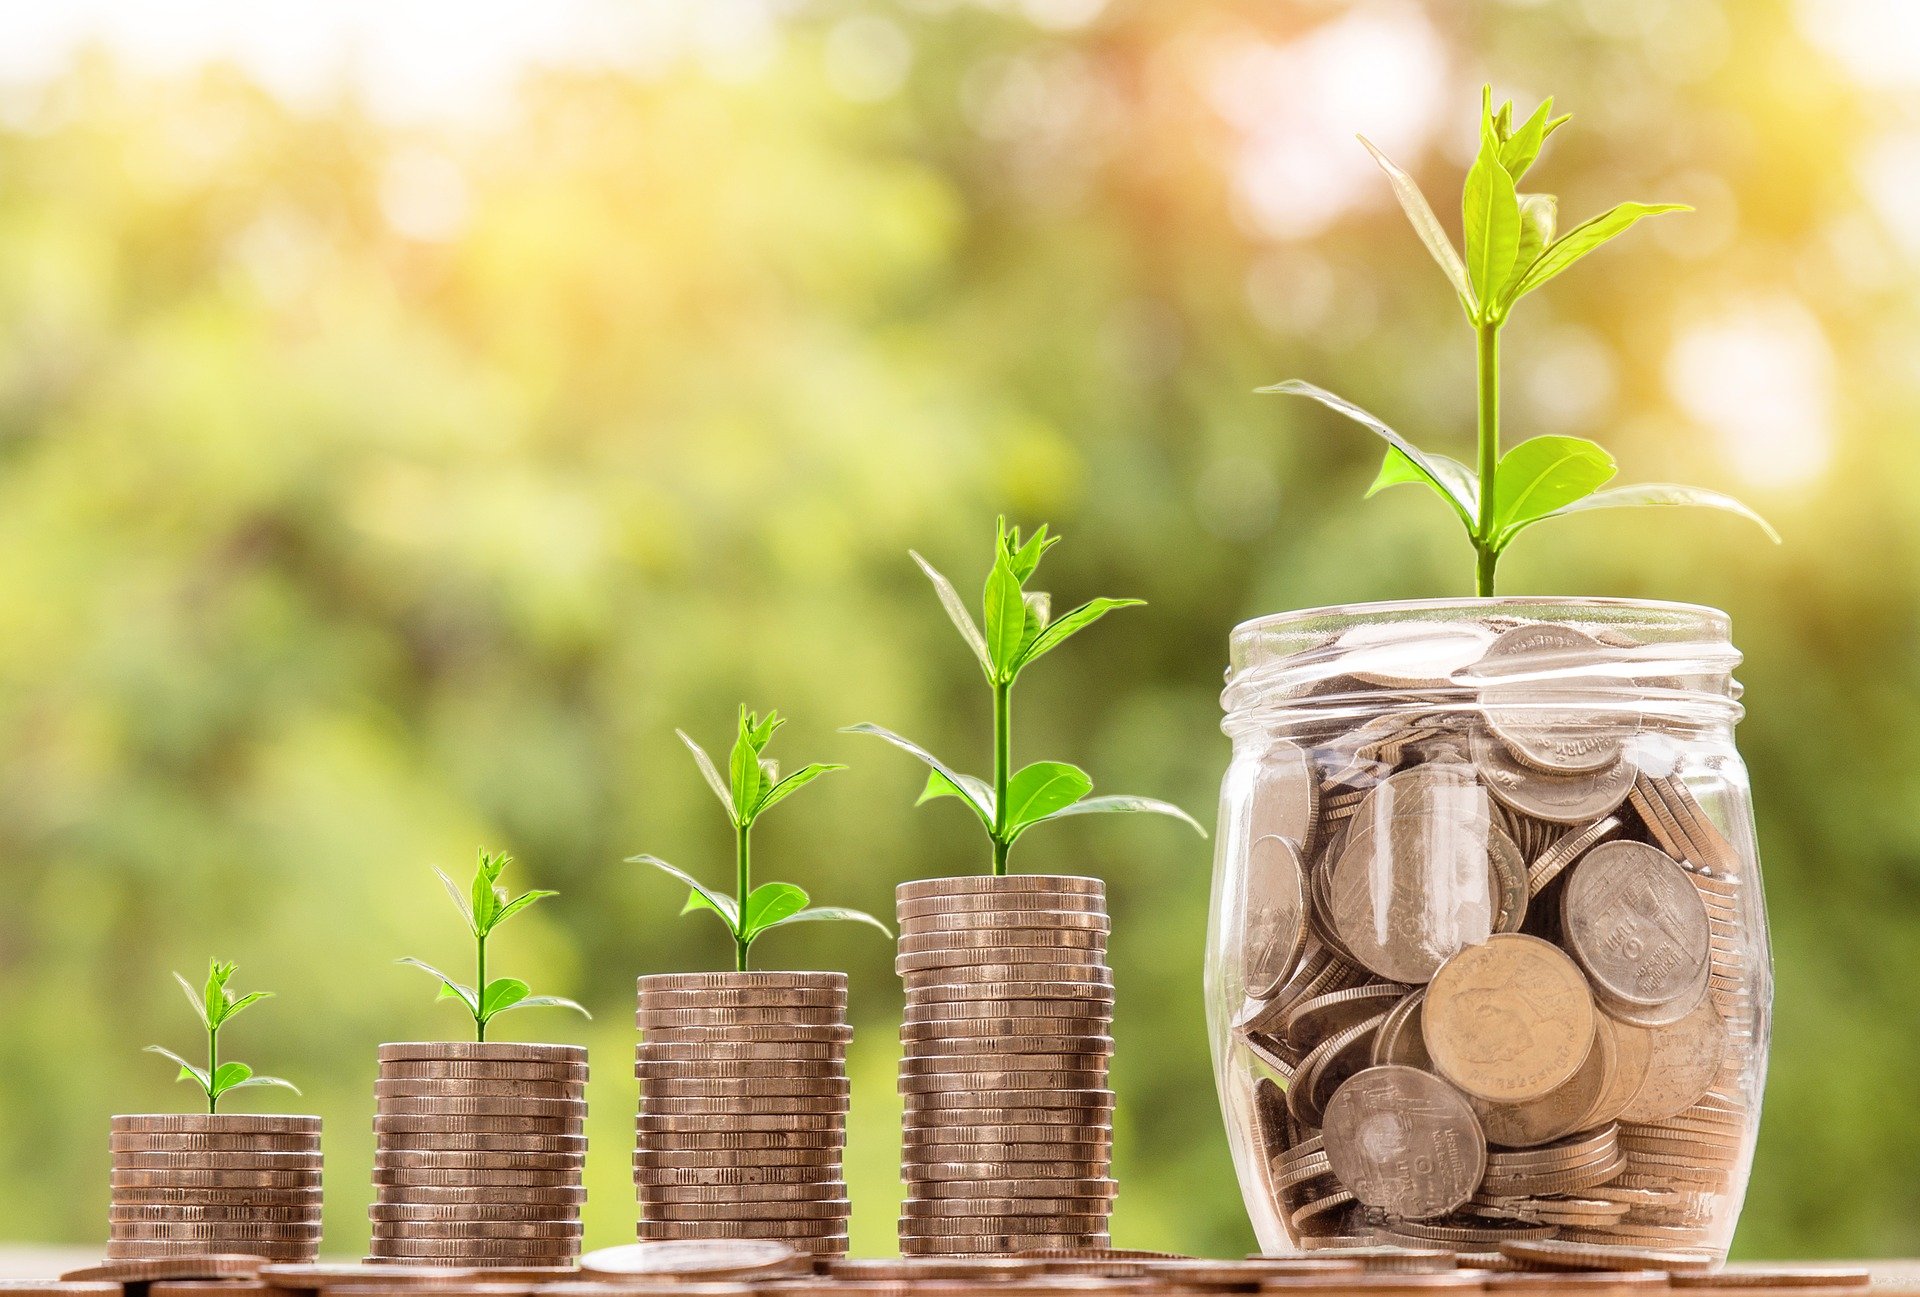
- Let us start straight away with the numbers. In our e-shop, you can buy a complete basic growing set including an odour filter for discreet operation in your home from just CZK 6,790.
- If you are concerned about the electricity bill, the real running costs of such a “magic cabinet”, as we like to call it, amount to only a few hundred crowns per month, which is a negligible sum, especially when compared with the value of the harvest, whether you are growing organic-quality vegetables and fruit or medicinal herbs.
- In addition, most households allow you to use the off-peak tariff hours for the lighting cycle.
- Once you start choosing your first grow box with accessories (lighting, ventilation, etc.), we will be happy to advise you on a solution tailored to your possibilities, so that you have a clear idea of the future costs.
“INVESTING IN QUALITY ALWAYS MEANS THE GREATEST SAVINGS IF YOU ARE SERIOUS ABOUT GROWING AT ANY SCALE.”
Beginner growers naturally tend to choose the cheapest products, but the technology used in only slightly more expensive equipment ultimately makes such a significant difference to operating efficiency that your initial investment will pay for itself within the first few growing cycles.
Here are some practical tips on how to reduce the running costs of an indoor growing room:
- Try to choose each piece of equipment and then use it as efficiently as possible, thereby reducing any potential energy losses to an absolute minimum.
- You can make use of every beam of light, for example thanks to high-quality reflectors or shades, if you choose discharge lamps as your source of artificial lighting.
- The same applies to reflective films. By carefully and regularly cleaning the reflective surfaces alone (both in the case of reflectors and reflective films), you will ensure not only maximum efficiency in the use of light radiation, but also give no chance to the action of pathogens or pests.
- In smaller grow boxes and propagators, you can use energy-saving lamps (CFL) for cultivating young plants.
- If you are serious about indoor growing, in the long term you will save considerable money by using LED grow lights, which significantly outperform classic discharge lamps in overall operating efficiency.
- Plants grown under discharge lamp light should be shaped evenly for maximum light absorption. With modern LED panels, even light distribution is already ensured. In the case of full-spectrum models, this is further developed into a perfect imitation of natural sunlight, so you only need a single light source for all development stages, and you also save on buying a shade, which is unavoidable when using a discharge lamp, while most discharge lamps are suitable only for one specific development stage (growth, flowering).
- Another advantage of LED lights is the possibility of hanging them very close to the tops of the plants thanks to their low heat emissions, without the risk of burning them. This again increases the overall efficiency of operation.
- To sufficiently highlight the savings achieved by using LED lights instead of HPS lamps, let us give a specific example. If we replace a 250W HPS lamp with full-spectrum LEDs of equivalent output, the investment will pay for itself by the sixth growing cycle at the latest, which, for example, in the case of autoflowering varieties lasts around 2 months, so within a year we have the investment back and at the same time enjoy higher-quality flowers or fruit and higher yields already in the first year.
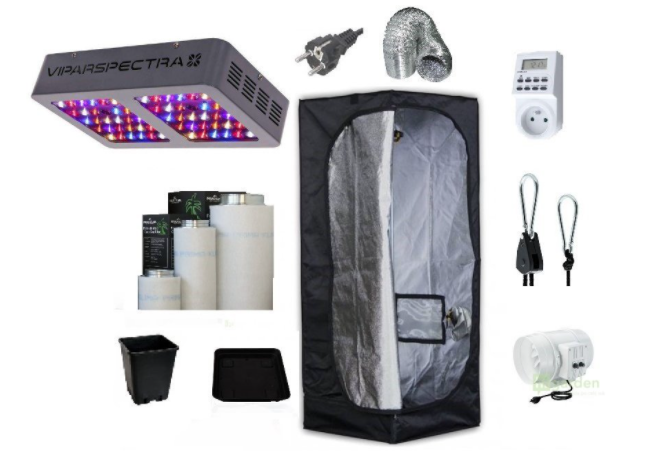
- And because we are well aware of this fact, precisely tuned LED grow box sets with complete accessories are among the most advantageous products you can buy, saving you additional money at the start of your indoor growing journey. The image below illustrates what such a set contains.
- Below we also provide a link to a separate article on the topic of HPS vs. LED.
- You can clean the blades of fans with compressed air after each growing cycle, which will result in lower noise during the following growing cycle and, last but not least, a longer service life.
- The fan speed can be regulated in quality devices according to the temperature inside the grow box, which naturally drops when the lights are switched off, and the fan’s electricity consumption also automatically decreases.
- When it comes to fans, if you want savings, choose fans with an EC motor without question, where the real electricity consumption will more closely correspond to the set output.
- EC motors also contribute to a significantly longer service life of the equipment.
- Ballasts and other accessories that emit heat into the space can be placed outside the growing area, which again reduces the required fan output.
How else can you save in indoor growing?
- Definitely on nutrition. But certainly not in terms of quality. We mean the advantage of larger packs. Our range also includes popular value fertiliser sets. For growing in soil, our customers most often choose BioNova Starter pack Soil Supermix.
- Large, more economical packs of individual products are characterised by a fairly long shelf life; they only need to be stored in a cool, dark place.
- In indoor growing, you also save thanks to the reduced risk of pests and plant diseases, as their elimination and the costs of prevention are, on average, considerable in the case of outdoor cultivation. When cultivating plants indoors, high-quality prevention such as Canna CURE is more than sufficient, and it is of course always cheaper than any solution to problems that have already arisen.
- Another way to save when growing indoors is to revitalise (recycle) exhausted substrate. You can read a separate article on this topic on our blog.
Below you can take inspiration from specific products from our range that are all about saving money, and if you are already beginning to suspect that a home growing room does not necessarily have to be an expensive hobby, we will be happy to advise you on selection, installation, and anything else needed. Do not hesitate to contact us at the well-known address info@higarden.eu.
For economical indoor growing, we recommend, among other things, these products:
- LED grow box sets with complete accessories (from CZK 8,990)
- Viparspectra PRO Series P600 (CZK 2,990)
- Value fertiliser and additive sets (from CZK 229)
What to read next?
Avoid the Most Common Mistakes When Growing Plants
Especially beginning growers often make fundamental mistakes that they could avoid by reading this article in time and enjoy a plentiful harvest right from the start. So let us introduce them!

EXCESS OF NUTRIENTS
- In a recent article, we looked closely at deficiencies, or shortages, of the most important nutrients in plant nutrition. However, plants do not thrive even when the cause of nutritional imbalance is, on the contrary, an excess of nutrients. In gardening too, the well-known saying applies that too much of a good thing is harmful. And also that less is sometimes more, because a lack of nutrients can be corrected more easily than an excess.
- And it is not only beginning growers who want the best for their herbs, and so give them more nutrients than is healthy for them. In cultivation practice, we refer to this mistake as burning plants due to over-fertilisation.
- The good news is that it can be easily avoided. Simply follow the instructions and values stated in the dosing tables.
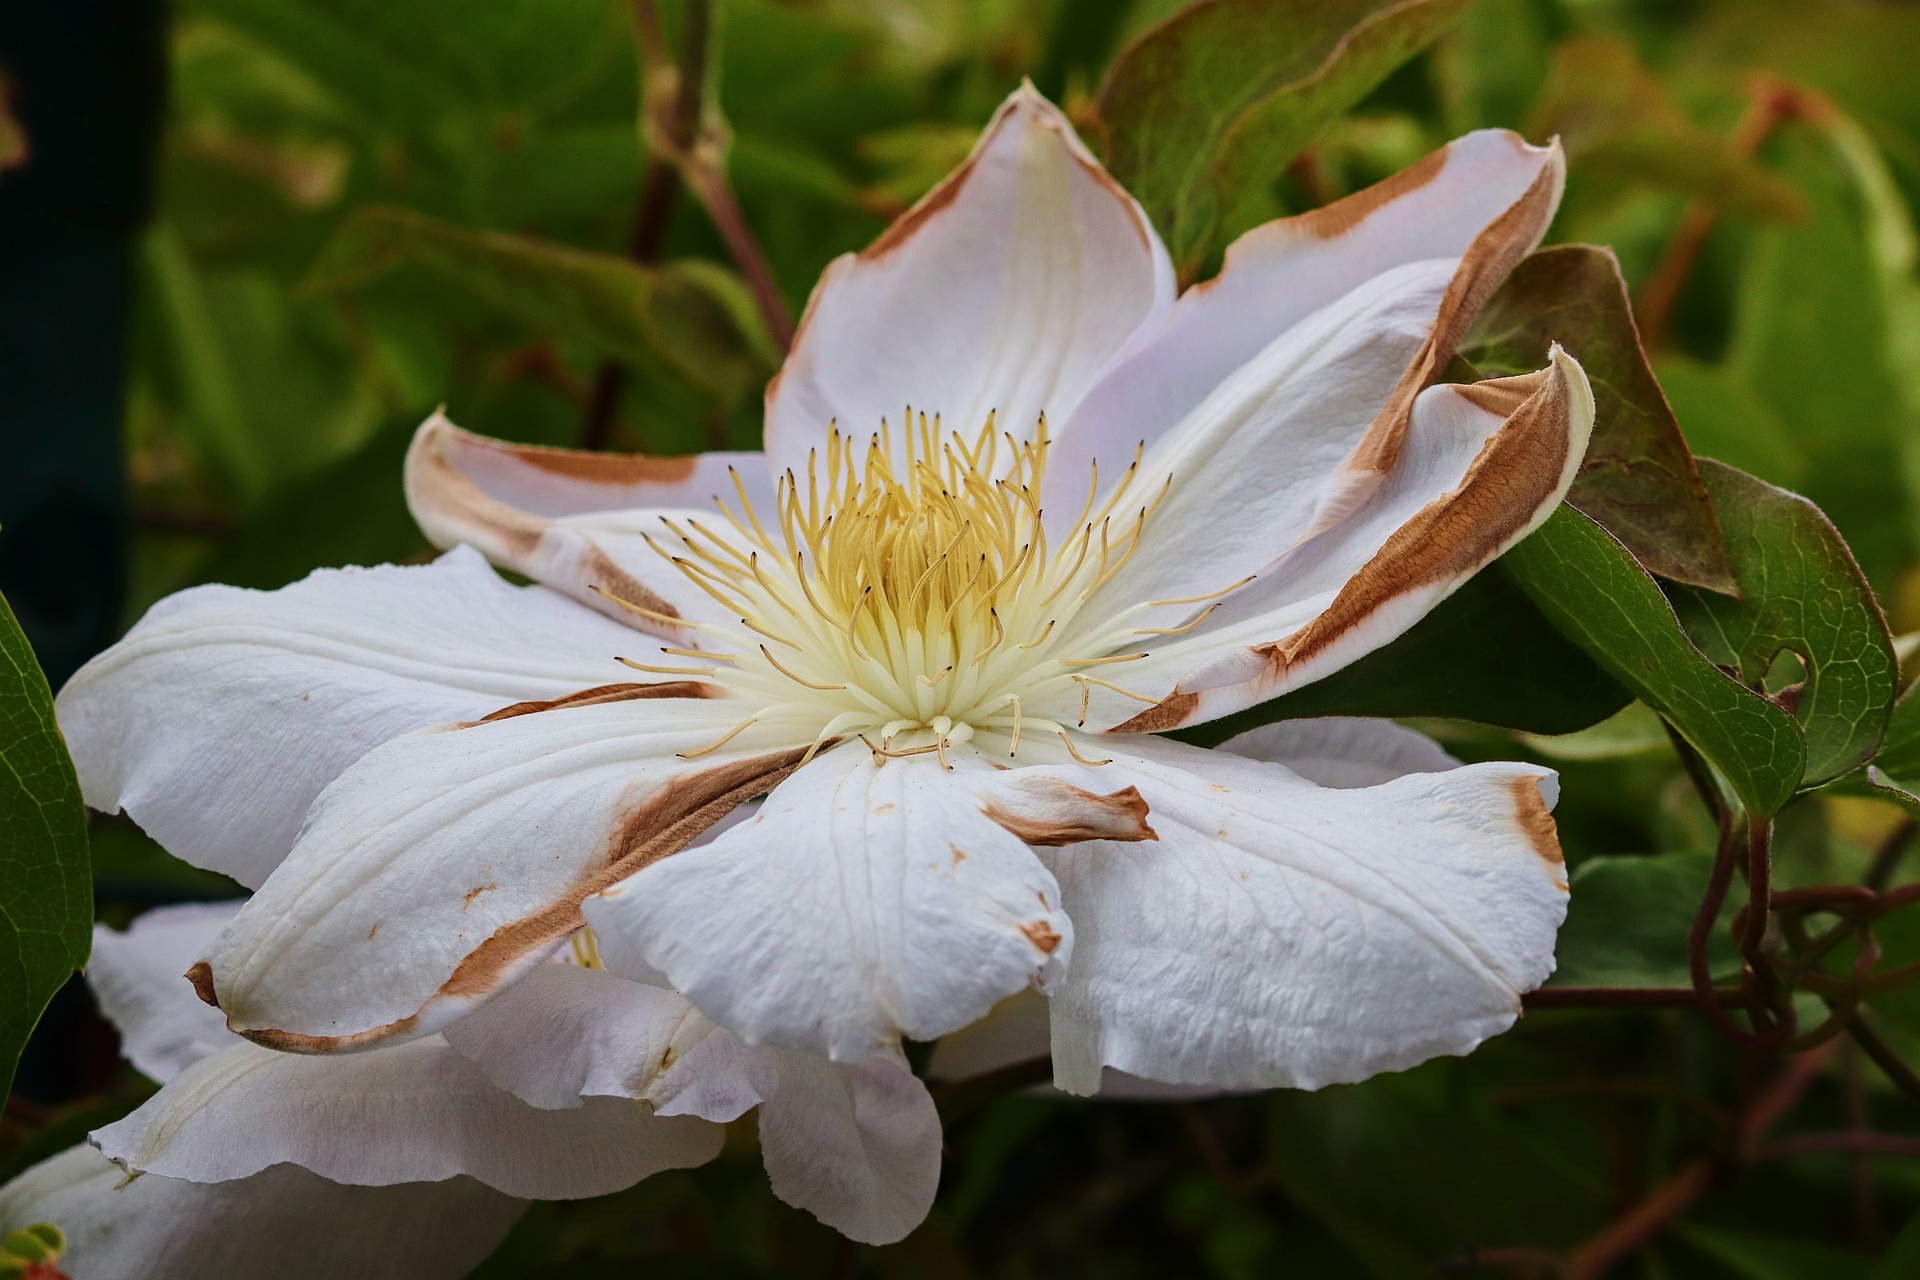
- Nutrient burn appears in a similar way to other types of burn caused by light or heat stress (see below).
- We observe random spots around the edges of the leaves and their curling.
- In hydroponic systems, the solution to this problem is easy! Simply replace the growing medium and dilute to the optimum amount of nutrients. Plants have considerable regenerative ability, but it takes some time before they recover sufficiently, which can be a problem, for example, with approaching frosts when growing outdoors.
LIGHT AND HEAT STRESS
- And we are back to plant burn, this time as a result of exposure to excessive light and heat.
- This mistake is most often encountered by beginning growers when cultivating herbs in a grow tent under a powerful source of artificial lighting. The mistake itself consists of placing a powerful discharge lamp too close to the tops of the plants, or above very young seedlings, whose cultivation in a propagator requires gentle TLED lamps, which can be safely placed very close to them.
- With an LED lamp, which compared with discharge lamps stands out for its even light distribution and incomparably lower heat emissions, you no longer need to worry about burning plants. We especially recommend the full-spectrum (and also best-selling) Lumatek LED luminaires.
- Visible signs of light and heat burn in the form of leaves with a yellow to brown coating will always be more pronounced closer to the source of artificial lighting.
- The solution is to increase the distance between the lamp and the tops of the plants. Alternatively, you can check the temperature in the tent. Room temperature will not harm plants, but if you keep your palm at leaf level for a minute and it feels distinctly hot, it means the seedlings must withstand an unhealthily high temperature.
IMPROPER WATERING
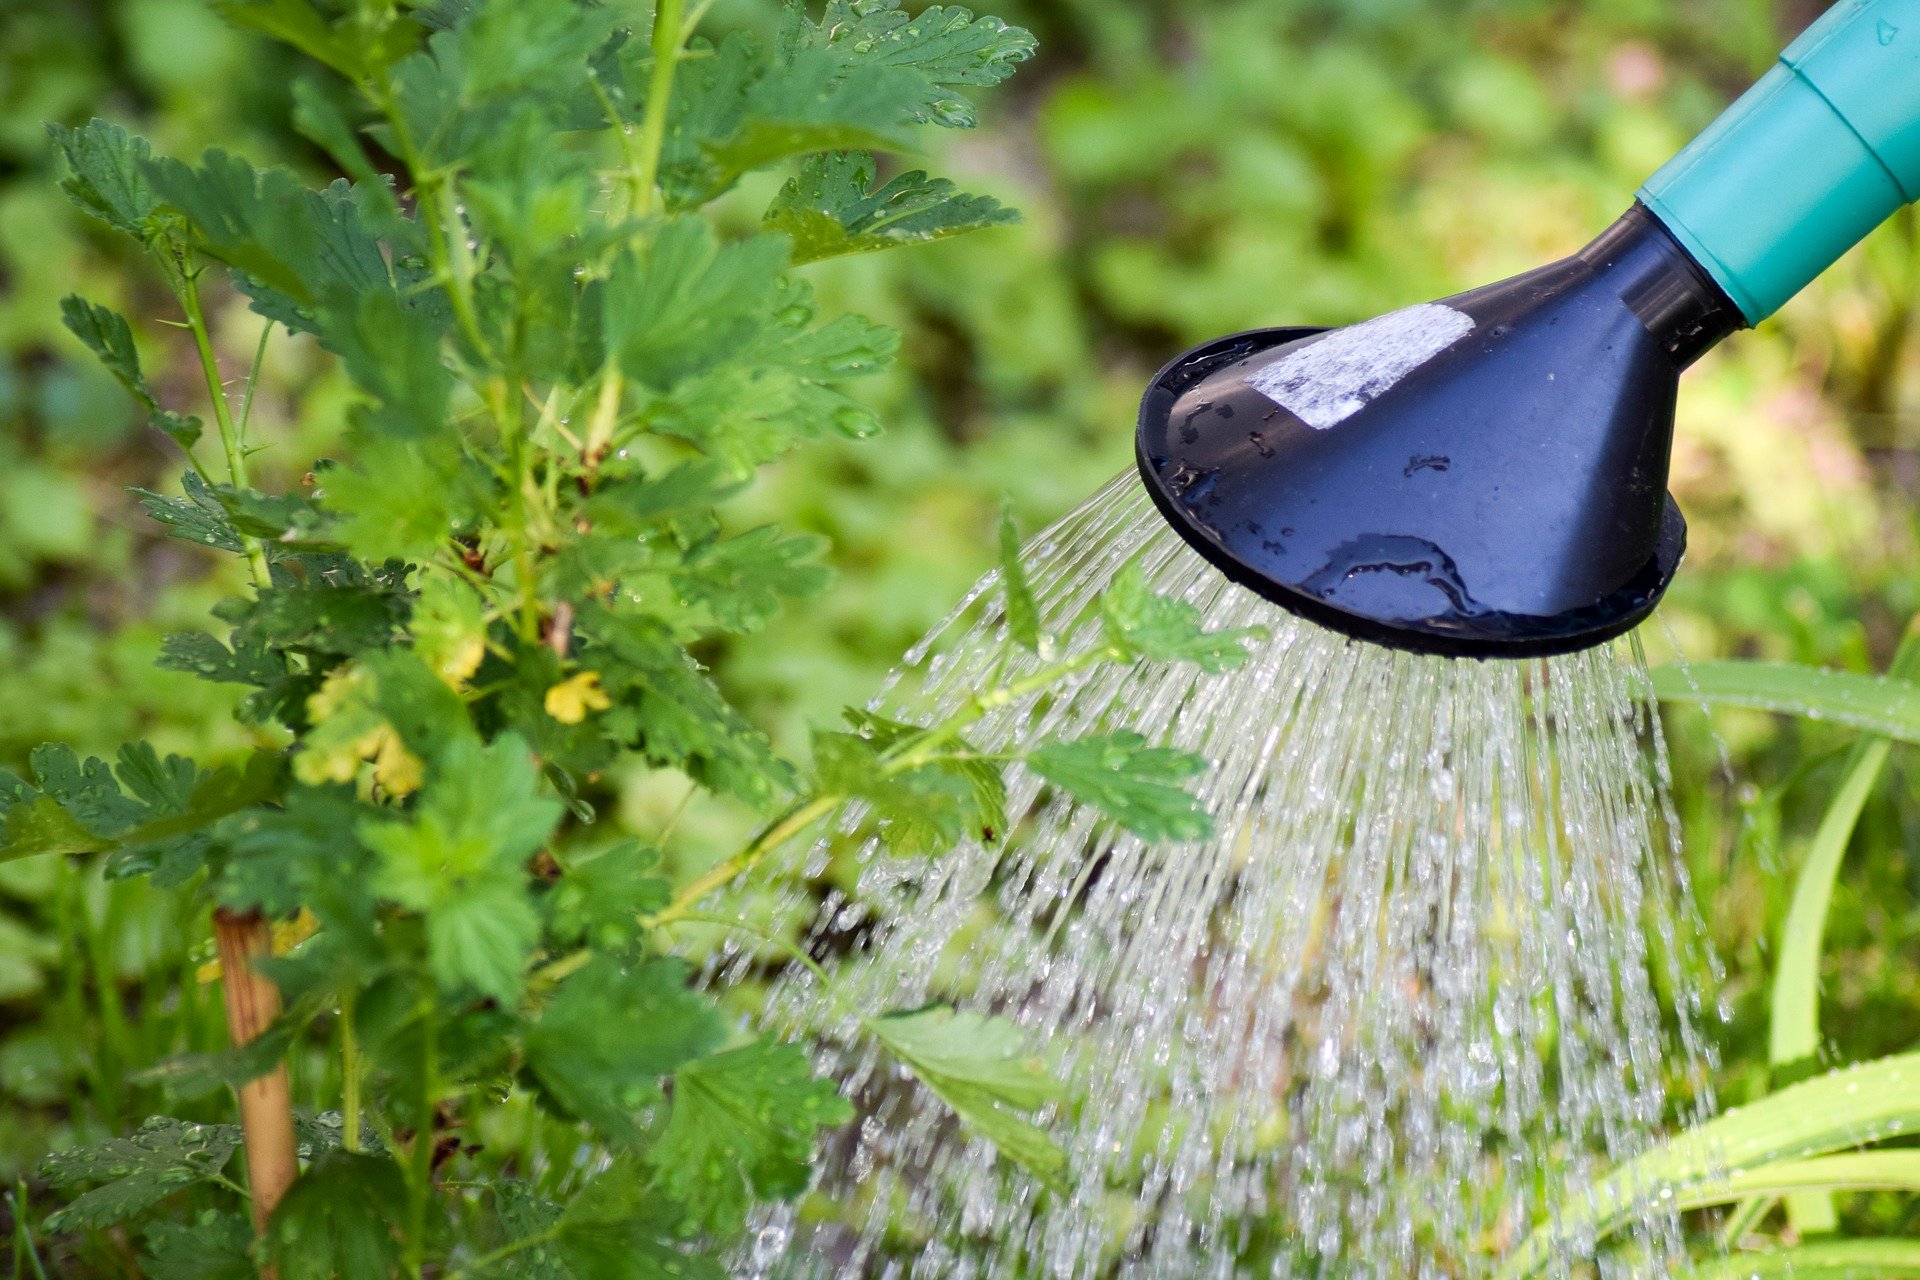
- When it comes to proper and improper watering, you need to avoid two extremes: insufficient watering and overwatering plants.
- Unfortunately, both of these extremes are difficult to distinguish from each other by sight alone, as overwatered plants also show drooping and curled leaves, as if they were suffering from a lack of moisture instead. Curling of the stem then reduces future yield.
OVERWATERING
- This is probably the most common mistake when growing plants. Overwatering plants again belongs to the category of mistakes most often encountered by enthusiastic growers during their first growing cycle, when they vigorously supply plants with water and nutrients.
- Leaving aside the risk of burning plants due to excess nutrients (see above), too much water and a wet substrate create a breeding ground for plant diseases or pest invasion.
- As we have already explained, overwatered plants initially look the same as those that need watering. In practice, this often unfortunately creates a “vicious circle”, when the beginning grower tries to revive wilting plants with more and more water.
- If you know that you are supplying plants with water regularly, and yet you observe wilting leaves, or even chlorosis (yellowing of the leaves) typical of more advanced stages of overwatering, there is nothing easier than to stop watering for a few days and watch whether the plants begin to improve. A proven way to indicate overwatering is also to press the surface of the substrate. Water should not appear on the surface at all after pressing with your fingers, and your fingers should remain only damp. Otherwise, you are overwatering.
- Simple loosening of the substrate can significantly speed up recovery. The root system of an overwatered plant is in fact “suffocating” due to a lack of oxygen, which can cause, among other things, root rot (see below).
- In general, plants benefit more from smaller amounts of water at regular intervals. The risk of overwatering, but also of burning plants with nutrients, is significantly reduced by self-watering systems or, for example, smart pots.
LACK OF MOISTURE
- How much water? Watering should equal the weight of the dry substrate.
- We also recommend misting the plants, especially during the vegetative phase, when higher humidity is important.
ROOT ROT
- Root rot is closely related to overwatering plants, because bacteria multiply in waterlogged substrate in close proximity to the roots and trouble is on the way.
- Once the root system is damaged as a result of rot, such root damage is irreversible. And that would be a great pity!
- So what is the prevention of root rot in plants?
- personal hygiene or the use of gloves
- clean, preferably sterile substrate and pot
- regular replacement of the growing medium in the case of hydroponics, as well as regular disinfection of the hydroponic system with peroxide
- oxygen enrichment of water (air stone)
- room temperature water (18-20 °C)
- water filtration (reverse osmosis)
We hope that today’s article will help you avoid mistakes in the future. It is said that personal experience is the most valuable, but we believe that in the case of these mistakes it is unnecessary, so why not avoid them altogether? After all, growing should be a pleasure! And if you have any questions, do not hesitate to contact us at the well-known address info@higarden.eu.
We recommend these products:
- HERCULES aerated pots (from 49 Kč)
- Lumatek full-spectrum LED luminaires (from 6 990 Kč)
- Cobble smart pot (219 Kč)
What to read next?
How to Start Growing at Home?
Growing in the comfort of your home has never been easier. A wide selection of growing supplies makes indoor growing an accessible hobby with a whole range of benefits. You have absolute control over the entire process, which means you are able to provide plants with ideal conditions and an ideal environment. Compared with a traditional garden, you also do not have to deal much with external influences or pests. Are you already looking forward to the first harvest, but do not yet know exactly where to start? This guide will help you take the first steps so that you can soon enjoy your first growing successes.
Become a gardener in your own house or flat and grow whatever comes to mind yourself! What questions should you ask before you get started?
Remember that everything is connected. When you grow your own plants, you have unique control over the entire process, whether it is the source of the seeds, the quality of the fertiliser, or the ideal light and temperature conditions for a perfect result.
- What will you grow and how much do you want?
There are many possibilities. Let us start in the direction of growth, that is, ascending...<
An ideal choice for beginners is represented by various low herbs (microgreens). Secure a natural source of vitamins and other substances with a beneficial effect on the body at home. Growing small herbs, such as the popular basil, is really simple and offers an opportunity to learn the basic procedures associated with home growing. It is easy to start growing annual herbs as well as perennials. Home-grown ornamental plants, such as orchids, will make a great impression and, with proper care, will reliably outshine pieces from a florist’s shop.
The freshest small fruit and vegetables can grow right in your home. Grow juicy strawberries or bushes full of popular chilli peppers or tomatoes. Broccoli, celery, home-grown cucumbers - what will it be? It is entirely up to you. Grow tents also make it possible, among other things, to overwinter tropical plants.
2. “I have a small tent...” or, in other words, what will you grow in?
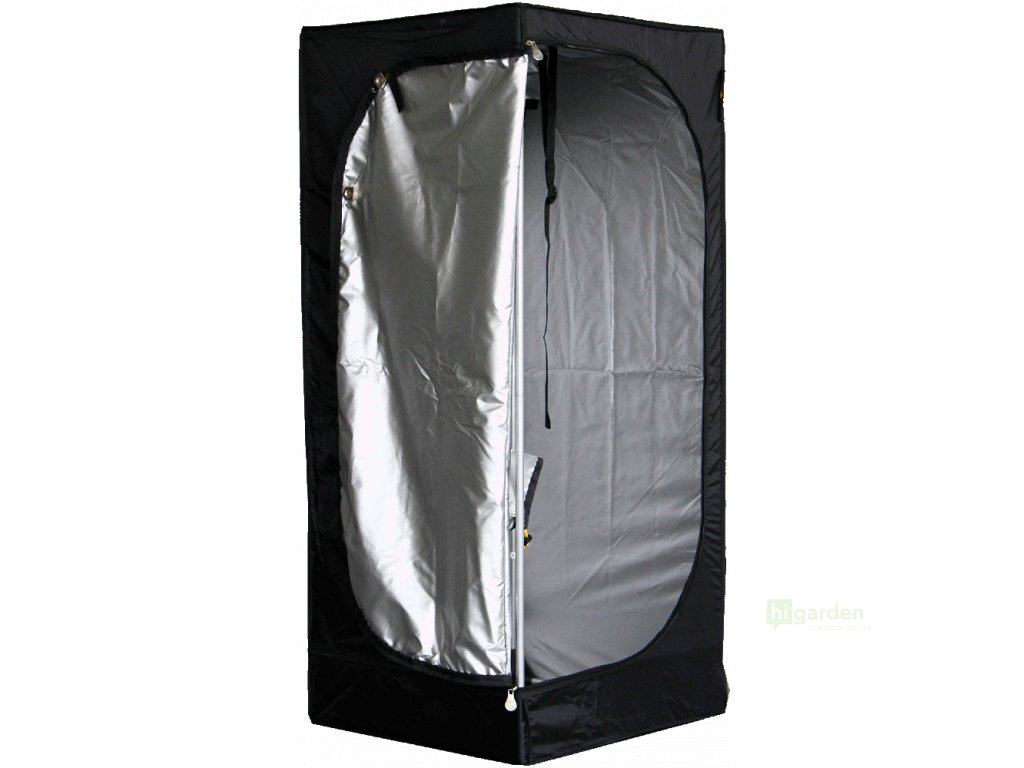
Perfect conditions for plants are ensured by a suitable grow box, in other words a grow tent, and its dimensions are the first thing every beginning grower needs to define. So if you already have an idea of what you intend to plant and roughly how much of it there will be, choose the corresponding size. It is important to bear in mind that a simple equation applies: how much area – that much light. Of course, you will not go wrong if you consult us just to be sure.
- Propagators are boxes for growing or propagating smaller plants, often in several tiers above one another. You can let various seeds germinate in them or use them for raising seedlings. If you need to do this on a larger scale straight away, there is the new XL propagator.
- If you currently plan to use only a few plastic or fabric pots, small grow tents with an area of up to 1 m² are suitable, and they are usually under two metres high.
- A larger number of pots and standard hydroponic systems can be accommodated by medium-sized grow boxes, suitable for both beginners and much more experienced growers.
- Large tents with an area above 3 m² already replace a traditional greenhouse or even more and are intended for very productive experienced growers. We recommend choosing either a purely economical option or the golden middle way at the beginning. It depends on your possibilities and ambitions.
As soon as you open our range, you will find that it includes grow tents that differ not only in size, but also with regard to other important parameters. Let us now introduce the list of the most important ones according to which you will continue selecting:
- Construction and shape: the construction of the products is characterised by high variability; the most sought-after tent footprint is square, but if the interior requires it, there are also boxes with a rectangular footprint. A grow box most often has the shape of a cuboid, but tents in the shape of a triangle are also available, which are especially useful in the corner of a room. If you are planning to garden in a loft, get a grow box with a sloping roof.
- Material quality: grow boxes from different manufacturers are characterised by different levels of workmanship quality and, especially depending on the price, differ from one another in the quality of the seams, zips and the entire construction. The outer shell is a separate topic. The primary indicator of material quality is generally considered to be its ability to reflect light. In this discipline, for example, grow tents from the Homebox Ambient range excel. The durability and lifespan of the material naturally depend partly on you. Even a cheaper option will last you several years if handled carefully. On the other hand, if you have a long-term plan in mind and it is clear to you that growing will not stop being enjoyable after a while, investing in premium products always pays off in the end. That applies at any scale.
TIP for getting started: If you choose one of the pre-assembled value sets, you do not have to deal with selecting the accessories separately, which are discussed in the next points of this article. The equipment must also correspond to the choice of the tent itself, which always has specific outlets, openings or ventilation grilles, as you will be regulating the optimal temperature, humidity or, for example, the carbon dioxide content. Everything must fit so that the whole system works properly in the long term, so at the beginning you can focus only on which set you choose and have no worries. Of course, we are here for all other cases, ready to advise you.
3. Let there be light! What will you use for supplementary lighting?
In order to enjoy the wonders of nature in the warmth of your home and congratulate yourself on the first harvest, the choice of lighting necessary for proper plant development will also play a key role. That is why we have prepared a separate article on this topic, where you will find detailed information on how and with what to supplement plants with light.
4. Plants must breathe - how do you choose ventilation?
We have mentioned that indoor growing makes it possible to provide plants with optimal conditions. By this we mean, above all, the temperature and air humidity inside the tent. In order to regulate these values effectively, it is necessary to equip the box with at least basic air technology. Fans, filters and other gadgets are therefore essential. Thanks to noise dampers, you can make the grow box a beloved but quiet companion in the home. Odour neutralisation allows you to breathe in the room as comfortably as the plants...
5. What should you fertilise with, and how do you avoid over-fertilising?
There are many fertilisers that are a condition for successful growing because of the nutrients they contain. They can be natural or synthetic. At the beginning, it is best if you get clarity with the help of an article that focuses precisely on the basic fertilisers suitable for the start.
6. How do you protect plants against pests and diseases?
You will find inspiration here. It is good that you are starting with indoor growing; pests do not have to trouble you as much as they do outdoors in the garden, but the basic equipment will come in handy.
7. And what exactly is hydroponics?
A great and sophisticated thing, or rather a method. However, it deserves a separate article. There you will read everything you need to know at the beginning.
As everywhere in life, in growing too practice makes perfect. Growing is a wonderful activity, and you will constantly discover new horizons of how and with what to work effectively. Before that, however, you should have the basics clear so that you enjoy it from the very beginning. If there is anything this guide has not answered, do not hesitate to contact us so that you can be clear about your choice. We wish you that the coming cold months take on a new dimension thanks to living plants that you grow yourself at home!
- Grow boxes (grow tents)
- LED sets
- Propagators
- Discharge lamps
- Hydroponic systems
- Fertilisers
- Substrates
Listing controls
8 items total