Composting Guide
Today we are focusing on a topic that has become a major trend in the world of gardening recently, and we believe it will interest you. Today we will talk about how to easily set up and use compost.
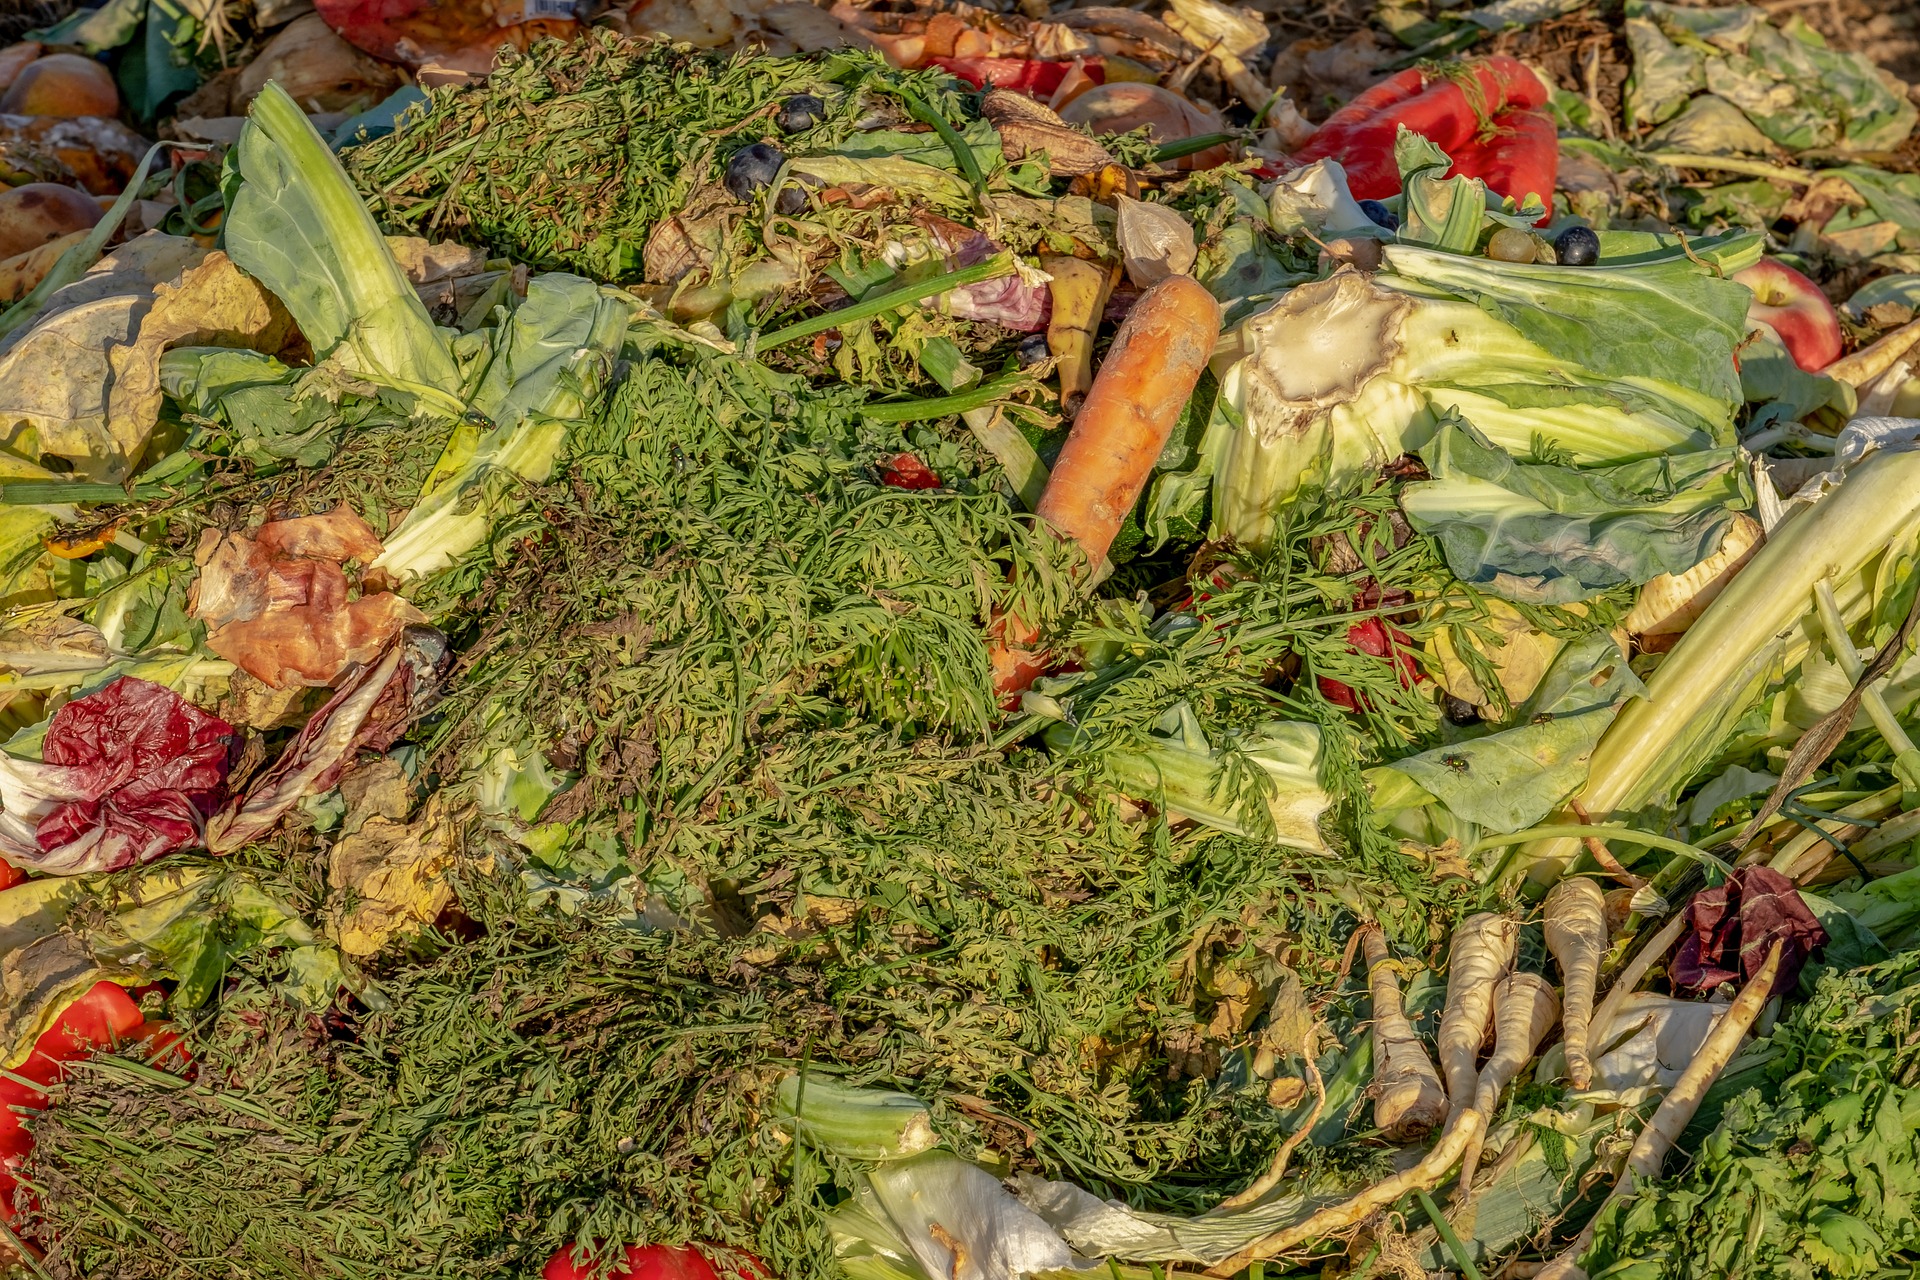
Composting represents a great opportunity for every grower and gardener to turn biological waste in the form of leaves, grass, vegetable scraps or, for example, fallen fruit into something useful, namely your own organic fertiliser!
Experience shows that every garden has a truly abundant amount of biological surplus, and it would be a shame for this valuable material, which after successful composting is capable of serving as a universal bio fertiliser that effectively supports all types of plants, to end up somewhere in landfill, where it is also difficult to burn and is often the reason why landfill sites smell so strongly far into the surrounding area. That is a little about the environmental aspect, and now we can move on to practical tips for your garden.
Is composting worthwhile?
The answer is unequivocally yes! As is well known, fertile soil is characterised by a sufficient amount of high-quality humus, which is created precisely by leaving nature to work for a while in the composter with the biological waste that we gradually fill it with. Humus has a loose structure that retains water in the soil while also aerating the roots; what more could you want? Of course, the whole process can be accelerated with a suitable product, for example in the form of a granulate from the Czech brand AgroBio. It contains the right bacteria that help nature along. In addition to the considerable benefit that composting will bring you in the long term, you can also feel good knowing that you are helping the planet yourself.
How do you do it?
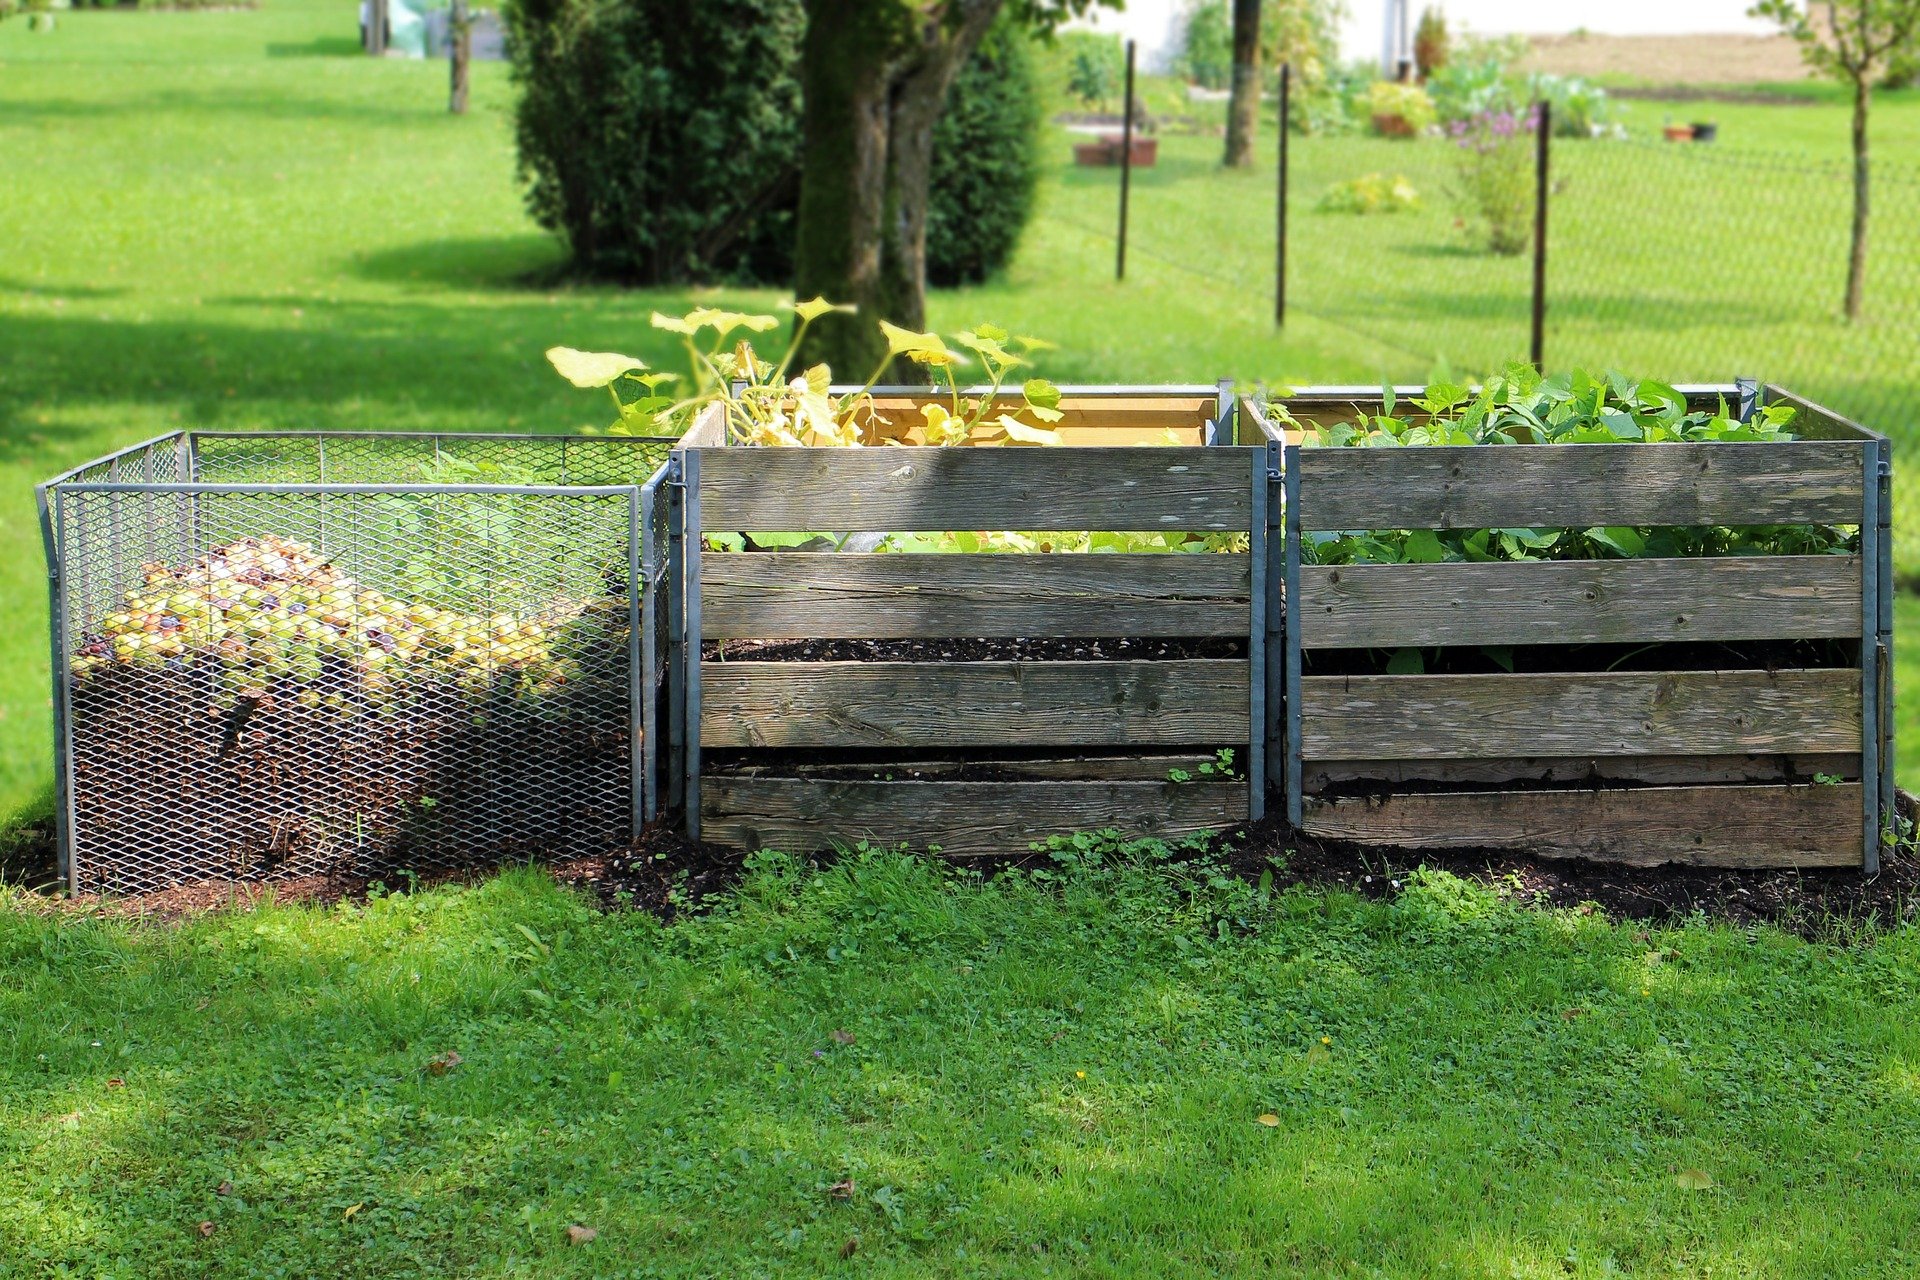
- First, choose a place, ideally rich in humus, where you will set up the compost. It should be somewhere you can easily reach from time to time, even with a wheelbarrow loaded with biological waste. Avoid the common mistake of setting up compost in various hollows and other pits, where there is then insufficient air circulation. Rot does not belong in composting; only the gradual and natural decomposition of organic material, or decay, which is different. You also need a place where the sun will not beat down directly all day long.
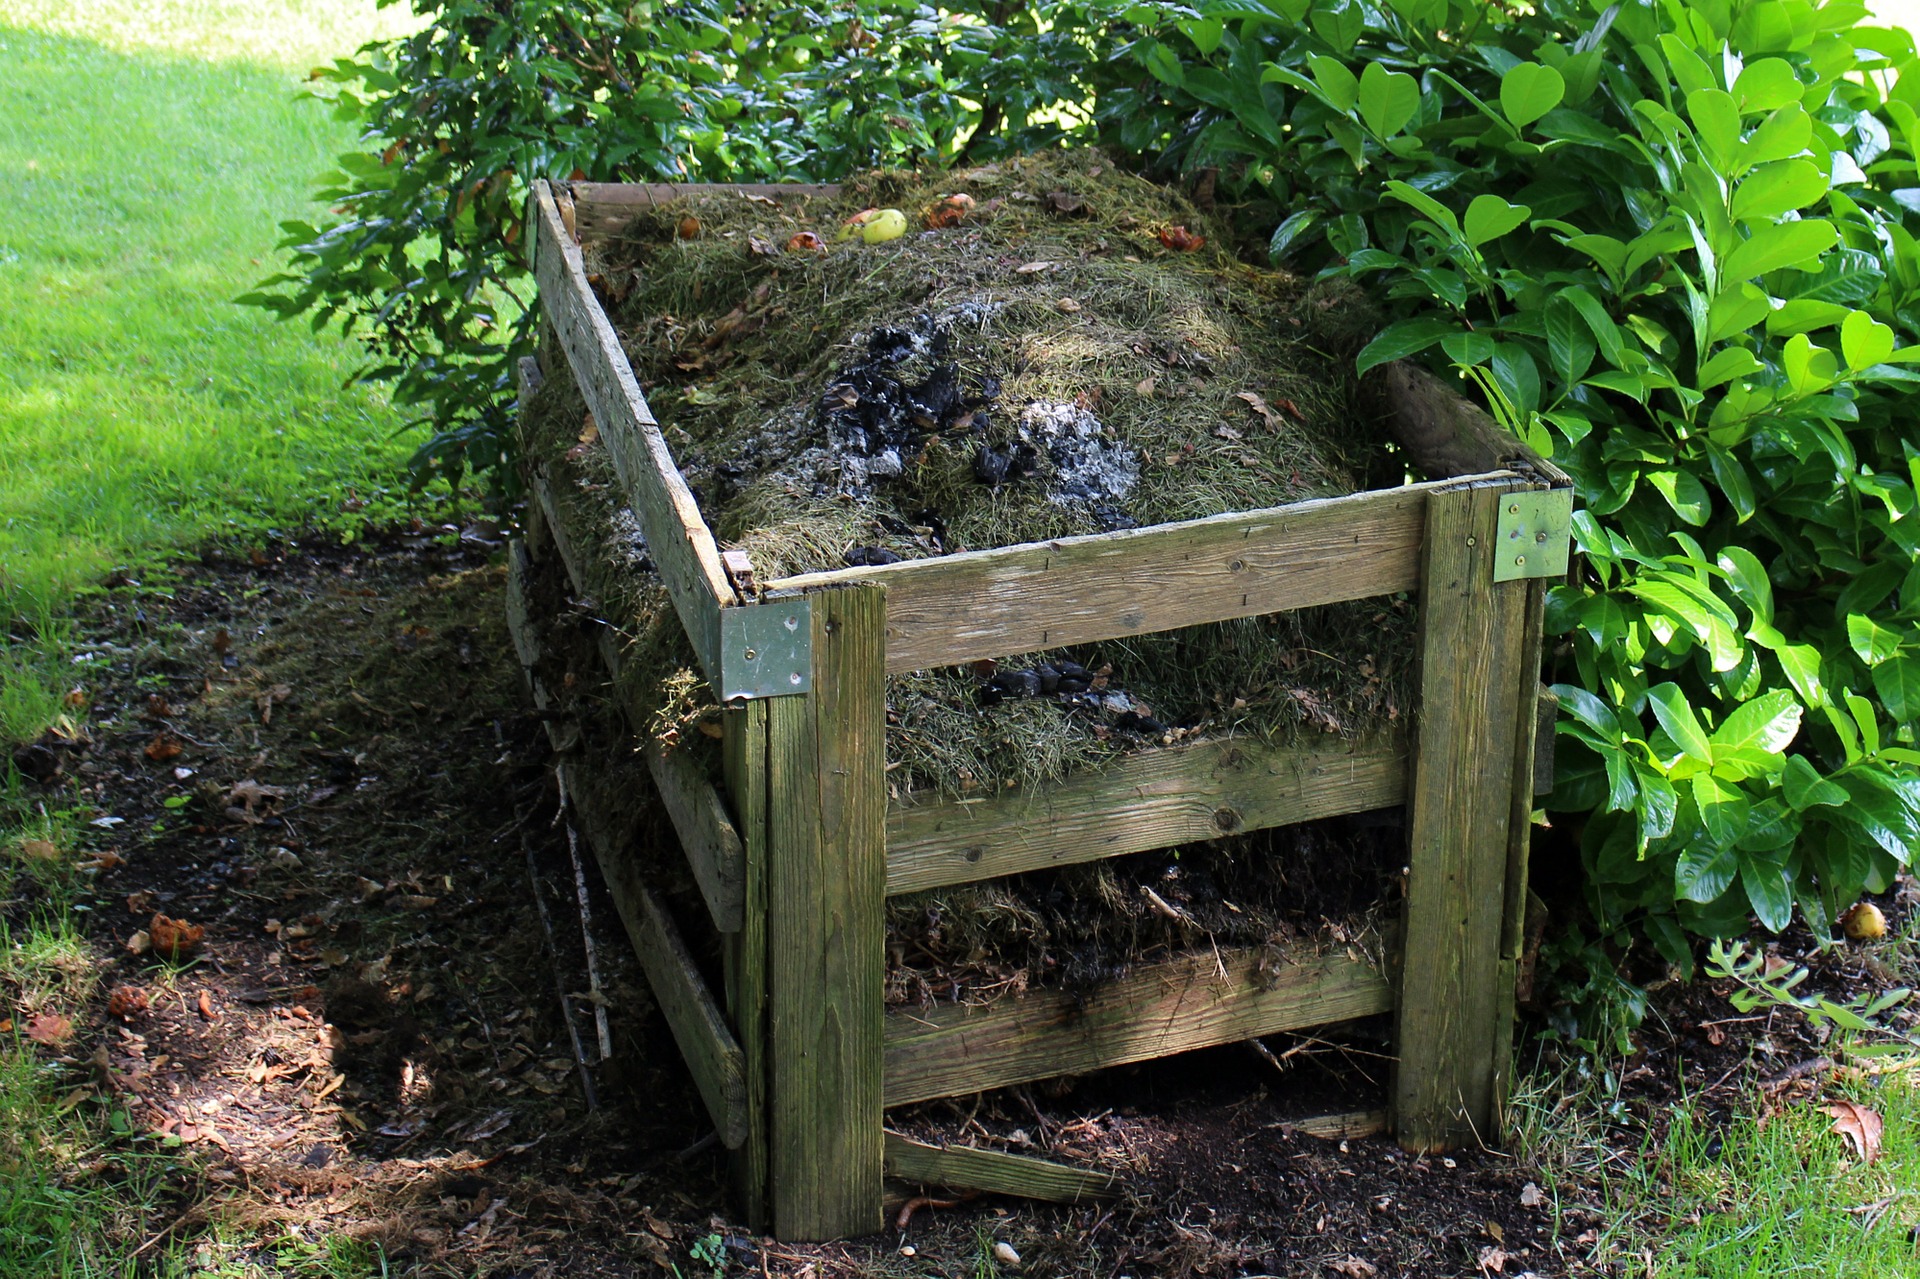
- Get a composter. It can take the form of an ordinary compost heap taking up roughly 1.5 x 1 m of space. You can save space with a composter made of wooden slats, because with a classic compost heap the bio-waste is layered at one end and the transformed material is removed from the other end of the heap. The length can therefore increase. In the case of wooden slats, it is also necessary to choose a type of wood that will not easily succumb to the decay process, ideally larch. Wood can be replaced by iron structures that do not weather. Recently, thermocomposters have been particularly popular, made of plastic and equipped with a practical lid. If you are just about to start composting, this is the easiest choice.
- A reliable recipe for proper composting is layering according to proven rules. The bottom part of a standard compost heap should contain branches or pieces of dead wood as a harder-grained material. This forms a kind of divider between the soil and the other bio-waste, so that oxygen can more easily reach the microorganisms working hard in the composter. We also distinguish between a nitrogen-rich and a carbon-rich layer. This is, let us say, the very basis for the contents of the later fertiliser that we will have available from our own biological surplus. Apply layers about 10 cm thick. Everything green, as well as kitchen waste including eggshells, forms the nitrogen-rich layer. Everything brown, moist and dry forms the carbon-rich layer. This includes straw, leaves, sawdust, etc. If you use an accelerator when setting up the compost (and why not), alternate the layers with soil mixed with the compost accelerator.
- Compost does not require too much maintenance. The heap will gradually compact, which reduces the supply of oxygen, and the compost needs to be mixed and layered again after roughly two months. In rainy weather, keep the compost covered, and if it is dry, it is a good idea to water the heap occasionally.
Compost maturity
In short, 3 stages are generally distinguished, with each phase in which the compost currently is determining the decaying organic matter for a different use:
- Fresh compost is about 3 months old and you can still identify the individual components in it. Even so, in this early stage you can use it to support useful plants such as tomatoes, potatoes or cucumbers.
- Mature compost is characterised by an age of six months to one year. You can recognise it by its dark brown to black colour. The smell resembles forest soil, and apart from eggshells, you can no longer distinguish the original components for the most part. If you sieve it before use, it is suitable as an additive for all grassy and garden areas, beds and, last but not least, as high-quality soil for flower pots of all kinds. Mature compost already contains a truly large amount of basic nutrients and needs to be used broadly and in moderation so that over-fertilisation does not occur.
- Compost soil is usually more than one year old, and the effect, or nutritional value, which is so intense in mature compost, decreases over time, so you can safely use it for all conceivable types of plants, ideally during spring and summer.
Now you know how to set up compost and how to speed up the whole composting process. If you have any questions related to setting up compost, do not hesitate to contact us at the well-known address, and we will be happy to advise you. Write to info@higarden.cz.