
Speciality Crops, Page 2
List of articles
Germination trays are in demand. Choose Czech quality!
Today we present a new product not only for growers, but for all enthusiasts of a healthy lifestyle and lovers of “fresh” foods, such as fresh sprouts and young shoots. This bowl for sprouting seeds, nuts and legumes has immediately become a hit.
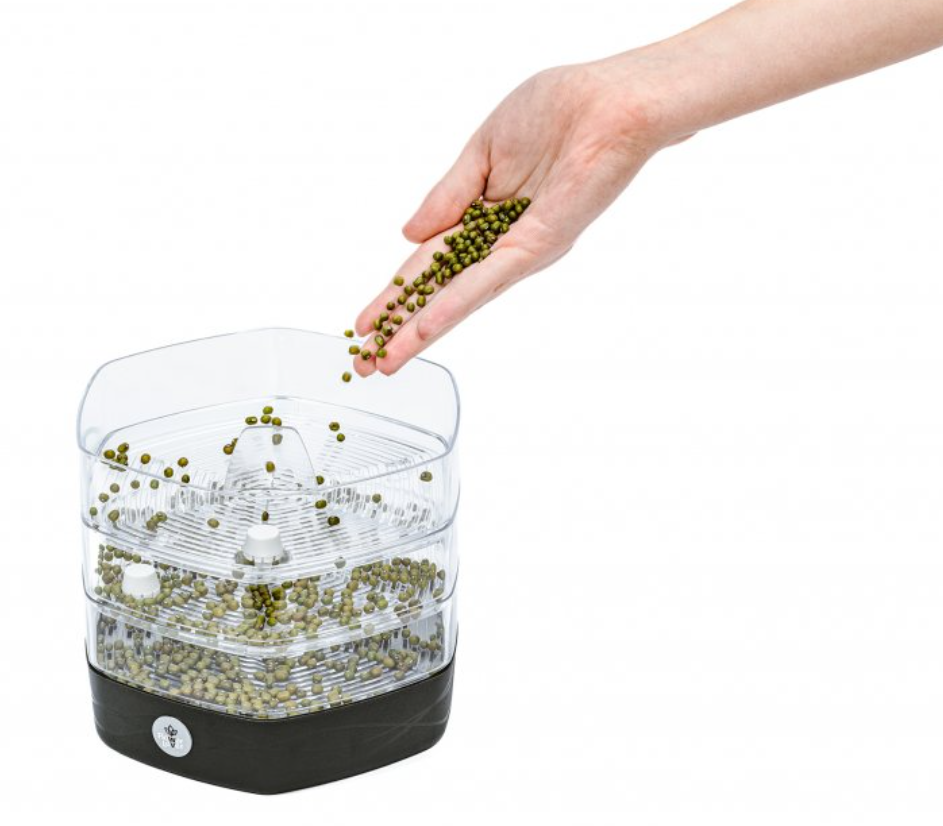
Choose the quality and practical design of the MUNGO sprouting bowl (MUNGO SPROUT BOWL), which allows easy and quick sprouting of 3 types of seeds at once! As you can see from the following lines, this bowl clearly stands out above conventional products commonly available on the market for home seed sprouting. It is a purely Czech product from PLASTKON, which you may already know especially thanks to the unique Cobble smart pots.
To avoid being misled by the name of the sprouting bowl itself, it should be mentioned that the sprouting bowl is universal and suitable for sprouting all types of seeds, from cress seeds through mustard to radish, for example. You will find even more examples below.
Practicality above all
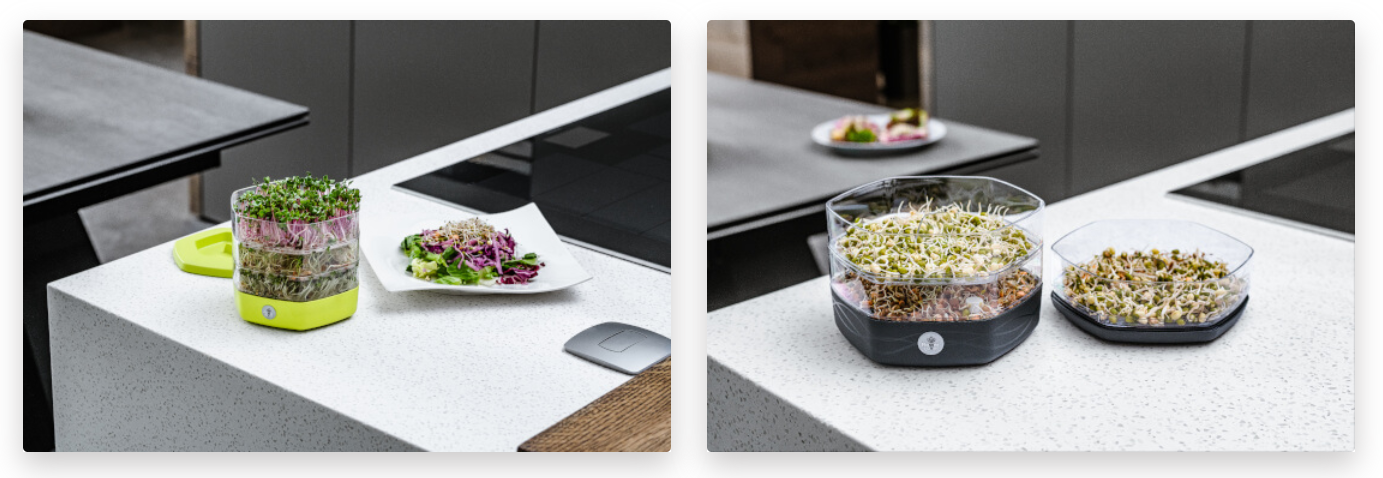
We have mentioned the practical design, which includes a non-slip base. Using this sprouting bowl is also completely intuitive, and anyone can manage it with ease, so you will always have fresh and healthy “snacks” at hand at home.
The PLASTKON brand is able to come up with an innovative watering method for each product, and the same applies to the MUNGO sprouting bowls. The unique watering system makes the sprouting process as easy and fast as possible, so all you need to do is rinse the contents of the bowl twice a day with a glass of clean water and regularly pour away the excess water that collects at the bottom. As you can see in the video, within a week you can serve extra fresh sprouts or shoots on your plate, either as a side dish with meals or just as a snack.
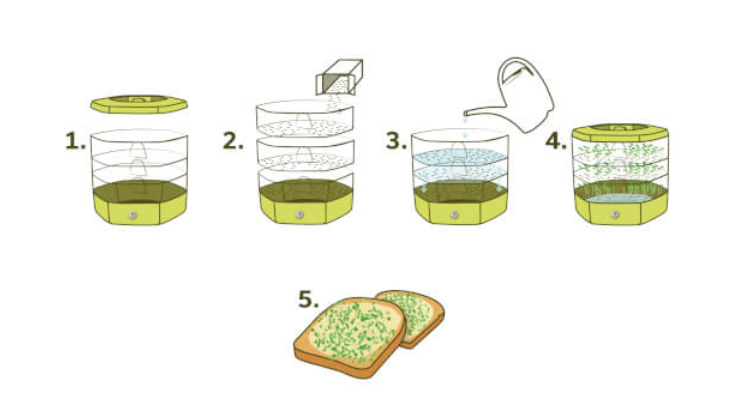
How does it work?
- Spread any seeds over the surface of one, two or three bowls.
- Twice a day, rinse the seeds with a glass of water.
- Regularly empty the bottom bowl.
Simple, isn’t it? So, cheers and enjoy your meal!
What can you grow at home using this bowl?
- Mung bean sprouts
Mung bean sprouts are a healthy and tasty ingredient that never gets boring. But in their case, freshness is paramount. Letting them sprout regularly in a special bowl is also much cheaper than repeatedly buying them already sprouted in the shop. Secure a supply of them elegantly and once and for all with a quality sprouting bowl. This “superfood” will provide your body naturally with fibre and a wide range of vitamins and minerals:
- Antioxidants
- Vitamins A, C, D, E, K
- Omega 3
- Magnesium (magnesium)
- Calcium
- Phosphorus
- Enzymes
In addition to the popular mung bean sprouts, a varied selection of many other very healthy natural ingredients awaits you:
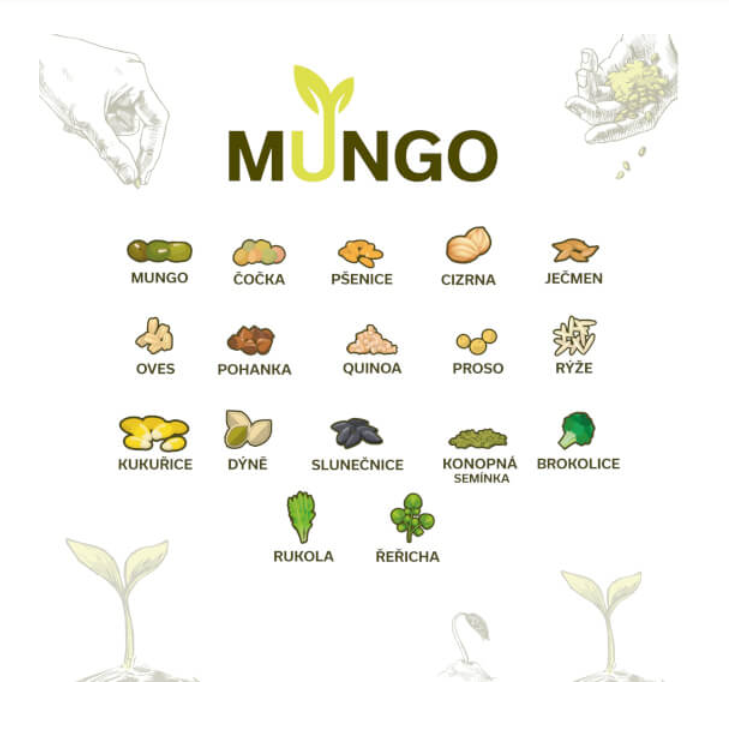
With the MUNGO sprouting bowl, available in 4 colour variants, you can sprout practically anything you can think of. However, for sprouting to make sense, both for health and taste, there is one single condition: do not use treated seeds intended for standard cultivation. Always choose purely natural seeds in BIO quality for sprouting.
The difference between sprouts and microgreens
These two terms are often confused in both theory and practice, so we will now explain them, as it is really simple. Microgreens are more developed sprouts, or rather their next developmental stage in the form of small green plants, which are also very popular among home hobby growers and housewives, so if you are interested in their cultivation, read the separate article How to grow microgreens.
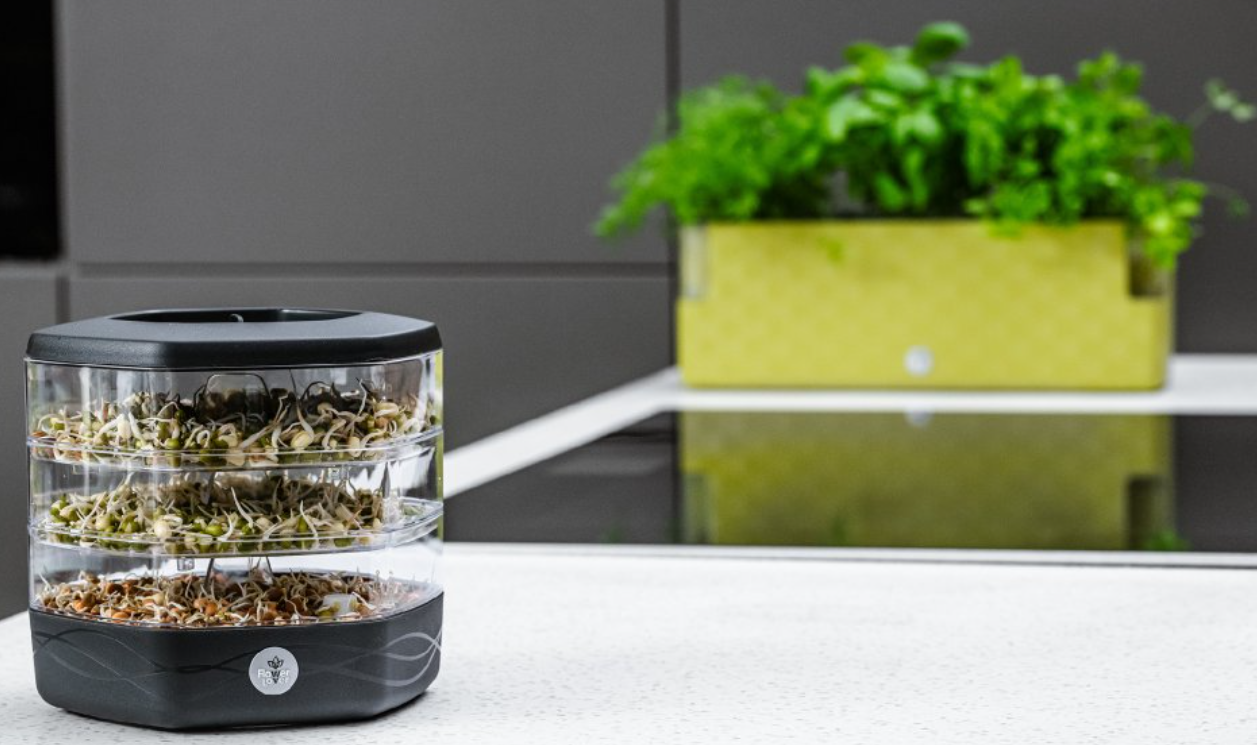
Our TIP: As the picture nicely illustrates, PLASTKON Czech products are, in addition to practicality and quality, also design pieces that fit together beautifully in the home. Therefore, do not hesitate to look through our range for the Cobble smart pots Cobble, designed for one plant, or Cobble Trio for multiple cultivated plants. Cobble Trio is the yellow variant in the background of the picture. You will see how easy it is to care for flowers with these flower pots, available in several trendy variants. For more information, you can also have a look at the separate article Decorative, hanging and smart pots.
If you would like to ask us anything, we are here for you at the well-known e-mail address info@higarden.eu. We look forward to your questions!
We also recommend these products:
- Self-watering planter Supreme, length 50 cm
- Planter Garden, length 50 cm
- Self-watering planter Extra Line SMART, length 50 cm
- Mungo - sprouting bowl
What to read next?
- Organics Nutrients: a natural way to high yields
- How to grow orchids?
- How to grow potatoes and sweet potatoes from the comfort of home?
How to Grow Cacti and Succulents?
Almost every household has at least one cactus or succulent. We know this because you often ask us about growing cacti, so we have prepared this article for you, in which you will learn how to care for these specific plants properly.
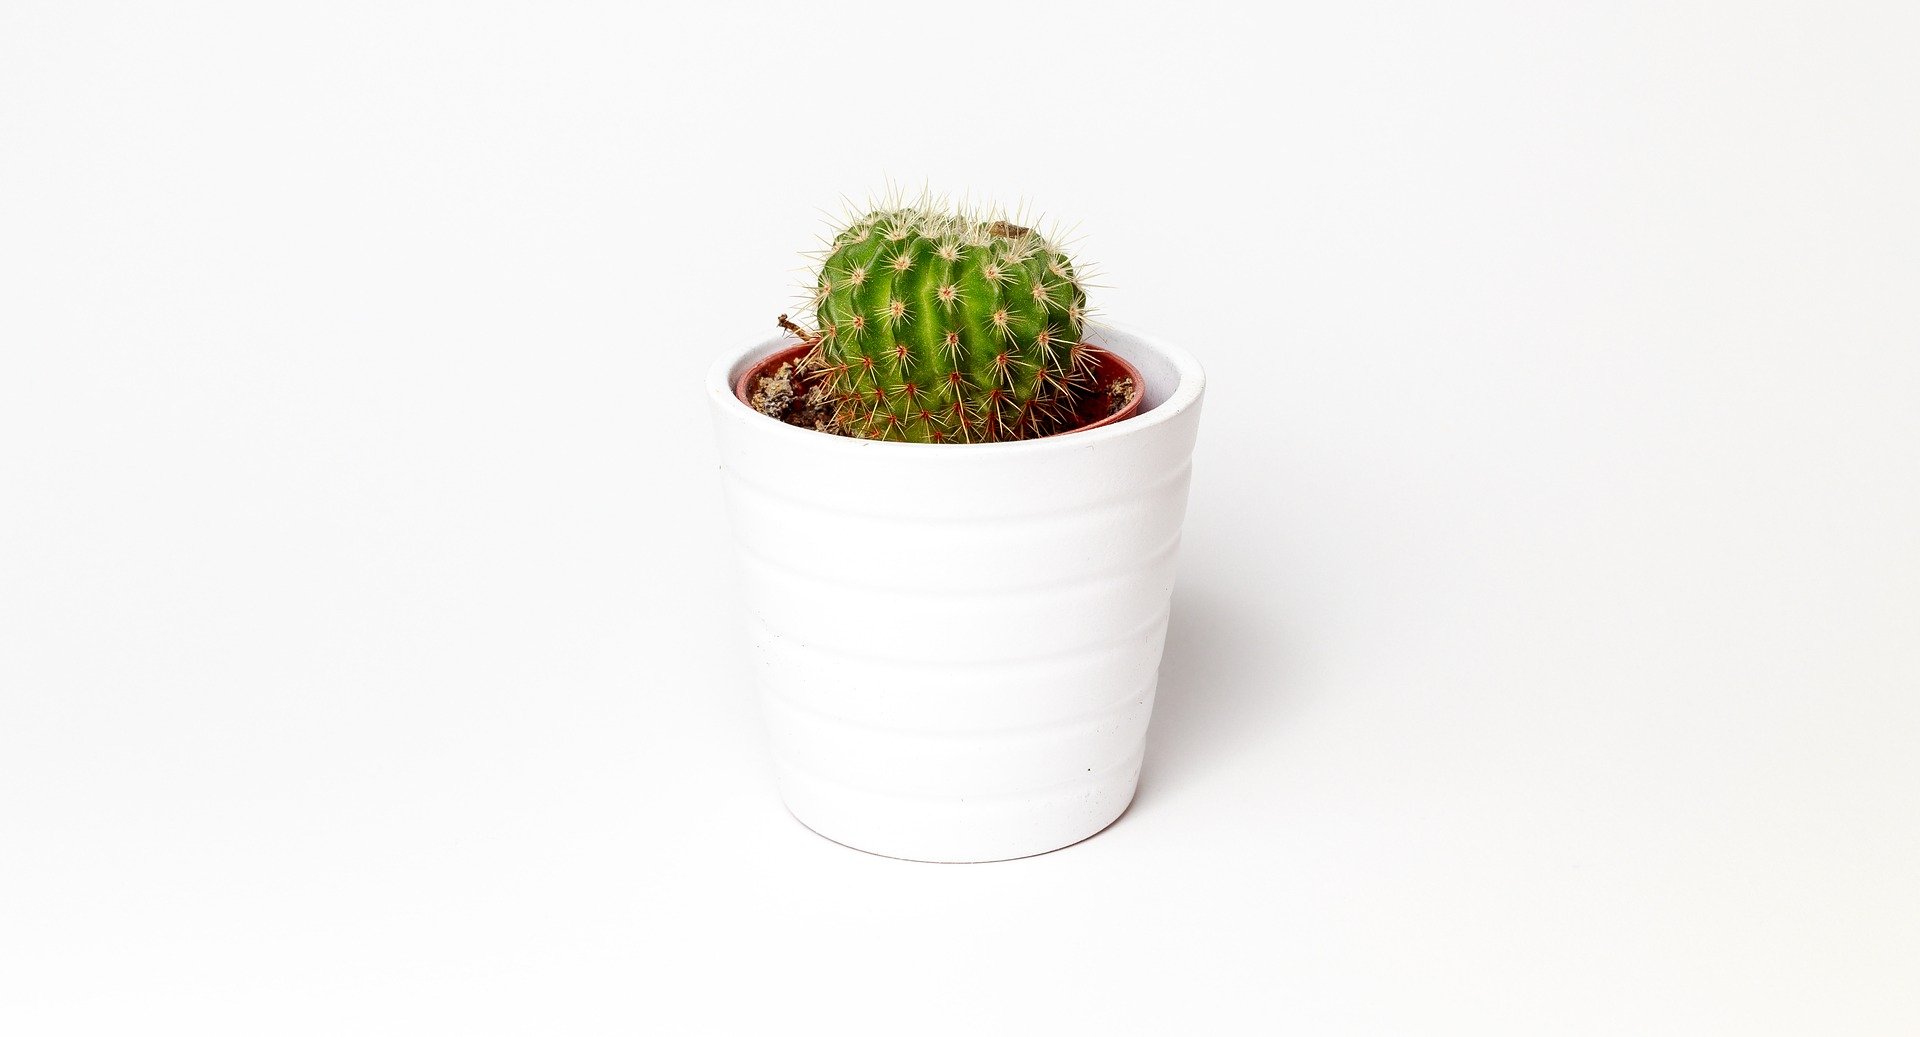
To begin with, a botanical aside, or a quick quiz. What is the difference between cacti and succulents? We will not make it unnecessarily complicated. Simply put, every cactus is a succulent, but not every succulent is a cactus.
- All succulent plants share the ability to retain a significant amount of plant sap in their tissues and cells.
- Some succulents, such as the popular aloe vera or agave, retain sap in their leaves.
- Succulents that retain sap in their stems can be considered cacti.
- Cacti have different needs from ordinary houseplants. The growing environment in the pot you prepare for them should simulate as closely as possible the environment in which cacti grow in the wild. Wet growing medium is therefore, of course, wrong.
- As soon as you buy a cactus or another succulent, you need to repot the plant without delay. Ordinary peat-based growing media in which cacti and succulents are placed when we buy them from a garden centre or other shop do not represent a growing medium suitable for their long life.
- It is definitely worth choosing quality. The more airy the growing medium, the better. You can use a mix of perlite or clay pebbles.
- Choosing the right growing container is also crucial. Choose pots with a large opening or smart pots that allow sufficient water drainage.
- What would happen if you repotted the plant and left it without watering for two weeks? The answer is clear: it would die. A repotted cactus is, however, the exception that proves the rule, because that is exactly what it requires. Therefore, after repotting, wait another 14 days before watering it.
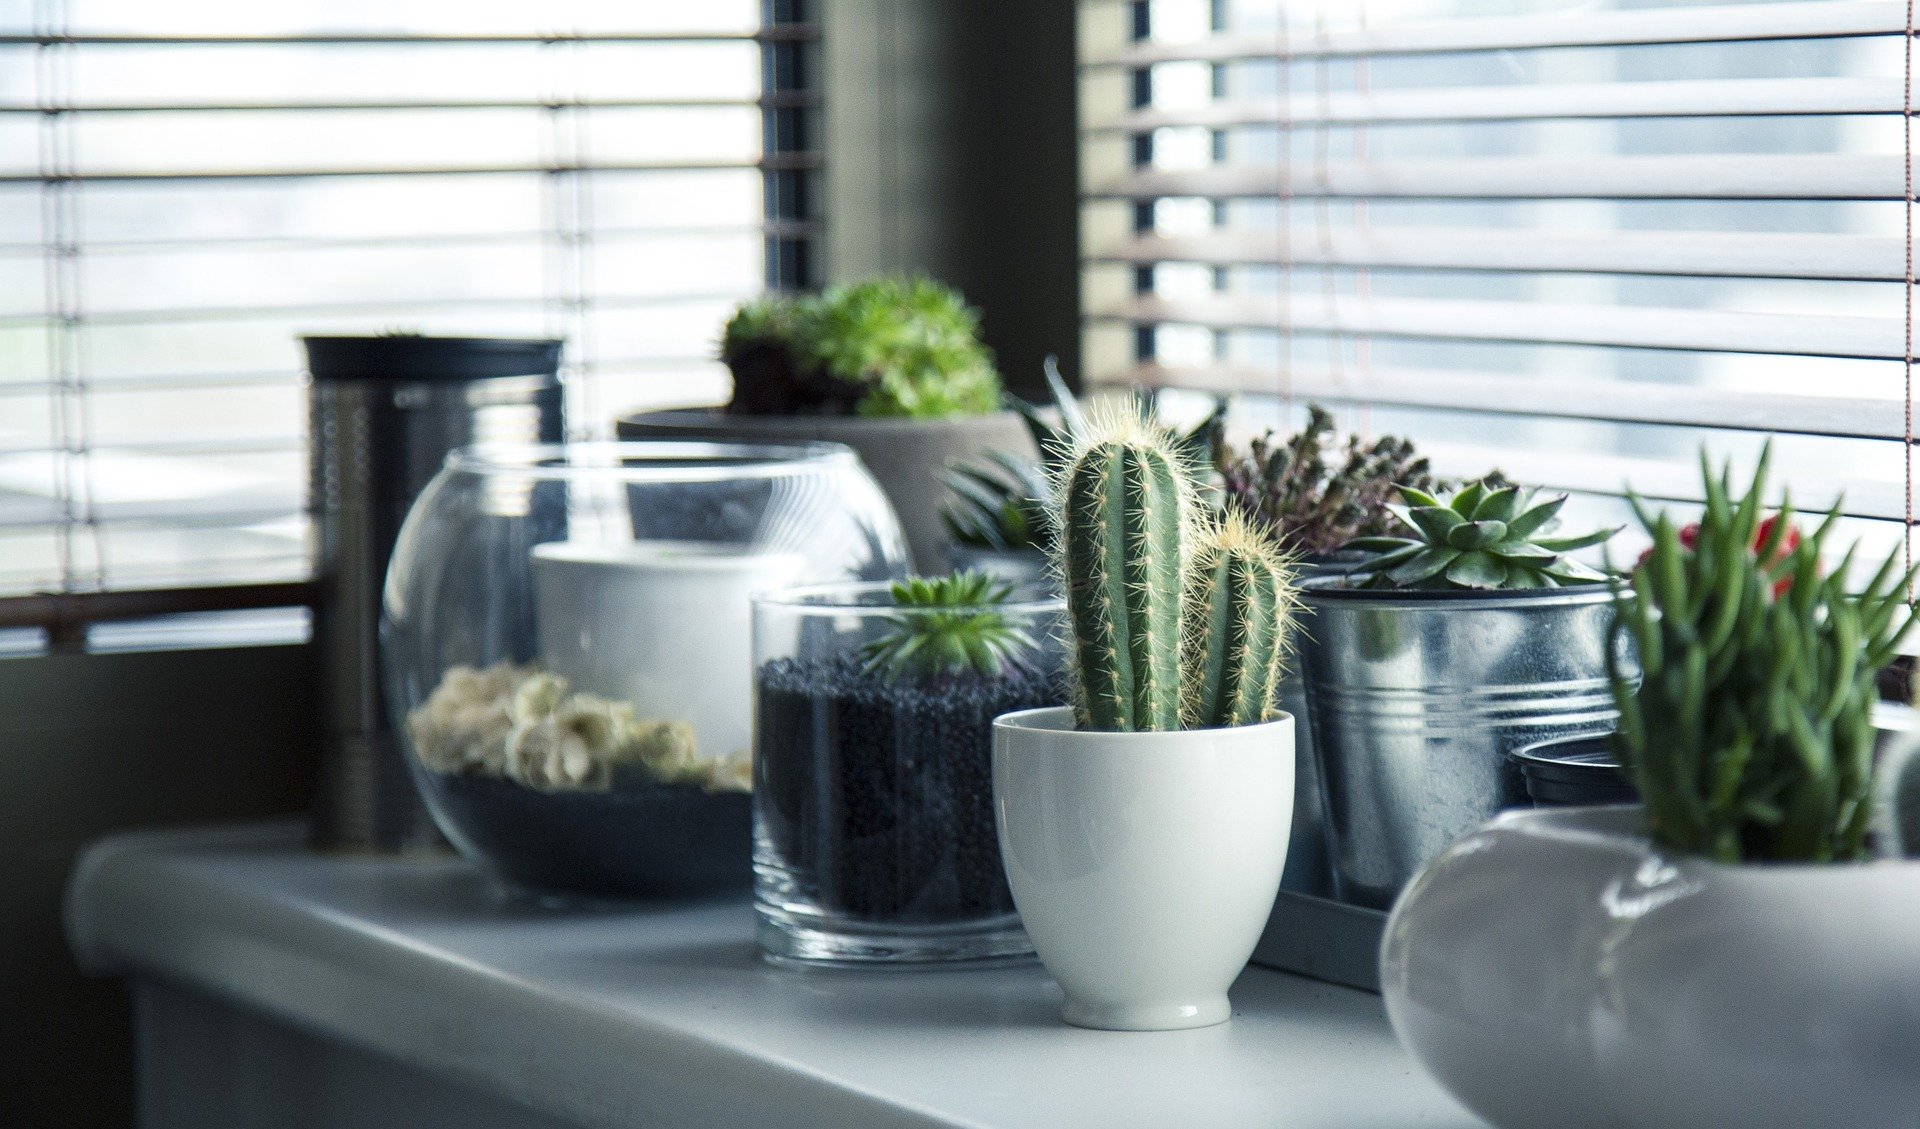
- A cactus flowering is a beautiful sign that it is being cared for properly. However, this is by no means a given, so do not be disappointed if it does not happen. Sometimes, on the other hand, a cactus flowers relatively quickly simply because the chosen variety is undemanding.
- It often happens that you bring home a flowering cactus from a garden centre or supermarket. But why does it stop flowering at home and start to rot?
- One reason may be a lack of direct sunlight. Succulent plants, and cacti in particular, should always be placed where sunlight reaches them fully every day. The best places in the home are usually south-facing windows. West-facing and east-facing windows are also suitable. Inner windowsills are ideal. If your home is permanently darkened, cacti will not thrive very well.
- Another reason why cacti stop flowering and do not thrive is incorrect watering. Cacti are best watered in the evening. The water should be lukewarm and left to stand. During the growing season, we recommend watering cacti once a week, thoroughly. A common mistake is to water cacti lightly but often.

- Cacti only need the nutrients contained in the growing medium. Fertilisers are not needed.
- However, instead of using fertilisers, cacti require annual repotting into fresh growing medium from which they draw nutrients.
- If for some reason we do not repot the cactus into fresh growing medium, we can apply liquid fertiliser at most three times a year. But be careful, only during the growing season.
And finally, a little inspiration. Here is a list of the most popular cactus species among local growers:
- Astrophytum
- Echinocactus
- Echinocereus
- Mammillaria
- Gymnocalycium
- Notocactus
- Rebutia
- Lobivia
If you have any questions about growing cacti, please do not hesitate to send them to the well-known address info@higarden.eu.
We also recommend these products:
- Plagron Growmix with perlite 50 l (319 Kč)
- BioNova Bio Soilmix 50 L (279 Kč)
- Cobble smart pots (from 219 Kč)
What to read next?
- How and why to revitalise growing medium?
- Clay pebbles as a growing medium
- What are the developmental stages of a plant?
Home Mushroom Growing
Mushrooms are not grown indoors on their own, but they are certainly easy and quick to cultivate. Not only are they usually a welcome ingredient in our cuisine, but consuming some species also brings us a considerable number of health benefits. Today you will learn how and which mushrooms to grow at home.
Czechs are undoubtedly among Europe’s mycophilic nations. Mushroom picking has deep roots here and has maintained its popularity since time immemorial.
However, we do not always have time to go to the nearest forest for our favourite delicacy, and sometimes someone else gets there first. When cultivating mushrooms indoors in a grow box, but also perhaps in a cellar or a small heated greenhouse, you will secure a steady supply of your favourite mushrooms and will not be limited to the mushroom season only!
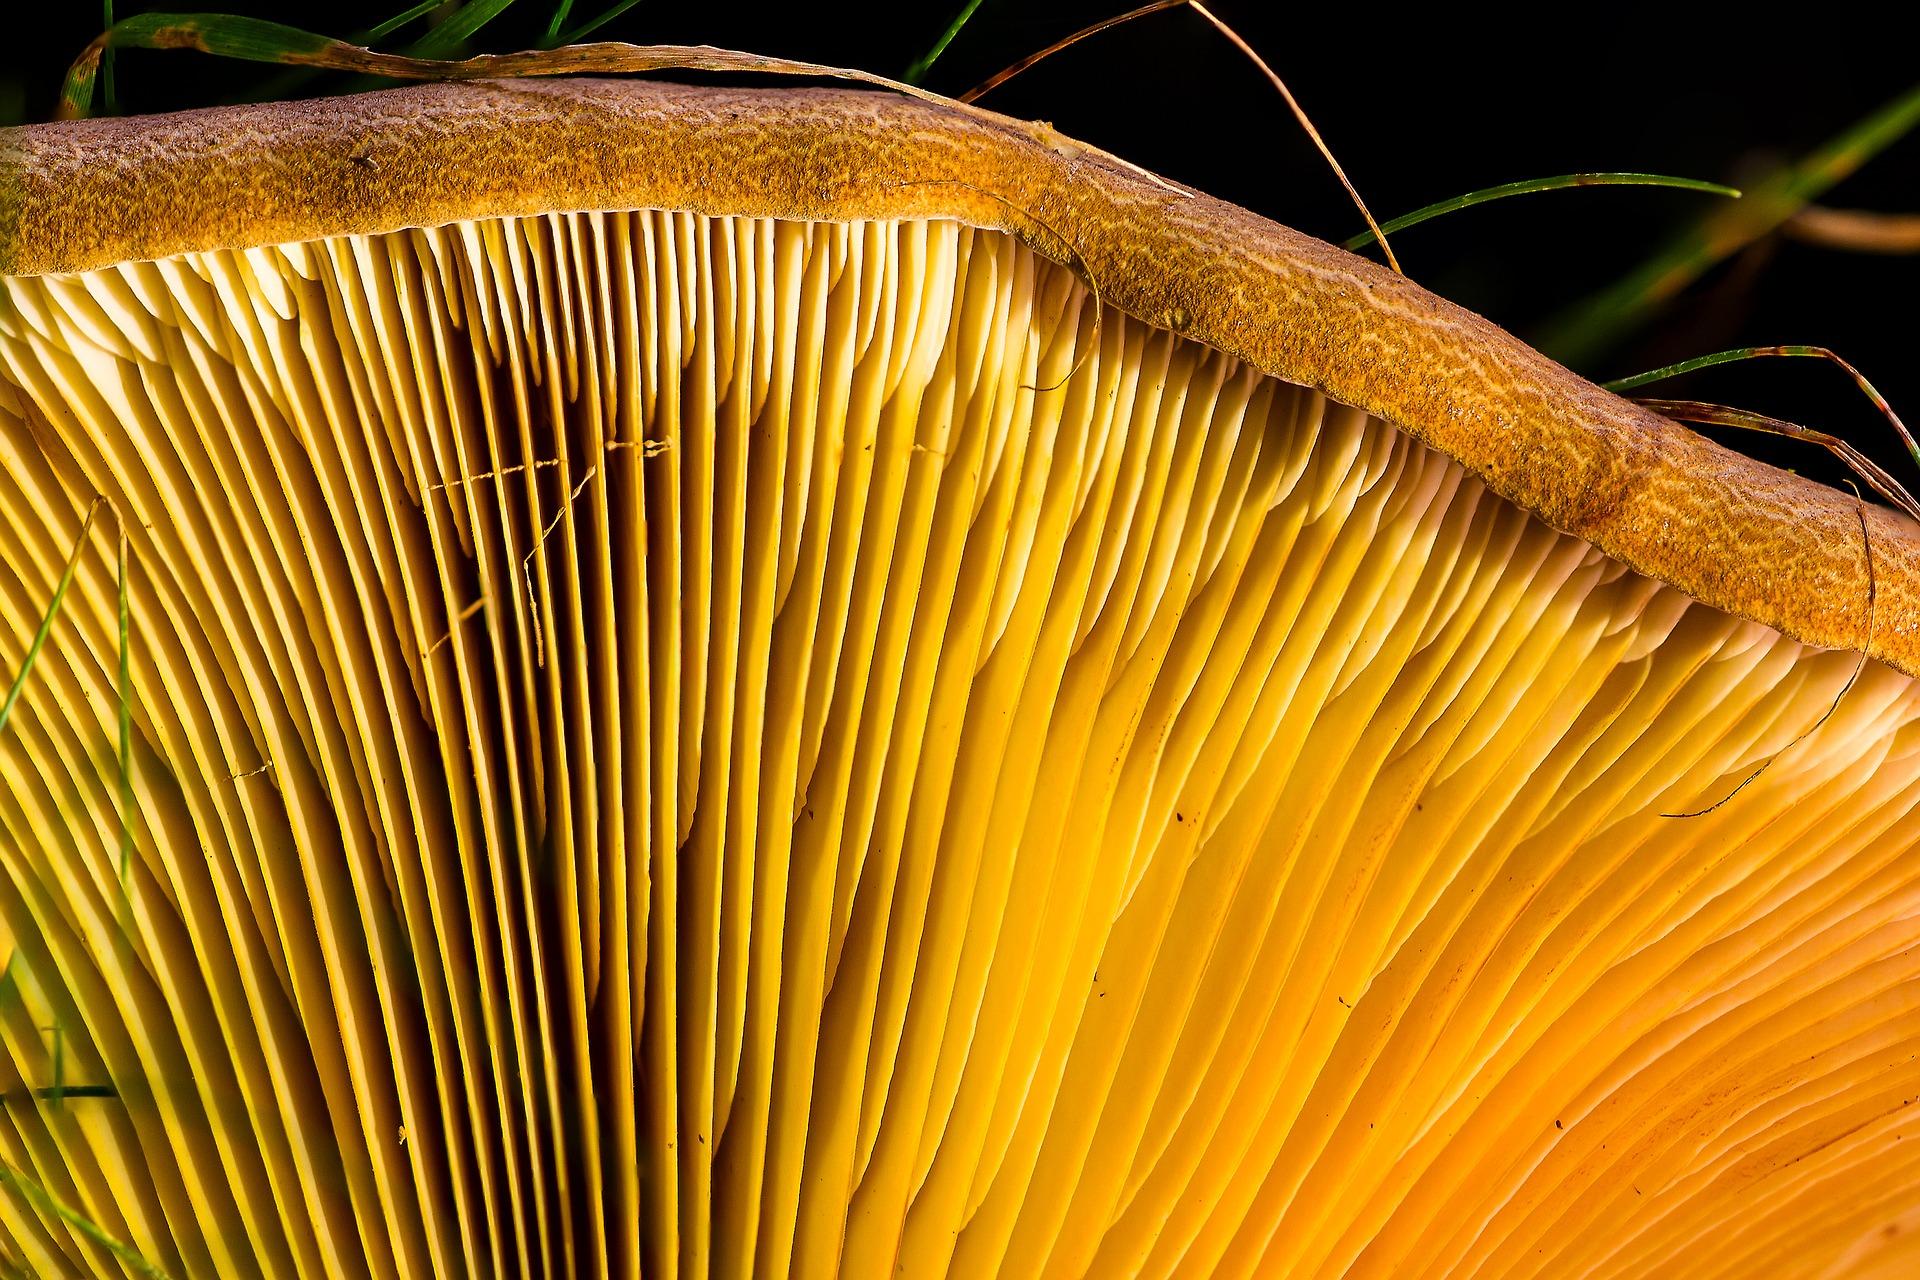
How to do it?
Remember that with mushrooms, one thing is absolutely essential: sterilising the substrate. The optimal microclimate inside a growing tent is mainly high humidity above 90%, which will ensure that your mushrooms grow beautifully at home. As for temperature, it depends more on the specific variety, but you cannot go wrong if you start at higher temperatures in the range of 24–29 °C and then move the mushrooms to a cooler environment with a temperature of 5-14 °C a little later. Try to stay closer to the lower limit. This procedure best activates the mycelium, and you will soon see the first mushroom harvest. You can also do without growing systems, forget about pests, humidification and extracting hot air from the growing area. Some species do not need light at all for their growth; such button mushrooms will grow practically anywhere. They can make do with living, but also dead, organic matter.
Oyster mushrooms, button mushrooms and more
From the experience of growers and gardeners, this pair can be singled out as the most popular in home mushroom cultivation.
Button mushrooms are a typical undemanding mushroom that has been grown in artificial conditions for many years. Perhaps the most proven substrate for growing button mushrooms is perlite.
Oyster mushrooms, which got their species name from the colour of the cap strikingly resembling oysters, are becoming increasingly popular, especially thanks to their beneficial effects on the human body. They contain plenty of vitamins, minerals, proteins, sterols and fibre. They support the liver and help the body regulate cholesterol. You can inoculate them onto a log or into a stump. Oyster mushroom clusters usually grow within a quarter of a year.
If you decide to start with these mushroom species, you will probably easily find someone who already has some experience with them. However, if you are among mushroom lovers, once the first button mushrooms and oyster mushrooms appear at home, you will most likely want more. Again, no problem. With minimal effort and minimal costs, you can grow Judas’s ear (elder bracket), shiitake mushrooms (edible lentinula), penny bun, field blewit, shaggy ink cap or even coral fungus in the comfort of your home.
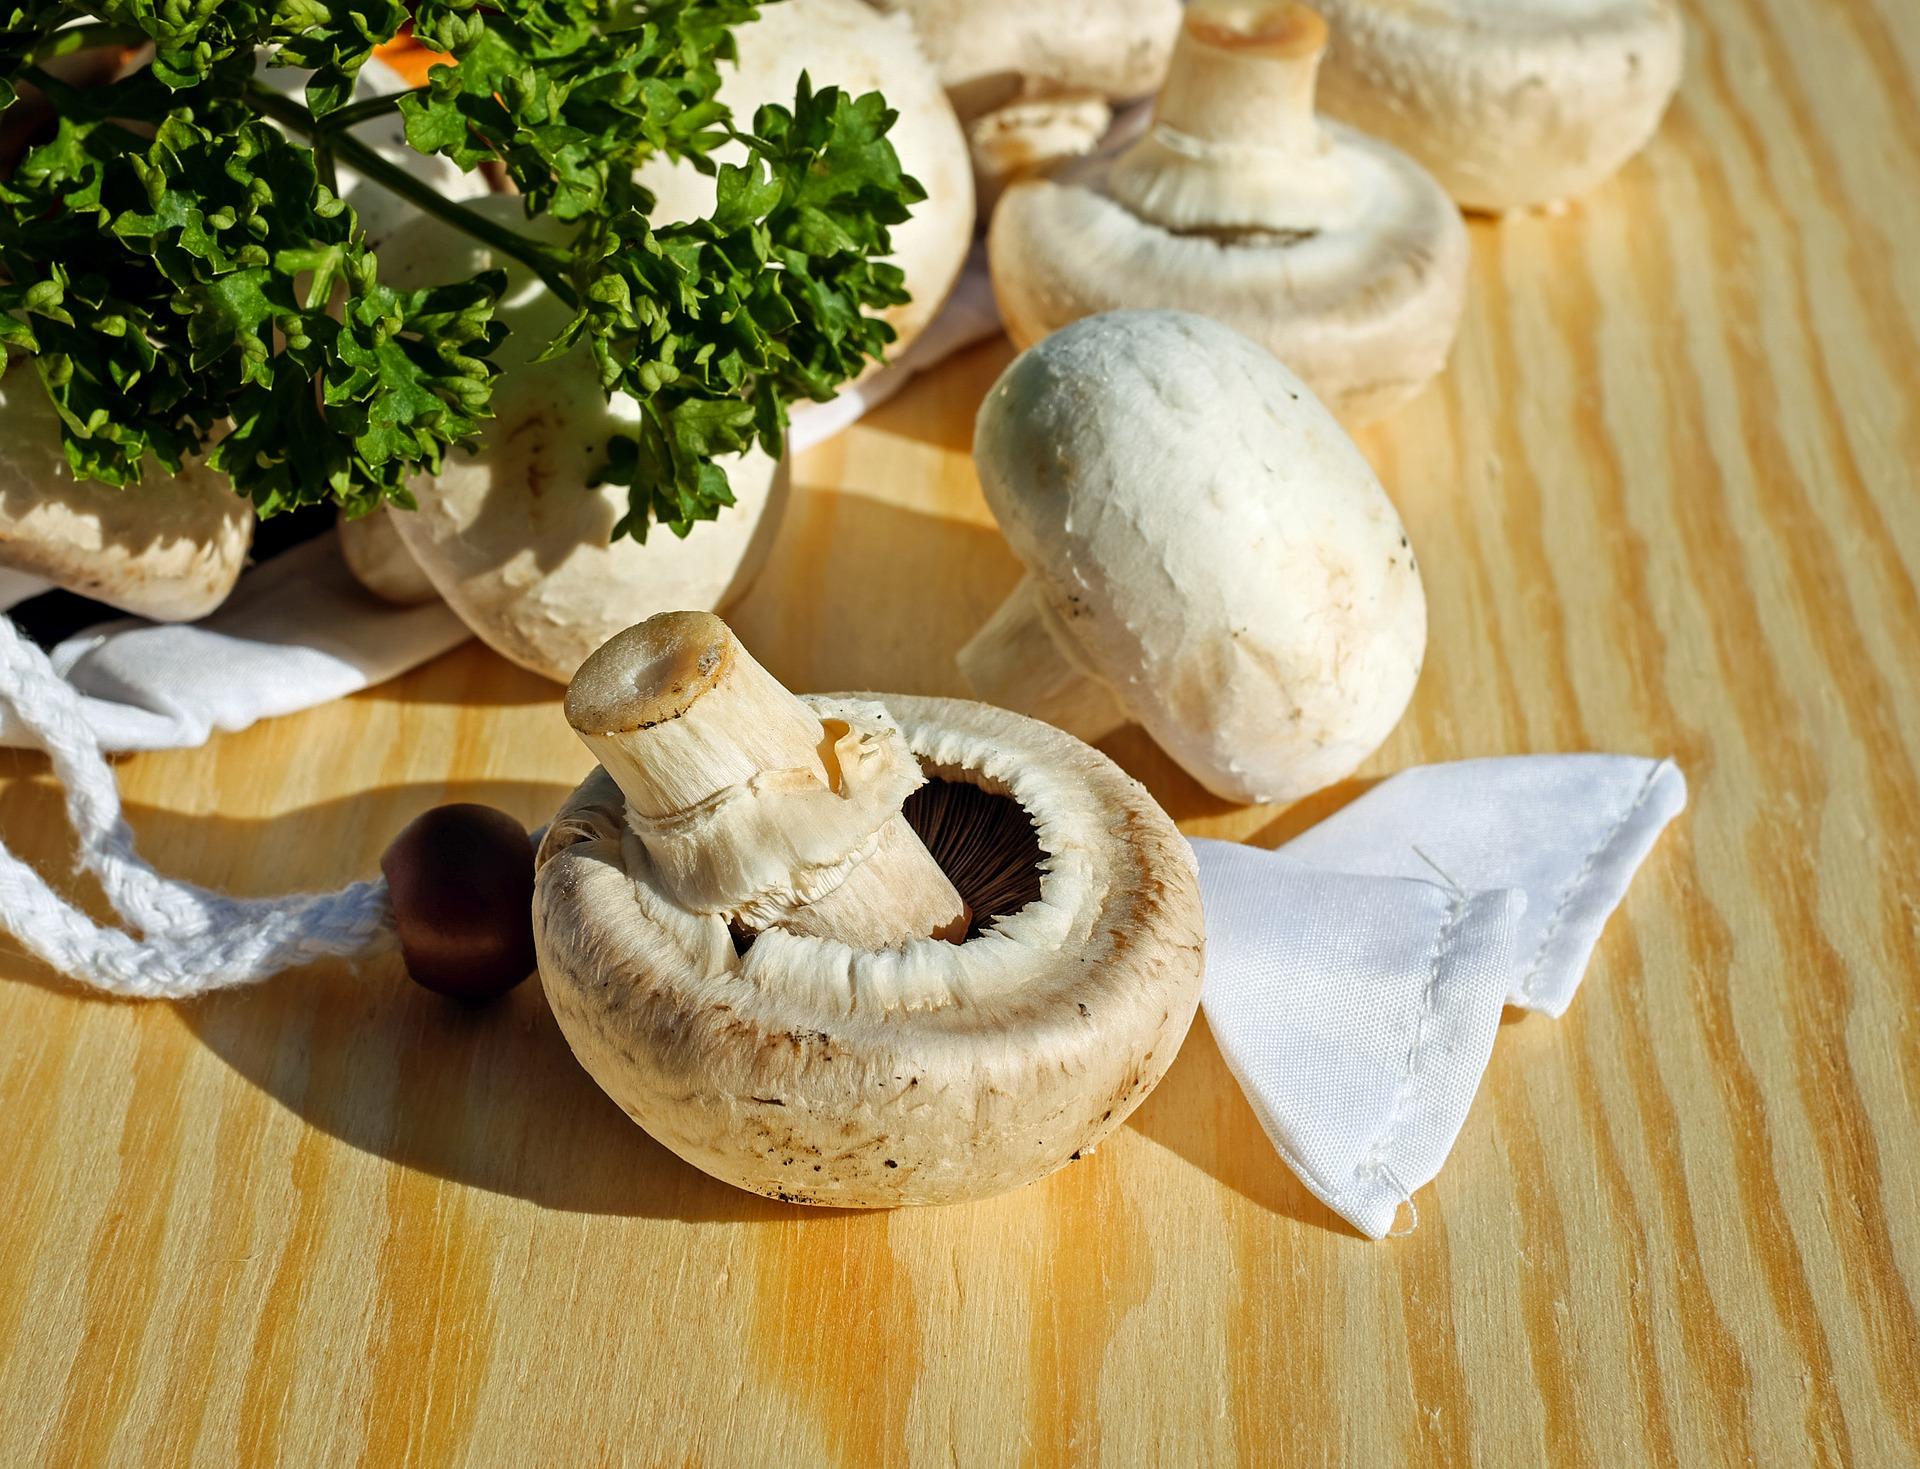
Mushrooms in the garden
You can also grow forest mushroom species yourself, and it can be done in the garden too. Boletes, chanterelles, birch boletes, parasol mushrooms, practically anything you like. In any case, this is a higher level and it does not always work out. If you have a plot with mature trees situated near a forest, you are halfway there, because mushrooms can spread to you via spores from the forest stands. You will often also find spores on firewood.
Home mushroom cultivation, whether in a grow box, on a cupboard, in a cellar or in the garden, has one more advantage. Mushrooms can be harvested exactly when they reach the ideal size for kitchen processing, so unlike unnecessarily young or overripe mushrooms, we can then enjoy them to the fullest.
Proper storage for maximum benefit
Finally, we have one more practical tip for you regarding storing mushrooms in hermetically sealed containers. When harvest time comes, there is nothing better than placing the mushrooms in a TightVac vacuum container. You can also get several sizes, depending on the variety and how abundant the harvest will be. In this way, mushrooms and small mushrooms will retain 100% of their flavour for a year or longer without any problem, and you will have them at hand at any time, whether mushroom soup or a proper mushroom sauté is on the menu. You may know that drying is a gentle preservation method that allows the vast majority of active or even medicinal substances in food to be retained (which is especially useful in the case of medicinal mushrooms). For storing dried mushrooms, use the smart Integra Boost packs, which will maintain optimal humidity in any container.
Do not hesitate to ask us anything you are interested in. Indoor mushroom cultivation is no exception. We will be happy to advise you on choosing suitable products and look forward to your questions at the well-known address info@higarden.eu.
- Grow boxes
- Perlite
- TightVac containers
How to Grow Leafy Greens and Lettuce?
Growing your own honest leafy greens in the garden or in a growbox when summer arrives has plenty of advantages for every grower. Growing leafy greens is not at all difficult and takes less time than growing agricultural crops. It is therefore an ideal way to try uncomplicated gardening in practice for the first time and immediately benefit from it, whether on the plate, or rather in the salad bowl, or later in the form of health benefits. In short, it is high time to remind ourselves not only of the reasons, but also of the basic prerequisites for a successful harvest of leafy greens. Read on to find out how to easily grow a juicy vitamin bomb this year.
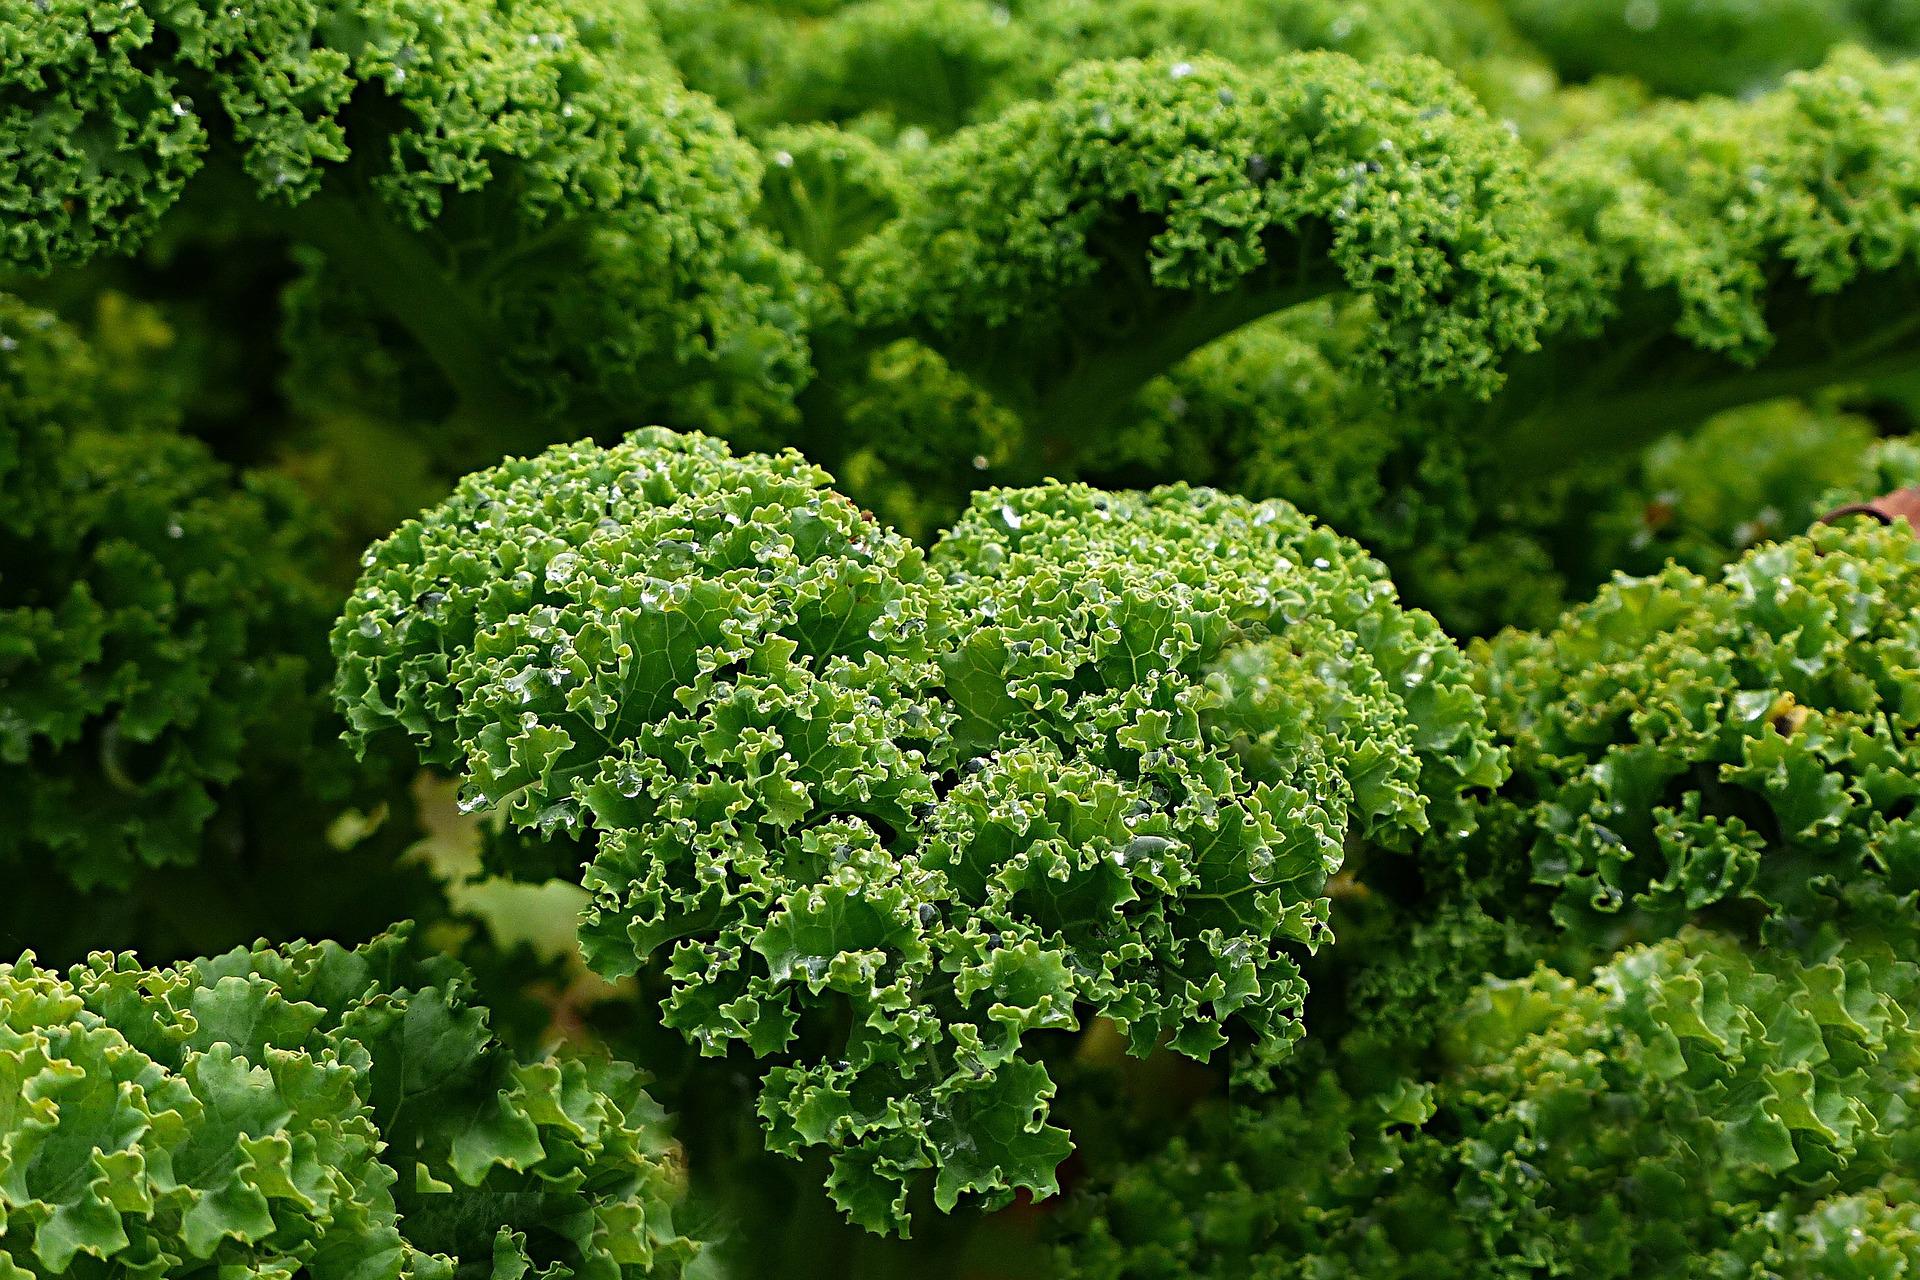
What are the specifics of growing leafy greens?
- Leafy greens in general, because this term covers a great many species, of which we will name at least the healthiest a little further below, represent a rich natural cocktail for the human body, packed with vitamins, minerals and antioxidants. It would therefore be a shame not to use quality organic fertilisers, which will help you achieve a fresh harvest in harmony with nature and with regard for the environment. The result is a purely natural composition without a trace of chemicals and an intense, authentic flavour. Are you interested in the best biological fertilisers? Try, for example, the 100% natural fertilisers from BIOCANNA. There is no single definitive answer to this question, but the following articles will certainly give you a good starting point:
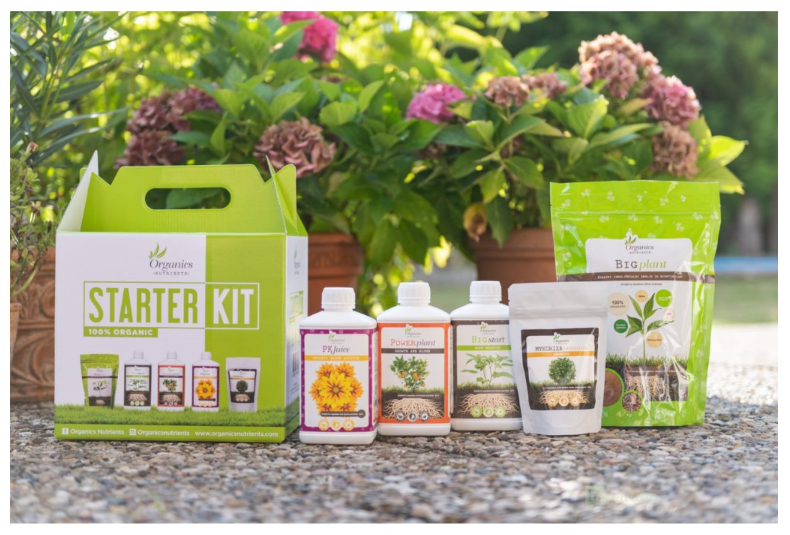
Our TIP: Value sets for the first harvest are the best way to get to know plant nutrition from a specific manufacturer during one growing cycle. Here are a few examples:
- BioCanna Starter Kit
- BioNova Hobby pack Veganics
- Organics Nutrients Starter Kit
- BioBizz Starters Pack
- Given that in the vast majority of cases only the leaves are harvested, you will save a great deal of time as a grower, because unlike other types, leafy greens do not require you to wait for the fruits to ripen.
- Leafy greens need regular, nourishing watering, directed away from the leaves themselves and the hearts. A generous watering means water in which quality fertilisers have been dissolved in sufficient concentration. Not too much water. Water leafy greens more often, but with smaller amounts of water. In addition to regular watering and sufficiently fertilised soil, leafy greens place no other special demands on the grower, which is why we indicated right at the beginning of this article that it is a great opportunity to start growing. Leafy greens are made for beginners!
- Thanks to the short growing cycle, you do not even need a greenhouse. Leafy greens prefer cooler air. Some species can even be grown year-round. If possible, plant leafy greens in partial shade and avoid soil that is too acidic. If you want to be sure, you can use tools for measuring pH.
- The edible part of leafy greens is the leaves, or sometimes the stems, which are most often eaten raw. In this form they contain the most beneficial substances, which brings us back again to the importance of a harvest in BIO quality.
- All types of leafy greens are characterised by a very low calorie content, which is why they are often the basis of a weight-loss diet, for example in the form of fresh salads.
- To avoid making it sound too rosy for beginner growers, leafy greens grown outdoor, that is, outside under the open sky, often face invasions of all kinds of pests. To stop slugs, for example, from nibbling the leaves before you do, we recommend the proven natural pest spray Canna CURE. You can also read a separate article: How do you deal with pests?
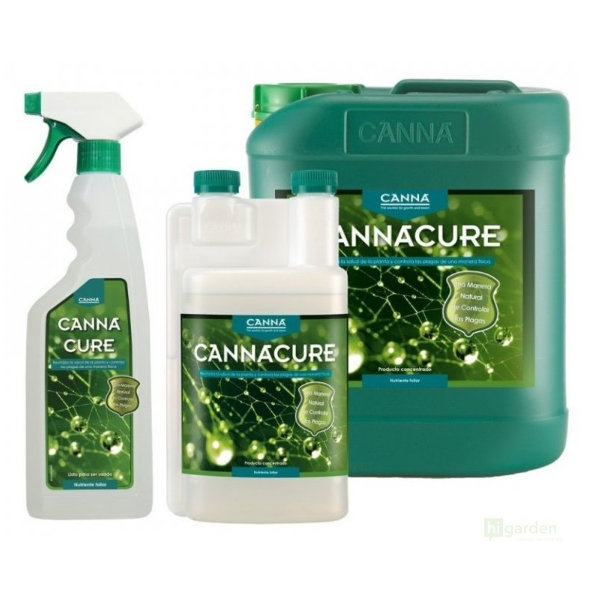
- Effective bio protection against pests and diseases is certainly in order. It is not only about pests. It will also help you prevent fungal diseases, which most often attack plant leaves. As part of prevention, in addition to suitable preparations, sufficient spacing between individual plants in the bed is also important.
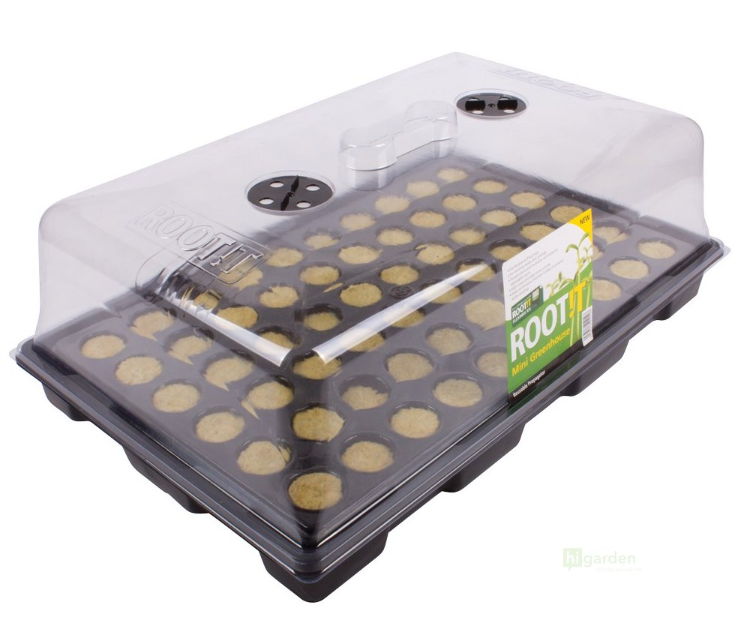
- As we have already explained, leafy greens have the advantage that you do not have to wait for the fruits to ripen. Therefore, it is not too late to plant them even in summer. Seedling germination and cutting rooting will be made easier by propagators, a plastic greenhouse and also a propagation substrate, designed directly for successful sowing and cutting propagation. When planting leafy greens, the most important thing is that the hearts of the plants are above soil level.
- If you do not yet have any experience with growing leafy greens, do not forget that they ripen quickly and are difficult to store. Therefore, plan your planting of leafy greens sensibly.
Now let us summarise the specifics of growing leafy greens once more, briefly:
- A significantly shorter growing period, which can be up to half as long as with other types of vegetables.
- The need for plants to take in enough nutrients through regular watering, i.e. rather more often, but in smaller doses. Unlike growing tomatoes, peppers or cucumbers, we must take into account a weaker root system, as a result of which leafy greens are unable to obtain all the necessary nutrients from their surroundings. The root system can also be strengthened by a 100% organic root stimulator such as BioBizz Root Juice.

Are you interested in the healthiest types of leafy greens suitable for growing in the garden? There are many of them. For inspiration, we have selected at least a few of the most popular:
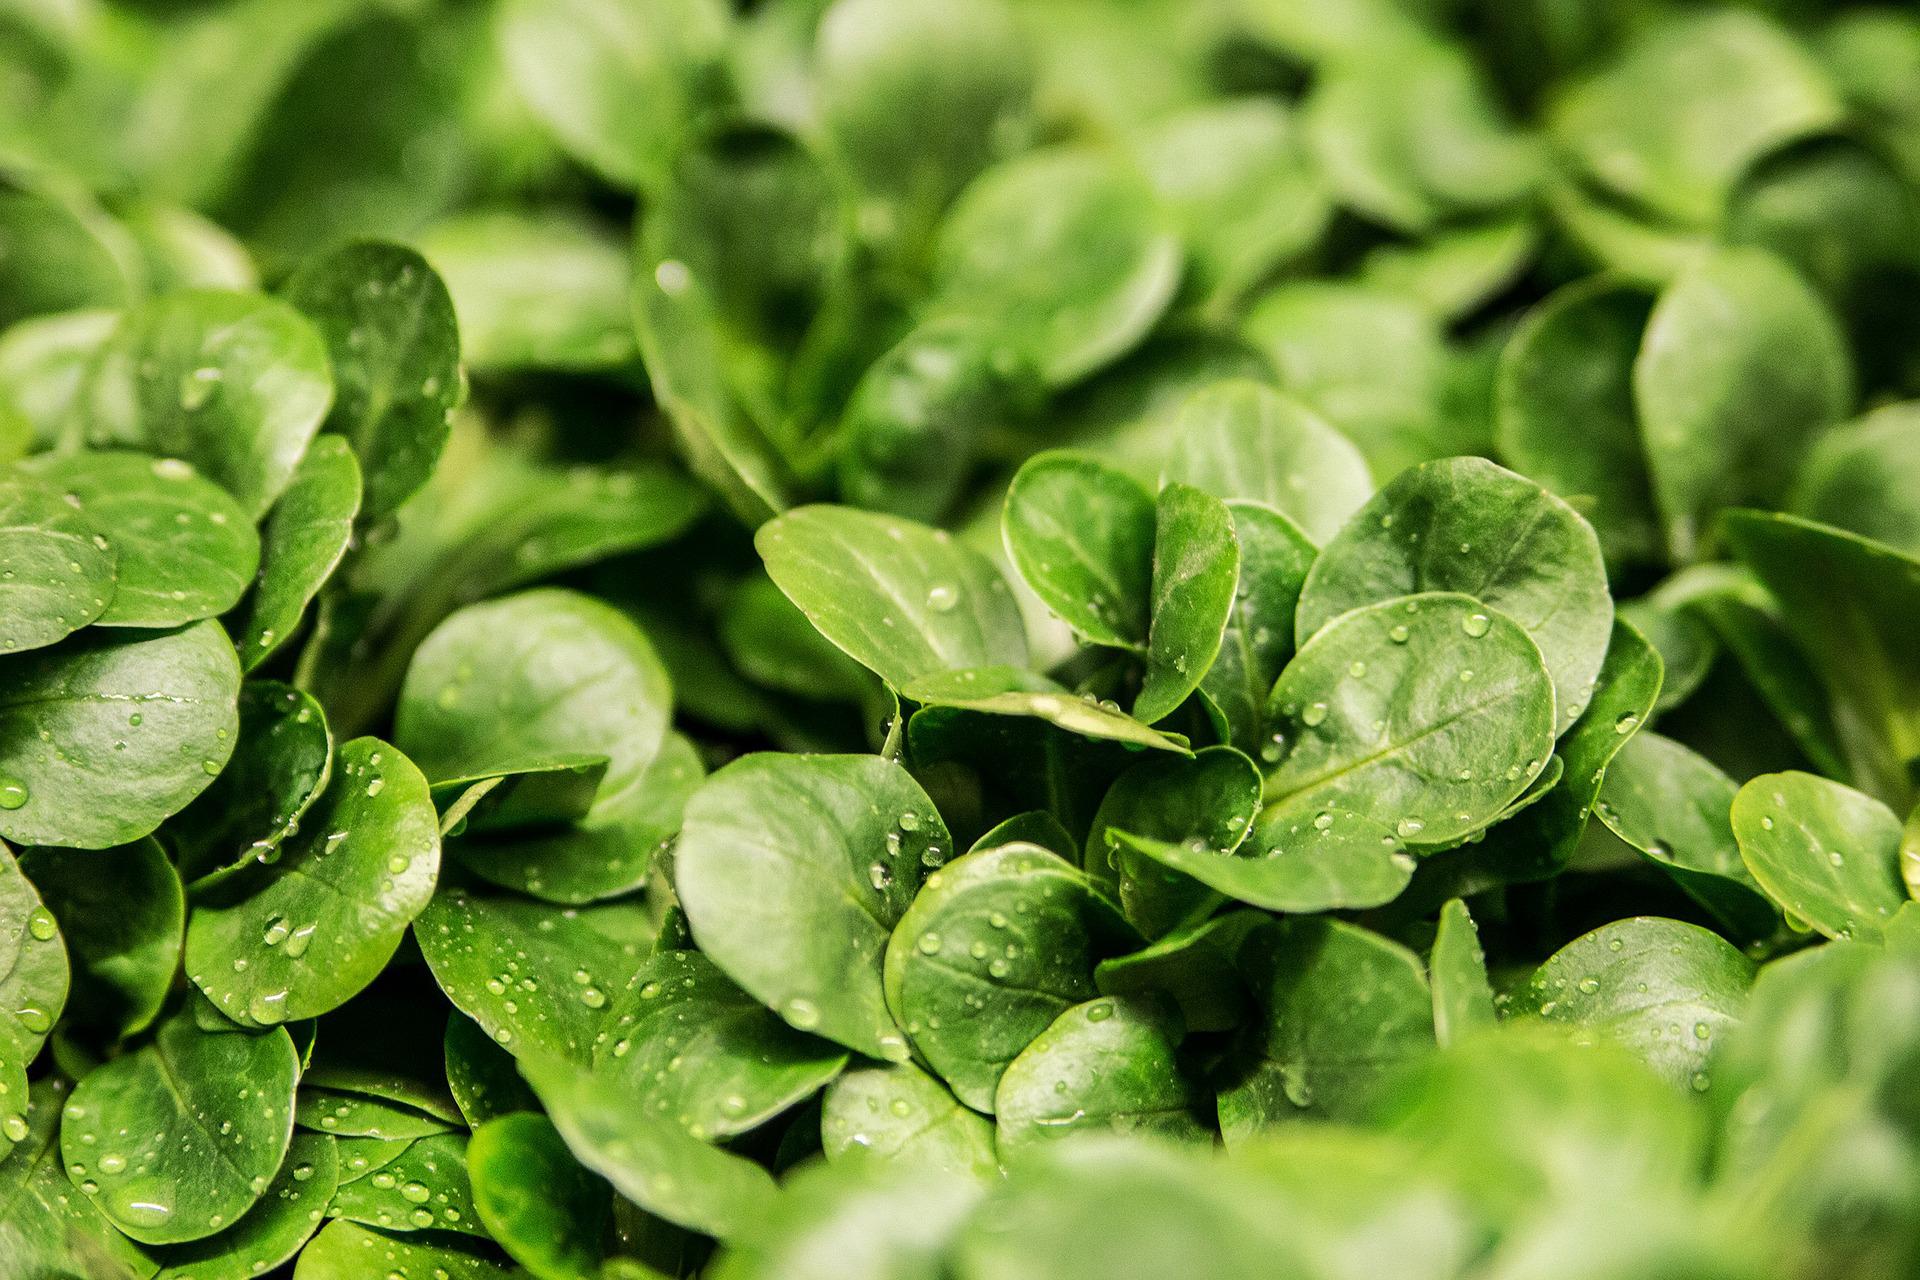
- Spinach: Contains vitamins K and A. It also contains folate - the natural form of vitamin B9, important for proper blood clotting. Its high potassium content and low sodium content help regulate blood pressure. Spinach is also a popular vegan and vegetarian source of calcium.
- Kale: It contains vitamins, minerals and antioxidants to such an extent that it is considered one of the most nutritionally valuable plants on the planet.
- Garden parsley, leaf type (parsley): A plant related to root parsley, with leaves full of vitamins A, B, C and E, iron, magnesium and potassium. The essential oils contained in its leaves are characterised by strong detoxifying effects.
- Head lettuce: An annual or biennial plant forming typical heads consisting of green, reddish or dark red leaves. Much depends on the specific variety here. This superfood appreciates a sunny spot. In return, it rewards you with a high content of antioxidants, vitamins (C, E, B1, B2) and carotene. The nutritional profile of head lettuce also includes important minerals such as calcium, magnesium or iron. Head lettuce reduces fatigue, supports digestion and is considered part of the natural prevention of cardiovascular diseases.
- Iceberg lettuces: You will also be able to enjoy this delicacy thanks to your own harvest in BIO quality and you will not have to rely on supermarket shelves. The variety “Zeus” can be grown without any problem even in summer, and in addition to high yields it will also pleasantly surprise you with its fresh flavour! The variety “Pražan” is also very current and is also commonly grown especially in summer. Despite the name, in Bohemia and Moravia. Its distinguishing feature is large heads.
- Leaf lettuces: This type of lettuce is also nicknamed cut-and-come-again. That is because harvesting takes place continuously. Mature leaves are broken off and more grow in the meantime. For example, the variety “Dubáček” can be grown without any problem even in summer, practically from spring to autumn.
There is no doubt that regular consumption of leafy greens supports physical and mental health. It is advisable to alternate the individual types, as each offers a slightly different composition in terms of nutritional value. However, all of them contain folic acid. The folates we mentioned in connection with spinach also have a positive effect on brain function.
If you have any questions about growing leafy greens, please do not hesitate to direct them to the well-known address info@higarden.eu.
We also recommend these products:
- Airtight TightVac containers
- PLAGRON Seedbooster
- Agro Perlite
What to read next:
- How do you grow microgreens?
- How do you grow outdoor?
- How do you grow cacti and succulents?
How to Grow Orchids?
Orchid (Orchidaceae) is undoubtedly an ornamental plant and one of the most popular among home growers. That is why today’s article focuses more closely on how to care for these flowering beauties.
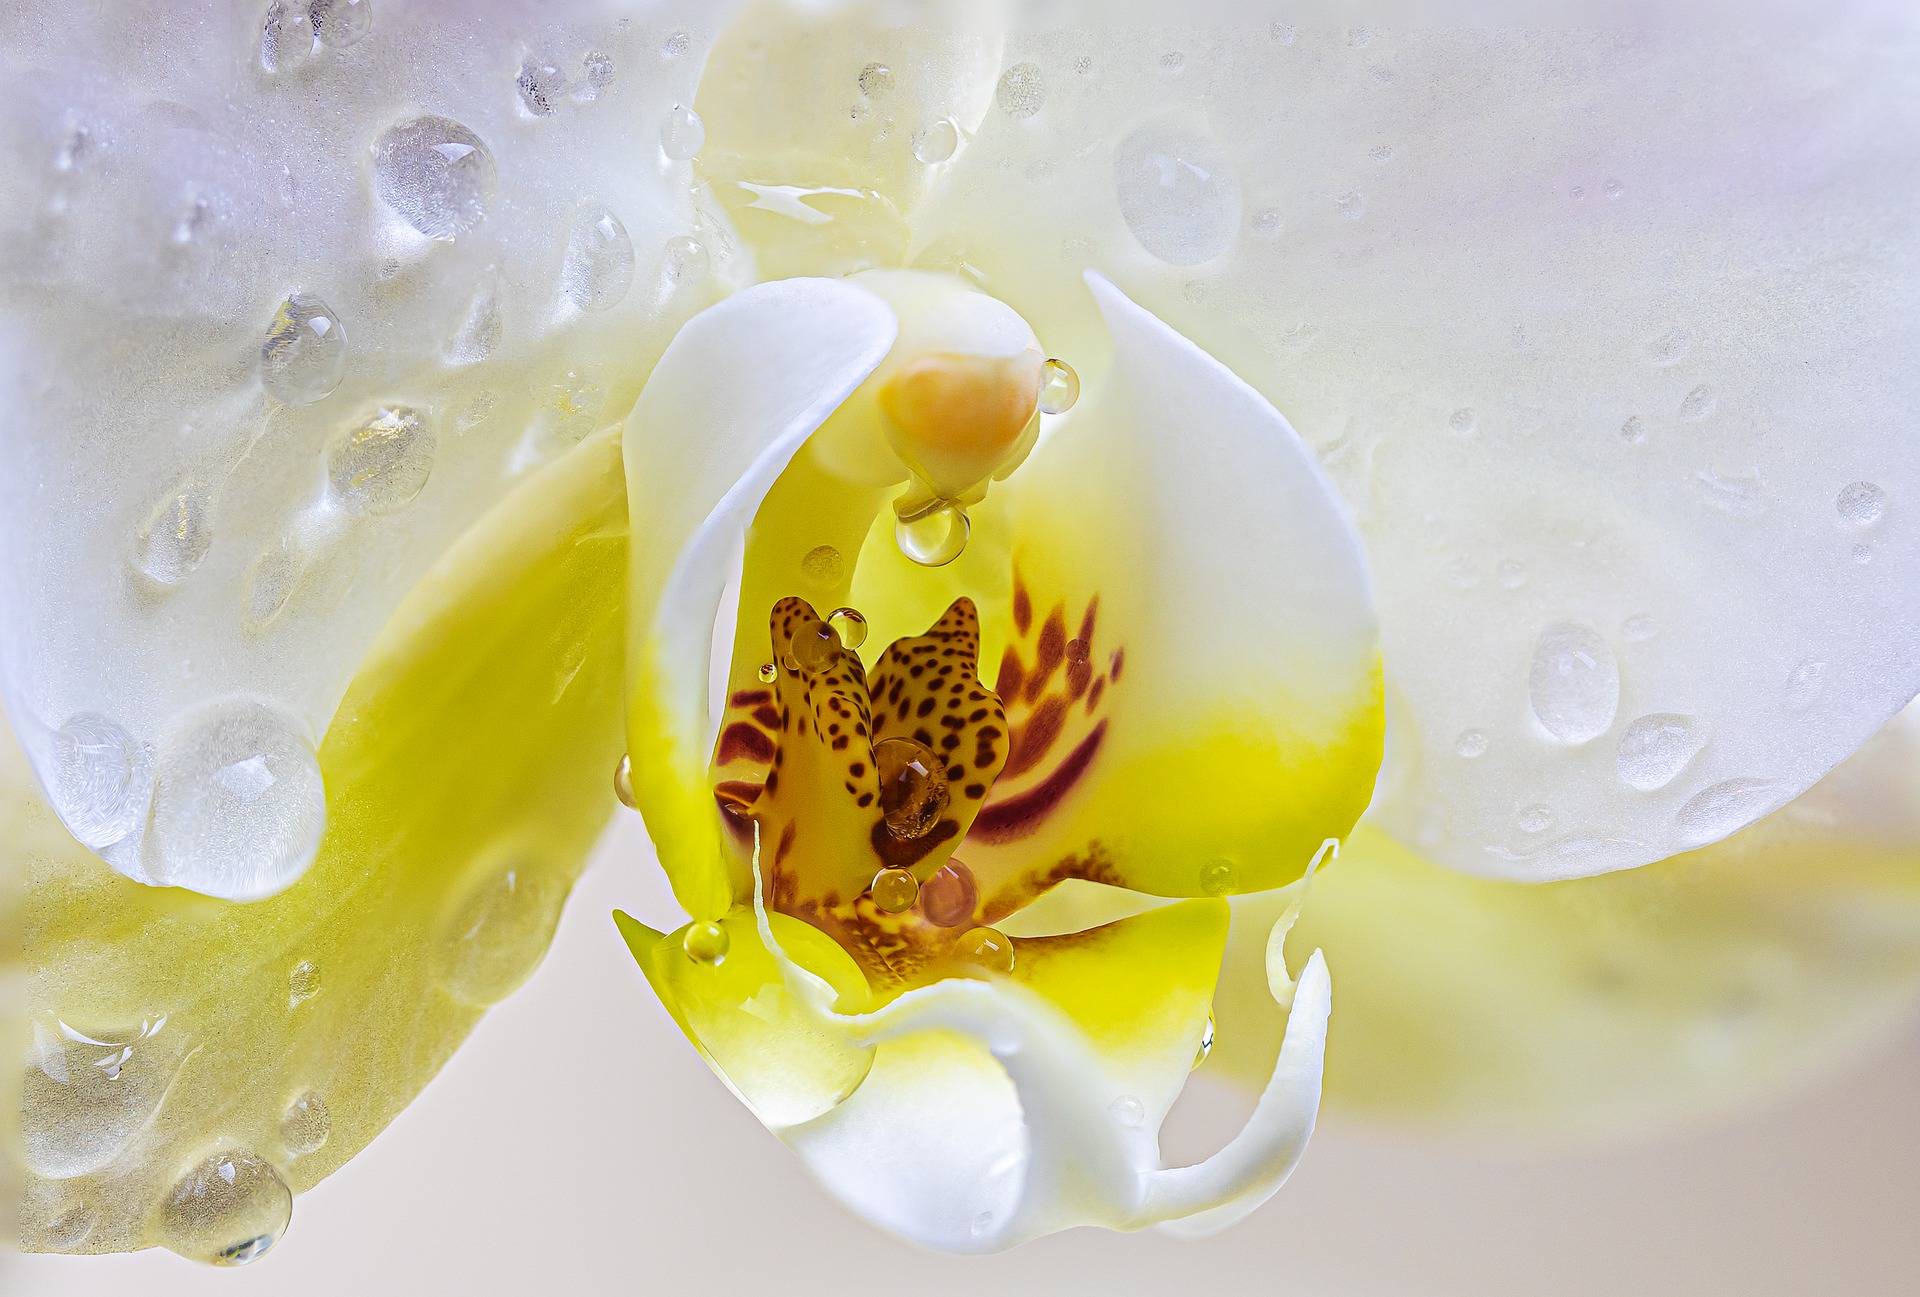
Caring for orchids, houseplants with a tradition dating back to the 18th century, is mainly about choosing and using a suitable growing medium, or substrate.
- Do not use exhausted substrates that have already seen better days or have been left in one place for a long time, as there is a risk that pests or perhaps some bacteria have got inside.
- Use quality substrates with a natural composition and, ideally, substrates intended directly for orchids. For this purpose, mixes of crushed bark and coconut fibres are most commonly produced.
- Substrate, which will suit your orchids, must above all be well aerated and light. Effective aeration can be ensured, for example, by adding perlite.
- At the same time, substrates that are too heavily pre-fertilised are not suitable for orchids. If the growing medium is 100% natural, it does not matter if such a substrate is slightly enriched with nutrients. The presence of any chemical components in the substrate is completely undesirable for growing orchids.
- Another key property of the substrate when growing orchids is its ability to absorb water, so that the root system of plants from the orchid family can absorb nutrients evenly throughout the entire pot, which is reflected in the final appearance of the above-ground parts of the plants, which we ultimately admire and also smell above the level of the substrate.
- The ideal substrate will provide orchids with an optimal balance of moisture and air in the root zone.

It is now necessary to mention which conditions suit orchids best.
- We already know that orchids welcome humid air. That means at least 50%, but quite easily up to 80%. Such air humidity is, of course, not present in the home. This is where sprayers come in, or you can place the orchid pot on a tray of pebbles, to which you regularly add water just below the tops of the pebbles. To keep it as air humidity, do not forget to regularly exchange the air in the room and ventilate properly, which is also a prevention against mould.
- They also generally belong among heat-loving plants, so ideal daytime temperatures range between 22–27 °C and night temperatures should oscillate around 18 °C. In summer, try not to expose orchids unnecessarily to hot midday sun, as direct sunlight represents considerable stress for them.
- Otherwise, they will welcome light. If you grow them as houseplants, they will thrive by windows on the east or west side. As soon as winter arrives, move them to the south side.

Overall, we can say that orchids are a little more demanding when it comes to watering. Here are a few tried-and-tested tips.
- Orchids also like dryness, so it is really important not to overwater the substrate. While they can last quite a long time in dry substrate, a thoroughly waterlogged substrate can even mean their death.
- Be extremely careful with fertilising orchids. It is more than enough to supply nutrients once a month, and only during active growth.
- In winter or, for example, after repotting, but also during active flowering, let orchids rest and do not fertilise them unnecessarily.
Orchids are simply fascinating, but they do require a certain amount of care. Phalaenopsis is probably the most commonly grown species in households, and it benefits from morning sunlight. However, there are many other interesting and fairly readily available species (Paphiopedilum, Cattleya, heat-loving hybrids Dendrobium phalaenopsis and cool-loving hybrids Dendrobium nobile, Oncidium, etc.) worth exploring, and thanks to the advice in this article, growing them should be a little easier. In any case, do not hesitate to ask us anything at the well-known e-mail address info@higarden.eu. We look forward to your questions!
We also recommend these products:
- AgroBio FANTAZIE - orchids 250 ml (89 Kč)
- Grotek Vitamax Pro (from 559 Kč)
- AgroBio INPORO PS against aphids and spider mites (from 159 Kč)
What to read next?
- What can be grown using hydroponics?
- The effect of silicon on plant health
- ONA Block: solid odour absorber
How to Grow Potatoes and Sweet Potatoes from the Comfort of Home?
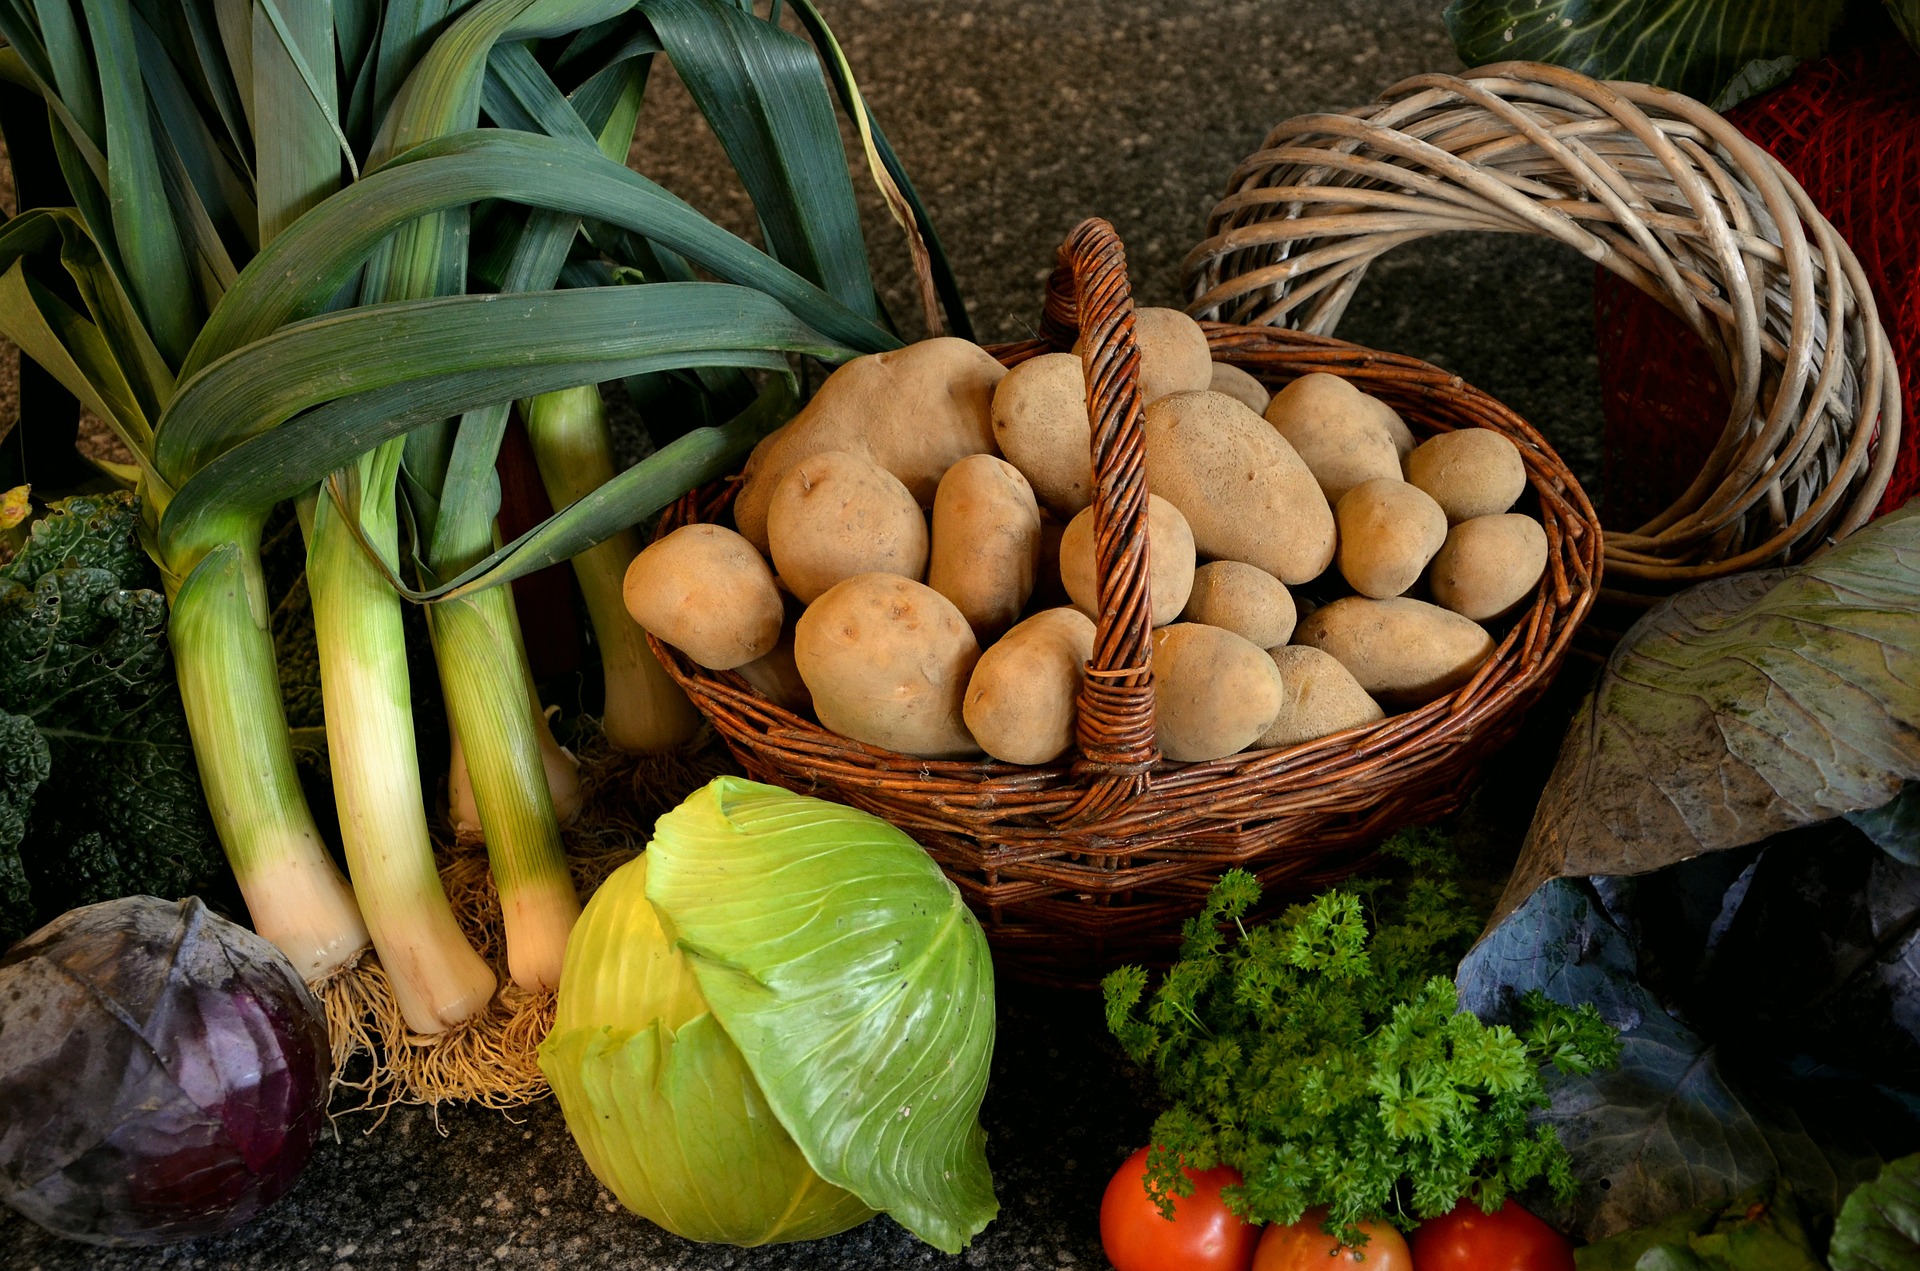
To grow luxurious potatoes or sweet potatoes in indoor conditions, for example in a block of flats, you do not need any special experience. Ensure a supply of these foods all year round, ideally in BIO quality!

What you will need for indoor growing of potatoes or sweet potatoes:
- A sufficiently large growing container.
- A quality substrate that will be sufficiently airy while also retaining moisture well. We recommend, for example, the purely natural soil BioNova SoilMix.
- A small amount of fertiliser. If you want to enjoy potatoes or sweet potatoes that are truly 100% BIO, make use of the fact that, as a home grower, you have the whole process under control and choose proven organic nutrition, such as BioNova Veganics. For potato cultivation, the organic soil improver Bat Guano from the traditional brand Plagron, which is characterised by its bat droppings content, has also proven effective.
- A source of artificial lighting or a sunny spot, which in urban conditions is provided mainly by south-facing balconies and terraces. In extreme cases, a sunlit part of an inner courtyard may also be sufficient.
- After that, you only need warmth, which is not a problem in urban conditions and in flats, even in winter.
- And we must not forget water, without which it would of course not be possible.

Let us mention some further specifics of home potato growing:
- Different potato varieties differ from one another in the length of the growing cycle. For example, early or even very early potatoes usually have a growing cycle lasting about a quarter of a year. Late varieties then take approximately a month longer to grow.
- The advantage of growing potatoes in the comfort of your home is undoubtedly the fact that you do not have to start planting as early as in a field or garden.
- Potatoes form so-called mother tubers upwards, and a single tuber often yields up to several kilogrammes of potatoes. For every 50 litres of growing container volume, you will need at least 3 tubers.
- If you decide to plant shop-bought table potatoes, wait until they have formed sprouts. Seed potatoes are the most suitable.
- Did you know that a potato harvest is made up of up to 80% water? Nevertheless, there is no reason to water potatoes daily during the growing cycle. Watering a few times a week is more than enough. The important thing is that it is truly generous!
How should potatoes be planted?
- Layer substrate to a height of approximately 20 cm from the bottom of the growing container.
- Place the seed tubers (potatoes) on the base layer of substrate and cover them with another, this time only half, layer of substrate.
- Water the seed potatoes regularly and monitor the moisture of the substrate. Make sure that the soil is not waterlogged and that sufficient drainage is ensured.
- At the same time, keep adding further layers of substrate, because as we have explained, potatoes form mother tubers upwards.
- Do not add substrate all the way to the edge of the growing container.
A suitable and sufficiently large growing container is essential
Let us return for a moment to the first point on the list of things without which you cannot do when cultivating potatoes indoors. If you are thinking of trying to grow delicious potatoes first on a small scale, and by that you mean a small growing container, it makes no sense. Do not go below 55 litres in volume, whether you choose a deep planter, a large substrate bag, or other “DIY gardening” gadgets that you may encounter not only in urban conditions and among which old barrels or even stacked tyres commonly belong. Here, however, it is good to remember that you can keep higher-quality containers cleaner, and therefore without an increased risk of pests or diseases. Airtight growing containers need to be perforated at the bottom so that sufficient drainage of excess water is ensured. The best solution is certainly large fabric pots, such as the non-degrading, 56-litre Rootpouch with handle, which you can buy for just under two hundred, and after washing you can use it repeatedly. Fabric pots ensure optimal drainage of the substrate and are made for ecological crop growing in the comfort of your home.
Which pests or diseases should you watch out for most when growing potatoes?
- Colorado potato beetle. It will probably not surprise you that the well-known pest is listed first. Regularly observe the developing crop and as soon as you spot even a single beetle, it must be removed immediately. Otherwise, your efforts could soon come to nothing.
Our TIP: Try an insecticidal product with a natural active ingredient against the beetle – AgroBio Sprintor.
- You can more easily detect the presence of flying insects with practical sticky arrows, which you can simply place around the non-edible above-ground parts of the plant.
- You may encounter rot or mould if you do not ensure sufficient drainage of the substrate, either through holes in the growing container or by using breathable fabric pots, as mentioned above.
Growing sweet potatoes
We have not forgotten sweet potatoes either. We have just left them until the end, because their cultivation at home is very similar to growing potatoes. In what ways do the specifics of the two crops differ, after all?
- Unlike potatoes, the sweet potato (Ipomoea batatas, edible morning glory) is a climbing plant.
- So bear in mind that sweet potato stems can grow up to 5 metres long.
- Sweet potatoes need even more warmth than potatoes for healthy development.
- In addition to vitamin C, they also contain other health-beneficial vitamins (A, B, E), minerals (iron) and fibre.
As you can see, home growing of potatoes, and also sweet potatoes, is nothing complicated! We will also be happy to advise you on the selection of specific products at the well-known e-mail address info@higarden.eu.
We also recommend these products:
- Shogun fertilisers (from 199 CZK)
- BioNova Bio Soilmix 50L (from 279 CZK)
- Gronest fabric pot 75 l - YBP (169 CZK)
What to read next?
- Prima Klima CARBOCONE: innovative activated carbon filters
- WHISPERBLOWER: professional fans with unrivalled efficiency
- What can be grown using hydroponics?