
How to Use Calibration Solutions and pH Metres?
Quality pH metre is a very useful and at the same time the most accurate available tool for testing pH values, which tell us whether a given solution reacts acidically or, conversely, alkalinely. To be able to rely on the accuracy of your pH metre, it needs to be calibrated often enough. For this purpose, calibration solutions are used, which not only help you ensure correct measurement results, but also extend the service life of metres.

Calibrate often
First of all, it should be emphasised that there is no universal answer to the question of how often to calibrate a pH metre. Every manufacturer has a slightly different device, and therefore also a different procedure. We therefore always recommend reading the manufacturer’s instructions for use carefully. That is the best start. It also depends on the required measurement accuracy, which determines the calibration frequency. The ideal situation is calibration every day, or before every measurement.
Preparing the pH metre for calibration
- Switch on the pH metre.
With the first point, we again return to the importance of the instructions for use for every instrument for measuring pH. Among other things, it tells you the exact time needed to warm the device up to the ideal operating temperature. After you switch on the pH metre, it usually needs half an hour to warm up. Only then can you begin calibration and subsequently start using it.
- Clean the electrode.
Remove the electrode from the storage solution and then rinse it with distilled water under an empty waste beaker. Sometimes the electrode is extra dirty. In these cases, the manufacturer’s manual should again provide you with a safe solution. After rinsing, dry the electrode carefully with a cleaning wipe. Try to avoid excessive rubbing of the electrode, which has a very sensitive membrane around it. Do not forget that you need separate containers for rinsing and calibrating the pH metre (i.e. waste and calibration).
- Prepare a pH calibration solution, also known as a buffer.
For calibrating a pH metre, you will usually need more than one buffer. To ensure proper operation of the pH metre, two buffers are usually used, because two different concentrations have different results. The first will be a “neutral” buffer with pH 7. The best-selling one is Growth Technology pH BUFFER 7. The pH value of the second calibration solution should be close to the expected pH of the sample. That means either pH 4 or pH 9.21. Buffers with a higher pH (9.21) are best for measuring alkaline solutions, while buffers with a low pH (4) are best for measuring acidic samples. Given that the correct pH of the substrate ranges between 6.5–7.0 and in hydroponic growing the optimal value is usually even lower (between 5.5 and 6.5), as a grower you will be interested only in the first of the two mentioned options, for example again the most popular one from Growth Technology. The procedure in which you use two calibration solutions for calibration at pH 7 and pH 4 is called two-point calibration, which is more accurate than one-point calibration (only at pH 7).
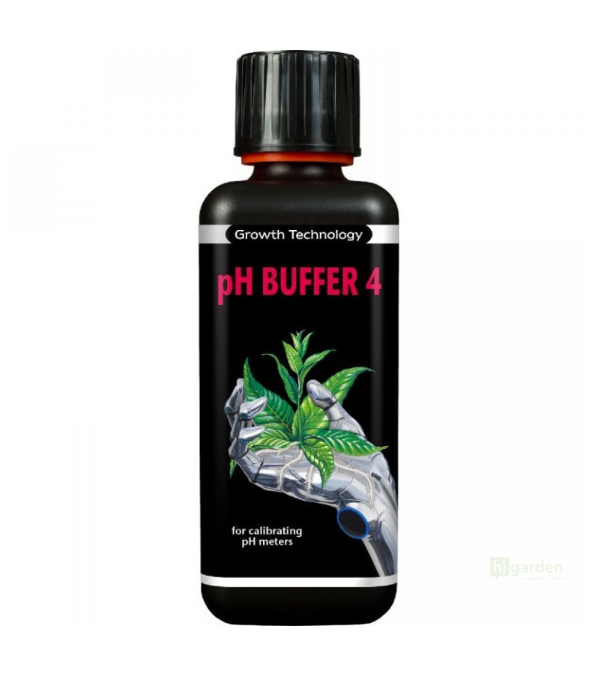
pH values depend on temperature. Make sure, therefore, that the buffers reach the same temperature as the pH metre. Then pour the buffers into the individual calibration beakers. The buffers should be kept in the calibration beaker for a maximum of two hours.
Calibrating the pH metre
- Place the electrode into the pH 7 buffer and start reading.
Press the “measure” or “calibrate” button and start reading the pH as soon as the electrode is immersed in the calibration solution. First wait until the pH value stabilises (1-2 minutes).
- Set the pH.
Once you have a stable reading, set the pH metre to the buffer’s pH value by pressing the measurement button a second time. Setting the pH metre after the reading has stabilised allows for more accurate and refined readings. Stirring the buffer before measuring is not necessary, but if you do, remember to stir all other buffers and samples in the same way.
- Rinse the electrode with distilled water and dry it.
Gentle drying of the electrode is again made easier by a lint-free cleaning wipe.
- Place the electrode into a suitable buffer for the sample and start reading.
As soon as the electrode is placed in the buffer, start “reading” the pH value by pressing the measurement button.
- Set the pH a second time.
Once the reading stabilises, set the pH metre to the same pH value as the calibration solution by pressing the measurement button.
- Rinse the electrode.
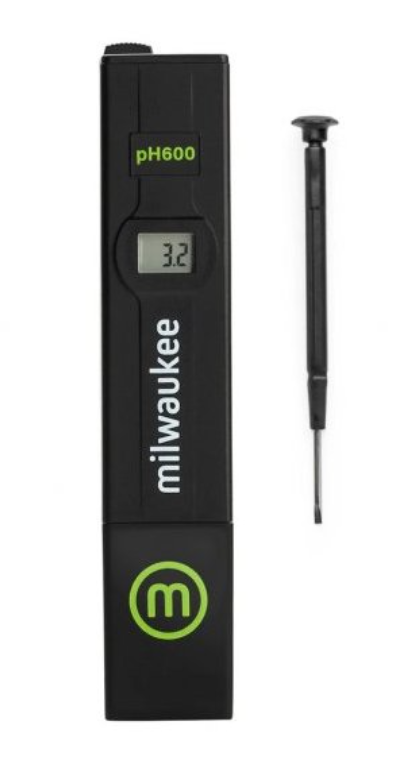
Correct use of the pH metre
- Place the electrode into the sample and start the measurement process.
As soon as the electrode is placed in the sample, press the measurement button and leave the electrode in the sample for approximately 1-2 minutes.
- Set the pH value.
Once the reading stabilises, press the measurement button. This is the pH value of your sample!
- Clean the electrode after use.
Rinse the electrode with distilled or deionised water. You can also carefully dry it with a lint-free cleaning wipe. In practice, however, it is recommended to only blot away excess water droplets with a cleaning wipe. Using a regular wipe could create a static charge that interferes with the electrode reading.
What are the other best practices when measuring pH?
- Regular electrode cleaning: Use high-quality cleaning solutions for pH electrodes to prevent incorrect calibration and measurement, as deposits gradually form on the electrode during pH measurement, covering the measuring glass.
- Check the electrode from time to time: Inspect whether it is damaged, as the sensitivity of the glass decreases over time. Even the slightest damage to the electrode results in incorrect measurement, so pay proper attention to its condition.
- Full electrolyte level: Electrolyte flows out through the ceramic bridges continuously. Inaccurate measurement can also be caused by a low electrolyte level, although this does not apply to non-refillable electrodes. It is recommended to ensure that the electrolyte level is at most 1 cm below the tip of the electrode.
- Correct immersion of the electrode: Always make sure that not only the sensing glass, but also the electrode’s reference bridge, is properly immersed in the electrolyte. If this is not the case, simply add an adequate amount of sample to the beaker so that the electrode is completely submerged.
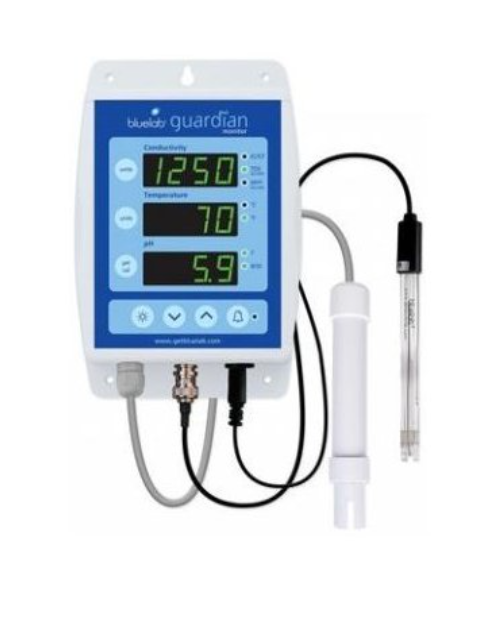
In most cases, the more sophisticated the pH measuring device you have, the more convenient and simpler its calibration is. One example is the combined pH/EC Bluelab Guardian Monitor, which has a practical button for pH calibration.
In addition to pH calibration solutions, EC calibration solutions are also used. Customers usually prefer EC calibration solutions CONDUCTIVITY STANDARD from the brand Growth technology or solutions from the traditional company Milwaukee. It should, however, be said that while some pH metres need to be calibrated practically every day, the consumption of EC calibration solutions is significantly lower, because EC metres last quite a long time without calibration, unlike pH metres, and some more advanced EC monitors do not need calibration at all.
If you need any further information regarding calibration solutions and pH metres, we will be happy to provide it, for example via the well-known e-mail address info@higarden.eu. We look forward to your questions!
We also recommend these products:
- Aqua Master Tools P110 PRO, pH and EC metre and thermometer
- Milwaukee KIT - Martini pH55 + EC60
- Torus Hydro perfectpH capsules
What to read next: