
Tips for Growing with AutoPot Irrigation Systems
AutoPot hydroponic systems will win you over thanks to their ease of use and ongoing maintenance. Hydroponics, as a growing method, is associated with the prospect of a rich harvest. And to help your favourite AutoPot self-watering systems deliver the best possible results, we have prepared several practical tips and pieces of information for you in this article.
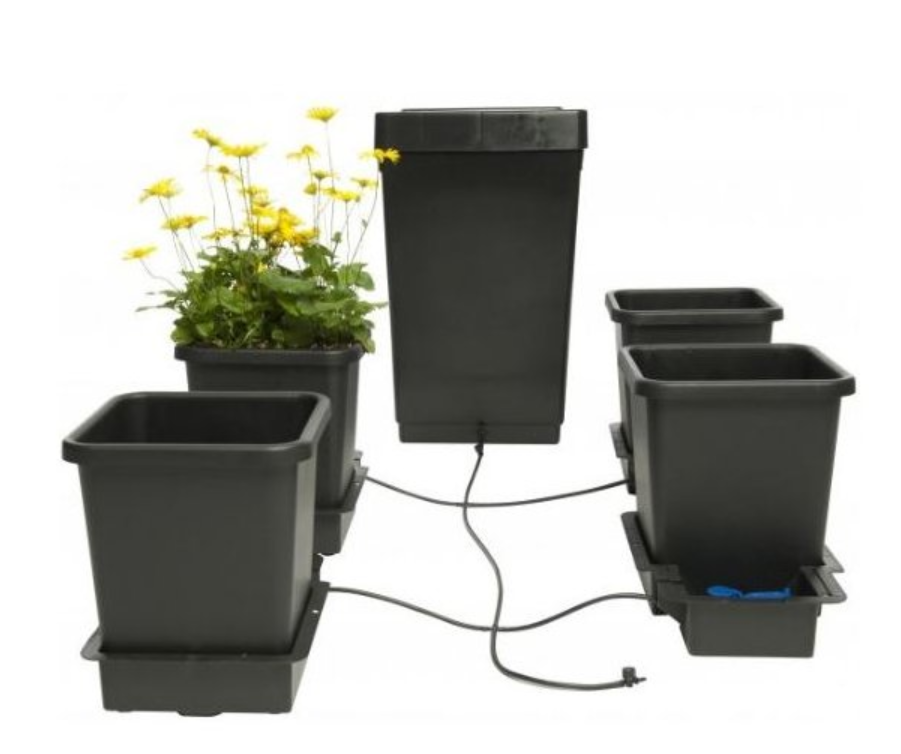
TIP No. 1
- All AutoPot watering systems and modules are supplied with root control.
- Depending on the specific system or module, root control may consist of a combination of PotSock (copper sleeve), Root Control Disc (RCD) and Marix Disc, which are used in the following configurations:
- 1Pot: Marix Disc in the pot, RCD in the reservoir (gold side up)
- easy2grow: Marix Disc in the pot, PotSock at the base of the pot (gold side up)
- XL: RCD in the gold version facing down
- XL FlexiPot: PotSock at the base of the pot (gold side up)
TIP No. 2
To ensure excellent results when growing, it is strongly recommended to place expanded clay, also known as hydroton (clay pebbles), with a stable pH value, or alternatively 1" (25 mm) Growstones or washed gravel, at the bottom of each pot. Then place the chosen substrate on top and water it.
TIP No. 3
If you use AirDome as a small and inexpensive accessory that can increase your yields by up to 130%, in combination with larger systems you should certainly consider using larger pumps, which will allow you to connect 16 mm tubing (standard hose). Mirror the water supply and reduce the tubing to 6 mm at each AirDome connection using AutoPot fittings. Never blow cold air into the root zone, only warm air.
TIP No. 4
When hydroponically cultivating more than six plants, consider using a larger reservoir and supply water through 16 mm tubing (standard hose), reducing the tubing to 9 mm at each AQUAvalve connection using AutoPot fittings. You can find fittings and other original AutoPot accessories HERE.
TIP No. 5
Before placing each pot into the tray, always clean the wall and bottom of the pot to remove any dirt and ensure that your hydroponic system stays clean. It is also important to keep your AQUAvalve clean.
TIP No. 6
AutoPot watering systems, equipped with AQUAvalve5 with 9 mm tubing and fittings, can be used to supply plants with mineral or organic fertilisers via a reservoir and piping. Organic fertilisers will require a water pump in the reservoir running for 15 minutes every 2 hours and cleaning of the reservoir, pump and filter each time the reservoir is emptied. Each time the reservoir is emptied, flush the piping with clean water.
TIP No. 7
Remember that before you switch on the AutoPot watering system, it is very important to first allow your plants to settle once you have watered them and placed them in the pots. The ideal settling time depends on many factors, including the species of the plant, its size, and the temperature and humidity, i.e. the microclimate in the growing environment. In general, we can define this period as 5-21 days depending on the size of the container, but if you are unsure, simply lift the growing container in your hands. If it is heavy, it still contains a lot of moisture. Otherwise, simply switch on the AutoPot hydroponic system.
TIP No. 8
Never place an air stone in the reservoir. This would probably increase the water pH. In this case, a small water pump will serve you better, although neither device is essential.
TIP No. 9
To keep your piping free of deposits, make sure you have a tap at its end, which should be opened regularly every few weeks and the water should be allowed to run into a prepared container for 30 seconds to 1 minute.
TIP No. 10
The reservoir should always be raised at least 150 mm above the floor and refilled once there is one third of the water left... Never let the reservoir run dry.
TIP No. 11
Always use a filter with each reservoir. Filters should be checked once a month and cleaned if necessary.
TIP No. 12
Always make sure that the AQUAvalve is secured to the base tray to prevent it from floating when the tray is flooded with water. If you are using trays designed for AutoPot, simply place the AQUAvalve crescent above the T connector and press down firmly. If you are using AQUAvalve in a garden tray, place the newly designed AQUAvalve MK2 cover over the AQUAvalve.
TIP No. 13
We do not recommend placing trays on cold concrete floors, as this causes unwanted cooling of the water from below, which subsequently affects the growth of your plants. Consider placing polystyrene, cardboard or a similar material with insulating properties under each tray to ensure that the water temperature is not affected in this way. If necessary, the trays can be raised above the floor.
TIP No. 14
Flushing is not necessary with AutoPot hydroponic systems. Simply refill the reservoir with clean water only. If necessary, adjust the pH and 7-14 days before harvest let your plants “drink” only water.
TIP No. 15
Placing small seedlings directly into pots is not recommended. Water only properly established plants.
TIP No. 16
When plants are small and exposed, consider placing a humidity dome/lid over each plant to retain moisture around the plant and speed up growth.
TIP No. 17
In extreme cases of over-fertilisation, pour several litres of pH-balanced water into the pot and let it drain away. Start applying fertiliser again at half nutrient strength for one week.
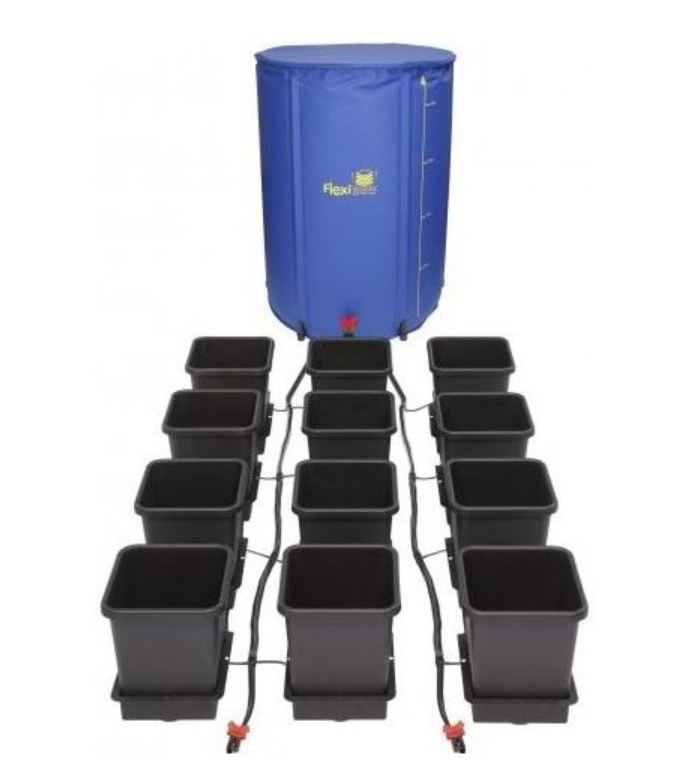
The tips above should make using AutoPot hydroponic systems in practice more convenient, so that you can use them as efficiently as possible. Whether you are only thinking about getting one of the modules, or you already have one at home, do not hesitate to ask us anything about using or choosing an AutoPot system at the well-known address info@higarden.eu.
We recommend these products:
- AutoPot Easy2grow 20 pots incl. 225L Flexitank (10,390 Kč)
- AutoPot 1Pot system 12 pots incl. 225L Flexitank (10,890 Kč)
- AutoPot Easy2grow 6 pots incl. 47L plastic reservoir (2,890 Kč)
What to read next?