
The First Two Weeks of a Plant’s Life, Day by Day
For many growers, the first days of a plant’s life are the most nerve-racking stage of the entire cultivation cycle. A single lapse in attention is enough for precious seeds, often bought for a considerable sum, to be lost. We will show you how to care for your seedlings during the first two weeks so that they grow into healthy and productive plants.
How a plant fares in the first days after germination often determines its entire life. Well-fed seedlings that form abundant roots from day one and quickly produce new leaves grow into strong and productive plants. If a plant struggles during the first days and fails to establish properly, it often means it will remain weak throughout its life and produce fewer flowers. So how can you ensure that your seedlings have everything they need from the very first moment of life?
You may be interested in: Detailed guide to pre-growing seedlings indoors
Before you start germinating
 Every grower should keep in mind that seed quality is an important factor that will affect the entire cultivation cycle. No miracle can be grown from poor-quality seed or from seeds of a poorly chosen variety, not even by the best gardener. Fresh seeds no more than two years old germinate best, but with good storage even seeds that are decades old may germinate. When germinating very old or rare seeds, enzyme-based germination stimulators are useful, as they can help older seed stock to germinate as well.
You may be interested in: How to choose quality seeds for indoor and outdoor growing
There are several germination methods. Some growers germinate seeds between moistened paper towels or soak them in water for 24 hours before placing them into the substrate (priming). However, the most reliable and seed-friendly method is germination in propagation cubes or rolls made of coconut fibre, rockwool, peat, or a mixture of organic materials.
You may be interested in: Which substrate is best for germination
The correct climate is absolutely essential for successful germination. Seeds germinate best at room temperature (22–26 °C). It is also important that the substrate does not dry out during germination, otherwise the process stops and the seeds die. In the first days after germination, seeds need high air humidity above 70%. These conditions are best maintained in a plastic propagator, where you can germinate seeds safely and provide them with a secure environment in the first days of life.
You may be interested in: How to germinate step by step
Days 0–2: Germination in the dark
As soon as seeds come into contact with water, they begin to absorb surrounding moisture and metabolic processes are activated within them. At an optimal temperature of 25 °C, the seed activates within a few hours, the embryo inside begins to swell, and the protective shell cracks. The first thing to appear is the rootlet (radicle), the main root that anchors the plant in the substrate and immediately begins searching for water and nutrients. During the first two days, do not shine light on the seeds. Research suggests that darkness helps the rootlet grow through the substrate.
Temperature: Keep the temperature in the range of 22–26 °C. If you are germinating in a cold place, place a heated mat with thermostat under the propagator.
Humidity: Air humidity should exceed 70%. The substrate must not dry out.
Light: Not needed.
Days 3–4: The seedling emerges
If conditions are correct and the seeds are healthy, the shell protecting the embryo (the seed coat) should crack between the second and fourth day after sowing. The seedling begins to grow downwards under the influence of gravity, but sometimes the rootlet may initially grow upwards and the seed head with the cotyledons becomes trapped in the substrate. In that case, carefully break open the propagation cube and turn the seedling to face downwards.
Do not disturb: If it is not absolutely necessary, do not touch germinating seeds or move them from place to place.
Stable temperature and humidity: Seeds need peace and a stable environment. In the propagator, maintain the temperature in the range of 22–26 °C and high air humidity. If the substrate dries out, moisten it gently with a sprayer.
Light: As long as the seed head remains hidden under the substrate, light is not needed.
Days 5–6: The first leaves break through to the surface
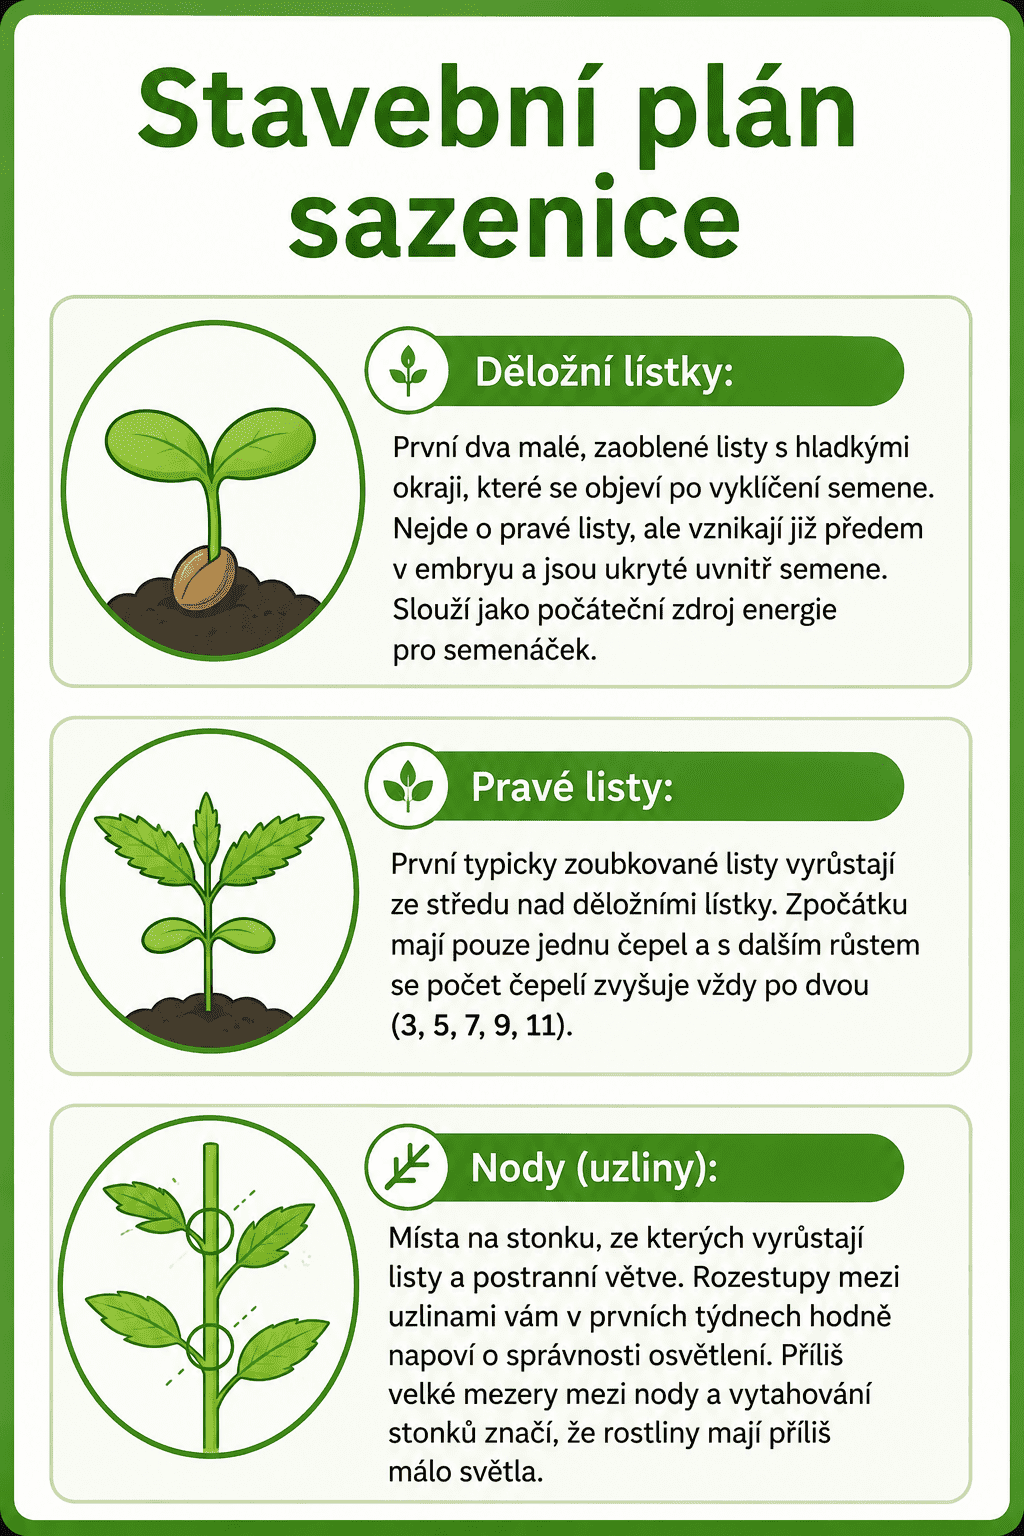
Four to seven days after planting, the seed head should appear above the surface of the substrate. During the following 12 to 24 hours it opens and two round cotyledons appear, which are already capable of photosynthesis. It is time to transplant the propagation cubes with the germinated seeds into a small pot with the chosen growing medium.
You may be interested in: Which growing medium is right for you?
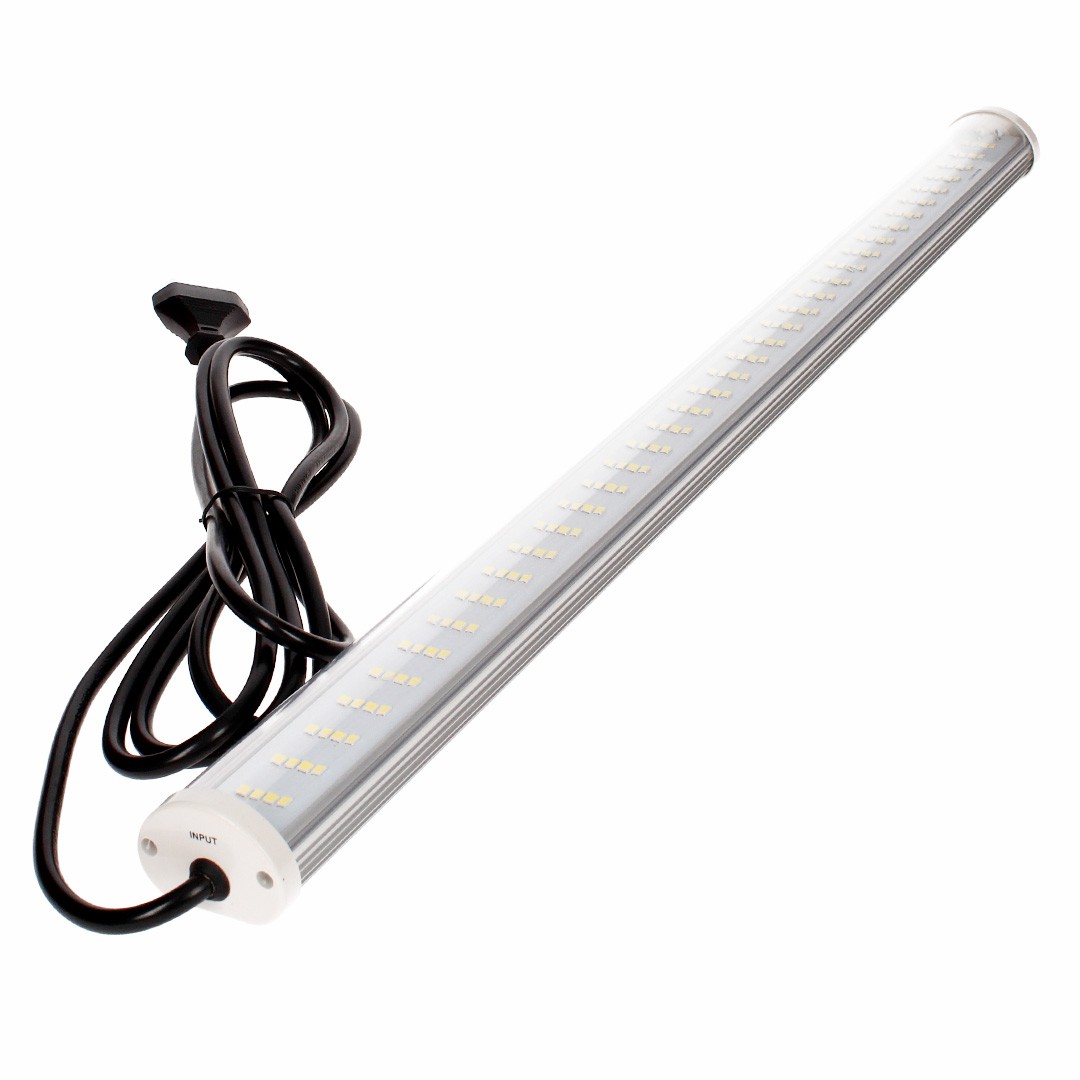
Light: As soon as the first leaves appear above the surface, it is time to provide the seedlings with light. However, it should not be too intense, as this could burn the young leaves. An ideal choice is a TLED light in the growth spectrum with an output of several dozen watts, hung 60 to 90 centimetres above the plants. The aim is for the light intensity (PPFD) to be in the range of 100–200 µmol/m²/s.
Light period: Most growers light seedlings on an 18/6 schedule, meaning 18 hours of light and 6 hours of darkness. The photoperiod can also be extended to 20/4 or 24/0, which speeds up growth but may stress the plants.
Watering: After transplanting into the substrate, water the germinated seeds with only a small amount of water. It is better to water plants less and more often during the first days. If you drown them in water, oxygen will not reach the roots and the seedlings will grow slowly. The water should have adjusted pH (6–7 for soil, 5.5–6.5 for coconut and hydroponic substrates).
Stuck seed coat: Sometimes the seed shell gets “stuck” on the cotyledons, which cannot unfold. If this happens, carefully remove the shell with tweezers.
Days 7–8: The first true leaves
 After a week from sowing, your seeds should have fully developed cotyledons and, if you look between them, you should see the first sign of the true serrated leaves. If your seeds are taking a little longer, wait two or three days. If the seeds do not germinate even 10 days after sowing, they are probably dead.
Light: Keep the photoperiod for vegetative growth. If it seems that your plants are stretching too much towards the light, slightly increase the intensity (hang the light lower or increase the output).
Humidity: As soon as the first true leaves appear on your plants, it is time to remove them from the propagator, or at least reduce the humidity in the growing area slightly. Over the following days, keep air humidity in the range of 65–75%.
Fertilising: If you are growing in pre-fertilised horticultural substrate, there is no need to fertilise the plants in the first days, but you can help them with a suitable root stimulator. When growing in lightened soil substrates, coconut or hydroponics, supply the plants with fertiliser from the first days according to the manufacturer’s recommendations.
Days 9–10: The true leaves open
The first set of true leaves has only one blade, and once it opens, the seedlings begin to take on their characteristic appearance. The next level of leaves will already have three blades, and with further growth the number of blades on the leaves will increase until the plants begin to flower.
Light intensity: Your plants should now be able to tolerate slightly stronger light. Gradually increase the intensity until you reach a PPFD value of approximately 200–300 µmol/m²/s.
How often to water: As already mentioned, young plants need to be watered carefully and with not too much water, otherwise their roots may suffocate. Ideally, you should water your seedlings roughly every two to three days when the top layer of the substrate has dried out.
Stem collapse: It is not unusual for plant stems to stretch quickly in the first days and begin to bend under the weight of new leaves. This can be partly prevented by placing a small fan in the growing area, which will simulate a light breeze.
Days 11–12: The second node appears
 Towards the end of the second week, growth is in full swing and you can clearly see the difference between the first and second levels of the plants. A distance greater than 4–5 centimetres usually means the plants are getting too little light. Conversely, burnt and twisted leaves may indicate too much light or over-fertilising. Slow growth and wilted leaves are a sign of overwatering.
Light intensity: Increase the lighting intensity again slightly to around 250–350 µmol/m²/s.
Days 13–14: The start of the vegetative phase
After two weeks from sowing, your plants should be about 5–10 centimetres tall with 3–4 sets of leaves, including the cotyledons. The stem should now be strong enough to stand without support, and the first roots should be growing through the bottom of the small pot. The cotyledons may turn yellow, but this is not a cause for concern, as it is a sign that the nutrient reserves have been used up. The other leaves, however, should have a healthy green colour.
Transition to growth lighting: If your plants have so far been under TLED light, they should now be ready for proper light. The optimal range for vegetative growth is 400–600 µmol/m²/s. Always increase the lighting intensity gradually and observe how the plants respond to the changes.
Humidity: Reduce the humidity and keep it in the range of 60–65% during the growth phase. If you are growing indoors, be prepared for the fact that as your plants grow, they will release increasing amounts of moisture into the surroundings, which must be vented out of the growing area. Few indoor growers can do without a dehumidifier.
Transplanting: After about two weeks, the small pot will start to feel cramped for your plants and it is time to transplant them into their final growing container or into a bed. Before transplanting, let the substrate dry out a little; it will be easier to tap it out of the pot. After transplanting, water the plants with a root stimulator, which will protect them against transplant shock.
You may be interested in: How high to hang grow lights
The first two weeks of a plant’s life determine how strong, healthy, and productive it will be in the later stages of cultivation. If you provide seedlings with the right conditions, a stable environment, and careful care, they will reward you with rapid growth and trouble-free development. You can find more practical guides, growing tips, and detailed information on indoor and outdoor growing on the Higarden blog.