Is removing leaves worth it for better yields?
The topic of leaf removal, defoliation or, professionally, defoliation has been a subject of passionate debate among growers for many years. Among cultivators around the world you will find both staunch opponents and supporters. There is therefore no universal verdict on whether it is better to leave plant leaves alone or whether it pays off to apply this technique. The fact remains, however, that professional growers achieve impressive results repeatedly using it on various plant species, so the technique probably has merit. All the more so because today even many experienced indoor growers consider defoliation a routine part of their cultivation that significantly contributes to their high and consistent yields.
The natural process of defoliation is familiar to us from nature—think of leaf fall. Let us now explain why targeted removal of plant leaves makes sense not only in outdoor cultivation, but also in indoor cultivation under artificial lighting such as LED lamps or discharge lamps.
Improving air circulation and reducing humidity inside the growing area
In indoor growrooms and inside grow tents vegetation is often very dense to impenetrable, because every grower logically tries to make the most of the space around the artificial light source in order to cultivate as many healthy plants as possible in a given area. It is not only about plant count—some growers let plants grow extensively before changing the photoperiod to fill the entire cultivation area as much as possible.
Far from all of these growers realize in practice that the denser the vegetation inside the cultivation space, the more it ultimately hinders the flow of fresh air between individual plants, which is crucial for their healthy, vigorous development.
Our TIP: Circulation fans help increase airflow exactly where plants need it most. If you do not yet have one in your growbox or room, especially at the start of summer, be sure to read our separate article: How to choose a circulation fan?
Another problem that arises when plants bearing many leaves are crowded together is increased humidity. Humidity alone is not necessarily a huge problem, but combined with the aforementioned lack of fresh air, the air exhaled by the plants accumulates around their lower leaves. This air is no longer sufficiently saturated with carbon dioxide (CO2). There is a separate article about the importance of CO2 for plants: Plant cultivation and carbon dioxide. How and why to use it?
Our TIP: Give your plants in the growbox an extra dose of CO2 with a natural CO2 generator!
When vegetation in the cultivation space is dense, insufficient fresh air flow around individual plants together with increased humidity creates ideal conditions for the development of dangerous molds and mildews, which thrive in such stagnant air. Where leaves touch each other, moisture concentration is highest, so leaves at contact points are often wet and stuck together. That is exactly what you want to avoid.
Improving light access to the plants
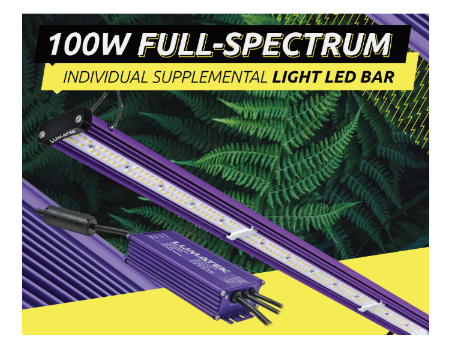
For plants to develop, enough light must reach their green parts, primarily the leaf surfaces. Moreover, the intensity must be sufficient so that most leaves receive their daily share of photons. In nature, the sun is not only a very intense light source but also moves across the sky during the day, changing the direction and angle at which sunlight hits the leaves. In indoor gardening our most powerful light source usually stays fixed in one place. The density of the vegetation therefore becomes an important variable. It commonly happens that lower tiers do not receive enough light for optimal photosynthesis. Therefore, apart from the direct effect of defoliation, growers also use supplemental TLED lamps to illuminate shady spots.
Our TIP: 100W full-spectrum supplemental luminaire Lumatek BAR 2.9
It may not surprise you that a plant will not decide to stop supplying water and nutrients to poorly lit lower leaves simply because the grower prefers flowers or fruits. Those lower leaves therefore become a burden for the plant. Here we get to the heart of the matter.
Experience with defoliation speaks relatively clearly. Letting more light reach the flowers by removing unwanted leaves often visibly improves their development. On the other hand, leaves can be likened to solar panels—an energy reserve the plant needs for producing and ripening flowers. Therefore, to be beneficial rather than harmful, defoliation must be done sensibly... Let us now explain four basic rules you should respect before you start applying this horticultural method in practice.
- Plant health
Whether due to your cultivation skills or premium products from our range mentioned in many other blog posts, your plants must be in perfect condition. Otherwise do not attempt targeted leaf removal. If your plants are struggling with pests or clearly not growing optimally yet, defoliation will bring no benefit and may harm your yield. Healthy plants in indoor cultivation naturally require optimal growing conditions. Before you start removing leaves, ensure your plants have enough light and an ideal climate (see above) and that you can provide correct nutrient dosing during regular watering. If everything is in order, you can begin experimenting.
- Genetics
Opinions on defoliation differ widely in the international growing community perhaps because not every cultivar is suited to leaf removal. Genetics definitely play a role. If a variety produces dense vegetation with many side branches and leaves, it is likely to benefit from defoliation. However, there are many varieties with a more open structure that naturally form fewer leaves. In that case we recommend caution and minimalism. Provided rule number one is met, try defoliation on a very small scale first and observe how those plants react compared to areas where leaves were not removed. If the effect is positive, proceed carefully with further targeted leaf removal. There are exceptions, which makes the situation more complex: morphology is not everything, and some varieties may respond better to defoliation than others regardless of structure or leaf count.
- When less is more...
Some growers do not hesitate and remove almost all large leaves in one go, leaving only small leaves near the flowers and those attached close to the stem that do not yet have fully developed petioles. Such an approach is taken either by a grower who knows exactly what they are doing—i.e., knows the cultivar and how it reacts based on repeated experience—or by someone who knows nothing about defoliation, which is pure gambling. If you decide to try leaf removal in practice, we recommend following the rule “Less is sometimes more” and starting very cautiously. Remove only a few large mature leaves first. Wait a few days and observe the plants’ reaction. That will help you decide on further defoliation.
- Timing
Consider the point when the imaginary rear gate closes. During the vegetative phase new leaves continue to grow, usually before changing the photoperiod to 12/12. At that time plants devote all energy to stem and leaf production. Plants also produce additional leaves for roughly three weeks after switching the photoperiod to flowering, rapidly growing in height. Once they stop vertical growth, they will no longer produce new leaves except for tiny leaves very close to the flowers.
Further useful tips for leaf removal can be summarized as follows:
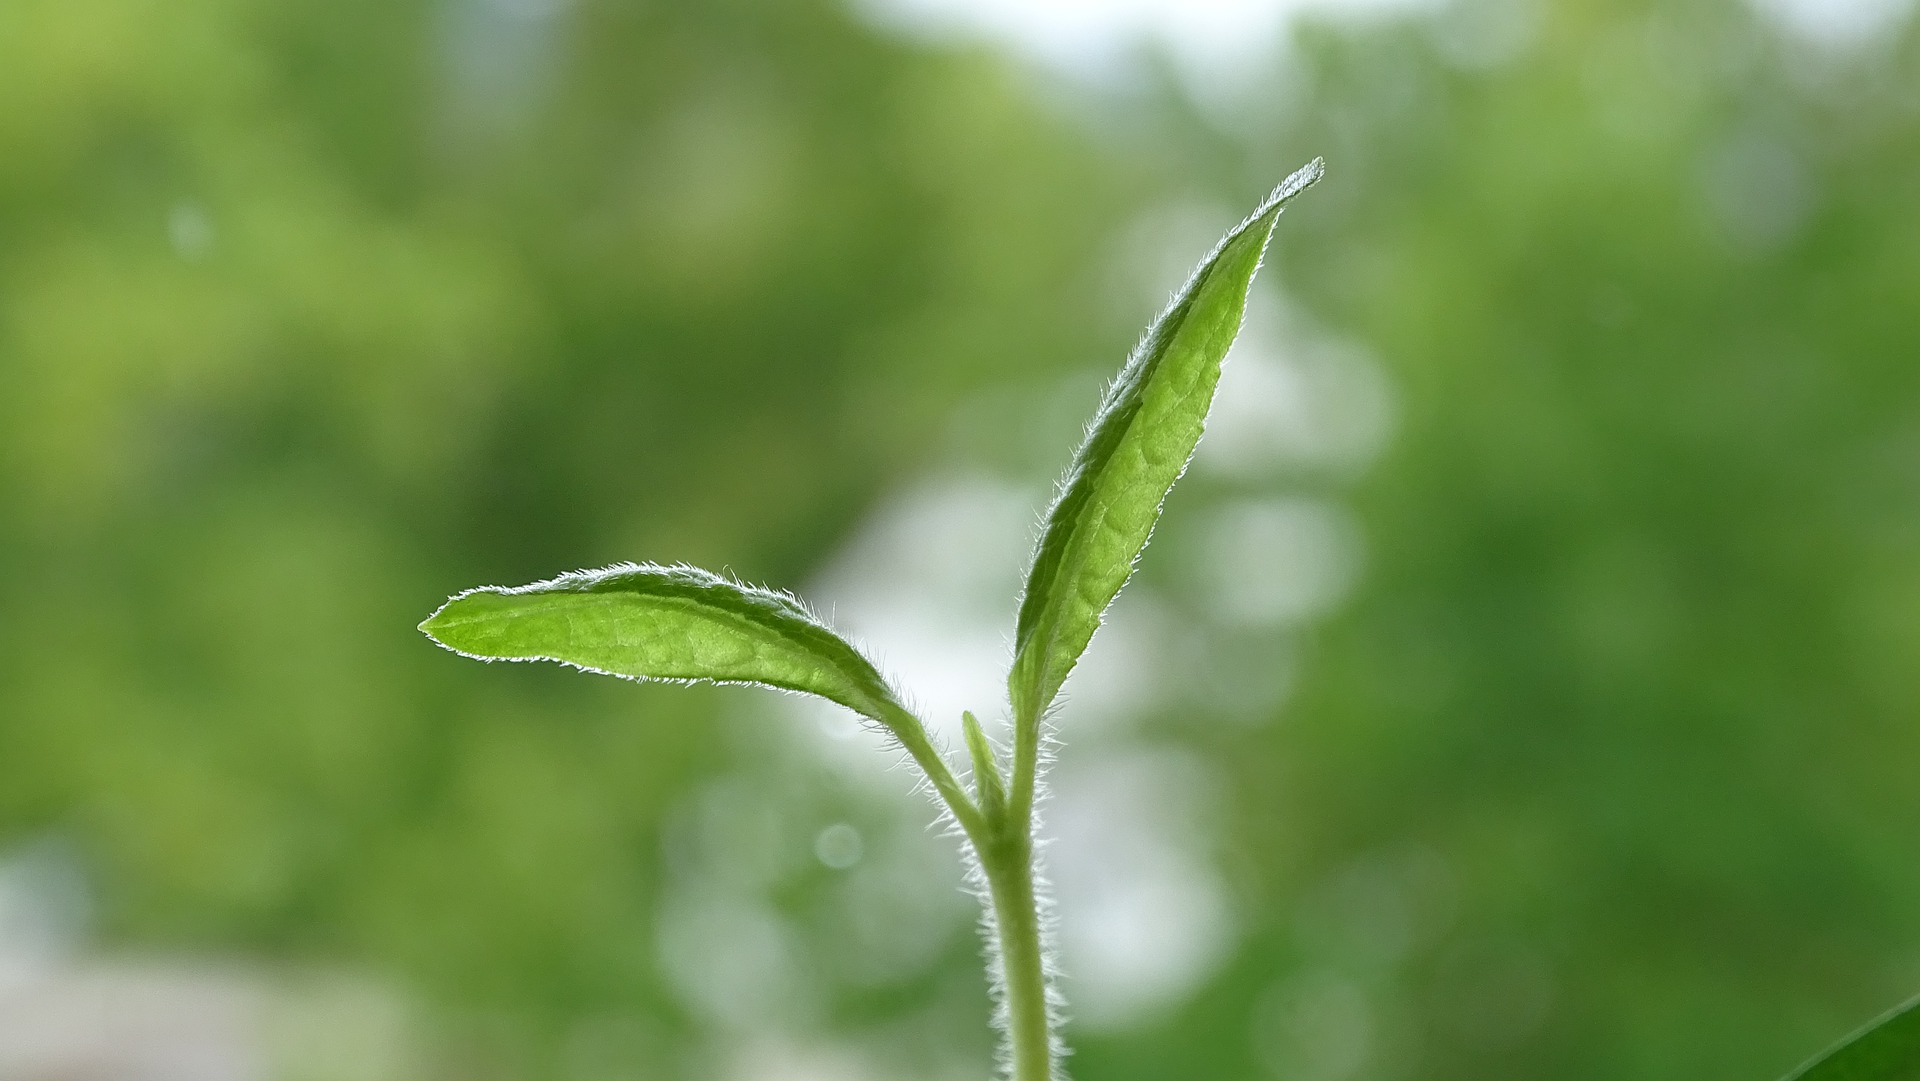
- Removing leaves from seedlings or young plants in early developmental stages makes no sense. They need as much energy as possible for development and generally have sufficient spacing, so light reaches all tiers with adequate intensity, supporting the growth of lateral shoots.
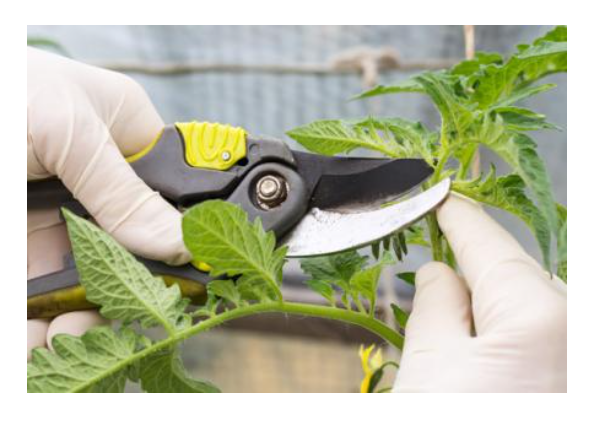
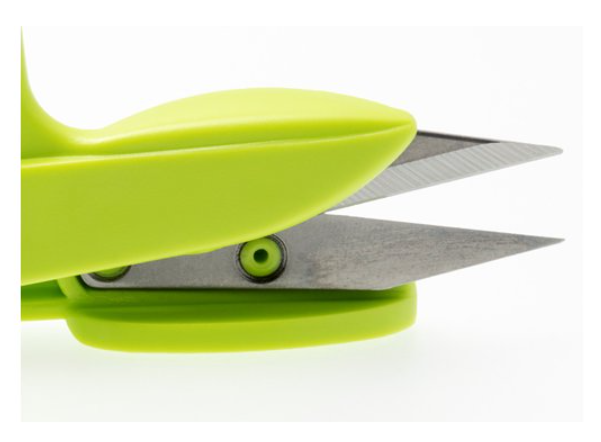
- For precise, safe, more comfortable and faster leaf removal you will find high-quality modern gardening scissors useful. (gardening scissors)
- Growers often wonder whether to snap off the leaf including the petiole or to leave the petiole. Leaving the petiole is fine because it does not block light penetration and after providing the plant with stored nutrients it will naturally dry and drop off.
- Sometimes it is not necessary to remove the whole leaf; trimming part of the leaf blade is enough. This type of defoliation can be beneficial when there are not many leaves but they are large, take up a lot of space and block light.
You now know the basic rules for leaf removal, so we can focus on specific recommended procedures for defoliation of plants grown in indoor environments.
- During the vegetative phase (i.e., during the vegetative photoperiod in indoor cultivation) you have several options for using leaf removal:
- If you need to achieve an even canopy height, removing leaves on selected branches can help slow growth in those branches.
- Removing large shading leaves allows more light to reach shoots and branches in lower tiers, supporting their development and making more efficient use of the available cultivation space.
- Again referring to the issue described above: you should remove leaves that touch one another and where condensation forms, promoting mold or powdery mildew. Also remove old lower-stem leaves that no longer receive sufficient light.
Once you change the plants’ photoperiod to induce flowering, they will undergo an intense vertical growth for roughly the next three weeks, during which flowers will also start to form. This phase is commonly called the “stretch.” You may also encounter plants that flower regardless of photoperiod; these are called autoflowering. They often require special nutrition such as BioNova Autoflower Supermix. With autoflowering varieties you need to determine cycle stages by eye—according to how they look and whether they are visibly forming flowers. In any case remember that the goal of defoliation during flowering is to get as much light to the flowers as possible while still leaving the plant a sufficient number of leaves. It is an art of balancing, but the more experience you gain with leaf removal, the easier it will be to achieve the desired balance.
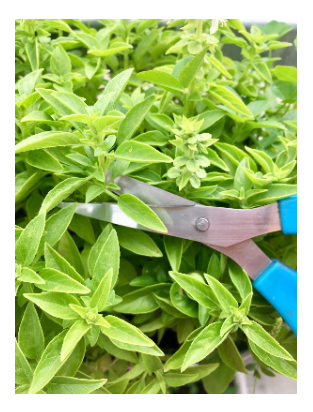
Our TIP: Defoliation becomes much easier with a new line of premium hand tools built to last. Stainless steel blades, like those on the small PRO CUT gardening scissors, stay sharp longer.
When and how to remove leaves? The strategy is in your hands
- Before changing the photoperiod
More and more growers practice radical leaf removal shortly before changing the photoperiod. After the change the so-called stretch phase occurs, which can double the effect of defoliation. To some extent this should limit vertical stretching of branches, but the main benefit is that more light reaches the lower internodes. Adequate intense light in these places will significantly support the development of flowers that would struggle in the shade of leaves.
- Ongoing defoliation
Now we present a more conservative approach to leaf removal: regularly removing leaves throughout the cultivation cycle up until the final flowering stage. You can set intervals for removing leaves, for example every other day. It is similar to watering—better to do it more often but in smaller amounts. Always remove only a few selected leaves that most shade the flowers at the time, or leaves that touch each other. This conservative approach helps avoid shocks that plants may experience after removing a large number of leaves at once. It also gives you space to test how a particular variety reacts to defoliation without causing more harm than good.
- Comparison test
To reveal the real potential or possible benefits of defoliation for the cultivar you are growing in a controlled environment, perform a classic comparison test. It is up to you how large areas of vegetation you compare. For instance, split the space half and half—defoliate one half and let the other grow freely. The comparison method also works to compare different defoliation approaches. Observe carefully—the differences between the halves or other chosen proportions will help you decide which approach leads to the best harvest. Remember the basic prerequisite for such comparison: use the same cultivar for all compared plants and ensure identical conditions for their development in the cultivation area.
If you have any questions, do not hesitate to contact us via the known email address info@higarden.cz.
We also recommend these products:
- PRO CUT gardening scissors - large straight
- PRO CUT gardening scissors - large curved
- Easy Snip curved scissors
Further reading:
- BIONOVA - innovative Dutch fertilizers and substrates appreciated by professionals and home growers
- TechGrow timers: a different league of switching!
- Sprouting trays are in vogue. Bet on Czech quality!