How and Why to Revitalize Substrate?
With harvest season we receive questions about how to deal with spent substrate after harvest. The topic of today's article will therefore be the revitalization or regeneration of growing substrates.
- Sure, you can throw spent substrate in the bin, but there are more ecological solutions that will also save you money since you won't have to keep buying brand new media for your growing containers. On the contrary, quality growing substrates, which we recommend a bit further below, can be reused.
- The revitalization process itself depends on whether you use soil or coconut as your growing medium.
SOIL
- Ideally, a plant in a pot develops a rich and branched root system that gradually fills the respective growing container.
- At the same time it absorbs nutrients that were supplied to the soil via watering with water and fertilizers.
- The chemical composition and properties of the soil are therefore significantly different after harvest compared to the original state or the state during the growing cycle.
- Spent soil no longer contains sufficient nutrients and, if mineral-based fertilizers were applied, it also contains excess salts and other residues that are very undesirable for any further use.
- Soil mix naturally loses its water retention ability after harvest. In fact, or at least in the case of successful prior cultivation should be, it is practically thoroughly penetrated by the root ball.
- If we planted a new seedling into such spent soil without first revitalizing it, in the vast majority of cases the result would be infestation by pathogens from rotting roots and subsequent death.
- Soil in the wild is revitalized naturally without human intervention. However, if we cultivate plants in growing containers, you must take care of revitalizing spent substrate yourself. Here is the procedure:
- Remove all above-ground parts of the plants and any other plant material.
- Rinse the soil with water (preferably water from reverse osmosis — see a separate article) to wash out fertilizer residues and other unwanted substances; an ideal volume is about 2 to 3 liters of water per 10 liters of soil. We recommend repeating this process at least three times so that all substances we want to remove from the substrate are really flushed out.
- Sterilize the substrate, especially if the plants in the previous growing cycle were attacked by pests or diseases. The simplest method of sterilizing the substrate is rinsing with boiling water. It is advisable to support the sterilization process with hand hygiene, or you can use disposable latex or clean garden gloves.
- The result of these steps is clean soil without nutrients. Before reuse, these must be replenished by mixing in strongly pre-fertilized substrate or quality compost. It is important to emphasize the rule that old, revitalized substrate should be mixed with new soil mix or compost only after spreading it out in a dry and sufficiently airy place, where you remove all remaining root ball residues from the previous growing cycle using a sieve.
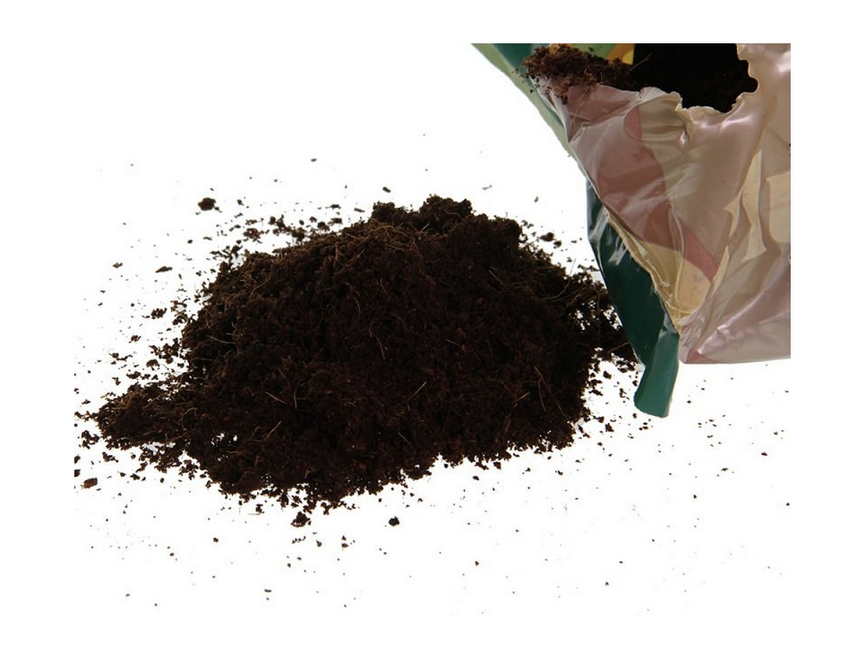
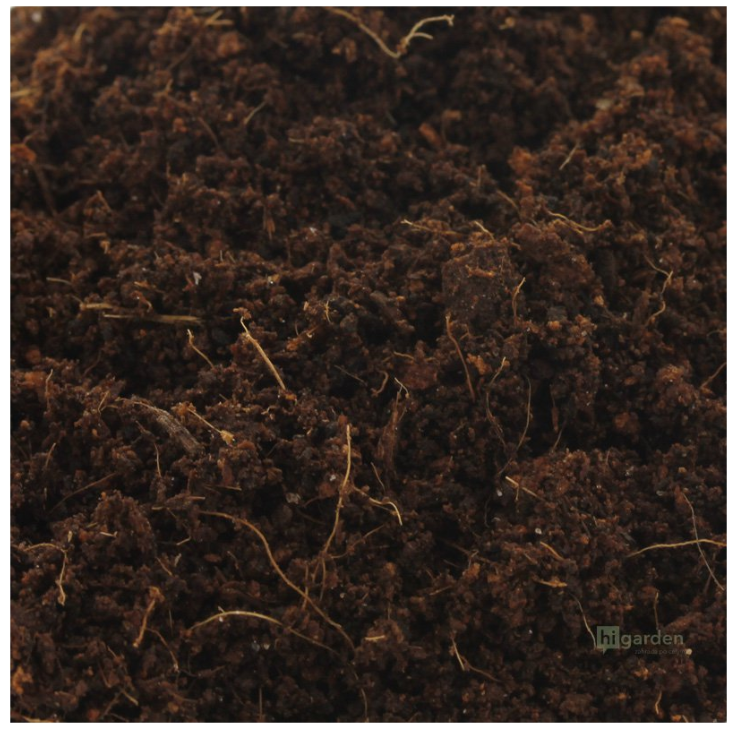
COCONUT
- The revitalization procedure for spent coconut substrates largely corresponds to the steps described above for soil.
- Plant residues and roots must be removed again.
- Small roots that cannot be removed manually can be broken down by enzymatic products, which you can add to the irrigation during the first weeks of the upcoming growing cycle.
- Sterilization is done with boiling water or a solution of hydrogen peroxide.
- If you use a peroxide solution, remember that it is a chemical that must be rinsed out with additional flushing!
- While revitalized soil is left to dry completely before being mixed with compost or a nutrient-rich soil mix, revitalized coconut substrates can be mixed with fresh coconut medium while still wet.
- Mixing revitalized coconut substrate with soil that is sufficiently rich in nutrients yields a mix suitable for planting.